
1. Wprowadzenie
Thank you for choosing the SILENTWARE Air 1000 Black ATX Midi Tower PC Case. This manual provides essential information for the proper installation, operation, and maintenance of your new PC case. Please read this manual thoroughly before beginning the assembly process to ensure a smooth and successful build.
2. Informacje dotyczące bezpieczeństwa
- Always disconnect the power supply from the wall outlet before installing or removing any components inside the PC case.
- Ostrożnie obchodź się z elementami, aby uniknąć uszkodzeń spowodowanych wyładowaniami elektrostatycznymi (ESD). Rozważ użycie antystatycznej opaski na nadgarstek.
- Zachowaj ostrożność ze względu na ostre krawędzie wewnątrz obudowy.
- Nie należy podejmować prób modyfikacji obudowy ani jej elementów, gdyż może to spowodować unieważnienie gwarancji i zagrożenie bezpieczeństwa.
- Chroń obudowę przed wodą, wilgocią i ekstremalnymi temperaturami.
3. Zawartość opakowania
Sprawdź, czy w przesyłce znajdują się wszystkie elementy:
- SILENTWARE Air 1000 Black ATX Midi Tower PC Case
- Pre-installed 4x 120mm ARGB Fans
- Accessory box (screws, cable ties, standoffs, etc.)
- Instrukcja obsługi (ten dokument)
4. Koniec produktuview
The SILENTWARE Air 1000 is an ATX Midi Tower PC case designed for optimal airflow and component compatibility. It features a mesh front panel for maximum ventilation and a tempered glass side panel to showcase your build.


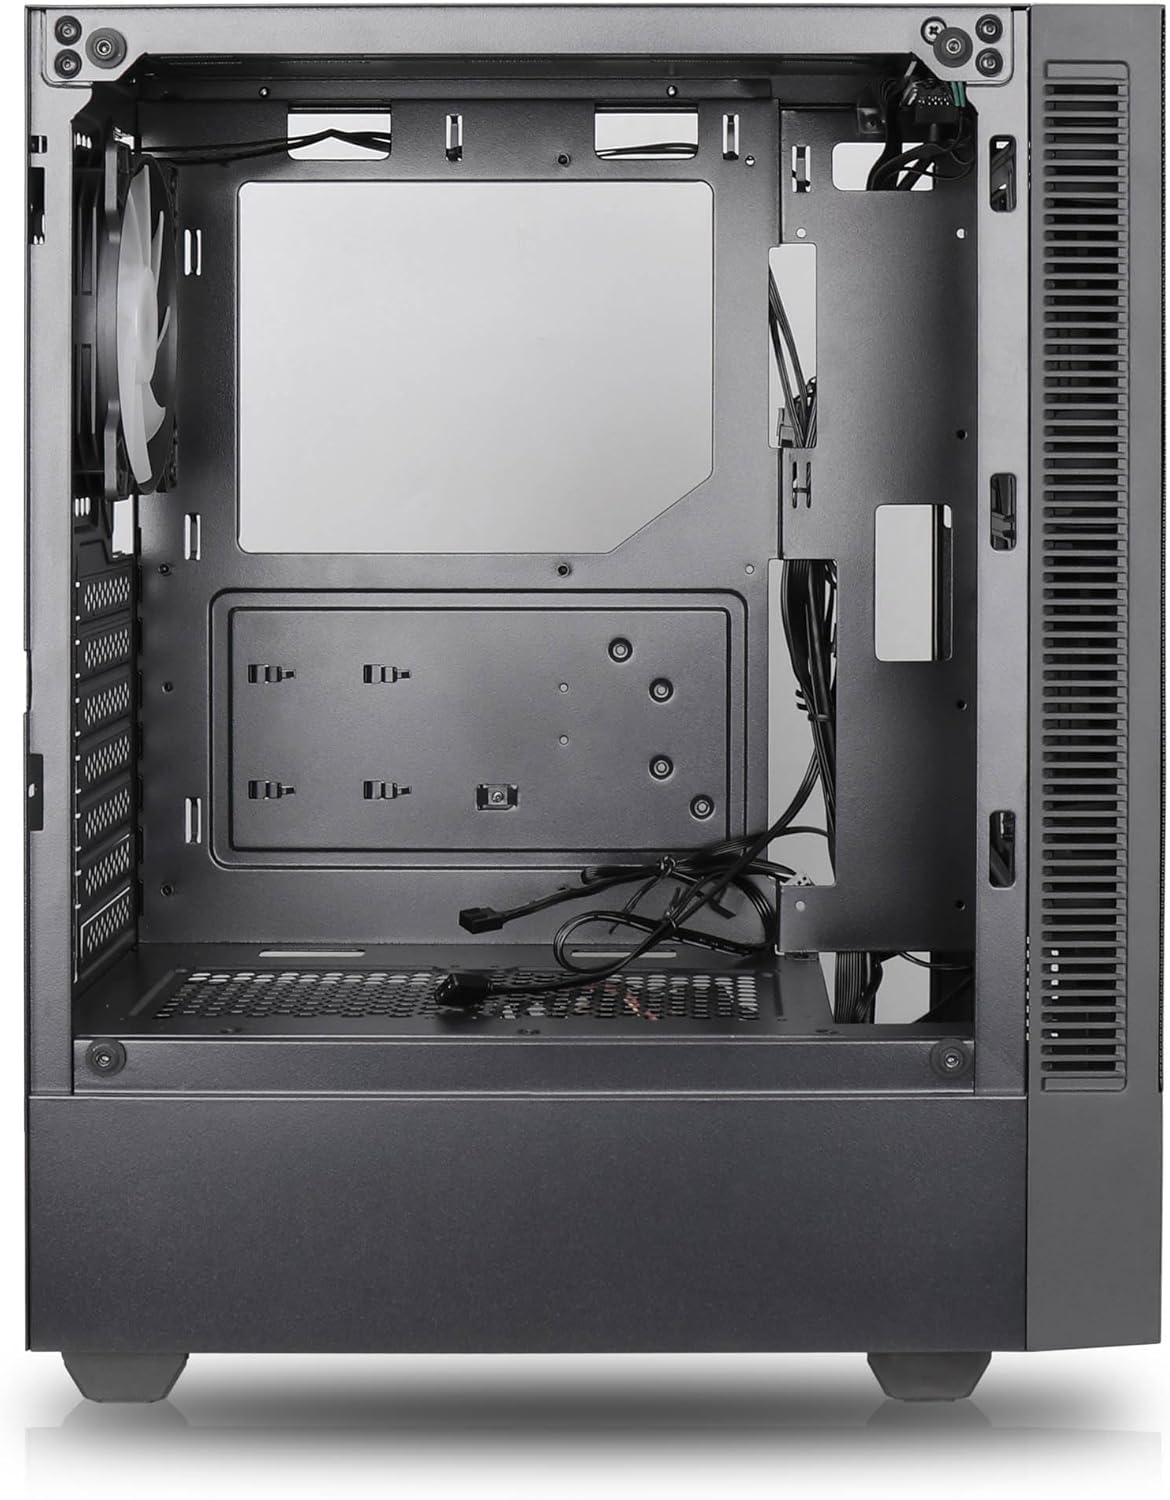

Główne cechy:
- Maksymalny przepływ powietrza: Large mesh front panel and four pre-installed 140mm A-RGB fans with hydraulic bearings ensure excellent ventilation.
- Easy PC Building: Thoughtful design with daisy-chain connections simplifies installation, eliminating the need for additional adapters or controllers.
- Wysokiej jakości projekt: Genuine tempered glass side panel showcases installed components and provides a minimalist, premium aesthetic.
- Flexible Lighting and Control: 3-pin A-RGB fans and 4-pin fan control allow for impressive lighting effects and easy adjustment of fan speed and curves directly from the motherboard.
- Powerful Component Compatibility: Supports GPUs up to 400mm long, radiators up to 360mm (front and top) and 140mm (rear), and space for up to 4 fans.
- Compact Case with AmpPrzestrzeń: Midi tower format accommodates E-ATX, ATX, mATX, and ITX motherboards, up to two 2.5" SSDs, two 3.5" HDDs, and ATX power supplies.
5. Instrukcja instalacji
Follow these steps for component installation. Refer to your individual component manuals for specific instructions.
5.1. Przygotowanie sprawy
- Połóż obudowę na płaskiej i stabilnej powierzchni.
- Carefully remove the tempered glass side panel by unscrewing the thumb screws and gently pulling it away. Set it aside on a soft, non-abrasive surface.
- Remove the solid right side panel by unscrewing the thumb screws and sliding it backward.
5.2. Instalacja płyty głównej
- Zainstaluj osłonę I/O w tylnym otworze obudowy.
- Ensure the correct standoffs are installed for your motherboard form factor (E-ATX, ATX, mATX, ITX). Adjust or add standoffs as needed.
- Ostrożnie umieść płytę główną na dystansach, dopasowując otwory na śruby.
- Przymocuj płytę główną dołączonymi śrubami. Nie dokręcaj ich zbyt mocno.
5.3. Instalacja zasilacza (PSU)
- Position the PSU in the dedicated compartment at the bottom rear of the case.
- Ensure the PSU fan faces downwards (if the case has a bottom vent) or upwards, depending on your cooling preference.
- Secure the PSU to the case with the provided screws from the rear.
5.4. Instalacja dysku pamięci masowej
Dyski SSD 2.5":
- Locate the 2.5" drive mounts (typically behind the motherboard tray).
- Secure the SSDs using the provided screws.
Dyski twarde 3.5":
- Locate the 3.5" drive cages (usually near the PSU shroud).
- Slide the HDDs into the drive trays and secure them with screws or tool-less mechanisms if available.
5.5. Instalacja karty graficznej (GPU)
- Zdejmij niezbędne osłony gniazd PCIe z tyłu obudowy.
- Align your GPU with the PCIe slot on the motherboard and press firmly until it clicks into place.
- Przymocuj kartę graficzną do obudowy za pomocą śrub.
5.6. Zarządzanie kablami
Wykorzystaj wycięcia na kable i punkty mocowania za tacką płyty głównej, aby uporządkować kable. Poprawia to przepływ powietrza i estetykę.
6. Działanie
6.1. Włączanie
After all components are installed and cables are connected, reattach the side panels. Connect the power cable to the PSU and a wall outlet, then press the power button on the top I/O panel of the case.
6.2. Sterowanie wentylatorem ARGB
The pre-installed ARGB fans feature 3-pin ARGB connectors for lighting control and 4-pin connectors for fan speed control. These can be connected directly to compatible headers on your motherboard. Use your motherboard's software or BIOS settings to customize lighting effects and fan curves.
7. Konserwacja
7.1. Czyszczenie
- Regularly clean dust filters (if present) to maintain optimal airflow.
- Use a can of compressed air to remove dust from inside the case and components.
- Powierzchnie zewnętrzne przecierać miękką,amp płótno. Unikaj ostrych środków chemicznych.
- W przypadku panelu ze szkła hartowanego należy użyć środka do czyszczenia szkła i ściereczki z mikrofibry.
8. Rozwiązywanie Problemów
- PC not powering on: Check all power connections, including the 24-pin motherboard power, 8-pin CPU power, and GPU power cables. Ensure the PSU switch is in the 'ON' position.
- Fans not spinning/RGB not working: Verify that fan and ARGB headers are correctly connected to the motherboard. Check motherboard software for fan speed and lighting control settings.
- Przegrzanie: Ensure proper airflow by checking fan orientation and cleaning dust filters. Verify CPU cooler and GPU cooler are properly seated.
- Brak wyświetlacza: Confirm the monitor cable is connected to the graphics card (not the motherboard integrated graphics, unless you are using integrated graphics). Reseat the graphics card and RAM modules.
9. Specyfikacje
| Funkcja | Specyfikacja |
|---|---|
| Marka | SILENTWARE |
| Nazwa modelu | Silentware Flow 100 ARGB |
| Numer modelu przedmiotu | PRZEPŁYW 100 |
| ASIN | B0CB8CZ5GF |
| Kolor | Czarny |
| Typ sprawy | Mid Tower |
| Tworzywo | Szkło hartowane |
| Zgodność płyty głównej | ATX, Micro ATX, Mini ITX |
| Kompatybilne urządzenia | ATX, mATX, ITX motherboards, GPUs up to 325mm, radiators up to 360mm, 2.5" and 3.5" storage drives |
| Zalecane zastosowania | Hazard |
| Metoda chłodzenia | Powietrze |
| Fabrycznie zainstalowane wentylatory | 4x 120mm wentylatory ARGB |
| Rozmiar wentylatora | 140 Millimeters (Note: Product description mentions 140mm fans, while pre-installed are 120mm. Please verify with product packaging.) |
| Typ montażu zasilacza | Mocowanie dolne |
| Maksymalna długość GPU | 400mm |
| Radiator Support (Front/Top) | Do 360 mm |
| Wspornik chłodnicy (tył) | Do 140 mm |
| Zatoki na dyski 2.5" | Do 2 |
| Zatoki na dyski 3.5" | Do 2 |
10. Gwarancja i wsparcie
For warranty information and technical support, please refer to the official SILENTWARE website or contact your retailer. Specific details regarding spare parts availability and software updates are not available in the provided product information.


