
1. Wprowadzenie
Thank you for choosing the TOTAL TG1101256E Angle Grinder. This manual provides essential information for the safe operation, maintenance, and care of your tool. Please read it thoroughly before first use and keep it for future reference. This 950W angle grinder with a 125mm disc is designed for efficient cutting, grinding, and polishing across various materials, suitable for both domestic and professional applications.
2. Ogólne instrukcje bezpieczeństwa
Zawsze przestrzegaj podstawowych zasad bezpieczeństwa, aby zmniejszyć ryzyko pożaru, porażenia prądem i obrażeń ciała. Utrzymuj miejsce pracy w czystości i dobrym oświetleniu. Nie używaj elektronarzędzi w atmosferach wybuchowych, takich jak obecność łatwopalnych cieczy, gazów lub pyłów. Zawsze noś odpowiedni sprzęt ochrony osobistej (PPE), w tym okulary ochronne, ochronniki słuchu, rękawice i maskę przeciwpyłową.
- Bezpieczeństwo elektryczne: Ensure the power cord is undamaged and suitable for outdoor use if applicable. Avoid body contact with earthed or grounded surfaces.
- Bezpieczeństwo osobiste: Stay alert, watch what you are doing, and use common sense. Do not operate the tool while tired or under the influence of drugs, alcohol, or medication.
- Używanie i konserwacja narzędzia: Nie używaj elektronarzędzia na siłę. Używaj elektronarzędzia odpowiedniego do danego zastosowania. Odłącz wtyczkę od źródła zasilania przed dokonywaniem jakichkolwiek regulacji, wymianą akcesoriów lub przechowywaniem elektronarzędzia.
- Odrzut i powiązane ostrzeżenia: Kickback is a sudden reaction to a pinched or snagged rotating wheel. Always maintain a firm grip on the tool and position your body and arm to allow you to resist kickback forces.
3. Zawartość opakowania
Carefully unpack the contents and ensure all items are present and undamaged. If any parts are missing or damaged, contact your supplier immediately.
- TOTAL TG1101256E Angle Grinder
- Uchwyt pomocniczy
- Osłona koła
- Klucz płaski

Image: The TOTAL TG1101256E Angle Grinder shown with its auxiliary handle, wheel guard, and spanner wrench.
4. Konfiguracja
Before connecting the tool to the power supply, ensure all components are correctly assembled.
4.1 Montaż uchwytu pomocniczego
The auxiliary handle can be screwed into one of the three threaded holes on the gear housing, depending on the application and user preference. Ensure it is tightened securely before operation.
4.2 Attaching and Adjusting the Wheel Guard
The wheel guard must always be used to protect against sparks and debris. Loosen the guard's clamping screw, position the guard to cover the disc as much as possible, and then tighten the screw firmly. The guard can be rotated for optimal protection during different operations.
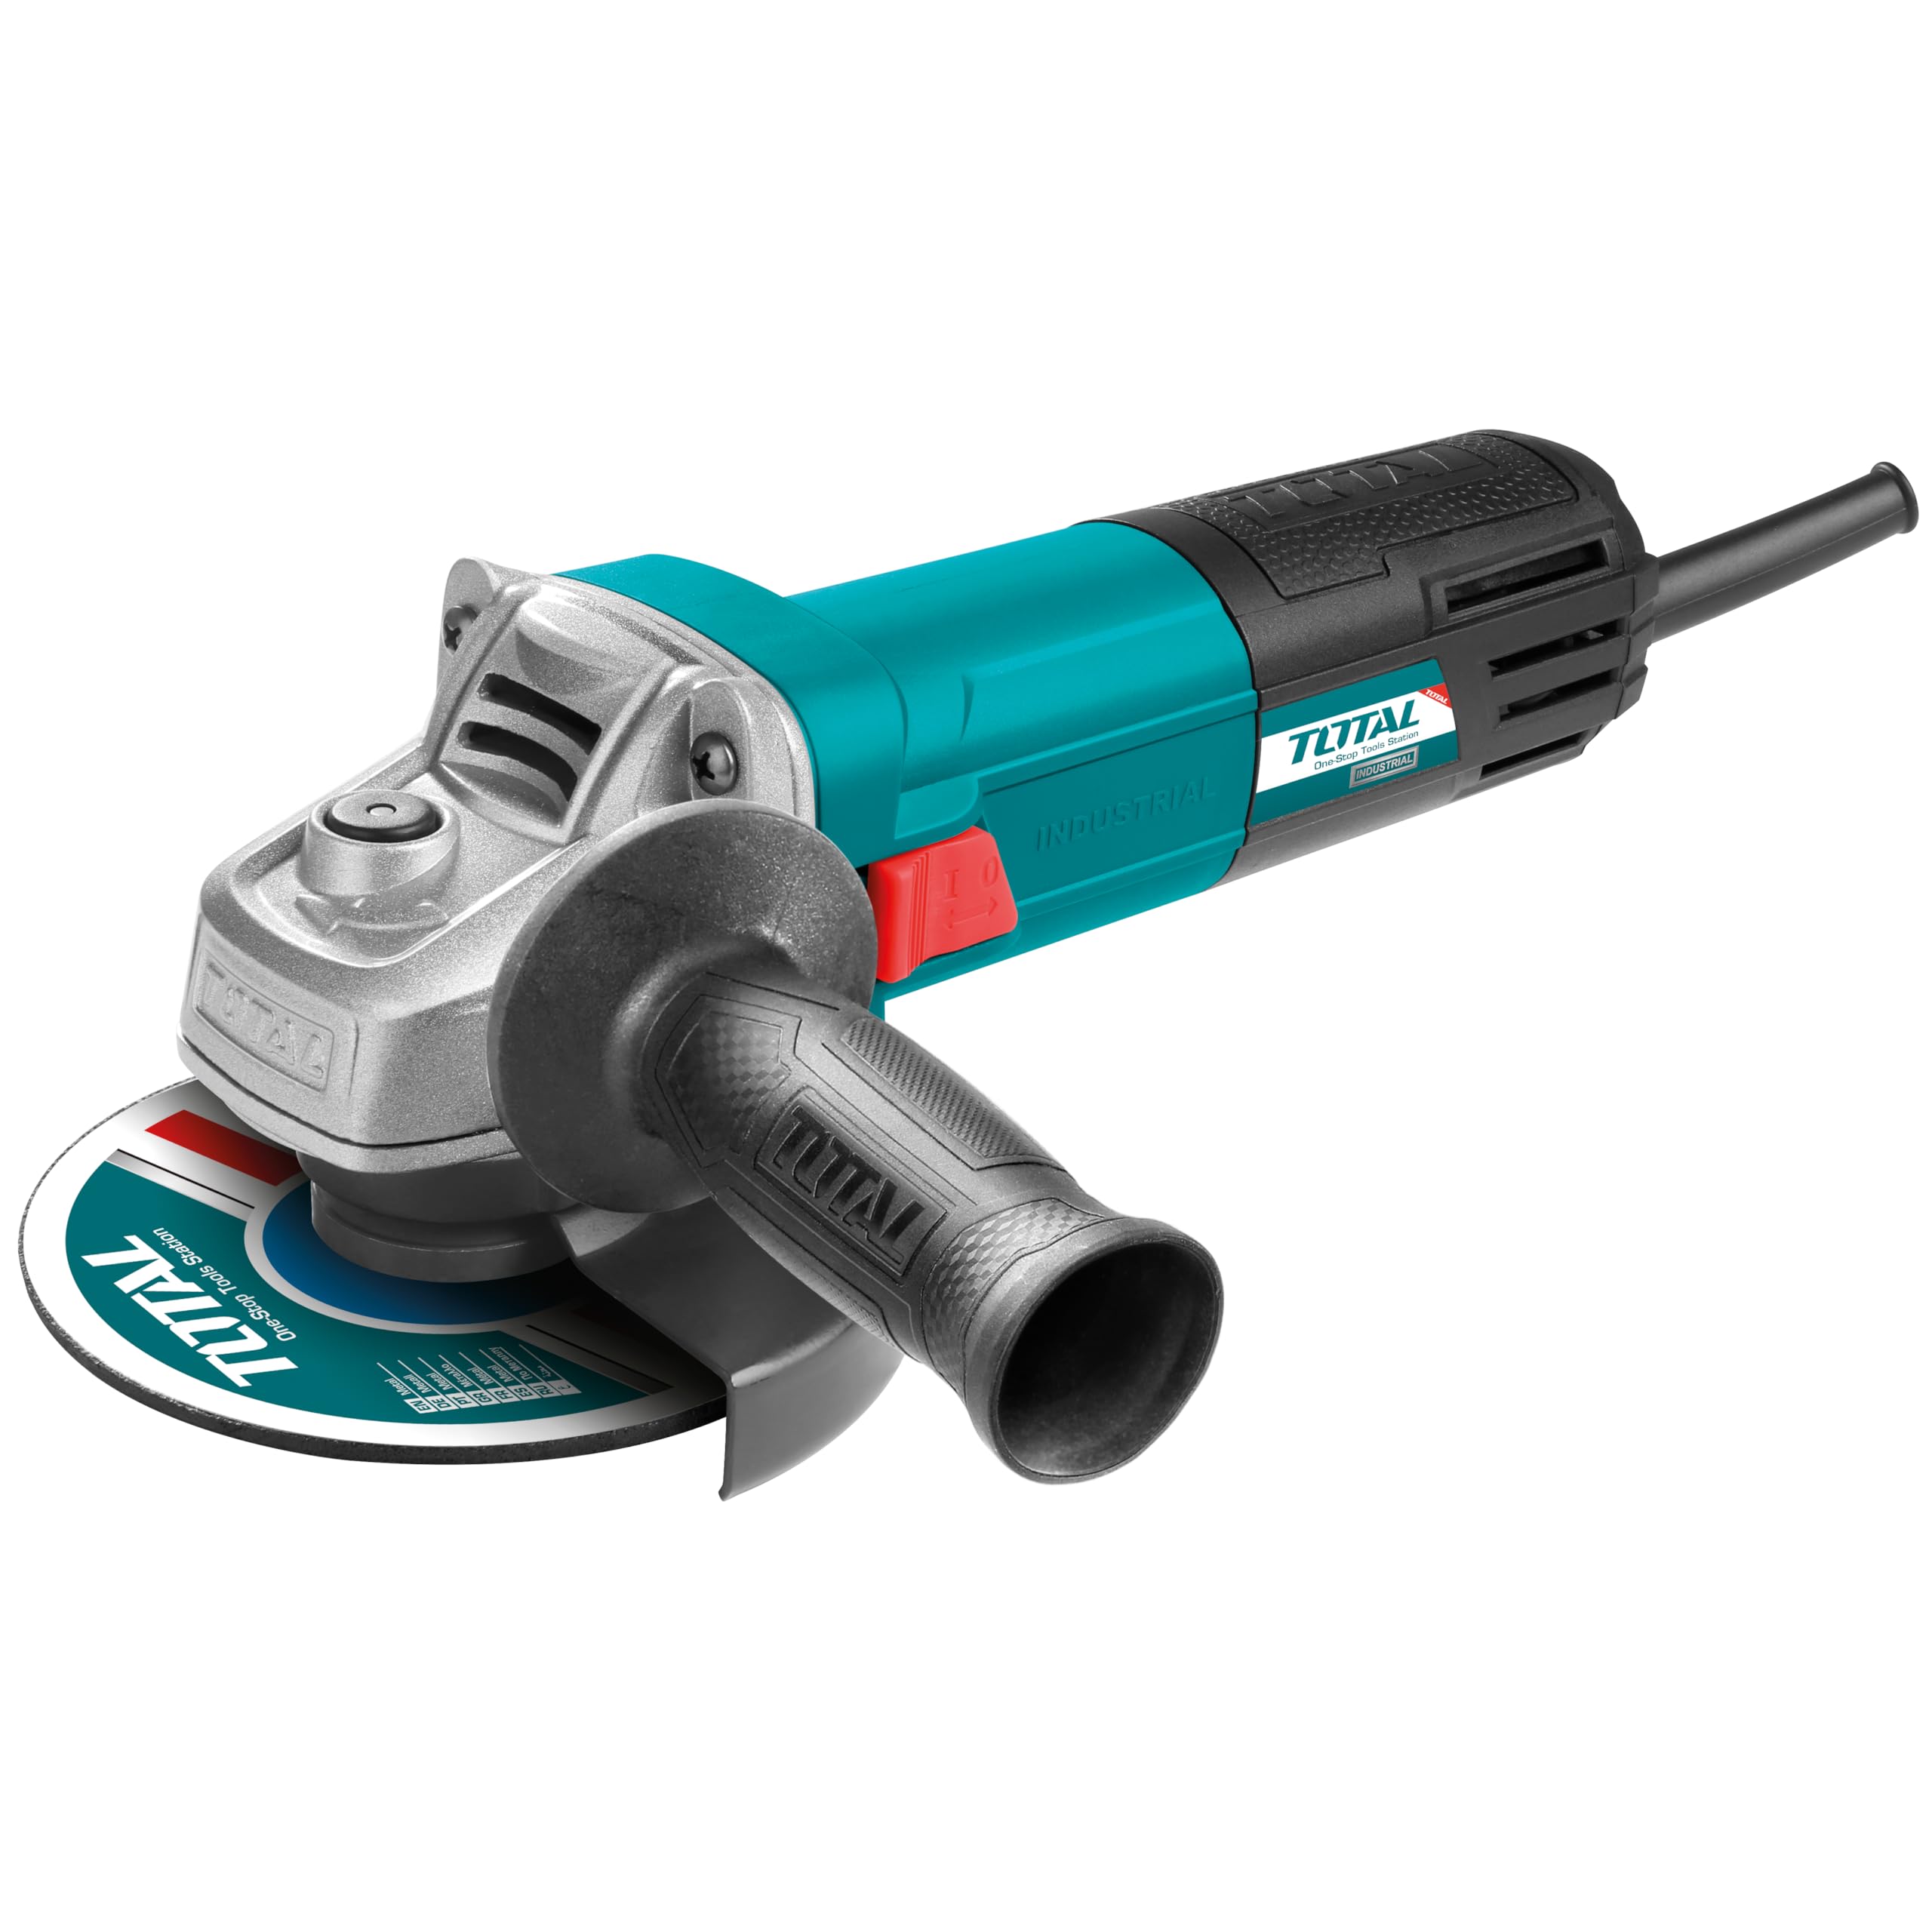
Image: The adjustable wheel guard on the angle grinder, showing its range of motion for user protection.
4.3 Mounting the Grinding/Cutting Disc
- Upewnij się, że narzędzie jest odłączone od zasilania.
- Naciśnij przycisk blokady wrzeciona, aby zapobiec jego obrotowi.
- Załóż kołnierz wewnętrzny na wrzeciono.
- Position the grinding or cutting disc onto the inner flange, ensuring it sits correctly.
- Screw the outer flange (locking nut) onto the spindle.
- Use the spanner wrench to firmly tighten the outer flange while holding the spindle lock button.
- Zwolnij blokadę wrzeciona.
Always use discs appropriate for the tool's diameter (125mm) and maximum RPM (11,000 r/min).
5. Instrukcja obsługi
Before starting, ensure the work piece is securely clamped. Always wear appropriate PPE.
5.1 Włączanie/wyłączanie
- Włączyć: Slide the ON/OFF switch forward. For continuous operation, push the switch further forward until it locks.
- Wyłączyć: For continuous operation, press the rear part of the ON/OFF switch. For momentary operation, simply release the switch.
5.2 Techniki szlifowania i cięcia
Allow the disc to reach full speed before making contact with the workpiece. Apply moderate pressure; excessive force can reduce efficiency and damage the disc or tool.
- Szlifowanie: Hold the tool at an angle of approximately 15-30 degrees to the workpiece. Move the tool smoothly across the surface.
- Cięcie: Hold the tool perpendicular to the workpiece (90 degrees). Make straight, steady cuts. Do not apply side pressure to the cutting disc, as this can cause it to shatter.

Image: Demonstrating cutting metal with the angle grinder, highlighting proper technique and spark generation.

Image: The angle grinder being used to grind a metal pipe, showing the tool's application for surface finishing.

Image: The angle grinder in use on a concrete block, demonstrating its versatility for different materials.
6. Konserwacja
Regularna konserwacja gwarantuje długowieczność i bezpieczną pracę szlifierki kątowej. Zawsze odłączaj narzędzie od zasilania przed przystąpieniem do jakichkolwiek czynności konserwacyjnych.
6.1 Czyszczenie
Keep the ventilation openings clean to prevent motor overheating. Use a soft brush or compressed air to remove dust and debris from the tool's housing. Do not use water or chemical cleaners.
6.2 Wymiana dysku
Replace worn or damaged discs immediately. Follow the disc mounting instructions in Section 4.3. Always use discs that are compatible with the tool's specifications.
6.3 Kontrola szczotek węglowych
The carbon brushes may need periodic inspection and replacement. If the motor sparks excessively or the tool loses power, the carbon brushes might be worn. This procedure should ideally be performed by a qualified service technician.
7. Rozwiązywanie Problemów
If you encounter issues with your angle grinder, refer to the following common problems and solutions.
- Narzędzie nie uruchamia się:
- Check if the power cord is properly plugged into a functional outlet.
- Sprawdź przewód zasilający pod kątem uszkodzeń.
- Upewnij się, że przełącznik WŁ./WYŁ. jest całkowicie włączony.
- Check the carbon brushes for wear (refer to Section 6.3).
- Nadmierne wibracje:
- Ensure the grinding/cutting disc is correctly mounted and tightened.
- Sprawdź, czy tarcza nie jest uszkodzona lub niewyważona; w razie konieczności wymień ją.
- Zmniejszona moc lub nadmierne iskrzenie:
- The carbon brushes may be worn and require replacement.
- Ensure the ventilation openings are clear.
If the problem persists after attempting these solutions, contact customer support or a qualified service center.
8. Specyfikacje
Technical data for the TOTAL TG1101256E Angle Grinder.
| Funkcja | Specyfikacja |
|---|---|
| Numer modelu | TG1101256E |
| Marka | CAŁKOWITY |
| Moc | 950 watów |
| Średnica tarczy | 125 mm (Not explicitly in specs, but in title/description) |
| Prędkość bez obciążenia | 11,000 r/min (Not explicitly in specs, but in description) |
| Źródło zasilania | Elektryczny przewodowy |
| Waga przedmiotu | 2 kilograma |
| Wymiary produktu (dł. x szer. x wys.) | Wymiary 30.5 x 14.2 x 9.2 cm |
| Zawarte komponenty | Uchwyt pomocniczy |

Image: Dimensions of the TOTAL TG1101256E Angle Grinder.
9. Gwarancja i wsparcie
For warranty information, please refer to the documentation provided with your purchase or contact the retailer where the product was acquired. TOTAL products are designed for reliability and performance. If you require technical assistance or have questions regarding your TOTAL TG1101256E Angle Grinder, please contact your local TOTAL service center or the seller for support.