1. Wprowadzenie
Welcome to the user manual for your Wantek RJ9 Office Telephone Headset, Model 602FPQDRJ3. This guide provides essential information for the proper setup, operation, maintenance, and troubleshooting of your new headset. Please read these instructions carefully to ensure optimal performance and longevity of your device.

Image 1.1: Wantek RJ9 Office Telephone Headset. This image displays the headset with its RJ9 connector and inline controls.
2. Funkcje produktu
The Wantek RJ9 Office Telephone Headset is designed for clear communication and comfort in professional environments. Key features include:
- Mikrofon z redukcją szumów: Reduces background noise for clearer conversations.
- Quick Disconnect (QD) Cord: Allows you to quickly detach the headset from the phone without dropping a call.
- Wideband Sound: Provides a natural listening experience.
- Acoustic Shock Protection: Safeguards your hearing from sudden loud noises.
- Lekka konstrukcja: Zapewnia komfort podczas dłuższego użytkowania.
- Regulowany pałąk: Accommodates various head sizes for a secure fit.
- Soft Leatherette Ear Cushions: Enhance comfort for all-day wear.
- 330° Rotatable Microphone Arm: Allows for flexible positioning and wearing on either ear.
- Sterowanie liniowe: Convenient microphone mute and volume adjustment.

Image 2.1: Headset features diagram. This image highlights the adjustable headband, microphone mute, volume control, and noise-cancelling microphone.
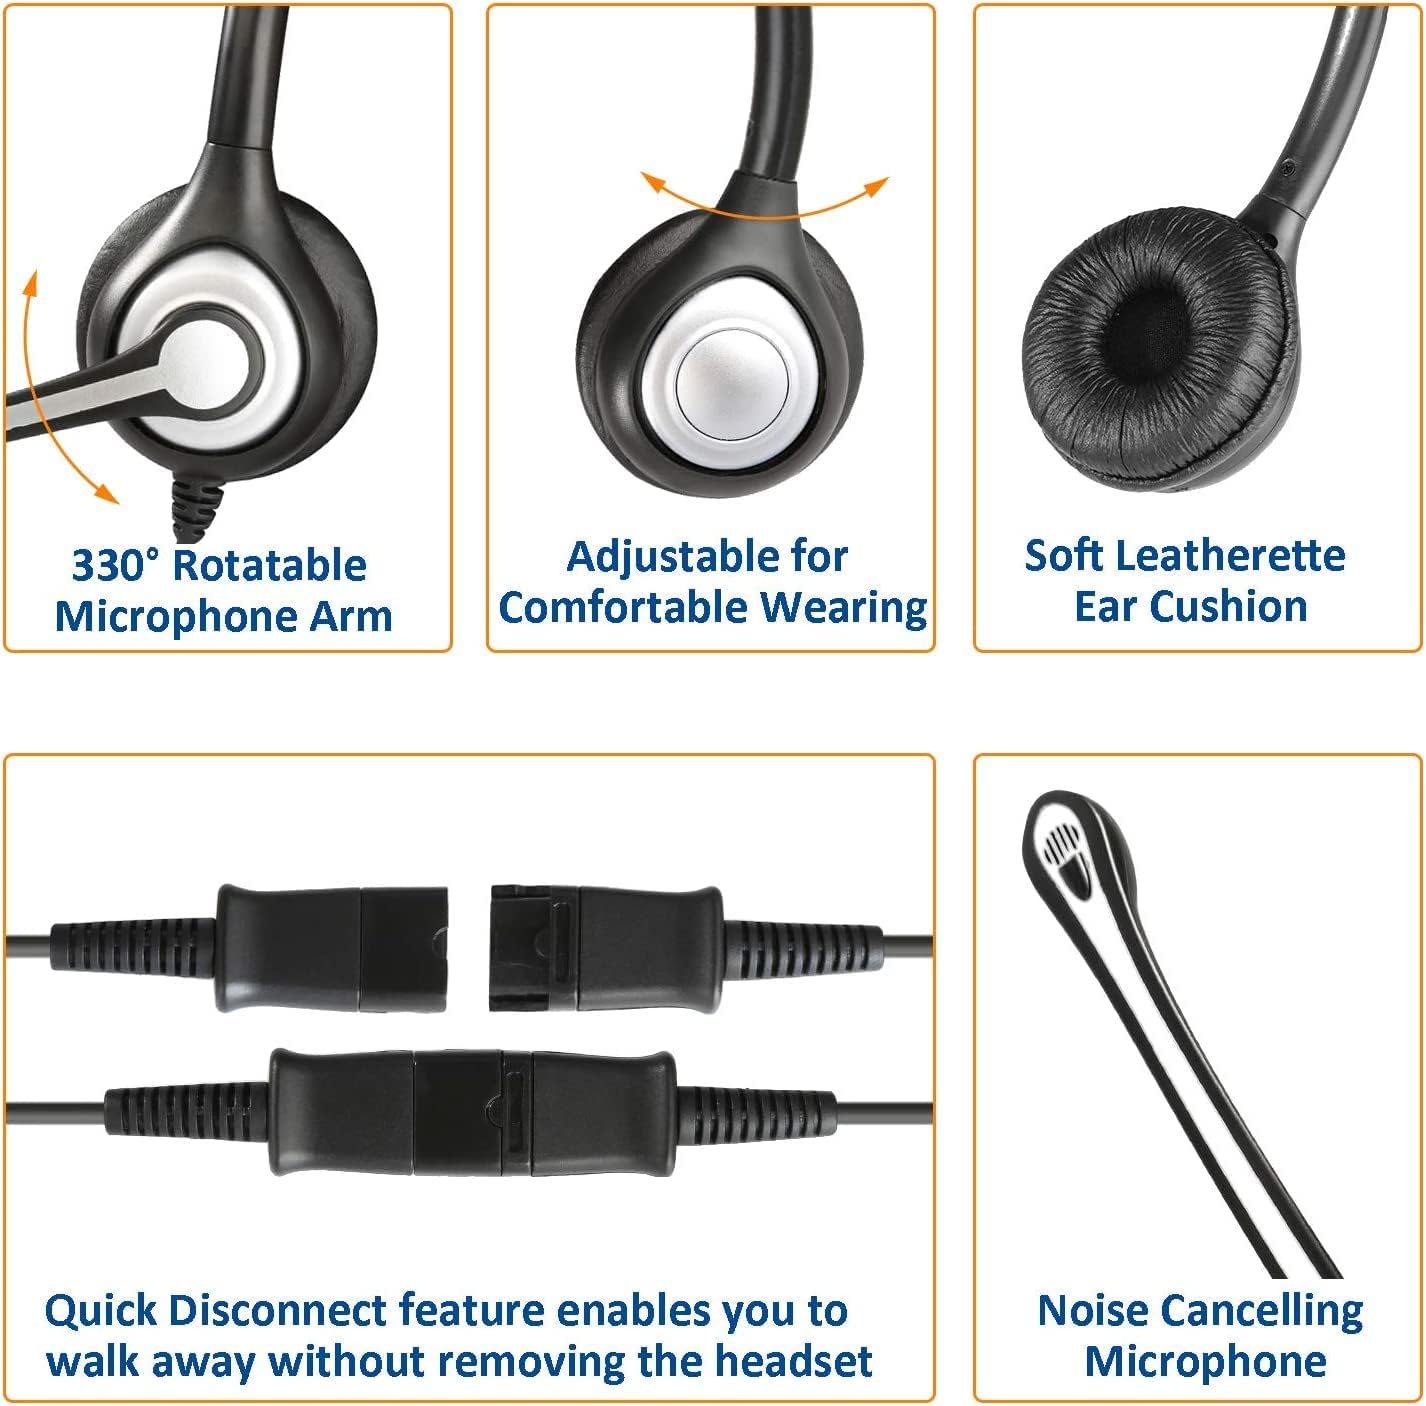
Image 2.2: Detailed feature views. This image shows close-ups of the rotatable microphone arm, adjustable headband, soft ear cushions, Quick Disconnect mechanism, and the noise-cancelling microphone.
3. Zgodność
This headset is specifically designed for use with certain office telephone models equipped with an RJ9 jack. It is not compatible with cell phones or computers. Please verify your phone model against the list below before use.

Image 3.1: Headset compatibility overview. This image illustrates that the headset is compatible with landline phones via an RJ9 jack, and not with computers or cell phones.
Compatible Phone Brands and Models:
- Yealink: T19P, T21P, T22P, T28P, T41P, T32G, T38G, T42G, T46G, T48S, T27G, T53W, T54W
- Avaya: 1608, 1616, 9608G, 9611G, 9620, 9621G, 9630, 9640, 9640G, 9641G, 9650, J139, J159, J169, J179 (Note: Only compatible with these specific Avaya models.)
- Grandstream: GXP1400, GXP1405, GXP1450, GXP1610, GXP1615, GXP1620, GXP1625, GXP1628, GXP1630, GXP1200, GXP2000, GXP2100, GXP2010, GXP2110, GXP2020, GXP2120, GXP2124, GXP2130, GXP2135, GXP2140, GXP2160, GXP2170, GXP280, GXP285, GRP2613, GRP2604P, GXV3005, GXV3006, GXV3240, GXV3275, GXV3370
- Panasonic: KX-T Series phones such as: KX-T2260, KX-T2310, KX-T2315, KX-T2365, KX-T2368, KX-T7220, KX-T7230, KX-T7330, KX-T7420C, KX-T7433, KX-T7665, KX-T7740, KX-HDV130
- Snom: 300, 320, 360, 370, 710, 720, 760, 820, 821, 870, D375, D385, D712, D715, D717, D725, D735, D745, D765, D785, D862, D865
- Ooma: 2602, 2602W, 2603, 2612, 2613, 2624W, 2615W, 2670W
- Huawei: ET325, ET523, ET525, ET685, 6805, 6810, 6830, 6850, 6870, 7810, 7820, 7830, 7850, 7870, 7910, 7950
- Zultys: ZIP 33G, 36G, 37G, 43G, 45G, 47G, 49G, 33i, 35i
- Alcatel Temporis: IP200, IP800
- Wildix: WP410, WP480, WP480G, WP490, WP490G
- AltiGen: IP805
- Cortelco Fanvil: C58, C58P, C62, C66
- Obihai: OBi1062
- Aastra: 6737i
4. Konfiguracja
Follow these steps to connect your headset to your office telephone:
- Connect the RJ9 Plug: Insert the RJ9 plug of the headset's Quick Disconnect (QD) cord firmly into the headset port on your compatible office telephone.
- Connect the QD: Connect the headset's QD connector to the QD cord. Ensure the connection is secure and clicks into place.
- Dopasuj opaskę: Place the headset on your head and adjust the headband for a comfortable and stable fit.
- Pozycja mikrofonu: Rotate the microphone arm 330 degrees to position the microphone on either your left or right side. Position the microphone approximately 1 inch (2.5 cm) from your mouth for optimal voice clarity.

Image 4.1: QD to RJ9 plug-and-play setup. This image illustrates the connection of the headset's Quick Disconnect cord to an RJ9 phone jack.
5. Instrukcja obsługi
Once connected, your headset is ready for use:
- Wykonywanie/odbieranie połączeń: Use your telephone's standard call functions. The headset will activate automatically when a call is initiated or received.
- Regulacja głośności: Use the inline volume control switch located on the QD cord to adjust the listening volume. Slide the switch up to increase volume or down to decrease it.
- Wyciszenie mikrofonu: To mute the microphone, slide the mute switch on the inline control to the "OFF" position. Slide it to "ON" to unmute the microphone.
- Quick Disconnect Feature: To temporarily leave your desk without removing the headset, simply disconnect the QD connector. This action will typically place your call on hold (if supported by your phone system) and allow you to move freely. Reconnect the QD to resume your call.
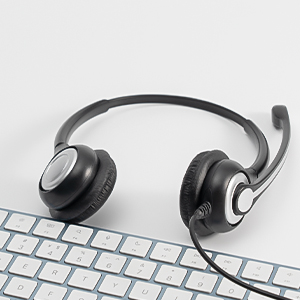
Image 5.1: Quick Disconnect (QD) cord. This image shows how to connect and disconnect the Quick Disconnect feature.
6. Konserwacja
Właściwa pielęgnacja przedłuży żywotność Twojego zestawu słuchawkowego:
- Czyszczenie: Use a soft, dry cloth to clean the headset. Do not use liquid cleaners, solvents, or immerse the headset in water.
- Składowanie: Przechowuj zestaw słuchawkowy w czystym, suchym miejscu, z dala od bezpośredniego światła słonecznego i ekstremalnych temperatur, gdy nie jest używany.
- Pielęgnacja kabli: Avoid pulling on the cable forcefully. Handle the Quick Disconnect (QD) cord carefully when connecting or disconnecting to prevent damage.
7. Rozwiązywanie Problemów
Jeśli masz problemy ze swoim zestawem słuchawkowym, zapoznaj się z poniższymi typowymi problemami i ich rozwiązaniami:
- Brak dźwięku lub niski poziom głośności:
- Ensure the RJ9 plug is fully inserted into the phone's headset port.
- Check the inline volume control and adjust it to an audible level.
- Verify that the Quick Disconnect (QD) connection is secure.
- Confirm your specific phone model is listed as compatible in Section 3.
- Microphone Not Working or Poor Sound Quality:
- Ensure the microphone mute switch on the inline control is in the "ON" position.
- Adjust the microphone position, ensuring it is approximately 1 inch from your mouth.
- Check the Quick Disconnect (QD) connection for proper seating.
- Confirm your specific phone model is listed as compatible in Section 3.
- Headset is Uncomfortable:
- Adjust the headband for a better fit on your head.
- Rotate the microphone arm to the preferred side for comfort.
- Ensure the ear cushions are properly seated on your ears.
8. Specyfikacje
| Funkcja | Szczegół |
|---|---|
| Nazwa modelu | 602FPQDRJ3 |
| Technologia łączności | Przewodowy |
| Gniazdo słuchawkowe | Gniazdo RJ9 |
| Kontrola hałasu | Aktywna redukcja szumów (mikrofon) |
| Zakres częstotliwości | 20 Hz - 20 000 Hz |
| Impedancja | 32 omy |
| Typ sterowania | Call Control (Inline) |
| Funkcja specjalna | Mikrofon w zestawie |
| Tworzywo | Plastikowy |
| Wymiary produktu | 6.89 x 5.71 x 2.17 cala |
| Waga przedmiotu | 7.4 uncji |
9. Gwarancja i wsparcie
Wantek is committed to providing quality products and customer satisfaction.
- Gwarancja: This product includes a 1-year exclusive warranty from the date of purchase. Please retain your proof of purchase for warranty claims.
- Wsparcie techniczne: Lifetime professional technical support is available for this product. For assistance, please refer to the contact information provided with your purchase or visit the official Wantek webwitryna zawierająca zasoby pomocy.


