
Wstęp
Dziękujemy za zakupasing the Walfront Wooden LED Digital Alarm Clock. This manual provides comprehensive instructions to help you set up, operate, and maintain your new alarm clock. Please read this guide thoroughly before use to ensure proper functionality and longevity of the product.
Produkt ponadview i kluczowe cechy
The Walfront Wooden LED Digital Alarm Clock combines functionality with a sleek, natural design. Its wooden and ABS material construction ensures durability and a pleasant aesthetic. The clock features a clear LED display and several convenient functions.

Image: The Walfront Wooden LED Digital Alarm Clock, showcasing its digital display for time, date, and day of the week.
Cechy:
- Trwały materiał: Constructed from wood and ABS material, providing a textured, durable, and long-lasting design.
- Cyfrowy wyświetlacz LED: Features a clear LED light digital display that illuminates through the smoothed wooden surface, visible even in low light.
- Funkcja sterowania głosowego: Activates the display to show time, date, and day of the week simultaneously upon detecting sound.
- Opcje formatu czasu: Supports both 12-hour and 24-hour time systems.
- Regulowana jasność: Offers three levels of brightness adjustment for comfortable vieww różnych warunkach oświetleniowych.
- Wiele alarmów: Includes three independent alarm functions.
- Weekday Alarm Setting: Option to set alarms to activate only on weekdays.
Przewodnik po konfiguracji
Zasilanie urządzenia:
The Walfront Digital Alarm Clock can be powered in two ways:
- Kabel USB do transmisji danych: Connect the provided USB data cable to the DC 5V port on the back of the clock and plug the other end into a compatible USB power adapter (not included) or a USB port.
- Baterie AAA: For portable use or as a backup, insert four (4) AAA batteries (not included) into the battery compartment located on the back of the clock. Ensure correct polarity.
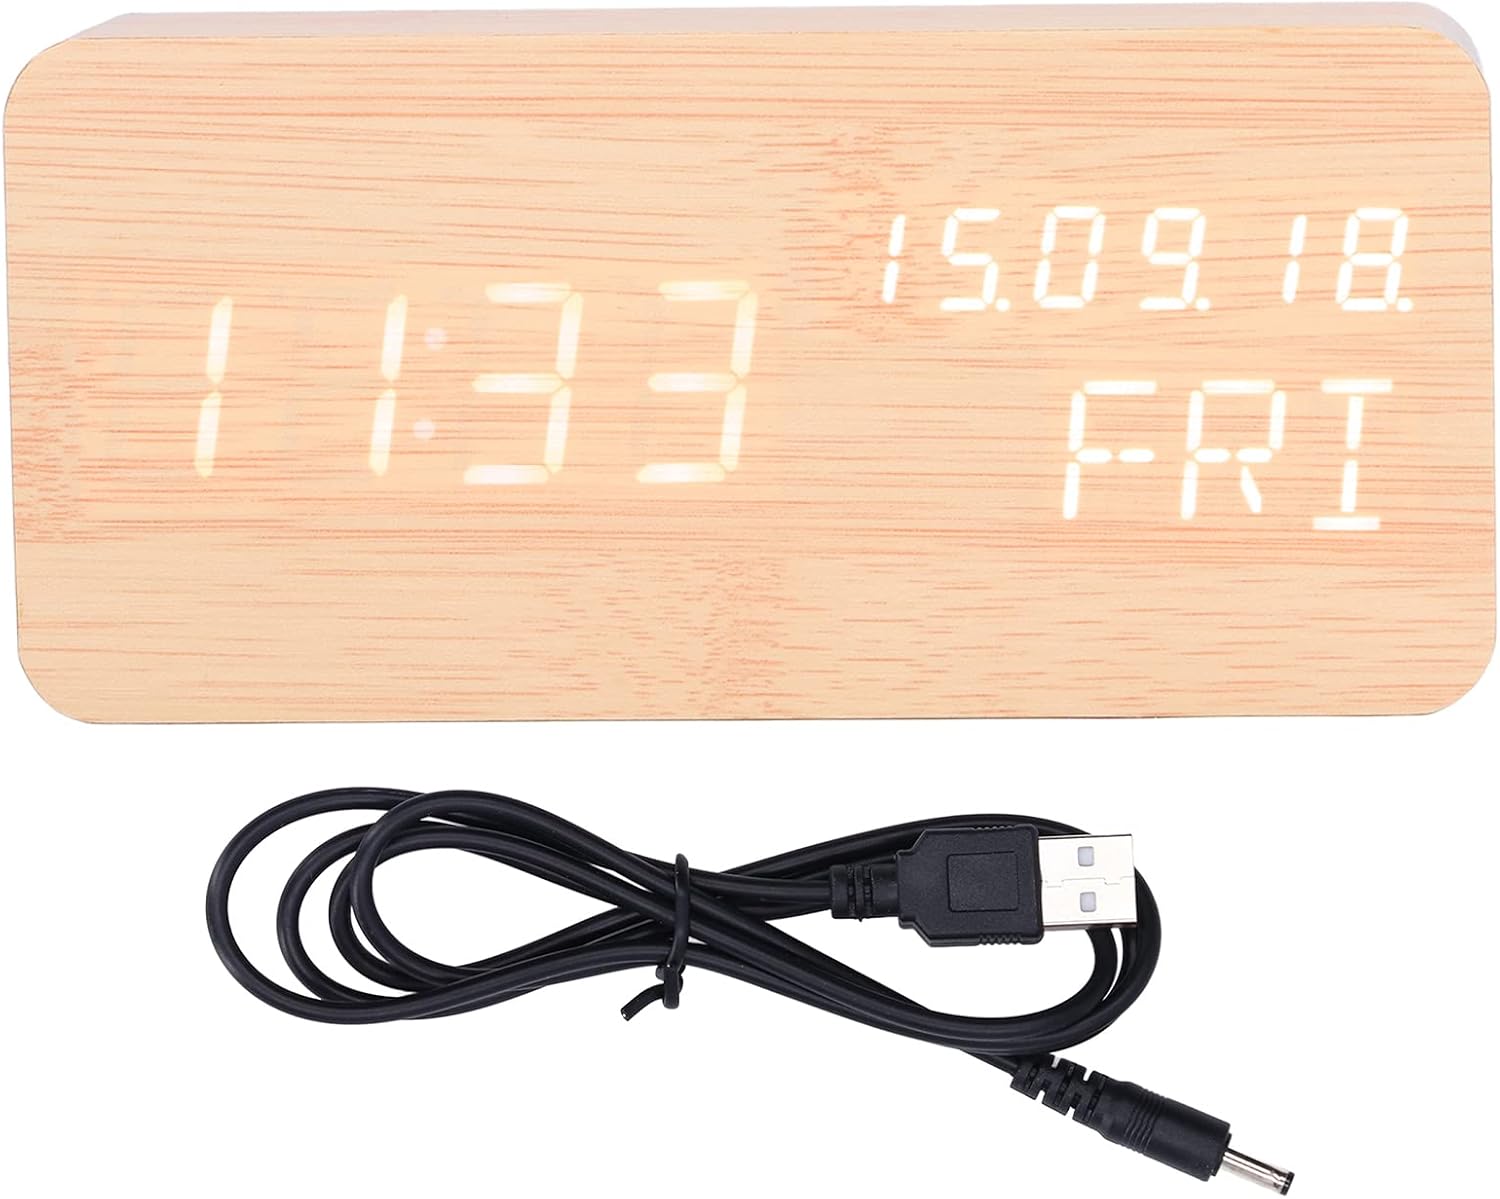
Image: The USB power cable used to power the alarm clock.

Obraz: Tył view of the alarm clock, highlighting the battery compartment and control buttons (SET, UP, DOWN).
Instrukcja obsługi
The clock features three control buttons on the back: USTAWIĆ, UP, I W DÓŁ.
Ustawianie czasu i daty:
- Naciśnij i przytrzymaj USTAWIĆ button to enter time setting mode. The display will flash.
- Użyj UP I W DÓŁ Przyciski do ustawienia godziny. Naciśnij USTAWIĆ aby potwierdzić i przejść do protokołu.
- Dostosuj minuty za pomocą UP/W DÓŁ, następnie naciśnij USTAWIĆ aby potwierdzić.
- Kontynuuj ten proces, aby ustawić rok, miesiąc i dzień.
- After setting the date, you can select 12-hour or 24-hour format using UP/W DÓŁ, następnie naciśnij USTAWIĆ.

Image: Two Walfront alarm clocks, demonstrating the display of time, date, and day of the week.
Ustawianie alarmów:
The clock supports three independent alarms (AL1, AL2, AL3).
- W normalnym trybie wyświetlania czasu naciśnij przycisk USTAWIĆ button repeatedly to cycle through AL1, AL2, AL3 settings.
- When an alarm (e.g., AL1) is displayed, press and hold USTAWIĆ to enter its setting mode.
- Używać UP/W DÓŁ aby dostosować godzinę alarmu, naciśnij USTAWIĆ.
- Adjust alarm minutes with UP/W DÓŁ, następnie naciśnij USTAWIĆ.
- You can then choose to enable/disable the alarm or set it for weekdays only (indicated by 'ON E' for weekday alarm). Use UP/W DÓŁ wybrać, a następnie naciśnij USTAWIĆ aby potwierdzić.
- Repeat for AL2 and AL3 as needed.
Regulacja jasności:
The clock offers three levels of brightness. In normal time display mode, press the UP button to cycle through the brightness levels (L1, L2, L3, where L3 is brightest).
Funkcja sterowania głosowego:
To activate the voice control function, ensure the clock is in power-saving mode (display off). A sound (e.g., clap, tap) will temporarily illuminate the display to show the time, date, and day of the week.

Image: The alarm clock displaying the current temperature in Celsius, alongside the date and day.
Konserwacja
- Czyszczenie: Use a soft, dry cloth to wipe the surface of the clock. Avoid using abrasive cleaners or solvents, which may damage the wooden finish or display.
- Umieszczenie: Place the clock on a stable, flat surface. Avoid direct sunlight, high temperatures, or high humidity, which can affect the wood and electronic components.
- Wymiana baterii: If using batteries, replace all four AAA batteries simultaneously when the display dims or functions become erratic. Do not mix old and new batteries.
- Źródło zasilania: When not in use for extended periods, disconnect the USB power cable and remove batteries to prevent leakage.
Rozwiązywanie problemów
| Problem | Możliwa przyczyna | Rozwiązanie |
|---|---|---|
| Wyświetlacz jest przyciemniony lub niewidoczny. | Low battery power or brightness setting is too low. | Replace batteries or connect via USB. Press UP to adjust brightness level. |
| Clock not responding to voice control. | Voice control feature might be off or ambient noise is too low. | Ensure the clock is in power-saving mode (display off). Make a louder sound to activate. |
| Alarm nie włącza się. | Alarm is not set or is set for weekdays only and it's a weekend. | Check alarm settings (AL1, AL2, AL3) and ensure they are enabled for the desired days. |
| Wyświetlany jest nieprawidłowy czas lub data. | Time/date was not set correctly or power interruption. | Re-enter time and date settings as per "Setting Time and Date" instructions. |
Specyfikacja produktu
| Funkcja | Szczegół |
|---|---|
| Typ przedmiotu | Budzik |
| Tworzywo | Wood, ABS |
| Rozmiar produktu | Approx. 150 x 40 x 70 mm / 5.9 x 1.6 x 2.8 inches |
| Waga przedmiotu | 9.2 uncji |
| Zasilacz | USB data cable (DC 5V), 4 x AAA batteries (not included) |
| Funkcje wyświetlania | Time, Date, Week, Temperature (Celsius/Fahrenheit) |
| System czasu | 12/24 hour system |
| Poziomy jasności | 3 poziomów regulacji |
| Funkcje alarmowe | 3 sets of alarms, Weekday alarm option |
| Cechy specjalne | Funkcja sterowania głosem |
| Numer modelu | WALFRONT73dgi05csv |
Gwarancja i wsparcie
For warranty information or technical support, please refer to the retailer's return policy or contact Walfront customer service directly. Keep your purchase receipt as proof of purchase.