
1. Wprowadzenie
This manual provides detailed instructions for the safe and proper installation, operation, and maintenance of your ErGear Dual Monitor Mount, Model EGCM1W-US. Please read this manual thoroughly before installation and retain it for future reference.

Obraz 1.1: Koniecview of the ErGear Dual Monitor Mount components, including the main pole, dual arms, VESA plates, and desk mounting options.
This dual monitor mount is designed to elevate your monitors, freeing up valuable desk space and contributing to an organized workspace. Its adjustable features allow for ergonomic viewing, which can help reduce neck and eye strain.
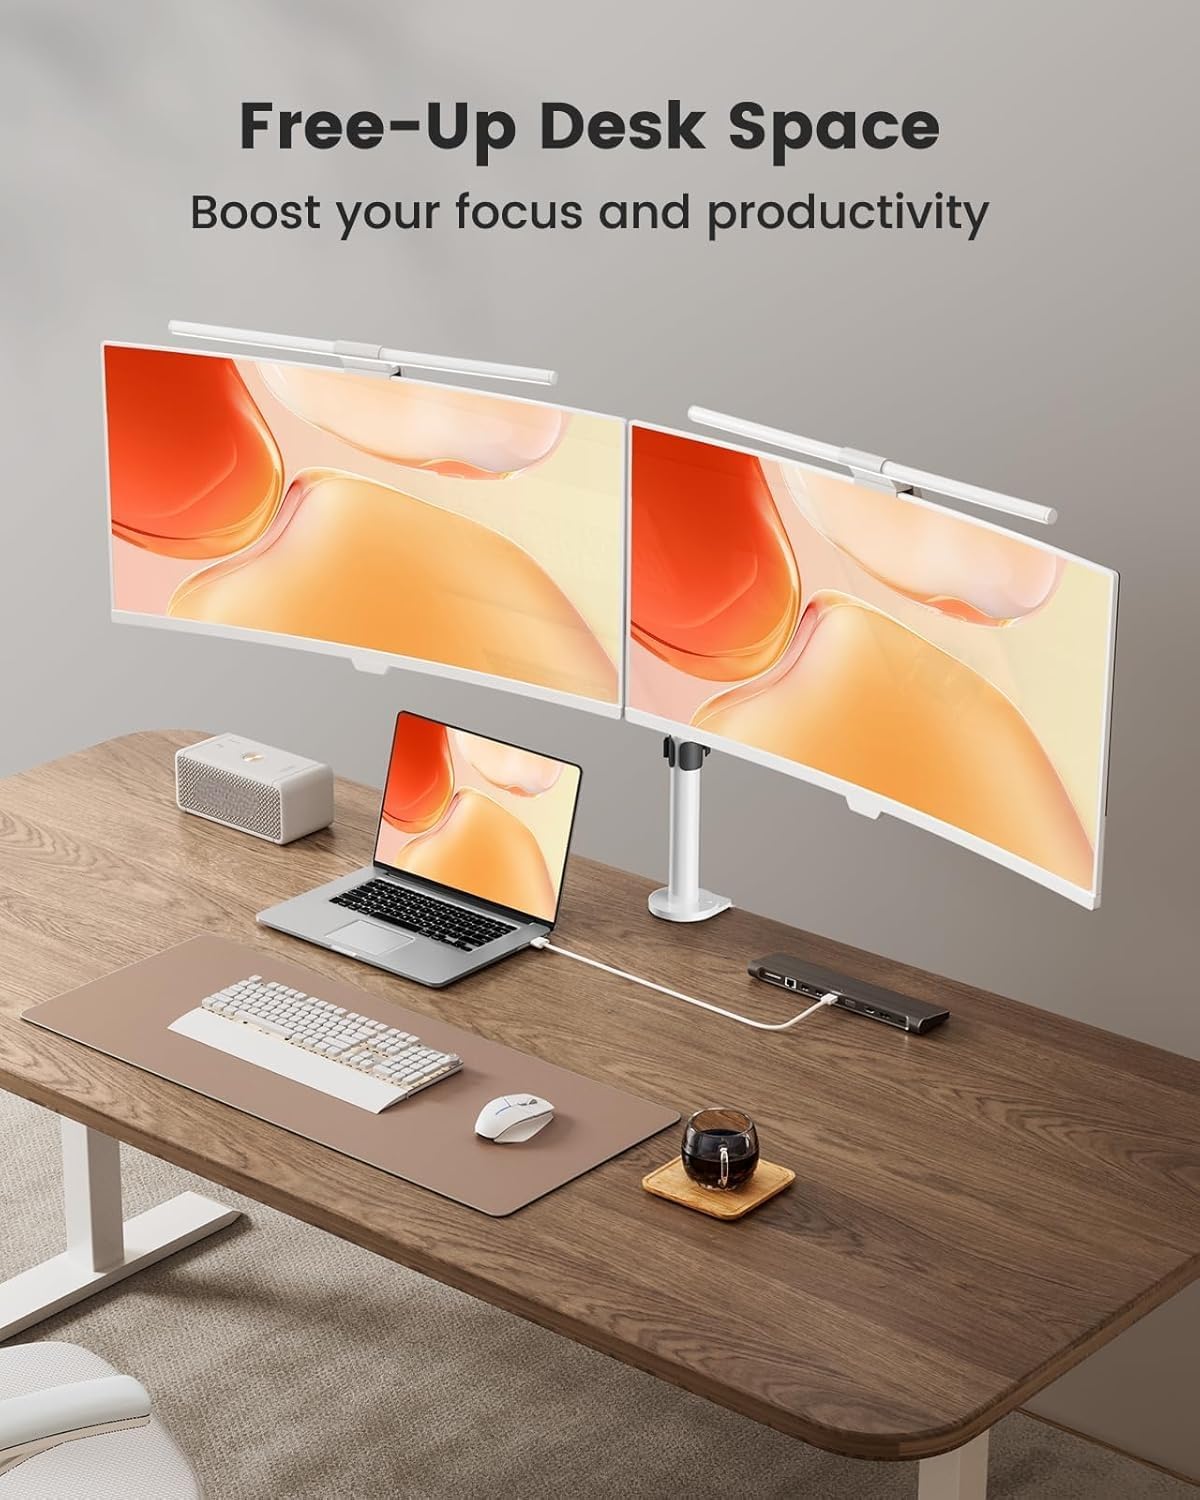
Obraz 1.2: Byłyample of a desk setup utilizing the ErGear Dual Monitor Mount, demonstrating how it frees up desk space for other items like laptops, keyboards, and speakers.
2. Zgodność produktu
Ensure your monitors meet the following specifications for proper use with this mount:
- Rozmiar ekranu: Each monitor must be between 13 and 32 inches.
- Waga ekranu: Each monitor must not exceed 17.6 lbs (8 kg).
- Zgodność z VESA: Monitors must have VESA mounting holes spaced 75x75 mm or 100x100 mm apart.
Verify these conditions before proceeding with installation. If your monitor lacks VESA holes, a VESA adapter (sold separately) may be required.

Image 2.1: Visual representation of monitor size and weight limits, and VESA compatibility for the mount.

Image 2.2: Illustration showing VESA hole patterns (75x75mm, 100x100mm) and the option for VESA adapters for monitors without native VESA compatibility.
3. Konfiguracja i instalacja
The ErGear Dual Monitor Mount offers two installation methods: C-Clamp and Grommet Mount. Choose the method best suited for your desk.
3.1 Desk Requirements
- Tworzywo: Recommended for wooden tables.
- Luz: The underside of the table should be free of beams or panels that might obstruct installation.
- Grubość:
- C-Clamp: Fits desk thickness from 0.39" to 3.15" (1 cm to 8 cm).
- Grommet Mount: Fits desk thickness from 0.39" to 2.17" (1 cm to 5.5 cm).

Image 3.1: Diagram illustrating the desk thickness requirements for both C-Clamp and Grommet Mount installation methods.
3.2 Kroki instalacji
Follow these general steps for installation. Refer to the included hardware and detailed instruction manual for specific part identification.
- Wybierz metodę montażu: Decide between C-Clamp or Grommet Mount based on your desk and preferences.
- Install Desk Base:
- C-Clamp: Dołącz C-klamp to the edge of your desk and tighten securely.
- Mocowanie przelotki: Insert the grommet bolt through a pre-drilled hole in your desk and secure it from underneath.
- Attach Pole: Secure the main vertical pole to the installed desk base.
- Mount Arms: Slide the dual monitor arms onto the vertical pole at your desired height and secure them.
- Zamontuj płytki VESA na monitorach: Secure the detachable VESA plates to the back of your monitors using the appropriate screws and spacers. Ensure screws are not too long to prevent damage to the monitor.
- Zawieszanie monitorów: Carefully slide the monitors (with VESA plates attached) onto the monitor arms. Secure them with the provided locking mechanisms.
- Zarządzanie kablami: Utilize the integrated cable management clips to route and organize monitor cables along the arms and pole for a clean setup.

Image 3.2: Illustration of the detachable VESA plate design, simplifying the process of attaching monitors to the arms.

Obraz 3.3: Example of cable management clips integrated into the monitor mount arms and pole, designed to keep cables organized.
4. Obsługa i regulacje
The ErGear Dual Monitor Mount provides extensive flexibility for optimal screen positioning.
- Przechylenie: Adjust the monitor angle +/-45° to reduce glare and achieve ergonomic viewing.
- Obracać: Rotate the monitors +/-90° horizontally to share your screen or adjust viewkąty.
- Obrót: Rotate monitors 360° from landscape to portrait orientation.
- Regulacja wysokości: The monitor arms can be moved up or down along the central pole to set the desired eye-level height.
Adjustments should be made smoothly. If an adjustment feels too loose or too stiff, check the tension screws on the joints and tighten or loosen as needed with the provided tools.

Image 4.1: Diagrams illustrating the tilt (±45°), swivel (±90°), and 360° rotation functionalities of the monitor mount.

Image 4.2: A user demonstrating ergonomic viewing with monitors positioned at eye-level using the ErGear mount.

Obraz 4.3: Examples of different monitor orientations and positions achievable with the adjustable arms to optimize workflow.
5. Konserwacja
Regularna konserwacja zapewnia długowieczność i bezpieczne działanie uchwytu monitora.
- Czyszczenie: Przetrzyj uchwyt miękką ściereczką.amp szmatką. Unikaj środków czyszczących o działaniu ściernym i rozpuszczalników.
- Kontrola szczelności: Periodically check all screws and bolts, especially those securing the mount to the desk and the monitors to the VESA plates. Tighten if necessary.
- Smarowanie stawów: If joints become stiff over time, a small amount of silicone-based lubricant can be applied, though typically not required for this model.
6. Rozwiązywanie Problemów
Zapoznaj się z poniższymi typowymi problemami i rozwiązaniami:
- Monitors Sagging/Tilting:
Ensure the monitor weight does not exceed 17.6 lbs per arm. Check and tighten the tilt tension screws on the VESA plate connection points. The mount features a reinforced tilt head with metal gaskets for stability (see Image 6.1).

Obraz 6.1: Wybuch view of the reinforced tilt head, highlighting the metal gaskets for enhanced stability.
- Mount is Unstable on Desk:
Sprawdź, czy C-clamp or grommet mount is securely tightened to the desk. Ensure the desk thickness is within the specified range for your chosen mounting method. The C-clamp features a strong steel bracket and sturdy clamp bolts for secure attachment (see Image 6.2).

Rysunek 6.2: Szczegółowy view of the C-Clamp and Grommet Mount, showing the robust construction of the C-clamp with its strong steel bracket and sturdy clamp śruby
- Difficulty Adjusting Arms:
Check the tension screws at the arm joints. Loosen them slightly if movement is too stiff, or tighten if too loose. Do not overtighten.
- Screws Too Long for Monitor VESA Holes:
Use the appropriate screw length and spacers provided. If screws are still too long, consult your monitor's manual or a hardware professional to avoid damaging your monitor. Do not force screws that are too long.
7. Specyfikacje produktu
| Funkcja | Specyfikacja |
|---|---|
| Numer modelu | EGCM1W-US |
| Marka | Przekładnia |
| Kompatybilny rozmiar ekranu | 13 - 32 cali |
| Nośność (na ramię) | 17.6 funta (8 kg) |
| Zgodność ze standardem VESA | 75x75 mm, 100x100 mm |
| Tworzywo | Stal stopowa |
| Kolor | Biały |
| Typ ruchu | Articulating, Tilt, Swivel, Rotation |
| Kąt nachylenia | +/-45 stopni |
| Kąt obrotu | +/-90 stopni |
| Obrót | 360 stopni |
| Dual Arm Length | 30.71 cali (78 cm) |
| Wysokość słupa | 16.3 cali (41.5 cm) |
| C-Clamp Grubość biurka | 0.39" - 3.15" (1 cm - 8 cm) |
| Grubość biurka z mocowaniem przelotki | 0.39" - 2.17" (1 cm - 5.5 cm) |

Image 7.1: Diagram showing key dimensions such as dual arm length (30.71 inches) and pole height (16.3 inches), along with tilt, swivel, and rotation ranges.
8. Gwarancja i wsparcie
For warranty information or technical support, please refer to the contact details provided with your product packaging or visit the official ErGear webstrona. Zachowaj dowód zakupu na potrzeby roszczeń gwarancyjnych.
Optional protection plans are available for purchase separately to extend coverage beyond the standard warranty. Details on these plans can be found where the product was purchased.


