1. Wprowadzenie
This manual provides essential information for the safe and effective operation of your VOLTCRAFT VC-WL 60/200 Charger and Starter. Please read these instructions carefully before use and retain them for future reference. This device is designed for charging and jump-starting 12V and 24V lead-acid batteries, including STD (WET, MF), AGM, and GEL types.
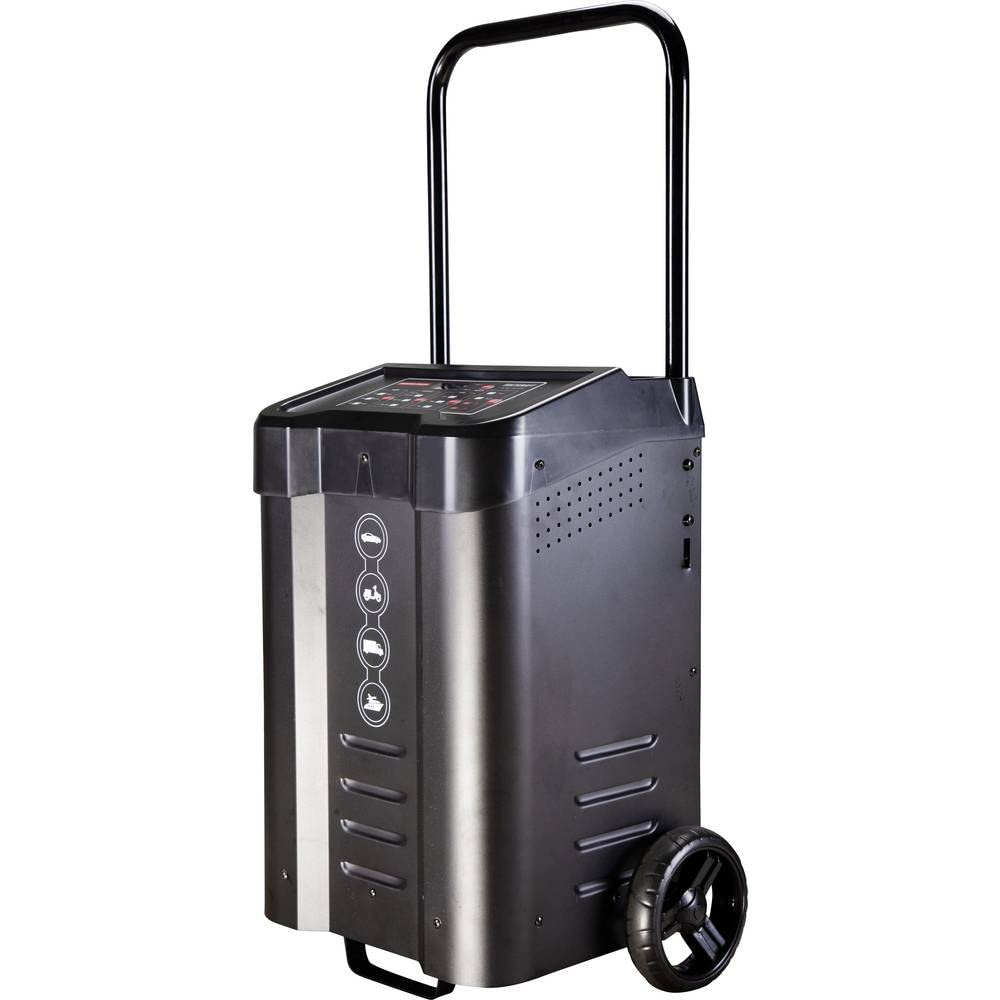
Obraz 1.1: Pod kątem view of the VOLTCRAFT VC-WL 60/200 Charger and Starter, showing the control panel, cables, and wheels.
2. Informacje dotyczące bezpieczeństwa
Aby zapobiec obrażeniom ciała lub uszkodzeniu urządzenia, należy zawsze przestrzegać następujących środków ostrożności:
- Ensure proper ventilation during operation to prevent gas accumulation.
- Nosić odpowiedni sprzęt ochrony osobistej, w tym okulary i rękawice.
- Nie wystawiaj urządzenia na deszcz lub wilgoć.
- Podczas pracy urządzenia należy trzymać dzieci i osoby nieupoważnione z dala od niego.
- Przed podłączeniem lub rozłączeniem akumulatora należy odłączyć zasilanie.
- Do not attempt to charge or jump-start damaged or frozen batteries.
- Refer to the vehicle's owner's manual for specific battery connection procedures.
3. Funkcje produktu
The VOLTCRAFT VC-WL 60/200 Charger and Starter offers the following key features:
- IP 20 Protection Rating: Provides protection against solid objects over 12.5mm, but no protection against water.
- Obsługa jednym przyciskiem: Simplifies the user interface for ease of use.
- Integrated Storage Compartment and Wheels: Enhances portability and convenient storage of cables.
- Funkcja doładowania: Delivers a high current for jump-starting vehicles with discharged batteries.
- Multi-Battery Type Compatibility: Supports 12V/24V lead-acid STD (WET, MF), AGM, and GEL batteries.
4. Zawartość opakowania
Proszę sprawdzić, czy w paczce znajdują się następujące elementy:
- VOLTCRAFT VC-WL 60/200 Charger and Starter Unit
- Integrated Charging Cables with Clamps
- Przewód zasilający
- Instrukcja obsługi (ten dokument)
5. Konfiguracja
Wykonaj poniższe kroki w celu wstępnej konfiguracji:
- Rozpakowywanie: Carefully remove the charger/starter from its packaging. Inspect for any signs of damage.
- Pozycjonowanie: Place the unit on a stable, level surface in a well-ventilated area, away from flammable materials. The integrated wheels allow for easy movement.
- Podłączenie zasilania: Connect the power cord to a suitable grounded electrical outlet. Ensure the outlet voltage odpowiada wymaganiom urządzenia.

Obraz 5.1: Przód view of the charger and starter, highlighting the control panel and battery type selection icons.

Obraz 5.2: Tył view of the charger and starter, showing the power cord and battery cables neatly stored.
6. Instrukcja obsługi
6.1. Ładowanie akumulatora
- Przygotuj baterię: Upewnij się, że zaciski akumulatora są czyste i nie mają śladów korozji. W przypadku ładowania akumulatora w pojeździe upewnij się, że zapłon pojazdu jest wyłączony, a wszystkie akcesoria odłączone.
- Podłącz do akumulatora: Podłącz czerwony dodatni (+) clamp to the positive (+) battery terminal. Connect the black negative (-) clamp to the negative (-) battery terminal. For in-vehicle charging, connect the black clamp do metalowej części podwozia pojazdu, z dala od akumulatora i przewodu paliwowego.
- Select Battery Type/Voltage: Use the one-button operation on the control panel to select the appropriate battery type (STD, AGM, GEL) and voltage (12V or 24V). The display will indicate the current selection.
- Rozpocznij ładowanie: The device will automatically begin the charging process. Monitor the display for charging status.
- Odłączyć: Once charging is complete, disconnect the power cord from the outlet first, then remove the black negative (-) clamp, a następnie czerwony dodatni (+) clamp.
6.2. Jump-Starting a Vehicle
Use the boost function for jump-starting a vehicle with a discharged battery.
- Przygotuj pojazd: Ensure the vehicle's ignition is off and all non-essential electrical loads are turned off.
- Podłącz do akumulatora: Podłącz czerwony dodatni (+) clamp to the positive (+) terminal of the discharged battery. Connect the black negative (-) clamp to a solid, unpainted metal part of the vehicle's engine block or chassis, away from the battery and fuel lines.
- Activate Boost Function: Wybierz odpowiednią objętośćtage (12V or 24V) and then activate the boost function via the control panel.
- Pojazd startowy: Attempt to start the vehicle. If it does not start after 5-10 seconds, wait a few minutes before trying again to allow the charger to cool. Do not crank for more than 10 seconds at a time.
- Odłączyć: Po uruchomieniu pojazdu odłącz czarny przewód ujemny (-)amp najpierw czerwony dodatni (+) clamp. Allow the vehicle to run for some time to recharge its battery.
7. Konserwacja
Regular maintenance ensures the longevity and optimal performance of your device:
- Czyszczenie: Disconnect the unit from power before cleaning. Wipe the exterior with a soft, dry cloth. Do not use abrasive cleaners or solvents.
- Kontrola kabla: Okresowo sprawdzaj kable ładujące iampSprawdź, czy nie ma śladów uszkodzeń, przetarć lub korozji. Uszkodzone elementy należy natychmiast wymienić.
- Składowanie: Store the charger/starter in a cool, dry place when not in use. Utilize the integrated storage compartment for cables to prevent damage.
8. Rozwiązywanie Problemów
Jeśli napotkasz problemy, zapoznaj się z poniższą tabelą:
| Problem | Możliwa przyczyna | Rozwiązanie |
|---|---|---|
| Urządzenie nie włącza się | No power from outlet; Faulty power cord | Check power outlet; Inspect power cord for damage. |
| Bateria się nie ładuje | Incorrect battery connection; Battery severely discharged or damaged; Incorrect battery type/voltage wybrane | Ensure correct polarity and secure connections; Have battery tested by a professional; Verify selected battery type and voltage. |
| Vehicle does not jump-start | Poor connection; Battery too low; Vehicle issue | Zapewnij clamps are securely attached; Allow more time for boost function; Consult a mechanic for vehicle issues. |
| Przegrzanie | Insufficient ventilation; Prolonged use at high current | Ensure adequate airflow around the unit; Allow unit to cool down before resuming operation. |
Jeśli po wykonaniu tych czynności problem nadal występuje, skontaktuj się z obsługą klienta.
9. Specyfikacje
Key technical specifications for the VOLTCRAFT VC-WL 60/200 Charger and Starter:
- Marka: VOLTCRAFT
- Numer modelu: VC-12362515
- ASIN: B0BVSMKGS9
- Objętość wyjściatage: 12 V (prąd stały), 24 V (prąd stały)
- Aktualna ocena: 60 A
- Kompatybilne typy baterii: Lead-acid STD (WET, MF), AGM, GEL
- Stopień ochrony: IP20
- Waga przedmiotu: 16 kilograma
10. Gwarancja i wsparcie
The VOLTCRAFT VC-WL 60/200 Charger and Starter comes with a warranty period as per local regulations. Spare parts availability is guaranteed for 1 year from the date of purchase.
For technical support, warranty claims, or service inquiries, please refer to the contact information provided with your purchase documentation or visit the official VOLTCRAFT webstrona.