
1. Koniec produktuview
The ENSTER 2K Dual-Lens WiFi PTZ Outdoor Security Camera is designed for comprehensive outdoor surveillance. It features a dual-lens system, 8X hybrid zoom, automatic tracking, human detection, and color night vision to provide detailed monitoring of your property. The camera supports two-way audio and customizable alerts, ensuring effective communication and timely notifications.

Figure 1: ENSTER 2K Dual-Lens WiFi PTZ Outdoor Security Camera
Główne cechy:
- System dwusoczewkowy: Equipped with a 12mm telephoto lens for close-up details and a 2.8mm wide-angle lens for panoramic views.
- Rozdzielczość 2K 4MP: Zapewnia wyraźny i ostry dźwięk wideotage.
- 8-krotny zoom hybrydowy: Combines 4X optical zoom and 4X digital zoom for enhanced detail.
- Obrót 355° i pochylenie 95°: Provides extensive coverage with remote control.
- Automatyczne śledzenie: Automatically follows detected human activity.
- Wykrywanie człowieka: Intelligent detection to minimize false alarms.
- Kolorowe widzenie nocne: Features 4 infrared LEDs and 4 white lights for clear night vision up to 40 meters, with three available modes.
- Dwukierunkowy dźwięk: Umożliwia komunikację w czasie rzeczywistym poprzez kamerę.
- Konfigurowalne alerty głosowe: Record personalized messages to deter intruders.
- Odporność na warunki atmosferyczne IP66: Przeznaczone do stosowania na zewnątrz w różnych warunkach pogodowych.
- Opcje przechowywania: Obsługuje karty Micro SD (do 128 GB, brak w zestawie) i przechowywanie danych w chmurze.
- Łączność: 2.4GHz Wi-Fi and Ethernet cable support.
2. Zawartość opakowania
Przed instalacją prosimy o sprawdzenie, czy w przesyłce znajdują się wszystkie elementy wymienione poniżej. Jeśli brakuje któregokolwiek z nich lub jest on uszkodzony, prosimy o kontakt z obsługą klienta.
Video 1: Unboxing and Package Contents
Zawartość zestawu:
- ENSTER 2K Dual-Lens WiFi PTZ Outdoor Security Camera
- Zasilacz
- Śruby montażowe i kotwy
- Instrukcja obsługi
- Zestaw wodoodporny do połączeń kablowych
- Naklejka ostrzegawcza
3. Przewodnik konfiguracji
3.1. Wkładanie karty Micro SD
- Locate the Micro SD card slot on the camera. This is typically covered by a rubber plug for waterproofing.
- Carefully open the rubber plug.
- Insert a Micro SD card (up to 128GB, not included) into the slot with the contacts facing down until it clicks into place.
- Close the rubber plug securely to maintain waterproofing.
3.2. Włączanie aparatu
- Podłącz zasilacz do portu zasilania aparatu.
- Podłącz zasilacz do odpowiedniego gniazdka elektrycznego.
- The camera will perform a self-check, indicated by movement and a voice prompt stating "System starting up."
3.3. App Installation and Initial Configuration
- Download the recommended mobile application (e.g., iCSee) from your device's app store (App Store for iOS, Google Play Store for Android).
- Otwórz aplikację i załóż konto lub zaloguj się.
- Kliknij ikonę „+”, aby dodać nowe urządzenie.
- Select the appropriate connection method (WiFi Camera or 4G Camera, depending on your model).
- Follow the on-screen instructions to connect the camera to your network.
Video 2: SD Card Insertion, Power On, and WiFi Setup
3.4. WiFi Connection (Wireless Setup)
- Ensure your mobile device's WiFi and Bluetooth are enabled.
- In the app, select "WiFi Camera" and confirm the camera is powered on and ready for configuration.
- Wprowadź nazwę i hasło swojej sieci Wi-Fi 2.4 GHz.
- The app will display a QR code. Position your phone approximately 10-20 cm (4-8 inches) in front of the camera lens.
- The camera will scan the QR code and announce "Connecting." Once connected, it will confirm "Connect to router successfully."
- Set a password for your camera and name the device (e.g., "Living Room", "Balcony").
3.5. Network Cable Connection (Wired Setup)
- Connect an Ethernet cable from your router to the camera's Ethernet port.
- Upewnij się, że kamera jest włączona.
- In the app, select "Add Device" and choose the option to scan a QR code.
- Scan the QR code located on the camera's label.
- The camera will automatically connect to the network via the Ethernet cable.
- Set a password for your camera and name the device.
Video 3: Network Cable Setup
4. Instrukcja obsługi
4.1. Na żywo View and Dual Screen Mode
Access the live feed from your camera through the mobile application. The dual-lens system allows for a unique dual-screen mode, displaying both a panoramic view and a zoomed-in close-up simultaneously on one screen.
Figure 2: Dual Screen Mode displaying panoramic and close-up views.
Video 4: PTZ Control and Dual Screen Mode
4.2. PTZ Control and Zoom
Use the directional controls within the app to pan (355°) and tilt (95°) the camera. The 8X hybrid zoom allows you to digitally zoom in on specific areas for more detail. The dual-lens design provides both a wide overview and a magnified view.

Figure 3: Camera's pan and tilt capabilities with 8X hybrid zoom.

Figure 4: Demonstrating the 8X hybrid zoom capability.
4.3. Automatic Tracking and Human Detection
When human activity is detected, the camera can automatically track the subject. Once the subject leaves the area, the camera returns to its original monitoring position. This feature helps focus on relevant events and reduces unnecessary recordings.

Figure 5: Auto tracking and human detection in action.

Figure 6: Automatic tracking of moving subjects.
4.4. Tryby widzenia nocnego
The camera offers three night vision modes: full color, infrared, and dual-light alert. You can switch between these modes in the app to suit your surveillance needs, providing clear visibility even in low-light conditions.

Figure 7: Different night vision modes: Full Color, Infrared, and Dual-Light Alert.
4.5. Two-Way Audio and Customizable Alerts
Engage in two-way conversations through the camera using the app. You can also set up customized voice alerts to play specific messages when motion is detected, such as "You have entered the 24-hour video surveillance area" or "Please leave now."
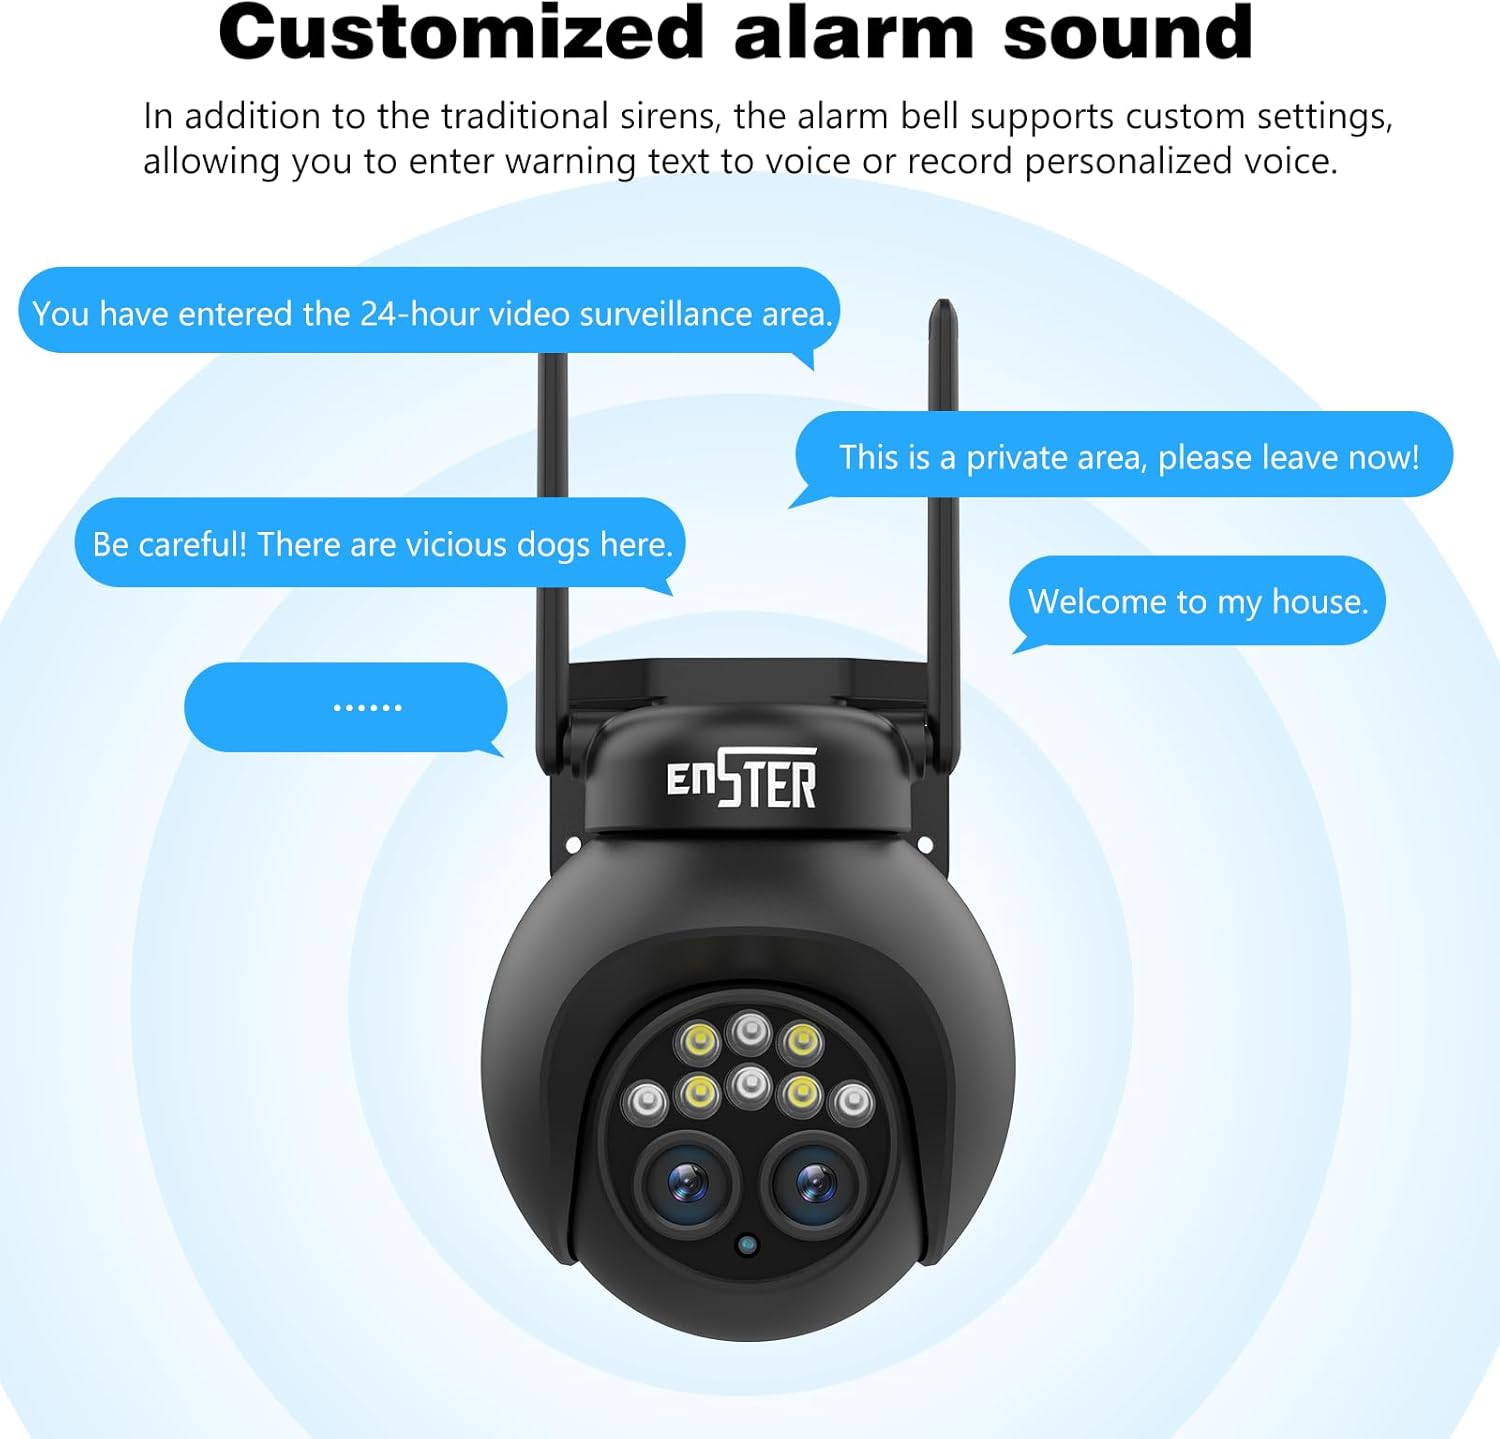
Figure 8: Customizable alarm sound feature.

Figure 9: Humanoid detection triggering real-time alarms and notifications.
4.6. Rejestrowanie i przechowywanie
The camera supports 24/7 continuous recording or event-triggered recording to a Micro SD card (up to 128GB) or cloud storage. Review nagrano footagbezpośrednio z aplikacji mobilnej.

Figure 10: 24/7 recording capability with app interface.

Figure 11: Continuous recording and app interface for playback.

Figure 12: Micro SD card slot and cloud storage options.
4.7. Multi-User Viewwchodzenie
Share live streams and recorded footage with family members or trusted individuals through the mobile application, allowing multiple users to monitor the camera simultaneously.

Figure 13: Multiple users viewing camera feeds on their devices.
5. Konserwacja
5.1. Czyszczenie aparatu
- Regularnie czyść obiektyw i obudowę aparatu miękką, miękką szmatką.amp ściereczką, aby usunąć kurz i brud.
- Avoid using harsh chemicals or abrasive materials that could scratch the lens or damage the camera's finish.
- Ensure the rubber plugs covering ports are securely closed after any maintenance to maintain waterproofing.
5.2. Aktualizacje oprogramowania sprzętowego
- Check the mobile application periodically for available firmware updates.
- Updating the firmware ensures optimal performance, security, and access to new features.
- Follow the in-app instructions carefully during the update process and ensure the camera remains powered on.
5.3. Zarządzanie magazynem
- Karta micro sd: Regularnie twórz kopie zapasowe ważnych plikówtage from the Micro SD card to another storage device. Format the SD card periodically to maintain performance.
- Przechowywanie w chmurze: Manage your cloud storage subscription and review przechowywane footage za pośrednictwem aplikacji.
6. Rozwiązywanie Problemów
Typowe problemy i rozwiązania:
- Kamera nie łączy się z siecią Wi-Fi:
- Ensure your WiFi network is 2.4GHz. This camera does not support 5GHz WiFi.
- Sprawdź, czy hasło WiFi jest poprawne.
- Place the camera closer to the WiFi router.
- Reset the camera to factory settings and try connecting again.
- Słaba jakość obrazu:
- Wyczyść obiektyw aparatu.
- Upewnij się, że w polu widzenia kamery nie ma żadnych przeszkód. view.
- Sprawdź prędkość swojego połączenia internetowego.
- False alarms or no alerts:
- Dostosuj ustawienia czułości wykrywania ruchu w aplikacji.
- Skonfiguruj strefy wykrywania, aby skupić się na określonych obszarach.
- Jeśli chcesz otrzymywać alerty wyłącznie od osób, upewnij się, że wykrywanie ludzi jest włączone.
- Kamera offline:
- Sprawdź podłączenie zasilania do aparatu.
- Verify your WiFi or Ethernet connection is stable.
- Uruchom ponownie kamerę i router.
6.1. Resetowanie kamery
To reset the camera to factory settings, locate the reset button (often a small pinhole button) on the camera's cable or body. Press and hold this button for approximately 5-10 seconds until you hear a voice prompt indicating a reset. The camera will then restart and be ready for re-configuration.
7. Specyfikacje
| Funkcja | Specyfikacja |
|---|---|
| Rozdzielczość nagrywania | 2K (4MP effective video resolution) |
| Kolor | Dual Objectif (Dual Lens) |
| Liczba elementów | 1 |
| Technologia komunikacji bezprzewodowej | Wi-Fi (2.4 GHz) |
| Współczynnik kształtu | Bullet, Box |
| Viewing kąt | 352 stopni (obrót), 95 stopni (pochylenie) |
| Typ instalacji | Screw-in (wall_mount/ceiling_mount) |
| Zakres noktowizora | 40 metrów |
| Szybkość klatek | 25 klatek na sekundę |
| Tworzywo | Akrylonitryl-butadien-styren (ABS) |
| Tomtage | 12 wolty |
| Cechy specjalne | Dwukierunkowy dźwięk |
| Zalecane zastosowanie produktu | Nadzór |
| Technologia łączności | Bezprzewodowy |
| Do użytku wewnątrz/na zewnątrz | Plenerowy |
| Kompatybilne urządzenia | Smartfon |
| Źródło zasilania | Kabel elektryczny |
| Protokół łączności | Wi-Fi |
| Typ kontrolera | Android |
8. Gwarancja i wsparcie
8.1. Gwarancja na produkt
The manufacturer provides a one-year warranty for this product from the date of purchase. This warranty covers defects in materials and workmanship under normal use. Please retain your proof of purchase for warranty claims.
8.2. Obsługa klienta
For any questions, technical assistance, or warranty claims, please contact our customer support team. We are committed to providing satisfactory solutions.
- Wsparcie e-mailowe: euro@enster.net
- Wsparcie online: Available 7x24 hours. You can also reach out through your Amazon buyer account by finding your order and clicking on "Get help."