
1. Wprowadzenie
Thank you for choosing the MONDAWE 9-Inch Wall Mounted Shower System. This manual provides essential information for the safe installation, proper operation, and effective maintenance of your new shower system. Please read these instructions thoroughly before beginning installation or use, and retain them for future reference.
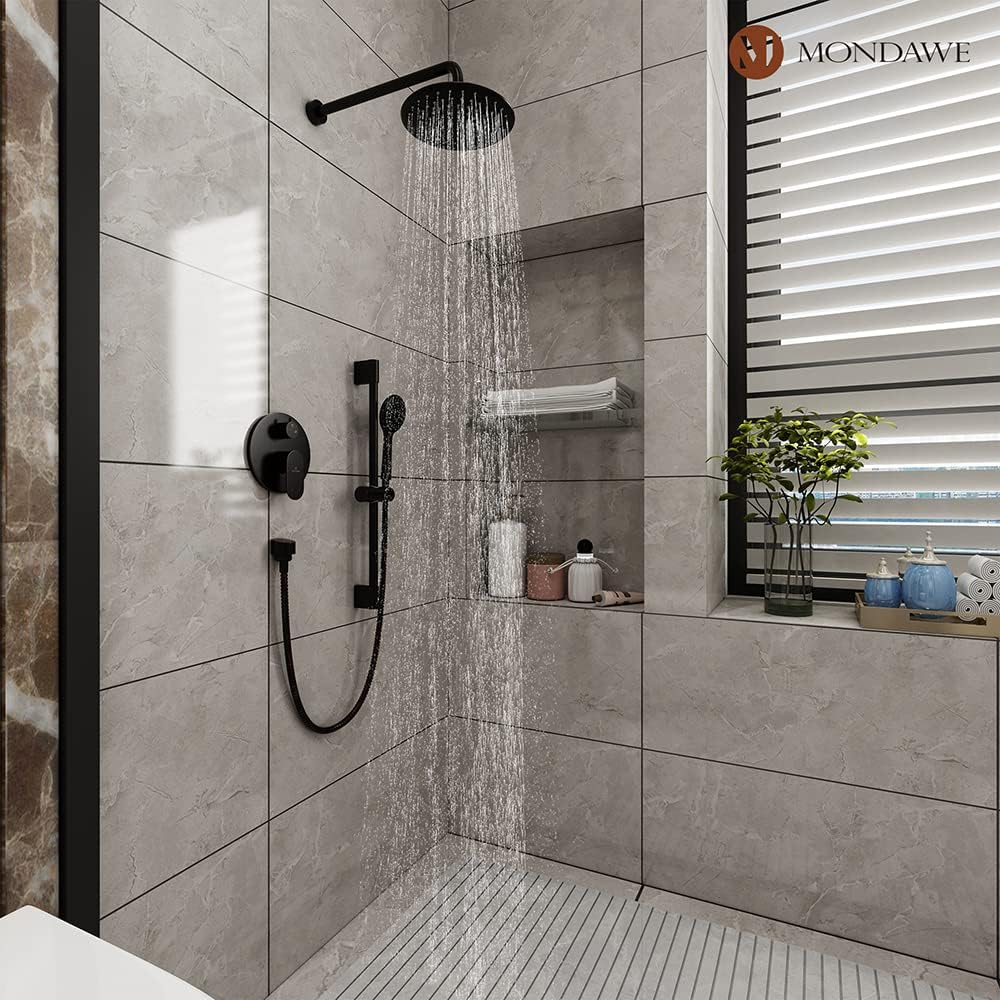
This shower system features an elegant oil rubbed bronze finish, a wide rainfall shower head, and a versatile 3-setting handheld spray, all controlled by a pressure balance valve designed for safety and comfort.
2. Funkcje produktu
- Anti-Scald Pressure Balance Valve: Equipped with a pressure balance shower valve to protect against sudden changes in hot or cold water pressure, ensuring safety, especially for children and the elderly.
- 3-Function Handheld Shower: Offers three distinct spray patterns: rainfall, massage, and a mixed mode, catering to various showering preferences.
- Height Adjustable Slide Bar: The handheld shower is mounted on a slide bar that can be adjusted in height for convenience and to suit different user heights.
- Łatwa obsługa: Effortlessly switch between the rainfall shower head and handheld shower using the diverter. The single handle controls both water flow and temperature. Only one function can be used at a time.
- Durable Oil Rubbed Bronze Finish: The unique oil rubbed bronze finish provides a sleek aesthetic, along with corrosion resistance and long-lasting durability.
- High Pressure Technology: Designed to deliver a consistent and powerful rain shower experience, even in conditions of low water pressure.
- Zgodność z amerykańskimi standardami: Posiada standardowy amerykański gwint NPT 1/2 cala, kompatybilny z większością standardowych przyłączy hydraulicznych w USA.
3. Zawartość opakowania
Please verify that all components are present and undamaged before beginning installation. If any parts are missing or damaged, please contact customer support.

Obraz 3.1: All components included in the MONDAWE 9-Inch Wall Mounted Shower System package.
- Głowica prysznicowa z opadami deszczu
- Ramię prysznicowe
- Ręczny prysznic
- Wąż prysznicowy
- Slide Bar with Holder
- Pressure Balance Valve Body
- Control Panel with Handle and Diverter Knob
- Sprzęt montażowy (śruby, kotwy)
- Installation Manual / Service Card
4. Specyfikacje
| Marka | PONIEDZIAŁEK |
| Numer modelu | MD-A3816-ORB |
| Kolor | Brąz olejowany |
| Tworzywo | Acrylonitrile Butadiene Styrene (ABS) for certain components, Brass for valve body |
| Rodzaj wykończenia | Olej wcierany |
| Liczba uchwytów | 1 |
| Typ montażu | Montaż ścienny |
| Rozmiar głowy | 9 inches (Rainfall Shower Head) |
| Wymiary produktu | 9 x 9 x 16 inches (overall, approximate) |
| Waga przedmiotu | 11.28 funta |
| Zawarte komponenty | Valve, Rainfall Shower Head, Handheld Spray, Hose, Slide Bar, Trim Kit |
Obraz 4.1: Dimensional diagram of the MONDAWE 9-Inch Wall Mounted Shower System components.
5. Informacje dotyczące bezpieczeństwa
Podczas instalacji i użytkowania należy przestrzegać następujących środków ostrożności:
- Przed rozpoczęciem jakichkolwiek prac hydraulicznych należy zawsze zakręcić główny dopływ wody.
- Podczas montażu należy nosić odpowiedni sprzęt ochrony osobistej (PPE), taki jak okulary ochronne i rękawice.
- Upewnij się, że wszystkie połączenia są solidne i wodoszczelne, aby zapobiec przeciekom.
- If you are unsure about any step of the installation process, consult a qualified plumber.
- Do not use harsh chemicals or abrasive cleaners on the shower system, as this may damage the finish.
- The pressure balance valve is designed to prevent scalding; however, always test water temperature before stepping into the shower.
6. Instalacja
This section provides a general guide for installing your MONDAWE shower system. For detailed visual instructions, please refer to the official installation video below. It is recommended to have basic plumbing knowledge or consult a professional for installation.
6.1. Tools and Materials Required (Not Included)
- Kit hydrauliczny
- Klucz
- Śrubokręt płaski
- Wiertarka elektryczna
- Taśma miernicza
- Ołówek
- Caulking Gun and Silicone Sealant
6.2. Kroki przed instalacją
- Wyłącz główny dopływ wody do domu.
- Clear the installation area and ensure you have adequate space to work.
- Inspect all components for any damage or missing parts.
6.3. Instalacja zaworu
The solid brass rough-in valve is the core of your shower system. Ensure it is securely mounted within the wall according to local plumbing codes.

Obraz 6.1: Szczegółowy view of the solid brass rough-in valve, showing hot and cold water connectors, diverter, and pressure balance cartridge.
- Mount the valve body securely to the framing within the wall, ensuring it is level and at the correct depth relative to the finished wall surface.
- Connect the hot and cold water supply lines to the designated NPT 1/2" connectors on the valve body.
- Connect the shower head and handheld shower lines to their respective NPT 1/2" connectors on the valve.
- Test for leaks by turning on the water supply briefly and checking all connections.
6.4. Montaż zestawu wykończeniowego
Once the rough-in valve is installed and the wall is finished, you can install the decorative trim components.

Obraz 6.2: The control panel, showing the main handle for temperature and flow, and the diverter knob for selecting shower modes.
- Install the decorative escutcheon plate over the valve body, ensuring it is flush with the finished wall.
- Attach the main handle and the diverter knob to their respective stems on the valve. Secure them with the provided screws.
- Apply a bead of silicone sealant around the edge of the escutcheon plate to seal it against the wall and prevent water intrusion.
6.5. Shower Head and Handheld Installation

Obraz 6.3: The 9-inch rainfall shower head with an adjustable angle connector and easy-clean silicone nozzles.

Obraz 6.4: The handheld shower with three spray settings: Massage, Rain, and Rain+Massage.

Obraz 6.5: The height-adjustable slide bar, allowing the handheld shower to be positioned at various heights.
- Thread the shower arm into the wall connection. Ensure it is tight and sealed with plumber's tape or sealant.
- Attach the rainfall shower head to the shower arm. Hand-tighten, then use a wrench to secure, being careful not to overtighten.
- Install the slide bar to the wall using the provided mounting hardware. Ensure it is securely fastened and level.
- Connect the shower hose to the handheld shower spray and the wall outlet. Place the handheld shower into its holder on the slide bar.
6.6. Instrukcja wideo instalacji
For a visual walkthrough of the installation process, please watch the official MONDAWE installation video:
Wideo 6.1: This video demonstrates the general installation steps for a MONDAWE shower panel. While the specific model shown may differ, the connection types and installation procedures are similar. Always refer to your product's specific instructions.
7. Działanie
Operating your MONDAWE shower system is straightforward. Familiarize yourself with the controls before use.
7.1. Kontrola przepływu i temperatury wody
Obraz 7.1: The main handle controls water temperature (left for hot, right for cold) and flow (pull out to increase, push in to decrease).
- Włącz/Wyłącz: Pull the main handle outwards to turn on the water flow. Push it inwards to turn off.
- Dostosuj temperaturę: Rotate the main handle left for hotter water and right for colder water. The pressure balance valve will maintain a consistent temperature once set, preventing sudden changes.
- Dostosuj przepływ: The main handle also controls the water volume.
7.2. Shower Mode Selection
Obraz 7.2: The diverter knob allows switching between the rainfall shower and the handheld shower. Only one mode can be active at a time.
- Select Shower Head: Rotate the smaller diverter knob to the position indicated for the rainfall shower.
- Select Handheld Spray: Rotate the diverter knob to the position indicated for the handheld shower.
- Handheld Spray Settings: The handheld spray itself has a selector to switch between Rainfall, Massage, and Mixed modes.
Wideo 7.1: Krótki przeglądview of the MONDAWE 9-Inch Shower Faucet Set, demonstrating its features and water flow.
8. Konserwacja
Regular cleaning and proper care will ensure the longevity and optimal performance of your MONDAWE shower system.
- Czyszczenie wykończenia: Clean the oil rubbed bronze finish with a soft, damp cloth. Avoid abrasive cleaners, harsh chemicals, or scouring pads, as these can damage the finish. Mild soap and water are generally sufficient.
- Czyszczenie dysz: The rainfall shower head and handheld spray feature easy-clean silicone nozzles. If mineral deposits build up, gently rub the nozzles with your finger or a soft brush to dislodge them.
- Obszary o twardej wodzie: In areas with hard water, more frequent cleaning may be necessary. A solution of white vinegar and water (50/50) can be used for stubborn mineral deposits, but always rinse thoroughly immediately after application.
- Sprawdź, czy nie ma wycieków: Periodically inspect all connections for any signs of leaks. Tighten connections if necessary.
9. Rozwiązywanie Problemów
W tej sekcji omówiono typowe problemy, które mogą wystąpić w systemie prysznicowym. W przypadku problemów, których nie ma na liście, prosimy o kontakt z obsługą klienta.
| Problem | Możliwa przyczyna | Rozwiązanie |
|---|---|---|
| Niskie ciśnienie wody | Clogged shower head/handheld nozzles; partially closed shut-off valve; low household water pressure. | Clean shower head/handheld nozzles. Ensure shut-off valves on the rough-in valve are fully open. Check main water supply pressure. |
| Wycieki wody z połączeń | Loose connections; worn O-rings/gaskets; insufficient plumber's tape/sealant. | Tighten connections. Replace O-rings/gaskets if damaged. Reapply plumber's tape/sealant as needed. |
| Niezmienna temperatura wody | Pressure balance cartridge issue; hot/cold water supply imbalance. | Ensure the pressure balance cartridge is correctly installed. If the problem persists, the cartridge may need replacement (contact customer support). |
| Przełącznik nie przełącza się prawidłowo | Mineral buildup in diverter; faulty diverter mechanism. | Flush the system. If the issue continues, the diverter may need inspection or replacement. |
10. Gwarancja i wsparcie
MONDAWE products are manufactured to high-quality standards. For warranty information and customer support, please refer to the service card included in your package or visit the official MONDAWE website. If you have any questions or require assistance with installation or operation, please do not hesitate to contact our customer service team.
Informacje kontaktowe: Please refer to the service card or the MONDAWE brand store on Amazon for the most current contact details.
MONDAWE Store Link: Visit the MONDAWE Store on Amazon


