1. Ważne instrukcje bezpieczeństwa
Please read all instructions carefully before installing and operating your Trinity Audio Solutions TAS-5000.1 amplifier. Failure to follow these instructions may result in damage to the ampgłośnika, głośników lub pojazdu i może spowodować unieważnienie gwarancji.
- Always disconnect the vehicle's negative battery terminal before making any power connections.
- Ensure proper grounding. The ground connection should be to a clean, unpainted metal surface of the vehicle chassis.
- Do podłączenia zasilania, uziemienia i głośników należy stosować przewody o odpowiednim przekroju, zgodnie ze specyfikacją podaną w niniejszej instrukcji.
- Zainstaluj ampPrzechowywać w suchym i dobrze wentylowanym miejscu, z dala od bezpośredniego światła słonecznego, źródeł ciepła i wilgoci.
- Unikaj montowania tzw amplifier where it may be exposed to excessive vibration.
- Nie otwieraj amplifier casing. Wewnątrz nie ma żadnych części, które mogłyby być naprawiane przez użytkownika. Wszelkie prace serwisowe należy zlecać wykwalifikowanemu personelowi.
- Protect all wiring from sharp edges and pinch points. Use grommets where wires pass through metal.
- Always use a fuse of the specified rating on the main power wire, close to the battery.
2. Wprowadzenie
The Trinity Audio Solutions TAS-5000.1 is a high-performance monoblock amplifier designed to deliver powerful and clear audio to your car's subwoofer system. Engineered for reliability and efficiency, this amplifier provides a robust solution for enhancing your in-car audio experience.
3. Zawartość opakowania
Sprawdź, czy w opakowaniu znajdują się wszystkie elementy:
- Trinity Audio Solutions TAS-5000.1 Monoblock Ampżywsze
- Sprzęt montażowy (śruby)
- Instrukcja obsługi (ten dokument)
4. Funkcje
- Monoblock design optimized for subwoofer applications.
- High power output for demanding audio systems.
- Solidna konstrukcja zapewniająca trwałość.
- Integrated protection circuits against overload, short circuit, thermal, and DC offset.
- Regulowana kontrola wzmocnienia.
- Variable low-pass filter (LPF).
- Variable bass boost.
- Remote level control input.
5. Sterowanie i połączenia
Familiarize yourself with the input and output terminals, as well as the control panel of your ampliyfikator.

5.1 Power and Speaker Terminals (Refer to Figure 1)
- +12V (Wejście zasilania): Connect to the positive terminal of the vehicle's battery via a fused power cable.
- REM (zdalne włączanie): Connect to the remote output of your head unit or an ignition-switched 12V source.
- GND (Ground Input): Podłączyć do czystej, niemalowanej metalowej powierzchni podwozia pojazdu.
- Wyjścia głośnikowe: Connect to your subwoofer(s). Observe correct polarity.
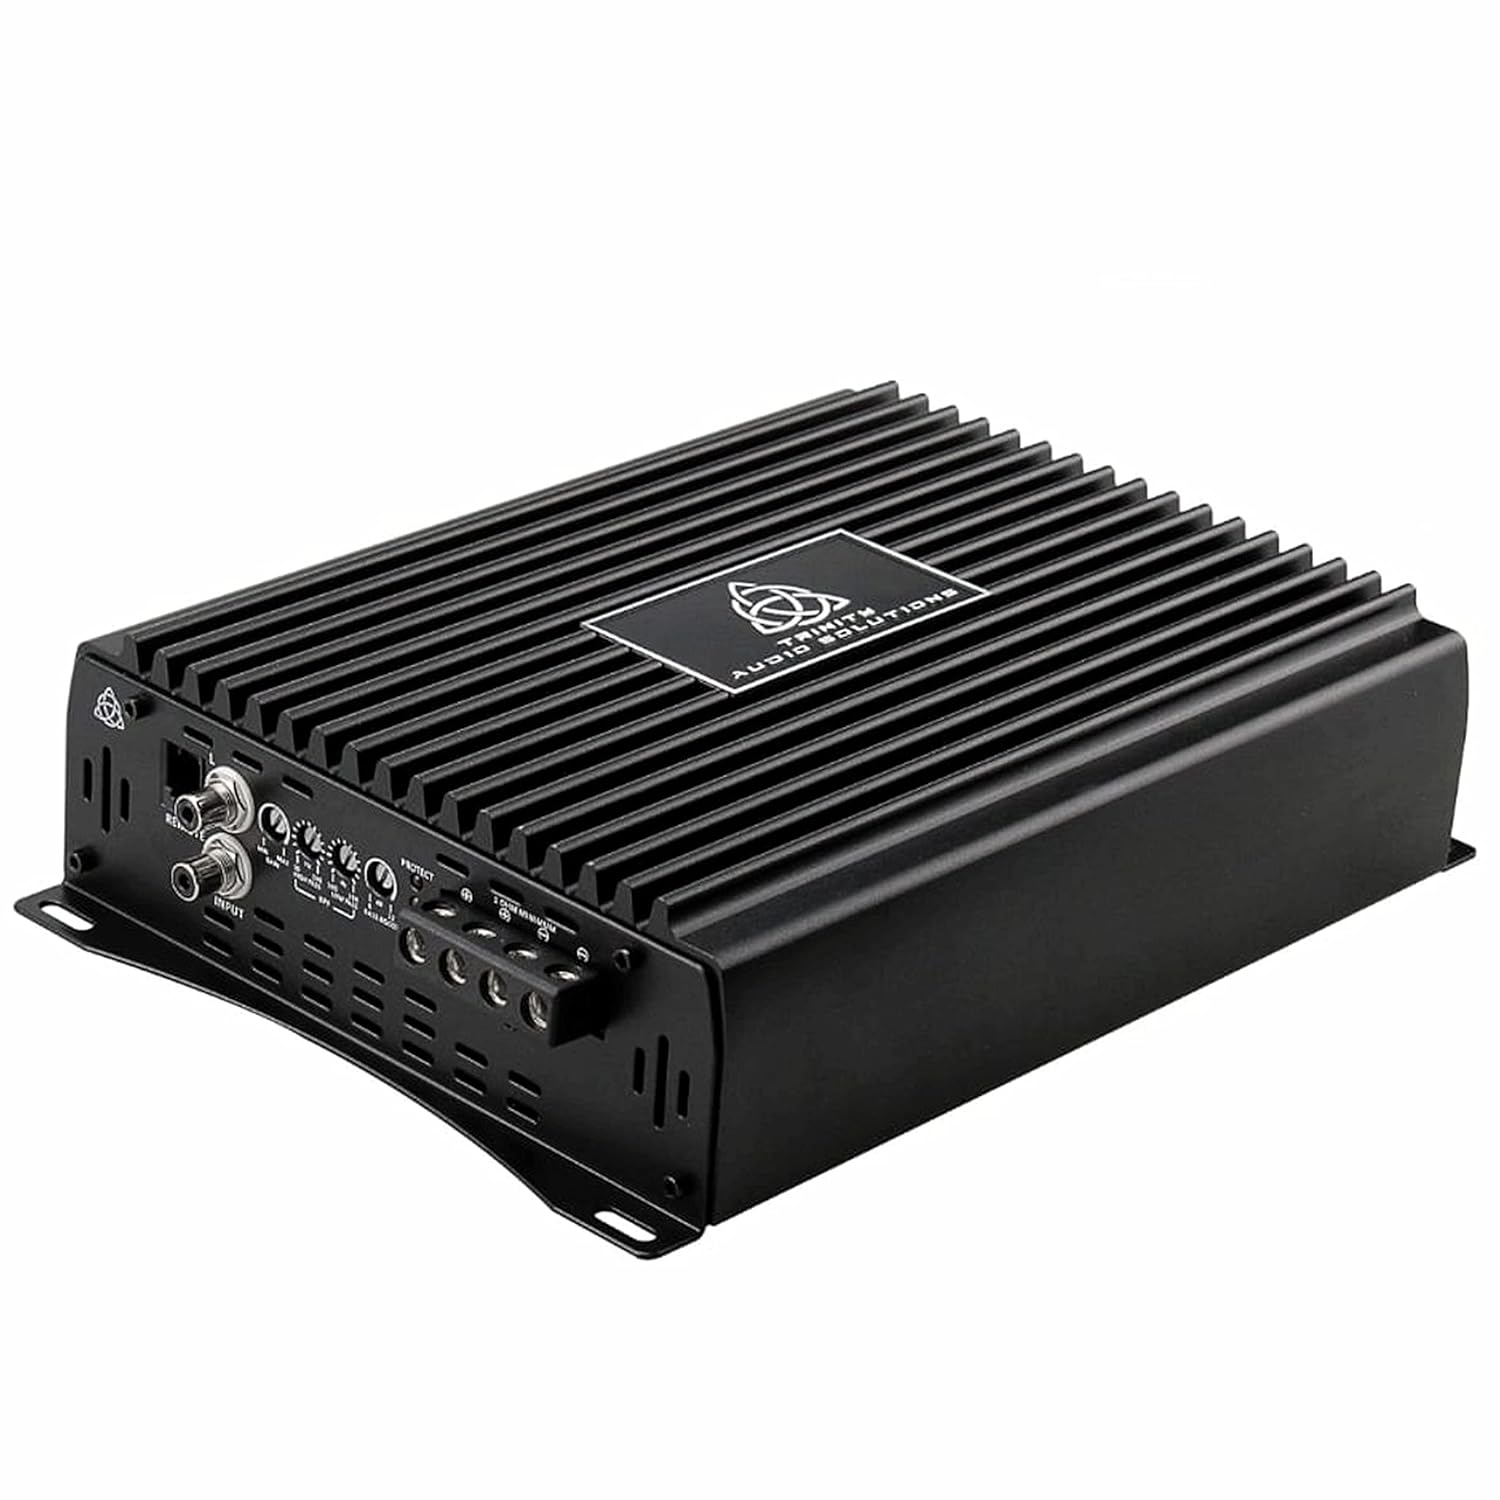
5.2 Input and Control Panel (Refer to Figure 2)
- Wejście RCA: Connect to the RCA output of your head unit or signal processor.
- Wyjście RCA: Provides a pass-through signal for connecting additional ampwężownice.
- Zyskać kontrolę: Reguluje czułość wejściową amplifier, aby dopasować poziom wyjściowy do jednostki głównej.
- LPF (Low-Pass Filter) Control: Adjusts the upper frequency limit for the subwoofer. Only frequencies below the set point will be passed.
- Kontrola wzmocnienia basów: Adjusts the level of bass enhancement at a specific frequency. Use sparingly to avoid distortion.
- REMOTE Level Control Input: Connects to an optional wired remote level control for convenient bass adjustment from the driver's seat.
6. Konfiguracja i instalacja
Proper installation is crucial for optimal performance and safety. If you are unsure about any part of the installation process, it is recommended to seek assistance from a professional car audio installer.
6.1 Montaż Ampżywsze
- Choose a mounting location that is dry, well-ventilated, and provides sufficient space for wiring and cooling.
- Upewnij się, że powierzchnia montażowa jest wystarczająco wytrzymała, aby utrzymać ampwaga lifiera.
- Zaznacz otwory montażowe za pomocą amplifier jako szablon.
- Drill pilot holes and secure the amplifier, używając dostarczonych elementów montażowych.
6.2 połączeń przewodów
Przed dokonaniem jakichkolwiek podłączeń należy odłączyć ujemny zacisk akumulatora pojazdu.
- Przewód zasilający (+12V): Run a heavy gauge power cable (e.g., 4 AWG or larger, depending on total system power) directly from the positive terminal of the vehicle's battery to the amplifier's +12V terminal. Install an in-line fuse holder with an appropriate fuse (not included) within 18 inches (45 cm) of the battery.
- Przewód uziemiający (GND): Run a heavy gauge ground cable (same gauge as power wire) from the amplifier's GND terminal to a clean, unpainted metal surface on the vehicle chassis. The ground point should be as short as possible, ideally less than 3 feet (1 meter).
- Przewód zdalnego włączania (REM): Run a smaller gauge wire (e.g., 18 AWG) from the remote output of your head unit (or an ignition-switched 12V source) to the ampzacisk REM urządzenia Lifier.
- Kable wejściowe RCA: Podłącz kable RCA z subwoofera lub wyjść przedwzmacniacza pełnozakresowego jednostki głównej do amplifier's RCA Input terminals.
- Przewody głośnikowe: Podłącz przewody głośnikowe z amplifier's speaker output terminals to your subwoofer(s). Ensure correct polarity (+ to + and - to -). Verify the subwoofer's impedance is compatible with the ampspecyfikacje lifiera.
6.3 Initial Setup and Adjustments
- Ustawienie wzmocnienia: With the head unit volume at about 75% of maximum, slowly increase the amplifier's GAIN control until you hear slight distortion, then back it off slightly. This matches the ampczułość wejściowa przetwornika na wyjście jednostki głównej.
- Filtr dolnoprzepustowy (LPF): Adjust the LPF control to filter out high frequencies from the subwoofer. A common starting point is between 80Hz and 120Hz, depending on your subwoofer and other speakers.
- Wzmocnienie basów: Use the BASS BOOST control sparingly. Excessive bass boost can lead to distortion and potential damage to your subwoofer. Adjust to taste, ensuring the sound remains clean.
- Zdalna kontrola poziomu: If using, connect the remote level control and test its functionality.
7. Instrukcja obsługi
Once properly installed and configured, the Trinity Audio Solutions TAS-5000.1 amplifier will turn on automatically when your head unit is powered on (via the remote turn-on wire) and turn off when the head unit is off. Adjust your head unit's volume and amplifier settings (gain, LPF, bass boost) to achieve your desired sound quality.
8. Konserwacja
- Czyszczenie: Okresowo wycieraj ampZewnętrzną powierzchnię filtra należy czyścić miękką, suchą ściereczką, aby usunąć kurz. Nie należy używać silnych środków chemicznych ani ściernych środków czyszczących.
- Kontrola: Regularnie sprawdzaj wszystkie połączenia przewodów pod kątem szczelności i oznak korozji lub uszkodzeń. Upewnij się, że amplifier's ventilation fins are clear of obstructions.
- Chłodzenie: Zapewnij odpowiedni przepływ powietrza wokół ampfiltr, aby zapobiec przegrzaniu.
9. Rozwiązywanie Problemów
Jeśli masz problemy z urządzeniem amplifier, zapoznaj się z poniższymi typowymi problemami i rozwiązaniami:
| Problem | Możliwa przyczyna | Rozwiązanie |
|---|---|---|
| Amplifier does not turn on (no power/protection light) | Przepalony bezpiecznik, luźny przewód zasilania/uziemienia/zdalnego, uszkodzone zdalne wyjście jednostki głównej. | Check the in-line fuse near the battery. Verify all power, ground, and remote connections are secure. Test the remote wire for 12V when the head unit is on. |
| Brak dźwięku | Luźne kable RCA, nieprawidłowe ustawienie wzmocnienia, odłączone przewody głośnikowe, amplifier w trybie ochrony. | Check RCA connections. Adjust gain. Verify speaker wire connections and impedance. If in protection, check for short circuits in speaker wiring. |
| Zniekształcony dźwięk | Gain set too high, improper LPF setting, poor ground connection, damaged speakers. | Reduce gain. Adjust LPF. Ensure ground connection is solid. Test speakers with another amplifier jeśli to możliwe. |
| Amplifier przegrzewa się | Niewystarczająca wentylacja, impedancja za niska, wzmocnienie ustawione za wysoko. | Przenieść się amplifier for better airflow. Verify speaker impedance is within specifications. Reduce gain. |
10. Specyfikacje
The following specifications are typical for the Trinity Audio Solutions TAS-5000.1 ampLiyfikator:
- Model: TAS-5000.1
- Wymiary produktu: 9.33 x 7.52 x 2.48 cala
- Waga przedmiotu: 7 funtów
- Tomtage: 7 V (prąd stały) - Note: This typically refers to the minimum operating voltage, actual operating voltage wynosi 12-14.4V.
- Typ montażu: Montaż powierzchniowy
- Producent: Trinity Audio Solutions
- Typ: Monoblok samochodowy audio Ampżywsze
- Moc wyjściowa: Up to 5000W (Peak/Max, specific RMS ratings vary by impedance)
- Pasmo przenoszenia: Optimized for low frequencies
- Czułość wejściowa: Nastawny
- Krzyżowanie: Variable Low-Pass Filter (LPF)
- Wzmocnienie basów: Zmienny
11. Gwarancja i wsparcie
Trinity Audio Solutions products are designed and manufactured to the highest quality standards. For warranty information, please refer to the warranty card included with your product or visit the official Trinity Audio Solutions website. For technical support or service inquiries, please contact Trinity Audio Solutions customer service directly.
Zachowaj paragon jako dowód zakupu na wypadek reklamacji.