1. Wprowadzenie
The Audio Array AI-04 is a professional 2x2 USB audio interface designed for high-fidelity recording and playback. It features premium mic pre-amps, 48V phantom power support, and 24-bit/192kHz audio resolution, making it suitable for various audio production needs. This manual provides essential information for setting up, operating, and maintaining your AI-04 audio interface.
2. Zawartość opakowania
Zanim zaczniesz, upewnij się, że w pudełku znajdują się wszystkie elementy:
- 1 x Audio Array AI-04 Audio Interface
- 1 x USB 2.0 B-Male to A-Male Cable
- 1 x USB 2.0 A-Male to Type-C adapter
- 1 x Type-C to USB A-Male Cable
- 1 x Instrukcja obsługi (ten dokument)
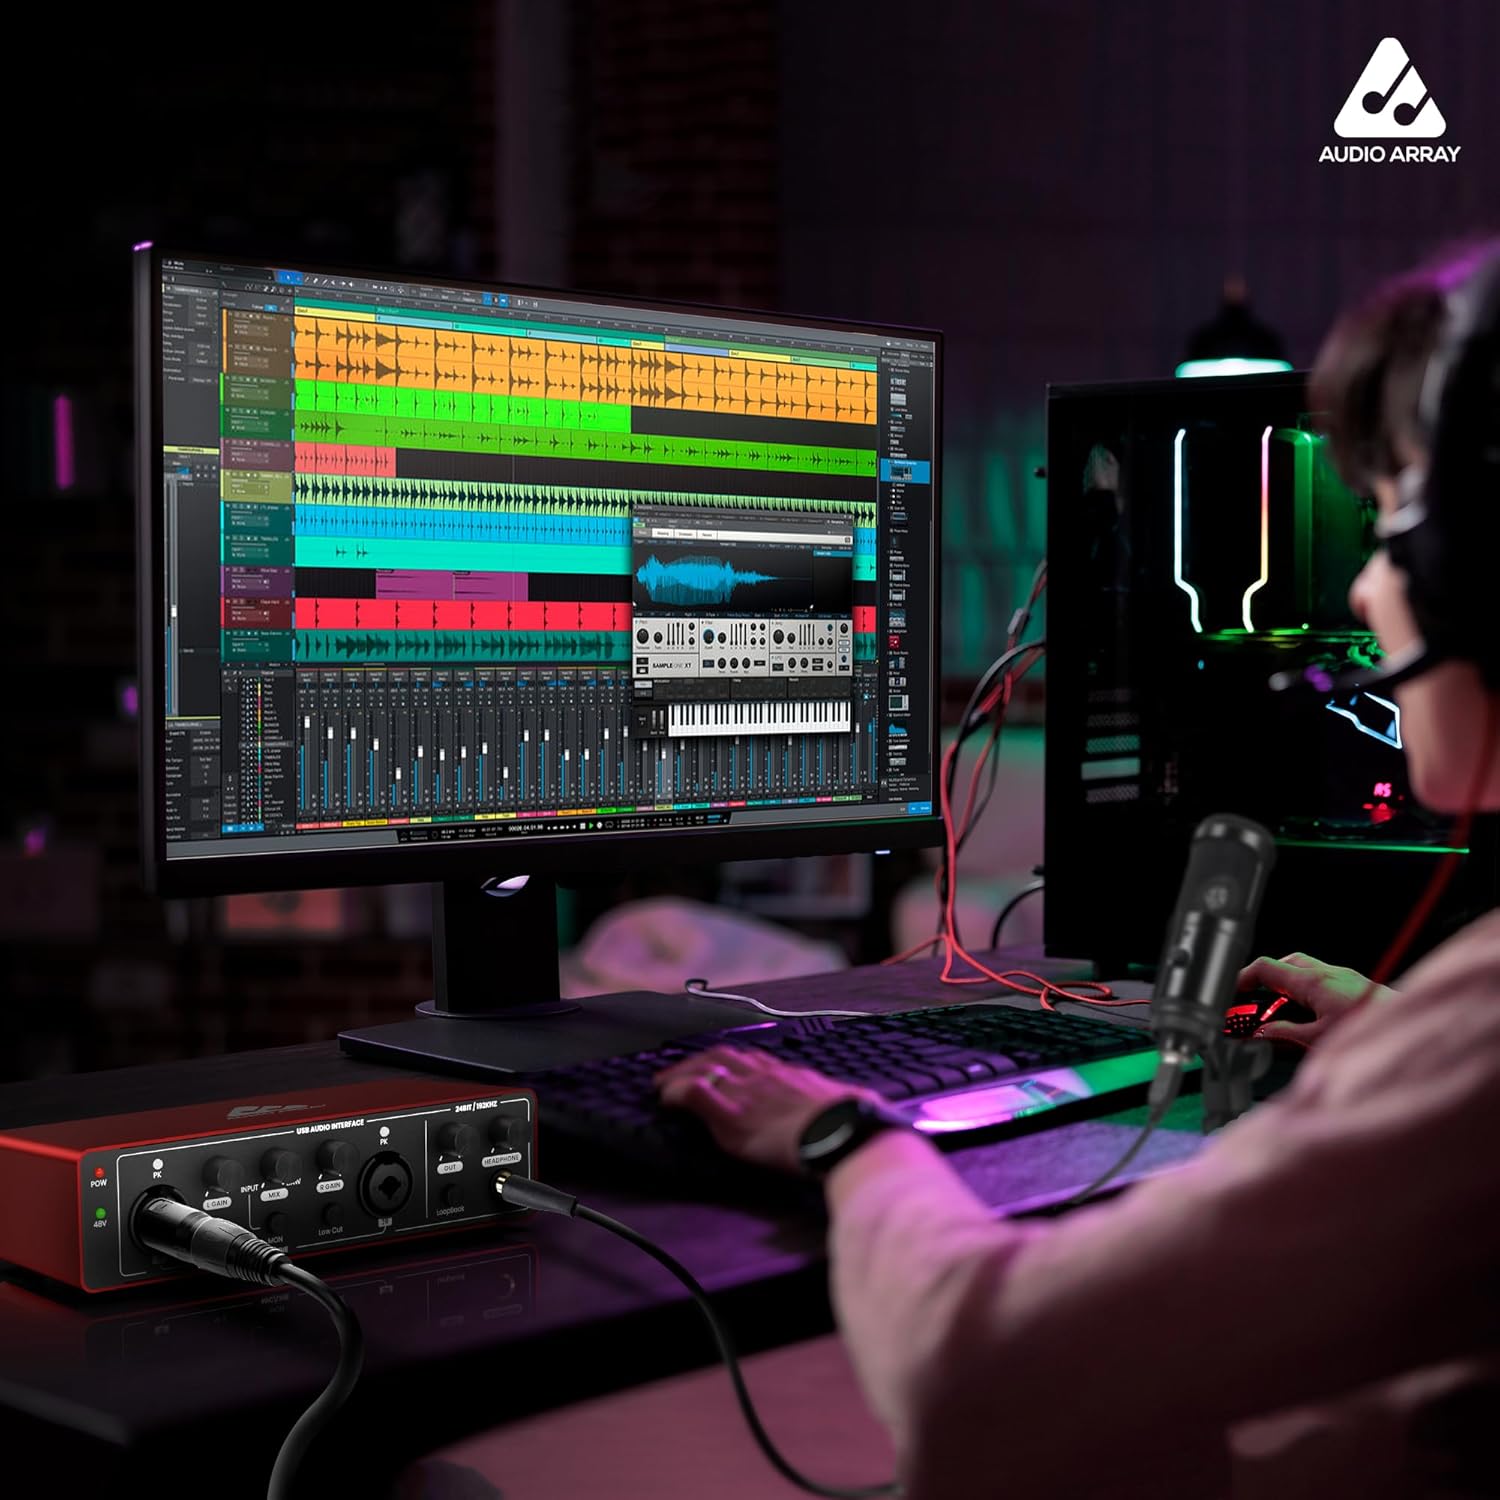
Image: Contents of the Audio Array AI-04 package, showing the red audio interface, various USB cables, and the user manual.
3. Konfiguracja
3.1 Podłączanie do komputera
The Audio Array AI-04 is a plug-and-play device, requiring no additional drivers for most operating systems. It is compatible with Mac OS and Windows XP+.
- Connect the AI-04 to your computer using the provided USB cable. Use the appropriate adapter (USB-A to USB-C) if your computer only has USB-C ports.
- The device will be automatically recognized by your operating system.
3.1.1 Connecting with Windows
- From your Windows taskbar, right-click the Sound Icon and open Sound Settings.
- Choose your output device: 'Headphones (HD USB Audio Device)'.
- Choose your input device: 'Microphone (HD USB Audio Device)'.

Image: Visual guide for configuring the Audio Array AI-04 as the input and output device in Windows Sound Settings.
3.1.2 Connecting with Mac
- On your Mac, choose Apple menu > System Preferences, then select Sound.
- Click Input, then select the 'Microphone (HD USB AUDIO DEVICE)' in the list of sound input devices.
- Click Output, then select the 'Headphones (HD USB AUDIO DEVICE)' in the list of sound output devices.

Image: Visual guide for configuring the Audio Array AI-04 as the input and output device in Mac Sound Preferences.
3.2 Podłączanie mikrofonów i instrumentów
The AI-04 features versatile input options:
- XLR/MIC/LINE Inputs: Two combo inputs (1L and 2R) support XLR microphones, 1/4" TRS/TS line-level instruments, or Hi-Z instruments.
- Zasilanie fantomowe 48 V: Activate the 48V phantom power switch for condenser microphones. Ensure phantom power is off when connecting dynamic microphones or line-level instruments.

Obraz: przód i tył views of the Audio Array AI-04, highlighting XLR/MIC/LINE inputs, headphone output, and TRS/TS stereo jacks.
3.3 Podłączanie urządzeń wyjściowych
Connect your monitors, PA system, or other playback devices to the independent TRS/TS stereo jacks (1L and 2R) on the rear panel. For private listening, use the dedicated headphone output on the front panel.

Image: Rear panel of the Audio Array AI-04, detailing power input, 48V phantom power switch, and output jacks.
4. Operating the AI-04
4.1 Elementy sterujące i wskaźniki
The AI-04 features intuitive controls for managing your audio:
- Pokrętła wzmocnienia: Separate gain controls for each input channel (1L and 2R) allow you to adjust the input level.
- Signal & Overload Indicators: LED indicators (PK) next to each gain knob show signal presence and clipping (overload). Adjust gain to avoid clipping.
- Input/DAW Mix Knob: Adjusts the balance between direct input monitoring and playback from your Digital Audio Workstation (DAW).
- Przełącznik niskiego cięcia: Engages a low-cut filter to reduce unwanted low-frequency noise.
- Przełącznik Hi-Z: Activates high impedance mode for direct connection of guitars and other instruments.
- Loopback Switch: Enables the loopback function, allowing you to record computer audio along with your microphone/instrument inputs.
- Pokrętło głośności wyjściowej: Controls the overall output volume to your monitors/speakers.
- Pokrętło głośności słuchawek: Steruje głośnością wyjścia słuchawkowego.

Obraz: Szczegółowy view of the Audio Array AI-04 front panel, illustrating the function of each knob and switch.
4.2 Nagrywanie i odtwarzanie
The AI-04 provides 24-bit/192kHz high-fidelity recording. Use with popular recording software like Pro Tools, Ableton, Cubase, etc. Low-noise balanced outputs ensure clear audio playback. The headphone output allows for high-fidelity private listening.
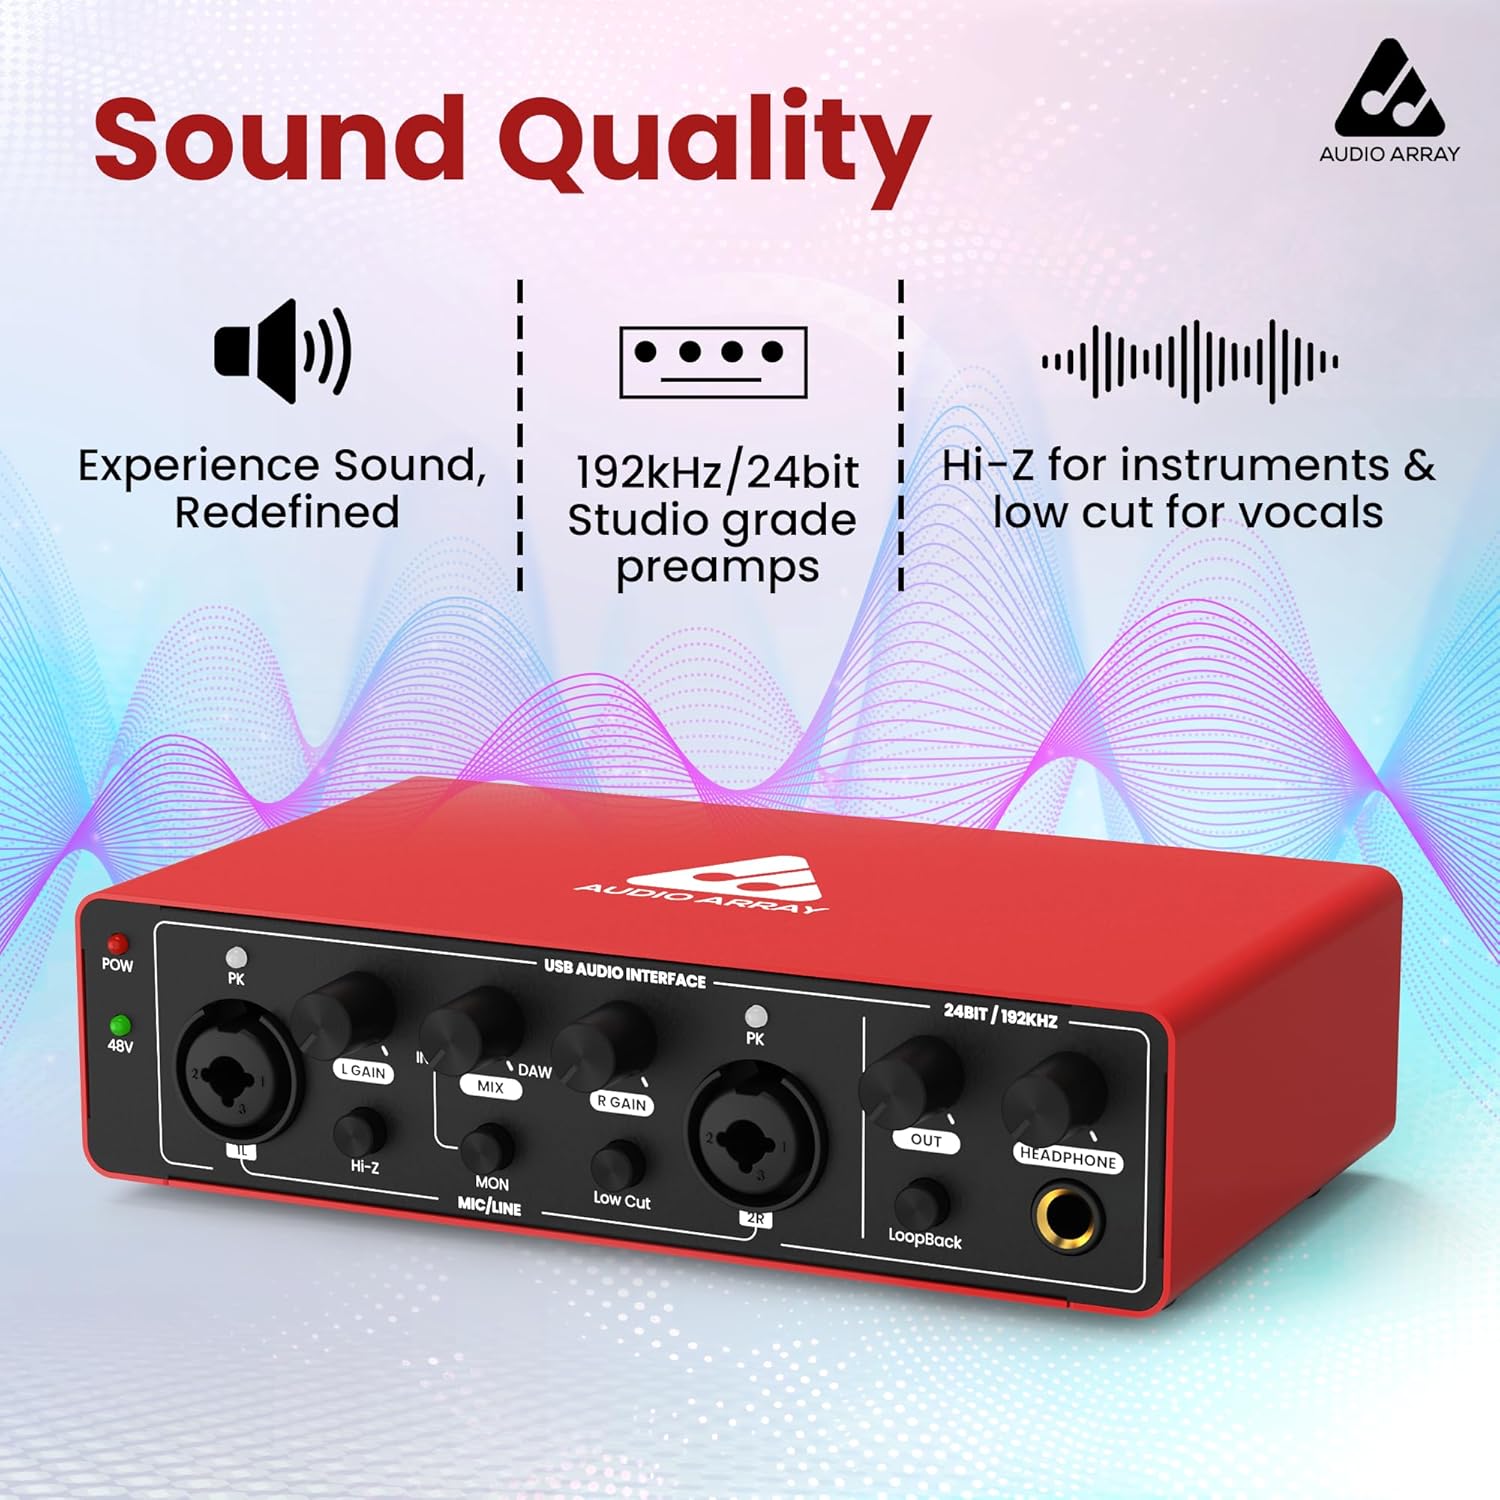
Obraz: Przód view of the Audio Array AI-04, emphasizing its sound quality features like studio-grade preamps and high-resolution audio.
4.3 Oficjalny film o produkcie
Watch this official video for a visual guide on the Audio Array AI-04's features and usage:
Video: Official product video for the Audio Array AI-04, demonstrating its key features and applications.
5. Konserwacja
To ensure the longevity and optimal performance of your Audio Array AI-04, follow these maintenance guidelines:
- Utrzymuj urządzenie w czystości, przecierając je miękką, suchą ściereczką. Unikaj stosowania silnych środków chemicznych i materiałów ściernych.
- Chroń interfejs przed kurzem, wilgocią i ekstremalnymi temperaturami.
- Unikaj umieszczania ciężkich przedmiotów na urządzeniu.
- Odłącz wszystkie kable, jeśli urządzenie nie będzie używane przez dłuższy czas.
6. Rozwiązywanie Problemów
If you encounter issues with your Audio Array AI-04, try the following steps:
- Brak zasilania: Ensure the USB cable is securely connected to both the interface and your computer. If using a separate power source (for smartphone use), ensure it is properly connected and functional.
- No Sound Input/Output:
- Verify all cables (microphone, instrument, output, headphone) are securely connected.
- Check the gain knobs for each input and the master output/headphone volume.
- Confirm the correct input/output device is selected in your computer's sound settings (refer to Section 3.1).
- W przypadku korzystania z mikrofonu pojemnościowego należy upewnić się, że włączone jest zasilanie fantomowe 48 V.
- Zniekształcony dźwięk:
- Reduce the input gain to prevent clipping (indicated by the PK LED).
- Check the audio levels in your recording software.
- Problemy z opóźnieniami: Ensure your DAW's buffer size is set appropriately for low-latency monitoring.
Jeśli problem nadal występuje, skontaktuj się z obsługą klienta.
7. Specyfikacje
| Funkcja | Szczegół |
|---|---|
| Numer modelu | Sztuczna inteligencja-04 |
| Rozdzielczość dźwięku | 24-bit / 192kHz |
| Wejścia | 2 x Combo XLR/MIC/LINE inputs |
| Wyjścia | 2 x TRS/TS Stereo Jacks, 1 x Headphone Output |
| Moc fantomowa | 48V switchable |
| Łączność | USB 2.0 (Type-B), USB Type-C (for power) |
| Zgodność | Mac OS, Windows XP+ |
| Waga przedmiotu | 1.15 funta |
| Wymiary produktu | 5.71 x 10.55 x 2.64 cala |
8. Gwarancja i wsparcie
The Audio Array AI-04 is covered under a 3 rok gwarancji. If you have any questions or require assistance, please feel free to contact us. Refer to the contact information provided with your product packaging or visit the official Audio Array webwitryna wsparcia.