1. Wprowadzenie
This manual provides detailed instructions for the installation, operation, and maintenance of your NICOR DGC43120SRDWH 4-inch selectable canless adjustable gimbal LED recessed downlight. Please read these instructions carefully before beginning installation and retain them for future reference.
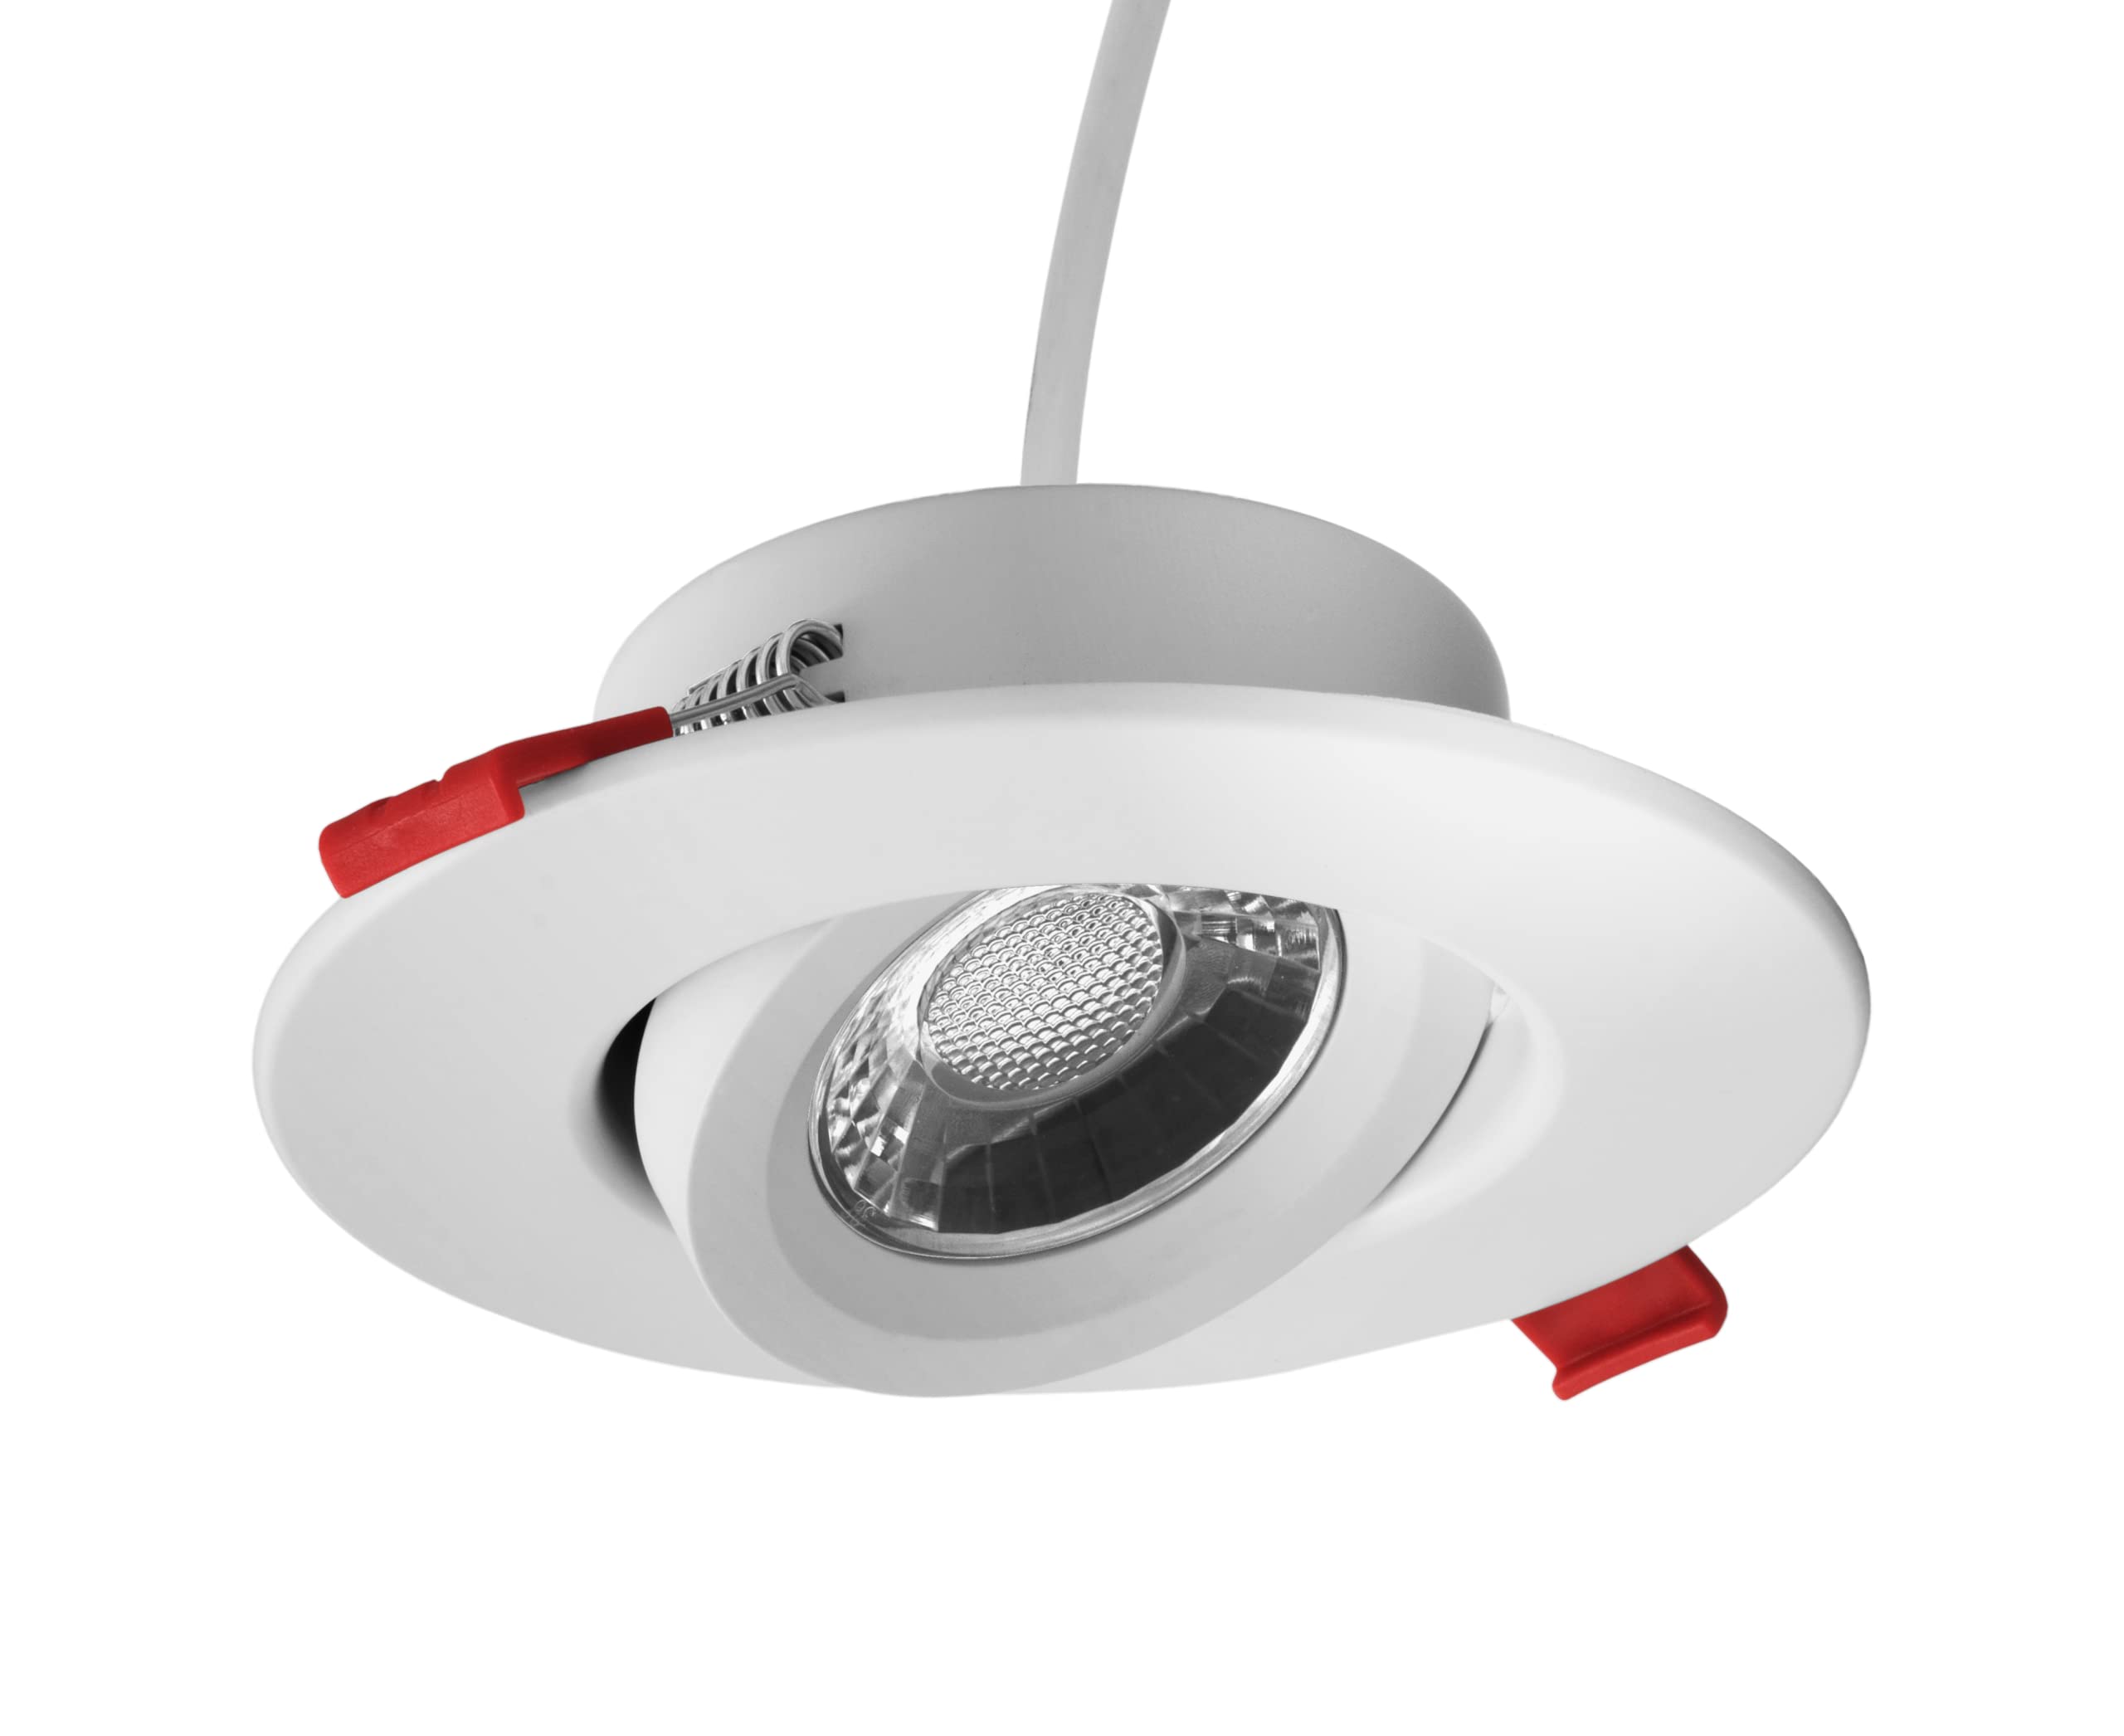
Image 1: NICOR DGC43120SRDWH 4-inch LED Recessed Downlight. This image shows the complete downlight unit with its white finish and adjustable gimbal.
2. Informacje dotyczące bezpieczeństwa
OSTRZEŻENIE: Ryzyko porażenia prądem. Przed instalacją lub serwisowaniem należy odłączyć zasilanie za pomocą bezpiecznika lub wyłącznika automatycznego.
- Wszystkie połączenia elektryczne muszą być zgodne z normami lokalnymi i krajowymi kodeksami elektrycznymi (NEC).
- Consult a qualified electrician if you are unsure about proper installation.
- Nie instalować w miejscach, w których temperatura robocza przekracza znamionową temperaturę urządzenia.
- Upewnij się, że urządzenie jest prawidłowo uziemione.
- This product is suitable for indoor use only. Not water resistant.
- W przypadku instalacji, w których istnieje ryzyko wystąpienia przepięć, firma NICOR zaleca zamontowanie dodatkowej ochrony przeciwprzepięciowej w panelu rozdzielczym.
3. Zawartość opakowania
Przed rozpoczęciem instalacji sprawdź, czy wszystkie komponenty są obecne:
- Selectable LED Downlight (DGC43120SRDWH)
- Plenum-rated cable
- Off-board driver / Remote Junction Box
4. Funkcje
The NICOR DGC43120SRDWH downlight offers advanced features for versatile lighting:
- Canless Design: Installs directly into the ceiling; no traditional recessed housing or junction box is required.
- Adjustable Directional Lighting: Features 25° tilt and 360° rotation for precise light direction.
- Wybieralna temperatura barwowa (CCT): Choose from 5 color temperatures (2700K, 3000K, 3500K, 4000K, 5000K) using a switch on the junction box.
- Wysoka wydajność: Produces over 715 Lumens at 9-Watts (equivalent to a 65W incandescent bulb) with an impressive 97 CRI (Color Rendering Index) and R9 value over 70.
- Możliwość przyciemniania: Fully dimmable to less than 5% using standard TRIAC LED Dimmers.
- Niskoprofile: Designed for installation into ceilings up to 1-inch thick.
- Trwała konstrukcja: Fully enclosed aluminum housing protects electrical components and provides a wet location rating.

Image 2: Key specifications and selectable color temperature feature of the downlight.
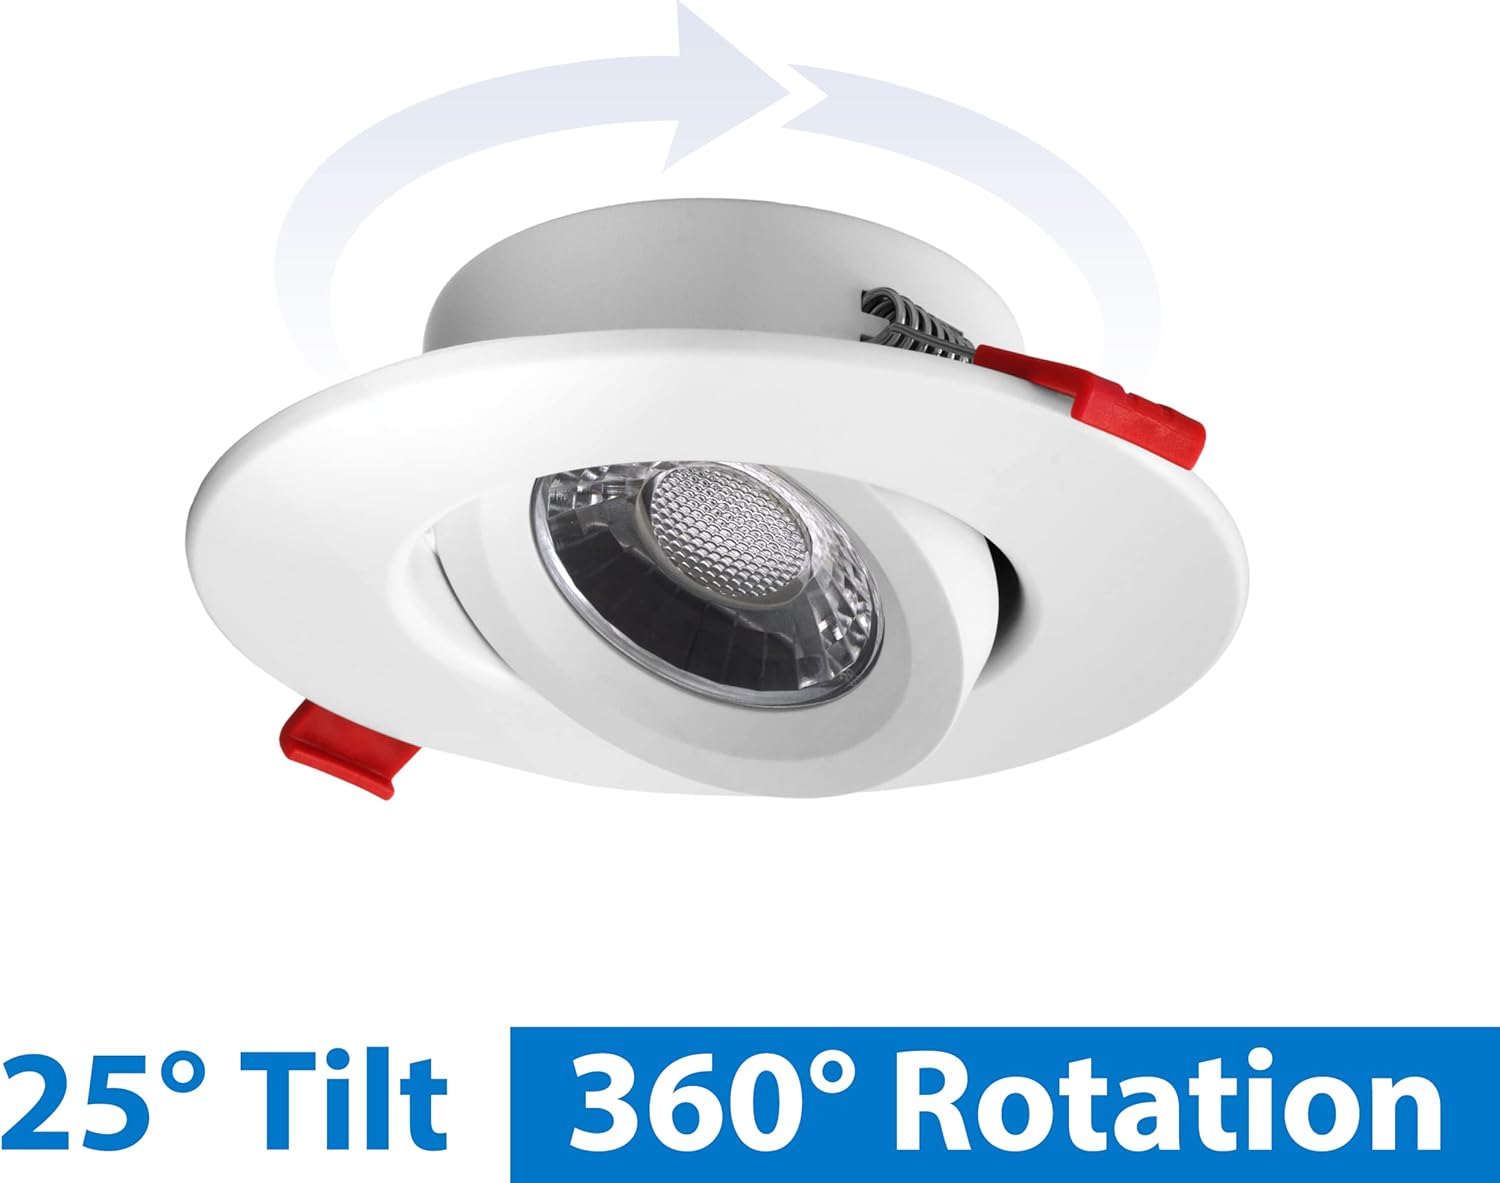
Image 3: Illustration of the 25° tilt and 360° rotation capabilities of the gimbal.
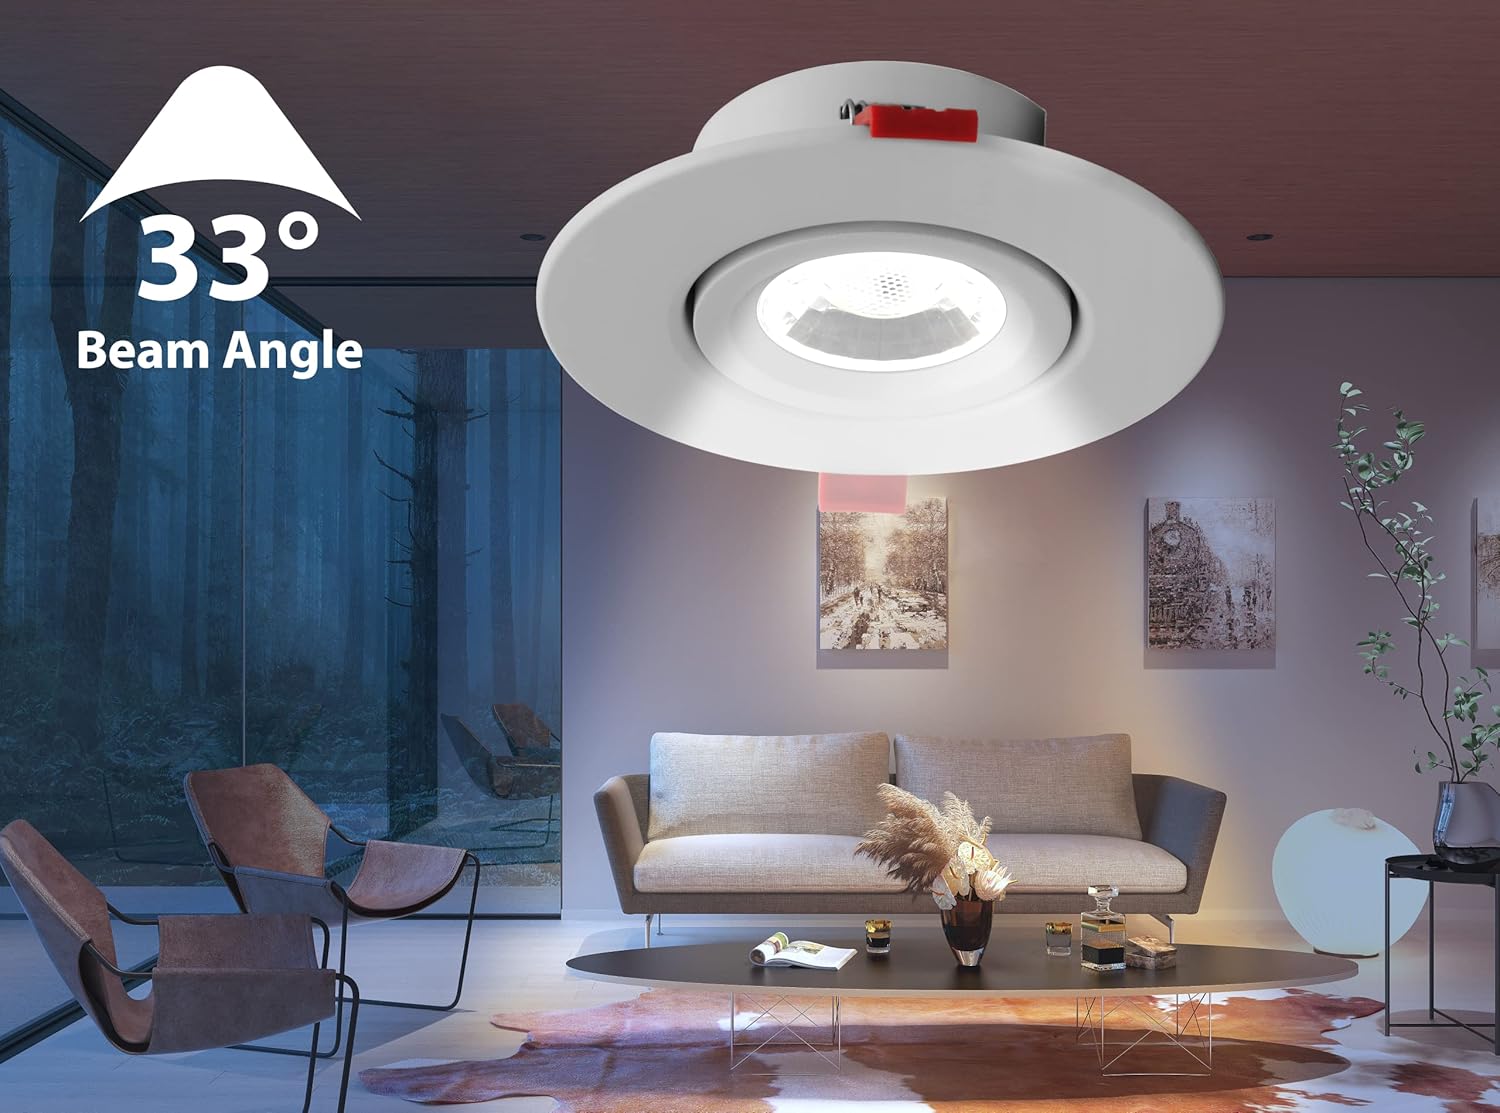
Image 4: Visual representation of the 33° beam angle, showing focused illumination.

Obraz 5: Bok view ilustrując niski poziom profesjonalizmufile design, suitable for thin ceilings.

Obraz 6: Widok z góry na dół view of the fully enclosed aluminum housing, highlighting its protective features.
5. Konfiguracja i instalacja
Wymagane narzędzia: Hole saw, measuring tape, pencil, wire strippers, screwdriver.
- Wyłącz zasilanie: Before starting any electrical work, ensure the power is turned off at the circuit breaker or fuse box to prevent electric shock.
- Mark and Cut Hole: Use the provided 3.75-inch template (or measure 3.75 inches) to mark the desired location on the ceiling. Use a hole saw to cut the opening.
- Podłącz okablowanie: Open the remote junction box. Connect the building's electrical wires (hot, neutral, ground) to the corresponding wires inside the junction box using appropriate wire connectors. Ensure all connections are secure.
- Wybierz temperaturę barwową: Before closing the junction box, use the switch located inside to select your desired color temperature (2700K, 3000K, 3500K, 4000K, or 5000K).
- Bezpieczna skrzynka przyłączeniowa: Close the junction box and place it above the ceiling, ensuring it is securely positioned and not resting on the downlight.
- Podłącz oświetlenie do puszki przyłączeniowej: Connect the plenum-rated cable from the downlight to the remote junction box. Ensure the connection is firm.
- Instalacja oświetlenia downlight: Push the spring-loaded retention clips on the downlight upwards and insert the downlight into the ceiling opening. Release the clips to secure the fixture against the ceiling.
- Przywróć zasilanie: Po bezpiecznym zainstalowaniu oświetlenia należy przywrócić zasilanie za pomocą wyłącznika automatycznego.

Image 7: Diagram showing the remote junction box and spring-loaded retention clips for canless installation.

Image 8: Simplified installation diagram illustrating the connection between the downlight and the driver above the ceiling.
6. Instrukcja obsługi
After successful installation, operate your downlight as follows:
- Włączanie/wyłączanie: Do włączania i wyłączania oświetlenia używaj standardowego przełącznika ściennego.
- Ściemnianie: If connected to a compatible TRIAC LED dimmer, adjust the dimmer switch to control the light intensity.
- Adjusting Gimbal: Gently tilt the inner light module up to 25° in any direction or rotate it 360° to direct the light beam as desired.
- Zmiana temperatury barwowej: To change the color temperature, you must first turn off power at the circuit breaker. Then, carefully remove the downlight from the ceiling to access the remote junction box. Open the junction box and adjust the CCT selection switch to your preferred setting. Reinstall the downlight and restore power.

Image 9: Close-up of the selectable color temperature switch located within the remote junction box.
7. Konserwacja
The NICOR DGC43120SRDWH LED downlight requires minimal maintenance.
- Czyszczenie: Przed czyszczeniem upewnij się, że zasilanie jest wyłączone. Przetrzyj urządzenie miękką, suchą lub lekko wilgotną szmatką.amp Ściereczka. Nie używaj silnych środków chemicznych ani ściernych środków czyszczących, ponieważ mogą one uszkodzić wykończenie lub elementy elektryczne.
- Wymiana żarówki: The LED light source is integrated and not user-replaceable. If the LED fails, the entire fixture should be replaced.
8. Rozwiązywanie Problemów
| Problem | Możliwa przyczyna | Rozwiązanie |
|---|---|---|
| Światło się nie włącza. | Brak zasilania urządzenia. Luźne połączenie okablowania. Wadliwa oprawa. | Sprawdź wyłącznik automatyczny i wyłącznik ścienny. Sprawdź, czy wszystkie połączenia przewodów są stabilne (przy wyłączonym zasilaniu). Contact customer support if wiring is correct and power is present. |
| Światło migocze lub nieprawidłowo przyciemnia się. | Niekompatybilny przełącznik ściemniacza. Luźne okablowanie. Wzrost mocy. | Ensure dimmer is a compatible TRIAC LED dimmer. Sprawdź połączenia przewodów (przy wyłączonym zasilaniu). Consider installing surge protection. |
| Nieprawidłowa temperatura barwowa. | Przełącznik CCT jest ustawiony nieprawidłowo. | Turn off power, access junction box, and adjust CCT switch. |
9. Specyfikacje
| Atrybut | Wartość |
|---|---|
| Marka | Nicor |
| Numer modelu | DGC43120SRDWH |
| Typ oprawy | Downlight bez puszki |
| Rozmiar | 4 cali |
| Kolor | Biały |
| Tworzywo | Aluminium, Plastik |
| Źródło światła | PROWADZONY |
| Cotage | 8.7 watów |
| Jasność | 805 Lumen (over 715 Lumens stated in features) |
| Tomtage | 120 wolty |
| Jasny kolor (CCT) | 2700K - 5000K (Selectable) |
| CRI | 97 (R9 value over 70) |
| Kąt wiązki | 33° |
| Regulacja nachylenia | 25° |
| Regulacja rotacji | 360° |
| Ściemnianie | Dimmable to less than 5% (TRIAC LED Dimmers) |
| Typ instalacji | Montaż podtynkowy, bezpuszkowy |
| Zastosowanie wewnątrz/na zewnątrz | Wnętrz |
| Poziom wodoodporności | Not Water Resistant (Wet location rated for housing) |
| Waga przedmiotu | 1 funtów |
| UPC | 767706195767 |

Image 10: Dimensional drawing showing the measurements of the downlight and its remote junction box.
10. Informacje o gwarancji
This NICOR DGC43120SRDWH downlight is protected by NICOR’s 5-Year Limited System Warranty.
Ważne uwagi:
- W przypadku instalacji, w których istnieje ryzyko wystąpienia przepięć, firma NICOR zaleca zamontowanie dodatkowej ochrony przeciwprzepięciowej w panelu rozdzielczym.
- Gwarancja nie obejmuje awarii produktu spowodowanej przekroczeniem objętościtage event (power surge).
11. Wsparcie i kontakt
If you have any questions, require technical assistance, or need to report an issue with your NICOR DGC43120SRDWH downlight, please contact NICOR customer support. Refer to the product packaging or the official NICOR webna tej stronie znajdziesz najbardziej aktualne dane kontaktowe.