
1. Wprowadzenie
This manual provides instructions for the proper use and maintenance of your iGaging Digital Router Table Depth Gauge and Saw Gauge. This precision tool is designed for accurate measurement and setup of router tables and table saws, ensuring precise cuts and adjustments.
2. Koniec produktuview
2.1 Główne cechy
- Zakres pomiarowy: 0-2 cala (0-50.8 mm)
- Tryby wyświetlania: Inch (0.001"), Metric (0.01mm), Fractional Inch (64th)
- Dokładność: 0.0015"
- Bateria: CR2032 (w zestawie)
- Funkcje: Measures Blade to Fence, Depth, Router Center, Router Depth, Router Edge to Fence, Saw Depth
- Large LCD Display for clear readings
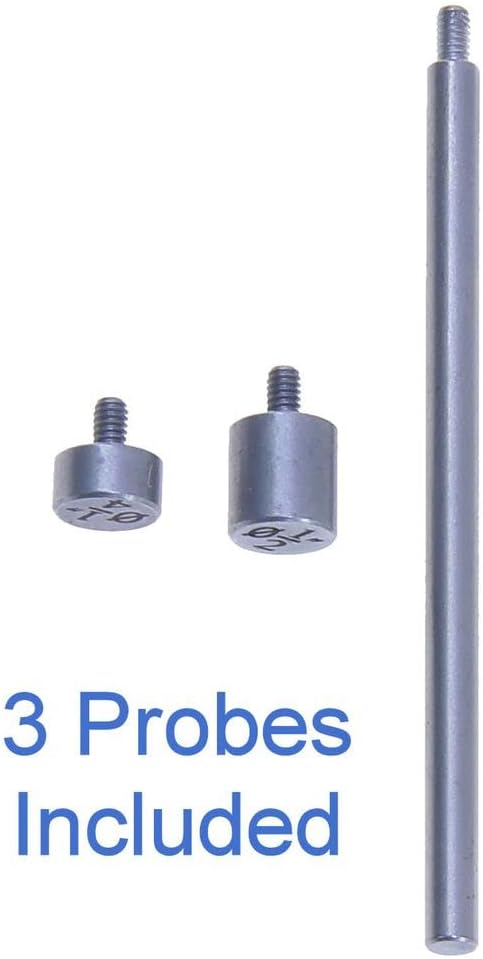
- 3 Interchangeable Anvils for versatile applications
- Durable Anodized Aluminum Frame
2.2 Składniki
The iGaging Digital Router Table Depth Gauge consists of the main digital unit, a measuring rod, a stable base, and interchangeable anvils.

3. Konfiguracja
3.1 Instalacja baterii
- Locate the battery compartment on the left side of the digital unit.
- Otwórz pokrywę baterii.
- Insert one CR2032 lithium metal battery with the positive (+) side facing outwards.
- Dokładnie zamknij pokrywę baterii.
3.2 Attaching Anvils
The gauge comes with three interchangeable anvils. Select the appropriate anvil for your measurement task and screw it onto the bottom of the measuring rod. Ensure it is finger-tight to prevent movement during measurement.
4. Instrukcja obsługi
4.1 Podstawowe funkcje
- Power ON/OFF / Zero: Naciśnij /0 button to turn the unit on or off. A quick press also sets the display to zero at any position.
- Trzymać: Naciśnij TRZYMAĆ Naciśnij przycisk, aby zamrozić aktualny odczyt na wyświetlaczu. Naciśnij ponownie, aby zwolnić.
- Tryb: Naciśnij TRYB button to switch between Inch (0.001"), Metric (0.01mm), and Fractional Inch (64th) display modes.
- Automatyczne wyłączanie: The unit will automatically power off after 5 minutes of inactivity to conserve battery life.
- Pokrętło blokujące: A locking knob on the right side of the unit allows you to secure the measuring rod at a specific position. Turn clockwise to lock, counter-clockwise to unlock.

4.2 Procedury pomiarowe
Ensure the gauge is clean and the desired anvil is attached before taking measurements. Always zero the gauge on a flat, stable surface relevant to your measurement.
- Router Depth Measurement:
Place the gauge on the router table surface. Extend the measuring rod until it touches the highest point of the router bit. Zero the gauge. Then, lower the router bit to the desired depth and read the measurement on the display.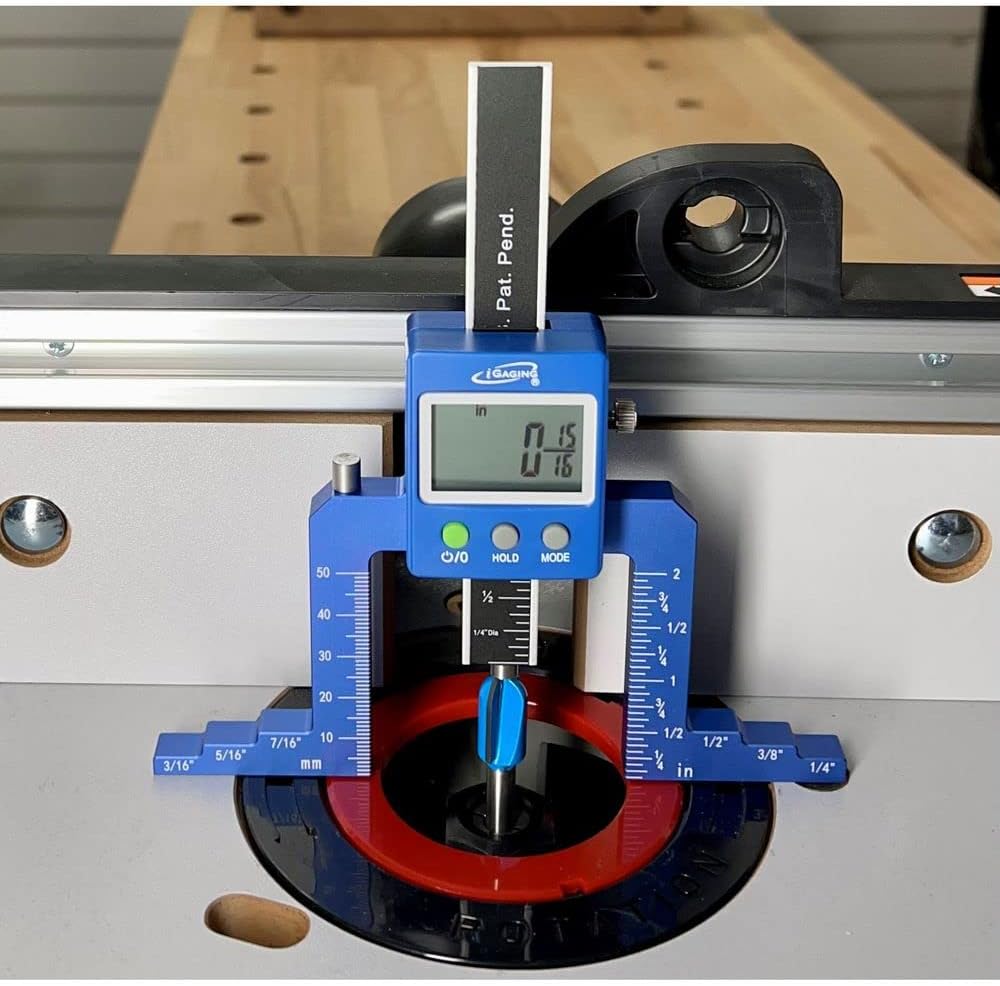
Rysunek 4: The depth gauge positioned on a router table, measuring the height of a router bit. The digital display shows the precise measurement. - Saw Depth Measurement:
Place the gauge on the table saw surface. Extend the measuring rod until it touches the highest point of the saw blade. Zero the gauge. Adjust the saw blade height and read the measurement on the display.
Rysunek 5: The depth gauge placed on a table saw, measuring the height of the saw blade. The digital readout provides an accurate measurement of the blade's extension above the table surface. - General Depth Measurement:
For general depth measurements, place the gauge on the reference surface. Extend the measuring rod into the recess or hole until it contacts the bottom. The display will show the depth.
Rysunek 6: The depth gauge with its measuring probe extended, demonstrating its capability for general depth measurements. The digital display shows a reading of 0.390 inches. - Blade to Fence / Router Edge to Fence / Router Center Measurement:
Utilize the gauge's base and appropriate anvils to measure distances from a blade or router bit to a fence. Position the gauge against the fence or reference point and extend the probe to the desired component.
5. Konserwacja
- Czyszczenie: Wipe the gauge with a soft, dry cloth after each use to remove dust and debris. Avoid using harsh chemicals or abrasive materials.
- Składowanie: Store the gauge in a clean, dry environment, away from direct sunlight and extreme temperatures.
- Wymiana baterii: Replace the CR2032 battery when the display becomes dim or unresponsive.
6. Rozwiązywanie Problemów
- Wyświetlacz jest pusty lub przyciemniony: Sprawdź akumulator. Upewnij się, że jest prawidłowo zainstalowany i wystarczająco naładowany. W razie potrzeby wymień.
- Niedokładne odczyty: Ensure the gauge is zeroed correctly on a flat, stable surface. Clean the measuring surfaces and the probe tip to remove any obstructions.
- Przyciski nie reagują: Try removing and reinserting the battery. If the issue persists, contact customer support.
7. Specyfikacje
| Producent | iGaging |
| Numer części | 35-0946 |
| Zakres pomiaru | 0-2 cala (0-50.8 mm) |
| Rozdzielczość wyświetlacza | 0.001" / 0.01mm / 64th |
| Dokładność | 0.0015" |
| Typ baterii | CR2032 Lithium Metal (1) |
| Tworzywo | Anodized Aluminum Frame |
| Wymiary produktu | Wymiary 18.42 x 18.42 x 3.56 cm |
| Waga przedmiotu | 200 gramów |


