
1. Wprowadzenie
This manual provides detailed instructions for the setup, operation, maintenance, and troubleshooting of your ELECROW 10.1 Inch Touchscreen Monitor. Please read this manual thoroughly before using the product to ensure proper functionality and to prevent damage.
The ELECROW 10.1 inch portable monitor features a 1280x800 IPS display, offering clear visuals and wide viewing angles. It supports touch input and is compatible with various devices and operating systems, including Raspberry Pi, Jetson Nano, Banana Pi, PC, and Windows.
2. Konfiguracja
2.1 Zawartość opakowania
Sprawdź, czy w przesyłce znajdują się wszystkie elementy wymienione poniżej:
- 1x 10.1 inch Touch Display
- 1x HD to HD Cable
- 2x USB cable (USB A to Micro USB)
- 1x HD to Mini HD Adapter
- 1x Screw Pack (4x Small Copper Pillars, 4x M2.5 Screws)
- 2x Bracket (Pro Stand)
- 1x Śrubokręt
- 1x Instrukcja obsługi

Image: All components included in the ELECROW 10.1 Inch Touchscreen Monitor package.

Obraz: Szczegółowy view of the monitor, cables, stand, and tools.
2.2 Przekroczenie fizyczneview i połączenia
Familiarize yourself with the monitor's ports and dimensions.

Image: Monitor dimensions and port layout.

Image: Close-up of the monitor's rear panel showing port functions and mounting points.
2.3 Podłączanie monitora
The monitor connects via HDMI for video signal and USB for power and touch functionality. Ensure your device has compatible ports.
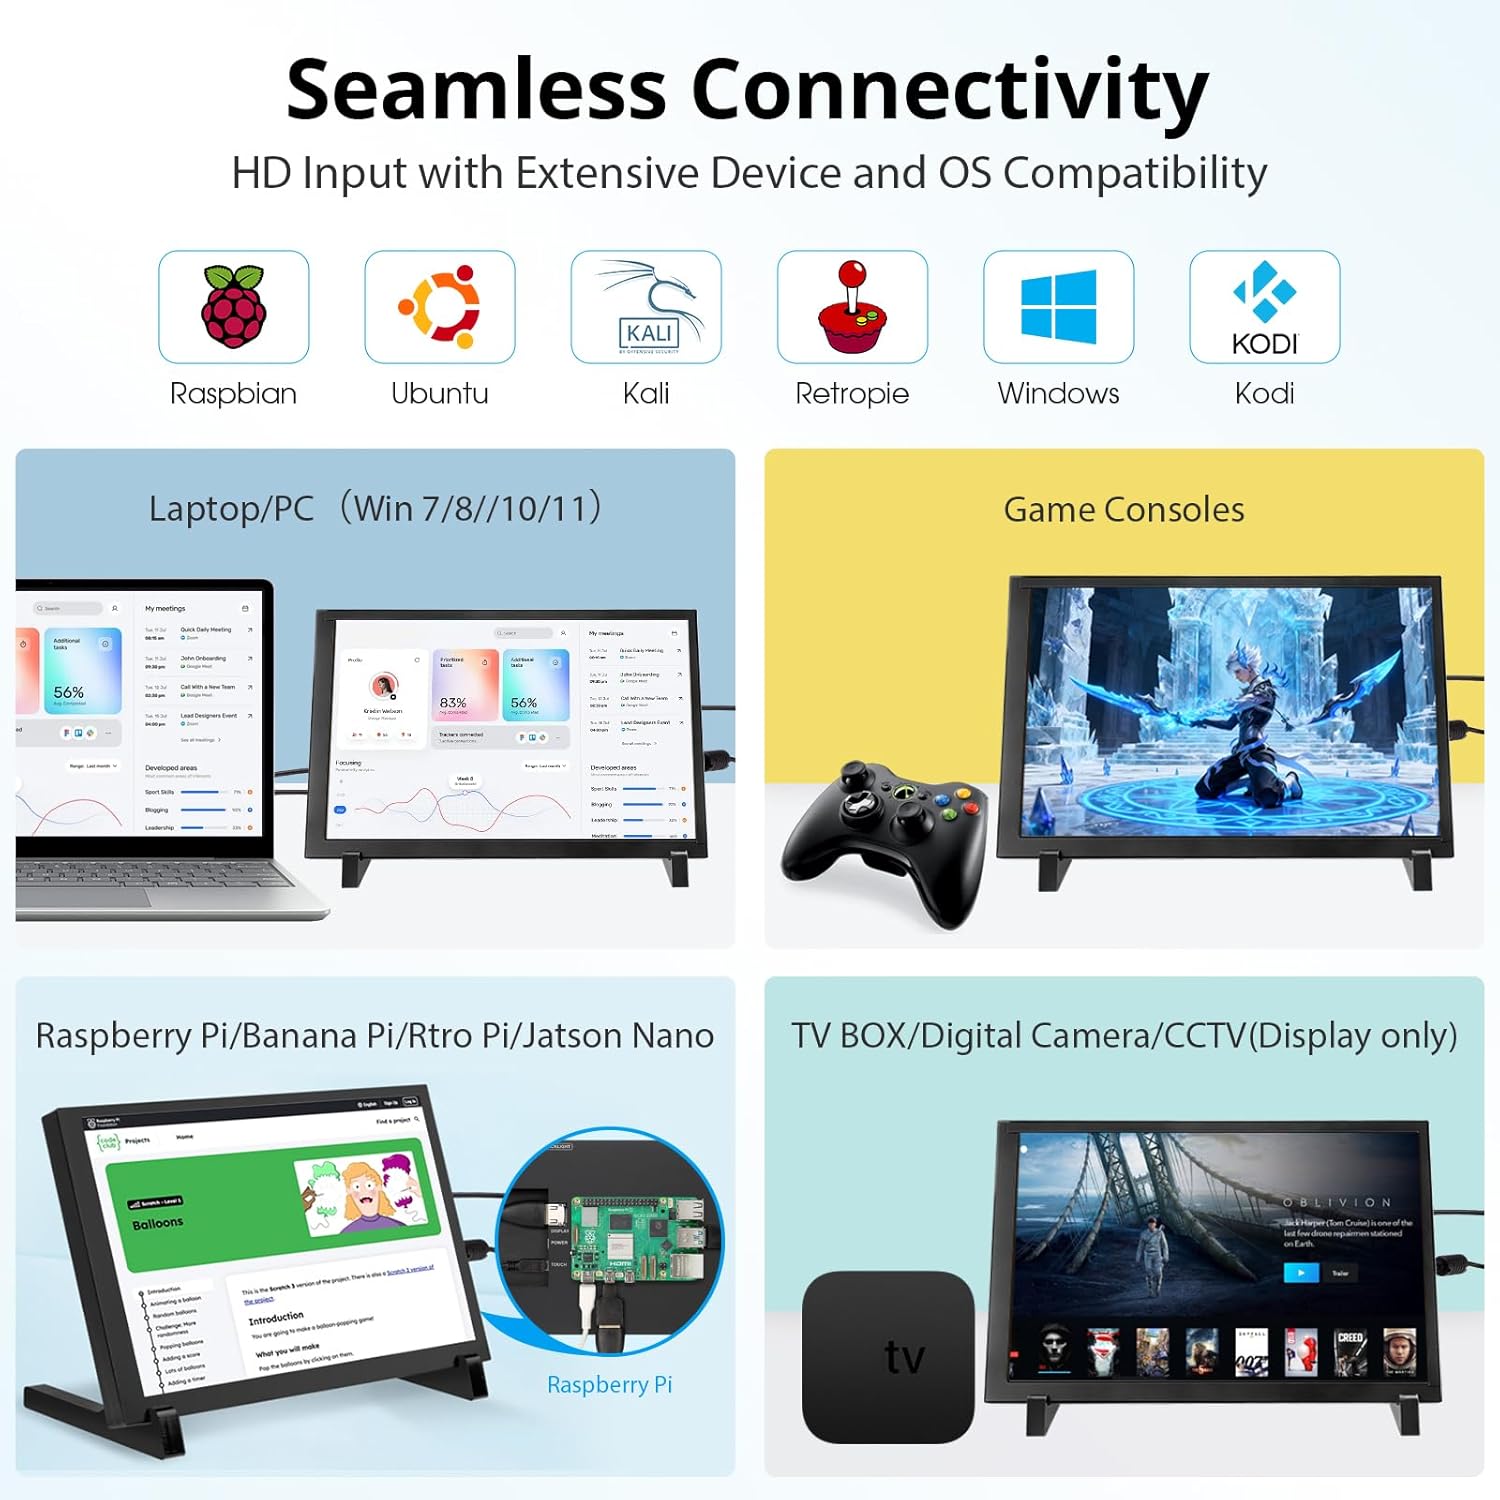
Obraz: Ponadview kompatybilnych urządzeń i systemów operacyjnych.
2.3.1 Łączenie z Raspberry Pi
Connect the monitor to your Raspberry Pi using the provided HDMI cable for video and a USB cable for power and touch. For Raspberry Pi 4/5, use the included HD to Mini HD adapter if necessary. The monitor supports single-point touch on Raspberry Pi OS (Raspbian), Ubuntu, and Kali Linux.

Image: Raspberry Pi connection setup.
2.3.2 Podłączanie do komputera PC/laptopa
Connect the monitor to your PC or laptop using an HDMI cable for video and a USB cable for power and touch. The monitor supports 5-point touch on Windows 11/10/8/7 systems.

Image: PC/Laptop connection setup.
2.3.3 Łączenie z innymi urządzeniami
The monitor is compatible with Jetson Nano, Banana Pi, Beaglebone, and game consoles. Use appropriate HDMI and USB connections for these devices.

Image: Jetson Nano connection setup.
2.4 Opcje montażu
The monitor includes a stand for desktop use and features four mounting holes on the back for integration with Raspberry Pi or wall mounting.
2.4.1 Using the Included Stand
Attach the two bracket pieces to the bottom of the monitor to form a stable stand for desktop placement.
2.4.2 Mounting Raspberry Pi Behind the Display
The monitor is designed to allow a Raspberry Pi to be mounted directly behind it, creating a compact setup. Use the provided screws and copper pillars to secure the Raspberry Pi to the designated mounting holes.

Image: Raspberry Pi mounted discreetly behind the display.

Image: Integrated Raspberry Pi and monitor setup.
2.5 Koniec konfiguracjiview Wideo
Video: An official ELECROW overview and demonstration of the 10.1 Inch 1280x800 IPS LCD Touchscreen Monitor, showcasinjego funkcje i podstawową konfigurację.
3. Instrukcja obsługi
3.1 Włączanie/wyłączanie zasilania
Once connected to a power source via the USB cable, the monitor will automatically power on. To power off, disconnect the USB power cable. Some operating systems may offer display power management options.
3.2 Funkcjonalność ekranu dotykowego
The monitor features a capacitive touchscreen. The number of touch points supported depends on the connected operating system:
- Windows (11/10/8/7): Supports 5-point multi-touch.
- Raspberry Pi OS (Raspbian), Ubuntu, Kali Linux, Win10 IoT: Supports single-point touch.

Image: 5-point multi-touch in action.

Image: Multi-touch gestures supported.
3.3 Jakość wyświetlania
The 1280x800 IPS LCD panel provides a wide 178-degree viewing angle and accurate color reproduction.

Image: Display resolution comparison.

Obraz: Szeroki viewdemonstracja kąta pochylenia.
3.4 Wszechstronne zastosowania
The monitor can be used for various purposes beyond its primary function with development boards, including:
- As a second monitor for PC/Laptops.
- As a digital photo frame.
- For home monitoring displays (CCTV).
- As a display for gaming consoles.

Obraz: Byłyamples of versatile display applications.

Image: Monitor used for gaming.

Image: Monitor used for home monitoring.
4. Konserwacja
4.1 Czyszczenie ekranu
Aby wyczyścić ekran, delikatnie przetrzyj go miękką, niepozostawiającą włókien ściereczką. W przypadku uporczywych plam delikatnie przetrzyj.ampen the cloth with water or a screen-safe cleaning solution. Avoid using harsh chemicals, abrasive materials, or excessive moisture, as these can damage the screen surface.
4.2 Ogólna opieka
- Trzymaj monitor z dala od bezpośredniego światła słonecznego, źródeł ciepła i ekstremalnych temperatur.
- Unikaj upuszczania monitora i narażania go na silne uderzenia.
- Do not attempt to disassemble the monitor. Unauthorized disassembly will void the warranty.
- Podczas użytkowania należy zapewnić odpowiednią wentylację.
5. Rozwiązywanie Problemów
5.1 Brak obrazu / Czarny ekran
- Sprawdź moc: Ensure the monitor is receiving power via the USB cable and the power source is active.
- Check HDMI Connection: Verify that the HDMI cable is securely connected to both the monitor and the source device. Try a different HDMI cable if available.
- Wyjście urządzenia źródłowego: Confirm that your source device (e.g., Raspberry Pi, PC) is configured to output video to the connected HDMI port.
- Zgodność rozdzielczości: Ensure the source device's output resolution is compatible with the monitor (1280x800).
5.2 Funkcja dotykowa nie działa
- Check USB Touch Connection: Ensure the USB cable for touch functionality is securely connected from the monitor's 'TOUCH' port to a USB data port on your source device.
- Instalacja sterownika: For some operating systems (especially Linux distributions), specific drivers or configuration might be required for touch input. Refer to the documentation for your specific OS and device (e.g., Raspberry Pi documentation for touchscreen setup).
- Zgodność z systemem operacyjnym: Confirm your operating system supports touch input with this monitor. Windows systems generally offer multi-touch, while Linux-based systems often require specific setup for single-touch.
5.3 Problemy z jakością obrazu
- Jakość kabla: A faulty HDMI cable can cause image distortion or flickering. Try a different cable.
- Rozdzielczość źródła: Ensure the source device is outputting at the monitor's native resolution (1280x800) for optimal clarity.
6. Specyfikacje
| Funkcja | Specyfikacja |
|---|---|
| Marka | ELEKTROROW |
| Nazwa modelu | DIS85101D |
| Rozmiar ekranu | 10.1 cali |
| Rezolucja | 1280x800 |
| Rozdzielczość natywna | 1280x800 pikseli |
| Proporcje obrazu | 16:10 |
| Typ wyświetlacza | LCD |
| Technologia wyświetlania | IPS |
| Opis powierzchni ekranu | Lśniący |
| Współczynnik kontrastu | 2000:1 |
| Częstotliwość odświeżania | 60 Hz |
| Viewing kąt | 178 stopnia |
| Jasność | 250 cd/m² |
| Czas reakcji | 8 milisekund |
| Technologia łączności | HDMI, USB |
| Wszystkie porty HDMI | 1 |
| Łączna liczba portów USB | 2 (Micro USB for power, Micro USB for touch/power) |
| Pobór mocy | 5.29 watów |
| Tomtage | 5 woltów |
| Waga przedmiotu | 521 gramów |
| Wymiary przedmiotu (gł. x szer. x wys.) | 1.6" gł. x 6.2" szer. x 9.4" wys. |
| Typ montażu | Desk Mount, Wall Mount (4 mounting holes) |
| Kompatybilne urządzenia | Raspberry Pi 3/3B+/4B/5, Jetson Nano, Banana Pi, Beaglebone, PC (Windows, Linux, Ubuntu) |
7. Informacje o gwarancji
This ELECROW 10.1 Inch Touchscreen Monitor comes with a 1-letnia gwarancja producenta. Please retain your proof of purchase for warranty claims. The warranty covers defects in materials and workmanship under normal use. It does not cover damage caused by misuse, accidents, unauthorized modifications, or improper installation.
8. Obsługa klienta
For technical assistance, troubleshooting not covered in this manual, or warranty inquiries, please contact ELECROW customer support through the retailer where you purchased the product or visit the official ELECROW webwitryna do informacji kontaktowych.