JEYI I9-Seal
JEYI I9-Seal M.2 NVMe SSD Enclosure User Manual
Model: I9-Seal
Wstęp
This manual provides comprehensive instructions for the installation, operation, and maintenance of your JEYI I9-Seal M.2 NVMe SSD Enclosure. This device converts an NVMe M.2 solid-state drive into a portable external storage solution with high-speed USB 3.2 Gen 2 connectivity.
Zawartość opakowania
Sprawdź, czy w przesyłce znajdują się wszystkie elementy wymienione poniżej:
- JEYI M.2 NVMe SSD Enclosure
- Podkładki termiczne
- Śrubokręt
- USB-A to USB-C Cable (10Gbps)
- USB-C to USB-C Cable (10Gbps)
- Falrep

Instrukcje konfiguracji
Follow these steps to install your NVMe M.2 SSD into the JEYI I9-Seal enclosure:
- Przygotuj obudowę: Gently slide open the enclosure to reveal the internal PCB.
- Załóż podkładkę termiczną: Peel off the protective films from both sides of a thermal pad and carefully place it onto the NVMe SSD chip area. This aids in heat dissipation.
- Insert NVMe SSD: Align your NVMe M.2 SSD (2280 form factor only) with the M-Key slot on the PCB. Insert the SSD firmly but gently into the slot at an angle.
- Zabezpiecz dysk SSD: Once inserted, gently push down the SSD and secure it with the provided screw using the included screwdriver. Ensure the SSD is flat and securely fastened.
- Zamknij obudowę: Carefully slide the enclosure cover back into place until it clicks securely.


Instrukcja obsługi
Once your NVMe SSD is securely installed, connect the enclosure to your device:
- Połącz z urządzeniem: Use either the provided USB-C to USB-C cable or the USB-A to USB-C cable to connect the enclosure to a compatible USB port on your computer, smartphone, tablet, or game console.
- Wskaźnik zasilania: A small LED indicator on the enclosure will illuminate, signifying that the device is powered on and connected.
- Rozpoznawanie dysku: Your operating system (Windows, macOS, Linux, Android, iOS) should automatically detect the new storage device. If it's a new SSD, you may need to initialize and format it through Disk Management (Windows) or Disk Utility (macOS) before use.
- Transfer danych: You can now perform data backup, file transfers, disk upgrades, data recovery, or use it for storage expansion. The enclosure supports USB 3.2 Gen 2 speeds up to 10Gbps.

Konserwacja
To ensure optimal performance and longevity of your JEYI I9-Seal enclosure:
- Zarządzanie ciepłem: Aluminium casing and thermal pads are designed for efficient heat dissipation. During prolonged high-speed data transfers, the enclosure may become warm to the touch. This is normal and indicates effective heat transfer from the SSD.
- Czyszczenie: Do czyszczenia zewnętrznej części obudowy należy używać miękkiej, suchej ściereczki. Unikać stosowania płynnych środków czyszczących i rozpuszczalników.
- Składowanie: Gdy obudowa nie jest używana, należy ją przechowywać w chłodnym i suchym miejscu, z dala od bezpośredniego światła słonecznego i ekstremalnych temperatur.
- Pielęgnacja kabli: Handle the USB cables carefully. Avoid sharp bends or excessive pulling to prevent damage.
Rozwiązywanie problemów
| Problem | Możliwa przyczyna | Rozwiązanie |
|---|---|---|
| Komputer nie wykrył obudowy. |
|
|
| Niska prędkość przesyłu danych. |
|
|
| Enclosure gets very hot. |
|
|
Specyfikacje
| Funkcja | Szczegół |
|---|---|
| Model | I9-Seal |
| Marka | JEJI |
| Interfejs sprzętowy | USB 3.2 Gen 2 (USB-C) |
| Szybkość przesyłu danych | Do 10 Gb/s |
| Kompatybilny typ dysku SSD | NVMe M.2 (PCI-E M-Key) |
| Supported SSD Form Factor | 2280 (80mm) only |
| Maksymalna pojemność magazynowa | 4 TB |
| Zestaw układów scalonych | JMS583 A3 |
| Cechy | UASP Support, TRIM Support, Win to Go (WTG) Support |
| Tworzywo | Stop aluminium |
| Kolor | Srebrny |
| Wymiary produktu | 4.06 x 1.02 x 0.39 cala (103 x 26 x 10 mm) |
| Waga przedmiotu | 0.317 uncji (9 grama) |
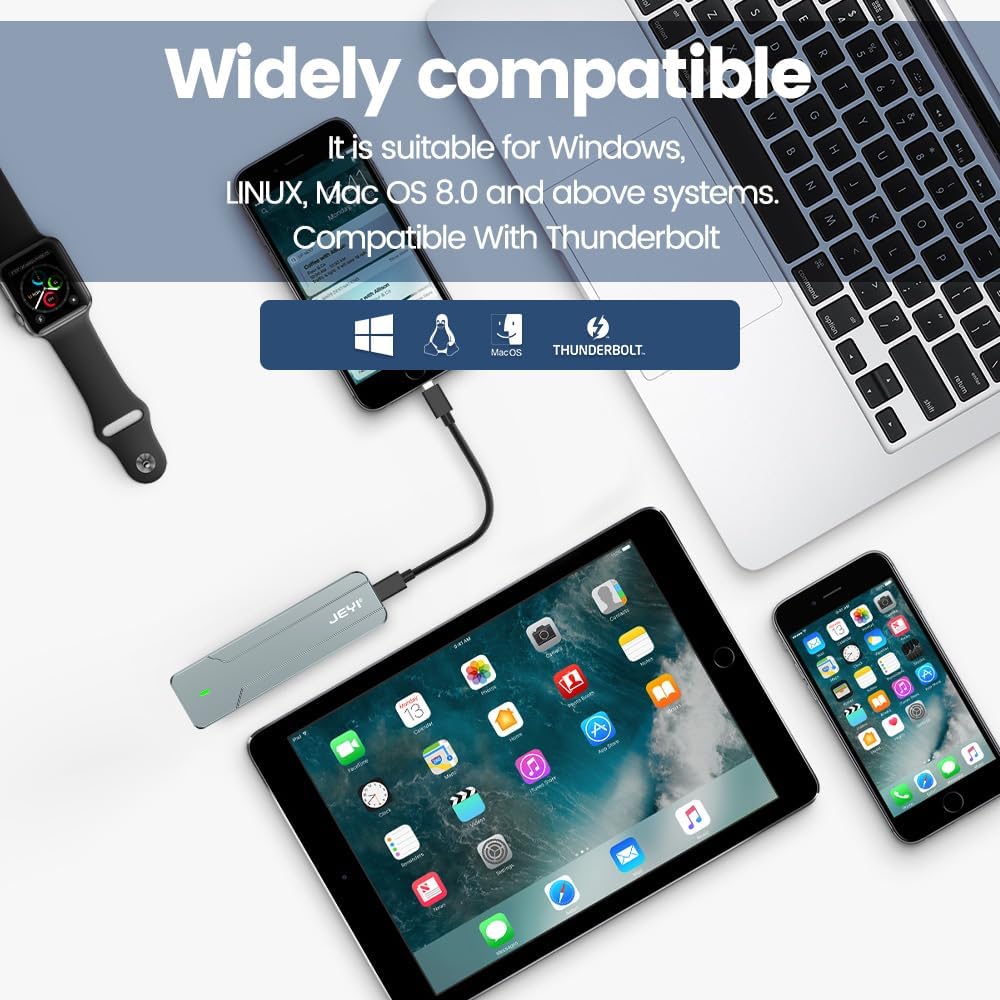
| Kompatybilne systemy operacyjne | Windows, macOS, Linux, iOS, Android |

Gwarancja i wsparcie
For warranty information or technical support, please refer to the official JEYI webOdwiedź witrynę lub skontaktuj się bezpośrednio z działem obsługi klienta. Szczegóły dotyczące konkretnych okresów gwarancji i kanałów wsparcia są zazwyczaj podane w dokumentacji zakupu lub na stronie producenta. webstrona.
Producent: JEJI
Webstrona: Visit the JEYI Store on Amazon
Powiązane dokumenty - I9-Seal
 |
JEYI JMS583 NVMe SSD Enclosure: USB-C 10Gbps M.2 NVMe Enclosure User Manual Comprehensive user manual for the JEYI JMS583 NVMe Only SSD Enclosure, detailing specifications, system requirements, hardware installation, troubleshooting, and FAQ for the USB 3.2 Gen 2 10Gbps M.2 NVMe SSD enclosure. |
 |
JEYI SK4PRO M.2 NVMe Adapter Installation Guide Easy installation guide for the JEYI SK4PRO M.2 NVMe adapter. Learn how to install your PCIe 4.0 NVMe SSDs (2230/2242/2260/2280) with this user-friendly adapter. |
 |
JEYI icold-007 M.2 NVMe SSD Heatsink Installation Guide Step-by-step guide on how to install the JEYI icold-007 M.2 NVMe SSD heatsink for optimal cooling performance in PC and PS5 systems. Learn proper thermal pad application and heatsink mounting. |
 |
JEYI JF2464X4 4-Bay NVMe RAID Enclosure: Installation & Setup Guide Install your JEYI JF2464X4 4-bay NVMe RAID enclosure with ease. This guide covers setup for Thunderbolt 4/3 compatibility, including SSD installation and case assembly for optimal performance. |
 |
JEYI SSD Enclosure Installation Guide A straightforward guide to installing your SSD into a JEYI enclosure. Follow these simple steps for a quick and easy setup of your storage device. |
 |
JEYI SK4 M.2 NVMe to PCIe 4.0 Adapter Installation Guide Step-by-step installation guide for the JEYI SK4 M.2 NVMe to PCIe 4.0 adapter card. Learn how to easily connect your NVMe SSD to PCIe x4, x8, or x16 slots for enhanced desktop PC storage performance. Supports PCIe Gen4 full speed. |