
Wstęp
This manual provides comprehensive instructions for the safe and effective operation and maintenance of your SINGER HD64S Heavy Duty Sewing Machine. Designed for durability and performance, this machine is capable of handling a variety of fabrics, from delicate materials to heavy-duty denim and canvas. Please read this manual thoroughly before using your machine to ensure optimal results and longevity.
Ważne instrukcje bezpieczeństwa
- Zawsze odłączaj maszynę od gniazdka elektrycznego przed zdjęciem pokrywy, smarowaniem lub wykonaniem innych czynności serwisowych opisanych w instrukcji obsługi.
- Never operate the machine if it has a damaged cord or plug, if it is not working properly, if it has been dropped or damaged, or dropped into water.
- Trzymaj palce z dala od wszystkich ruchomych części. Należy zachować szczególną ostrożność wokół igły maszyny do szycia.
- Używaj wyłącznie akcesoriów zalecanych przez producenta.
- Nigdy nie wrzucaj i nie wkładaj żadnych przedmiotów do otworów.
- Nie stosować na zewnątrz.
- Nie należy pracować w miejscach, w których stosuje się produkty w formie aerozolu (sprayu) lub podaje się tlen.
Rozpoczęcie pracy: Konfiguracja początkowa
Rozpakowywanie i komponenty
Carefully remove your SINGER HD64S sewing machine from its packaging. Ensure all components are present. The machine comes pre-assembled. Key components include the main sewing machine unit, foot pedal, and an accessory kit.

Figure 1: SINGER HD64S Heavy Duty Sewing Machine. This image shows the overall view of the gray SINGER HD64S sewing machine with its main controls visible.
Power Connection and Foot Pedal
Connect the foot pedal to the machine and then plug the machine into a suitable electrical outlet. The foot pedal controls the sewing speed.
Video 1: SINGER HD500 Classic Mechanical Heavy Duty Sewing Machine. This video demonstrates the setup and basic operation of a SINGER Heavy Duty sewing machine, including connecting the foot pedal and showing various stitch types.
Nawlekanie maszyny
Proper threading is crucial for smooth operation. Follow the numbered guides on the machine for upper thread path. The machine features a self-threading needle mechanism for convenience.
- Nawijanie szpulki: Place a spool of thread on the spool pin. Guide the thread through the bobbin winding tension disc and then around the empty bobbin. Place the bobbin onto the bobbin winder spindle and push it to the right. Start the machine to wind the bobbin. It will stop automatically when full.
- Inserting the Lower Bobbin: Open the bobbin cover plate. Insert the wound bobbin into the bobbin case, ensuring the thread unwinds in the correct direction (usually counter-clockwise). Follow the thread guides in the bobbin area.
- Górny gwint: Place the thread spool on the spool pin. Guide the thread through the upper thread guides, down through the tension discs, up through the take-up lever, and down to the needle. Use the automatic needle threader to pass the thread through the needle eye.

Figure 2: Threading the SINGER HD64S Sewing Machine. This image illustrates the process of threading the upper thread and bobbin on the SINGER HD64S machine.
Needle Installation/Change
Aby wymienić igłę, poluzuj zacisk igły.amp screw, remove the old needle, and insert a new one with the flat side facing the back. Tighten the screw securely.
Operating Your SINGER HD64S
Wybór ściegu
Your SINGER HD64S offers 32 built-in stitches, including a 1-step buttonhole. Use the stitch selector dial on the front of the machine to choose your desired stitch pattern.

Figure 3: SINGER HD64S Buttonhole Foot. This image displays the buttonhole presser foot in action on the SINGER HD64S machine, demonstrating its capability for creating buttonholes.
Stitch Length and Width Adjustment
Adjust the stitch length using the upper dial on the right side of the machine. The stitch width can be adjusted using the slider on the top panel, particularly useful for zigzag stitches.
Needle Position Adjustment
The needle position can be shifted left, center, or right using the needle position dial on the top panel. This is useful for various sewing techniques like topstitching or zipper insertion.
Odwrotne szycie
To reinforce stitches at the beginning and end of a seam, press and hold the reverse sewing lever located on the front of the machine while sewing.
Presser Foot Adjustment
The presser foot pressure can be adjusted using the dial on the top of the machine. This allows for optimal feeding of different fabric thicknesses.
Using the Extension Table/Accessory Storage
The machine includes a removable extension table that provides a larger work surface for bigger projects. This table also features built-in storage for accessories. To use the free arm for sewing cuffs or sleeves, simply slide off the extension table.
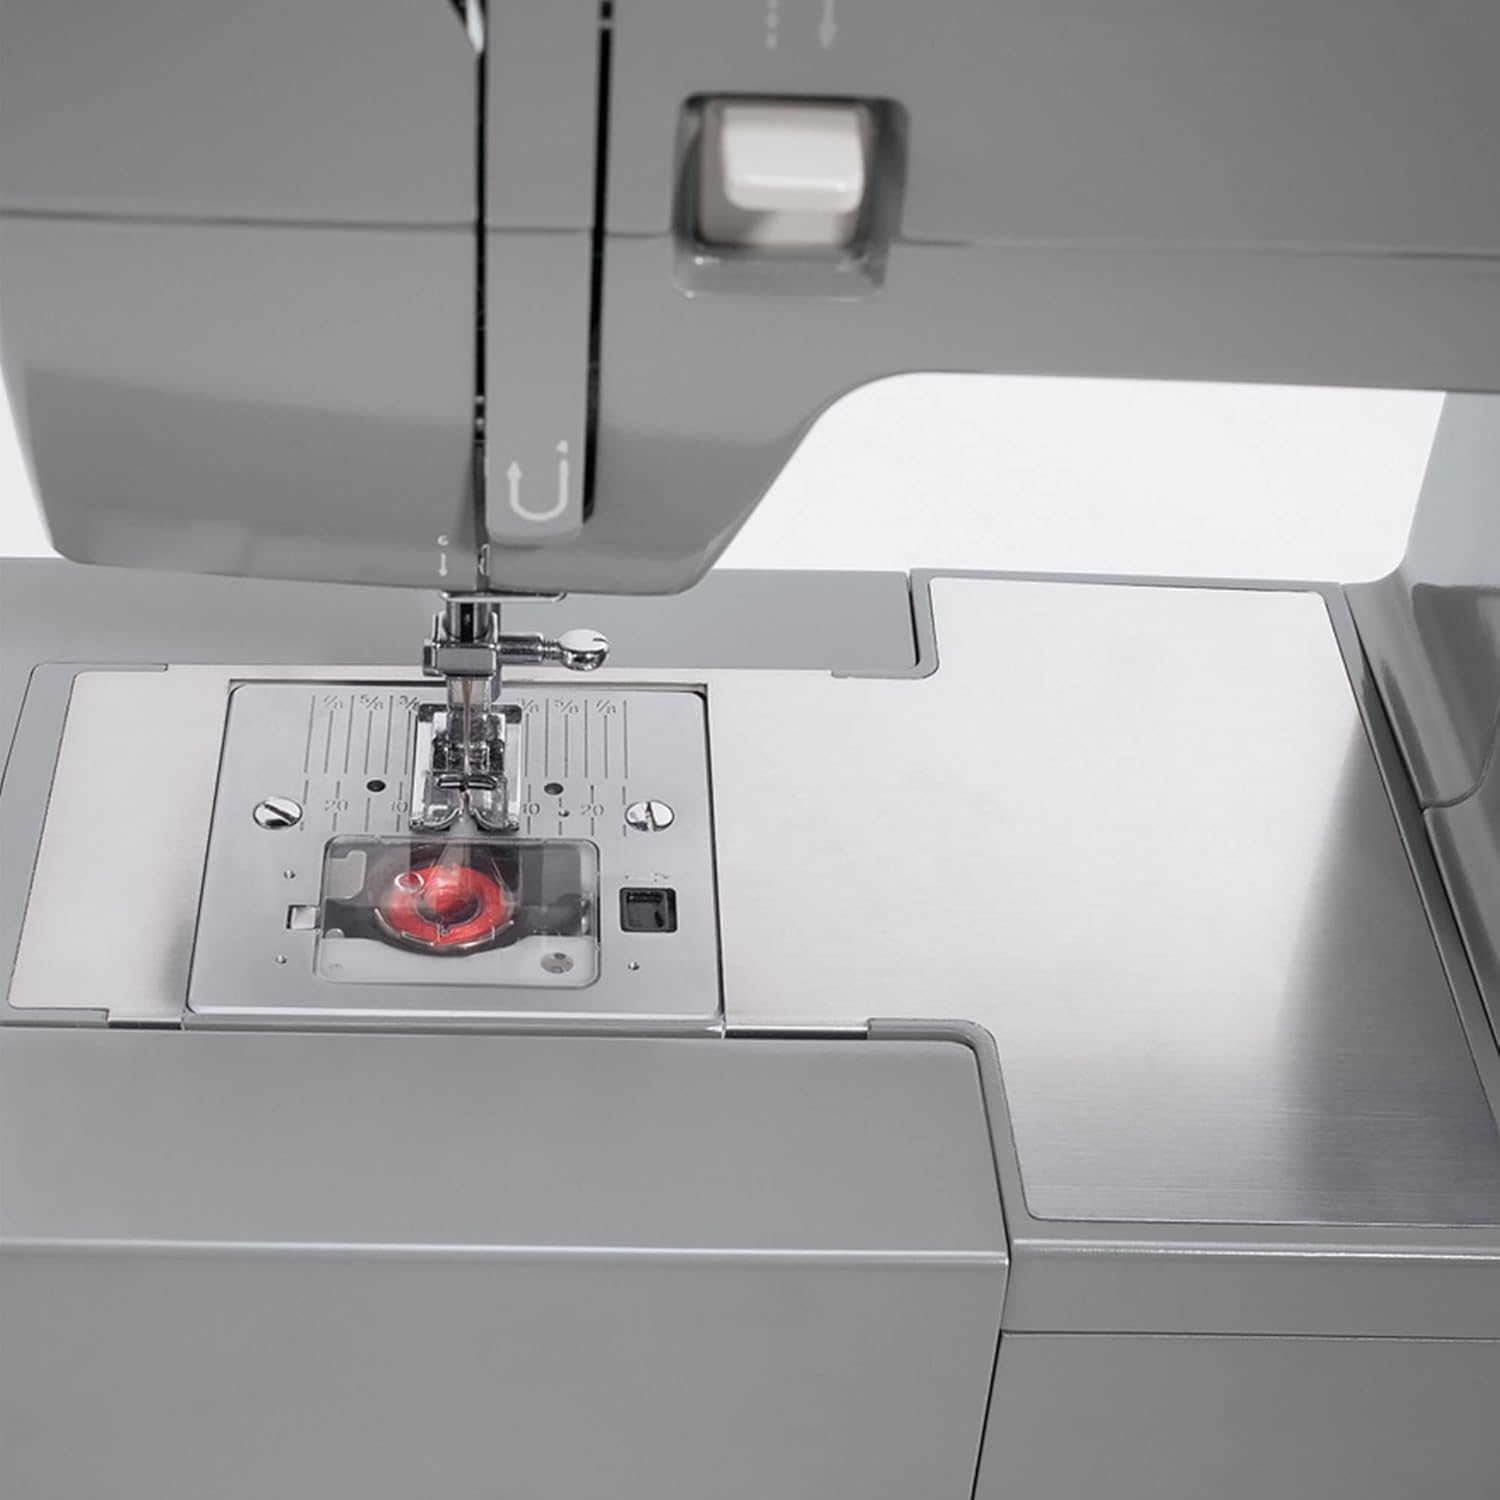
Figure 4: SINGER HD64S with Extension Table. This image shows the SINGER HD64S sewing machine with its extension table attached, providing an expanded work area.
Sewing Tips
The SINGER HD64S is designed for heavy-duty tasks, allowing you to sew through multiple layers of fabric or thicker materials with ease. Always test your stitch settings on a scrap piece of your fabric before beginning your project.
Konserwacja
Czyszczenie
Regular cleaning ensures optimal performance. Periodically remove the needle plate cover and use the provided lint brush to clear any lint or thread buildup from the bobbin area and feed dogs.
Wymiana igły
Replace needles frequently, especially when working with new projects or if you notice skipped stitches or thread breakage. Dull or bent needles can damage fabric and affect stitch quality.
Rozwiązywanie problemów
| Problem | Możliwa przyczyna | Rozwiązanie |
|---|---|---|
| Pominięte ściegi | Niewłaściwa igła, wygięta igła, nieprawidłowe nawlekanie. | Wymień igłę na igłę właściwego typu/rozmiaru i ponownie prawidłowo nawlecz maszynę. |
| Zerwanie nici | Incorrect threading, tension too tight, damaged needle, poor quality thread. | Check threading, adjust tension, replace needle, use good quality thread. |
| Tkanina nie jest podawana | Ząbki transportera są opuszczone, nacisk stopki dociskowej jest za niski. | Podnieś ząbki transportu, zwiększ nacisk stopki dociskowej. |
Specyfikacje
- Model: HD64S
- Szwy: 32 wbudowanych ściegów
- Szybkość szycia: Bardzo wysoki
- Wymiary: 20.3 x 6.25 x 15.5 cala (51.56 x 15.88 x 39.37 cm)
- Waga przedmiotu: 18.2 funtów (8.26 kg)
- Producent: PIOSENKARZ
- Moc: Elektryczny
- Zawartość zestawu: User Manual, Accessory Kit, Extension Table
Gwarancja i wsparcie
Aby uzyskać informacje o gwarancji, rejestracji produktu i dodatkowej pomocy, odwiedź oficjalną stronę internetową SINGER website or refer to the warranty card included with your machine. Registering your product may provide exclusive benefits and helpful tips.
Możesz również odwiedzić Sklep SINGER na Amazon Więcej produktów i zasobów.


