1. Wprowadzenie
Dziękujemy za zakupasing the EVICIV 17.3-inch 2K 144Hz Portable Monitor. This manual provides essential information for setting up, operating, and maintaining your device. Please read it thoroughly before use and keep it for future reference.
2. Funkcje produktu
- Przenośna konstrukcja: 17.3-inch large screen with a thin and lightweight design, ideal for portability.
- High Resolution & Refresh Rate: 2560x1440 (2K QHD) resolution with a 144Hz refresh rate for smooth visuals and immersive gaming.
- Panel IPS: 178° szerokości viewing angle IPS panel ensures vivid image quality from various perspectives.
- Color Accuracy & Brightness: 100% sRGB color gamut for excellent color reproduction, 350nit high brightness, and 1000:1 contrast ratio for clear visibility in bright environments.
- Wbudowany stojak: Integrated stand allows for stable viewing angle adjustment without additional accessories.
- Wszechstronna łączność: Equipped with Type-C and mini HDMI ports, compatible with various devices including laptops, gaming consoles (X-BOX, Switch), PCs, and Macs.
- Single Cable Connection: Supports single Type-C cable for video signal and power delivery with compatible devices.
- Zgodność z mocowaniem VESA: Features VESA mounting holes (75x75mm) for wall or arm bracket installation.
- Wbudowane głośniki: Integrated speakers provide audio for an enhanced viewzdobywania doświadczenia.
3. Zawartość opakowania
Proszę sprawdzić, czy w paczce znajdują się następujące elementy:
- EVICIV 17.3-inch Portable Monitor
- Kabel USB typu C do typu C
- Kabel mini HDMI do HDMI
- USB Type-A to Type-C Power Cable
- Zasilacz
- Instrukcja obsługi
4. Monitorujview
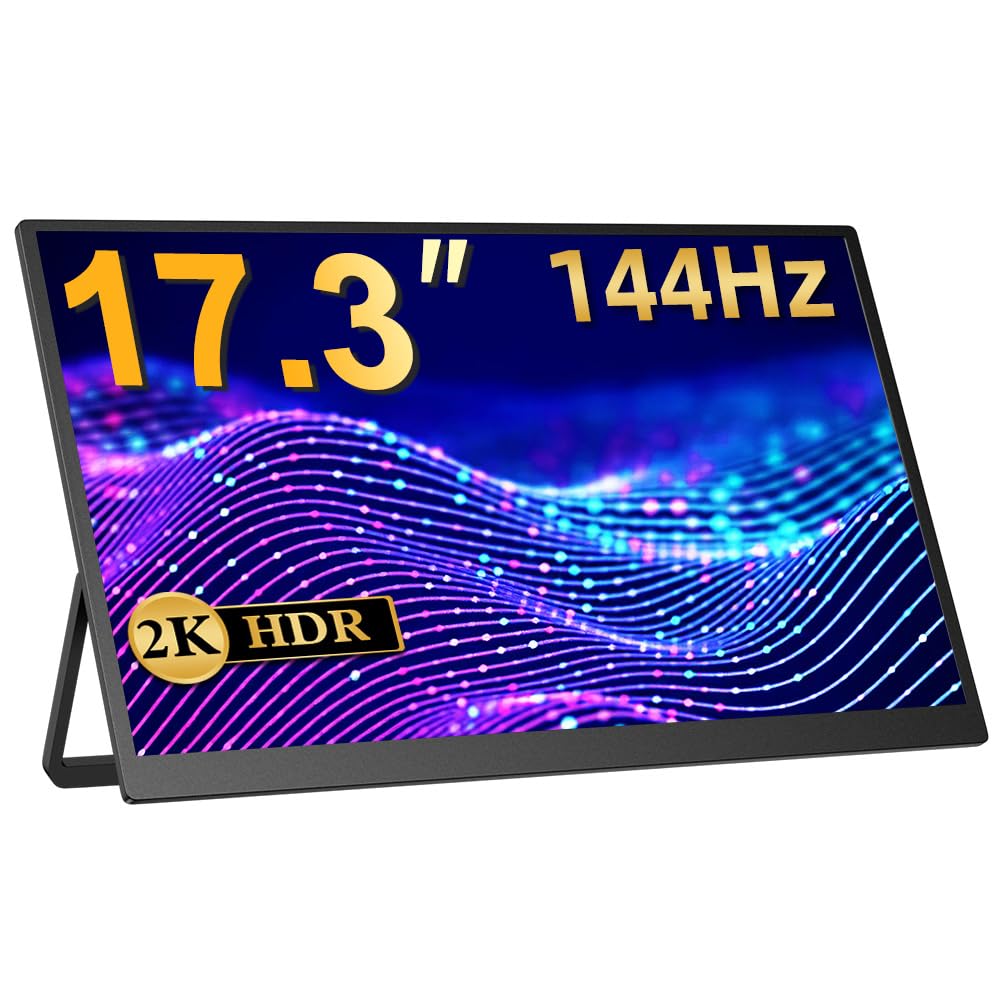
Rycina 1: Przód view of the EVICIV 17.3-inch Portable Monitor.
Rysunek 2: Tył view of the monitor, highlighting the VESA mount compatibility (75x75mm).

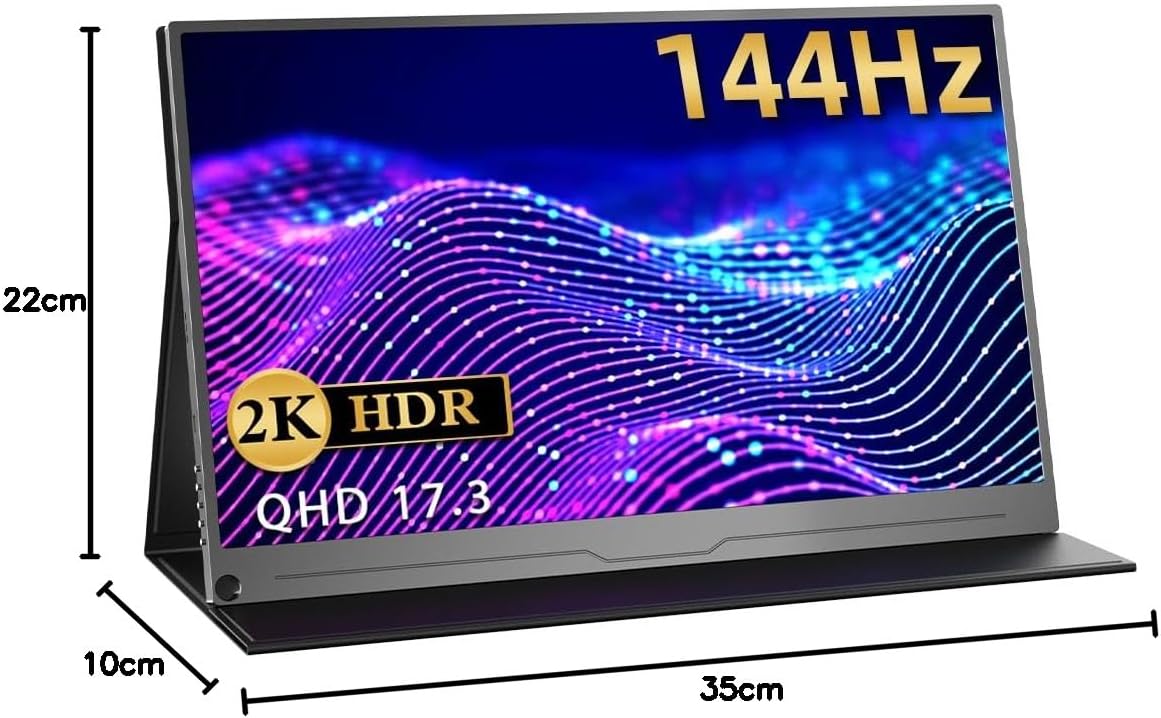
Rysunek 3: Profesjonalizm bocznyfile illustrating the thin and lightweight design of the monitor.

Figure 4: Close-up of the monitor's slim bezel, approximately 4mm, for an expansive viewzdobywania doświadczenia.

Figure 5: Detail of the built-in speakers, providing integrated audio.
5. Konfiguracja i połączenia
5.1 Włączanie
- Podłącz zasilacz do wejścia zasilania monitora.
- Naciśnij przycisk zasilania, aby włączyć monitor.
5.2 Łączenie się z urządzeniami
Monitor obsługuje różne metody podłączenia:
- USB Type-C (Full-featured): For compatible devices (e.g., laptops, smartphones, some gaming consoles), a single Type-C cable can transmit video, audio, and power. Ensure your device's Type-C port supports DisplayPort Alternate Mode and power delivery.
- Mini HDMI: Use the provided Mini HDMI to HDMI cable to connect to devices like PCs, laptops, or gaming consoles (e.g., X-BOX, Switch). An additional power source (via Type-C) may be required.

Figure 6: Monitor connected to a smartphone via a single Type-C cable, demonstrating video and power transmission.

Figure 7: Monitor connected to a Nintendo Switch for an enhanced gaming experience.
6. Instrukcja obsługi
6.1 Menu ekranowe (OSD)
The OSD menu allows you to adjust various display settings. Use the control buttons on the side of the monitor to navigate and select options.
- Jasność/Kontrast: Dostosuj poziom jasności i kontrastu obrazu.
- Ustawienia kolorów: Zmień temperaturę barwową, odcień i nasycenie.
- Źródło sygnału wejściowego: Manually select the input source (Type-C, HDMI).
- Proporcje obrazu: Choose between different aspect ratio modes.
- Tryb HDR: Enable or disable HDR (High Dynamic Range) for compatible content.
- Tom: Adjust the volume of the built-in speakers or connected headphones.
6.2 Regulacja stojaka
The integrated stand allows for flexible angle adjustments to suit your viewing preference. Simply unfold the stand to the desired angle for stable positioning.
7. Scenariusze użytkowania
7.1 Dual Display for Productivity
Extend your laptop or PC screen to create a dual-monitor setup, enhancing multitasking and workflow efficiency. Ideal for remote work, presentations, and creative tasks.

Figure 8: Monitor used to extend a laptop display for increased productivity in a work environment.
7.2 Immersive Gaming
Connect to your gaming console (PS5, X-BOX, Switch) via HDMI or compatible Type-C for a larger, more immersive gaming experience with the 144Hz refresh rate.

Figure 9: Monitor displaying a game, illustrating a smooth gaming experience.
7.3 Konsumpcja mediów
Enjoy movies, videos, and other media content on the vibrant 2K display. Connect your smartphone or tablet for a larger viewObszar objęty badaniem.
Video 1: This video demonstrates the EVICIV 17.3-inch portable monitor (FHD 1920x1200 model) being used for media consumption and gaming. Please note that the resolution shown in the video is FHD (1920x1200), while this product is a 2K (2560x1440) model.
8. Specyfikacje
| Marka | EVICIV |
| Model | EVC-1704 |
| Rozmiar ekranu | 17.3 cali |
| Rezolucja | 2560 x 1440 (QHD 2K) |
| Częstotliwość odświeżania | 144 Hz |
| Typ panelu | IPS |
| Jasność | 350 nitów |
| Gama kolorów | 100% sRGB |
| Proporcje obrazu | 16:9 |
| Obróbka powierzchni | Nieoślepiający |
| Łączność | 2x Typ-C, 1x Mini HDMI |
| Audio | Built-in Speakers, 3.5mm Audio Jack |
| Mocowanie VESA | 75 x 75mm |
| Wymiary | 44.9 x 29.3 x 6.9 cm (Packaged) |
| Waga | 1.89 kg (Packaged) |
9. Rozwiązywanie Problemów
9.1 Brak sygnału / Czarny ekran
- Ensure the monitor is powered on and the power adapter is securely connected.
- Verify that the video cable (Type-C or HDMI) is correctly connected to both the monitor and your source device.
- Check if your source device is outputting a video signal. Try connecting it to another display if possible.
- If using a single Type-C cable, ensure your device's Type-C port supports DisplayPort Alternate Mode and power delivery. Try connecting the monitor to an external power source.
- Try switching input sources manually via the OSD menu.
9.2 Image Flickering or Distortion
- Sprawdź kabel wideo pod kątem uszkodzeń i luźnych połączeń. Wypróbuj inny kabel, jeśli jest dostępny.
- Ensure the monitor is receiving sufficient power. Use the provided power adapter.
- Adjust the resolution and refresh rate settings on your source device to match the monitor's capabilities (2560x1440, 144Hz).
- Disable any FreeSync or adaptive sync settings on your source device if experiencing issues, as noted in some user reviews.
9.3 Brak dźwięku
- Increase the volume on both the monitor (via OSD menu) and your source device.
- Sprawdź, czy w urządzeniu źródłowym wybrano właściwe urządzenie wyjściowe audio.
- If using headphones, ensure they are properly connected to the 3.5mm audio jack.
10. Konserwacja
- Czyszczenie ekranu: Gently wipe the screen with a soft, lint-free cloth. For stubborn marks, use a screen-cleaning solution specifically designed for displays, applied to the cloth, not directly to the screen.
- Czyszczenie ciała: Do czyszczenia obudowy monitora należy używać miękkiej, suchej ściereczki. Unikaj środków czyszczących o działaniu ściernym i rozpuszczalników.
- Składowanie: When not in use, store the monitor in a cool, dry place, away from direct sunlight and extreme temperatures. Use the protective sleeve or original packaging for transport.
- Obsługiwanie: Avoid applying excessive pressure to the screen or dropping the monitor.
11. Gwarancja i wsparcie
EVICIV products typically come with a manufacturer's warranty. For specific warranty terms, duration, and support inquiries, please refer to the warranty card included in your product packaging or visit the official EVICIV webwitryny. Możesz również skontaktować się bezpośrednio ze sprzedawcą, aby uzyskać pomoc.
For further support, please visit the EVICIV store on Amazon: EVICIV Amazon Store