
1. Wprowadzenie
The Ricoh M 320 is a high-productivity, low-maintenance multifunction device designed for printing, copying, and scanning in workspaces with limited space. This system offers easy monitoring and management of print history, device settings, and network protocols. Featuring a 5 GHz Wi-Fi interface, it ensures a stable wireless connection by reducing bottlenecks. Its compact design makes it suitable for various office environments. Setup and operation are designed to be straightforward. The integrated scan and copy functions facilitate easy digitization and sharing of documents. The all-in-one toner cartridge is high-capacity and simple to replace. Full support is provided for Windows, Mac, and Linux operating systems, with both 2.4 GHz and 5 GHz WLAN capabilities.
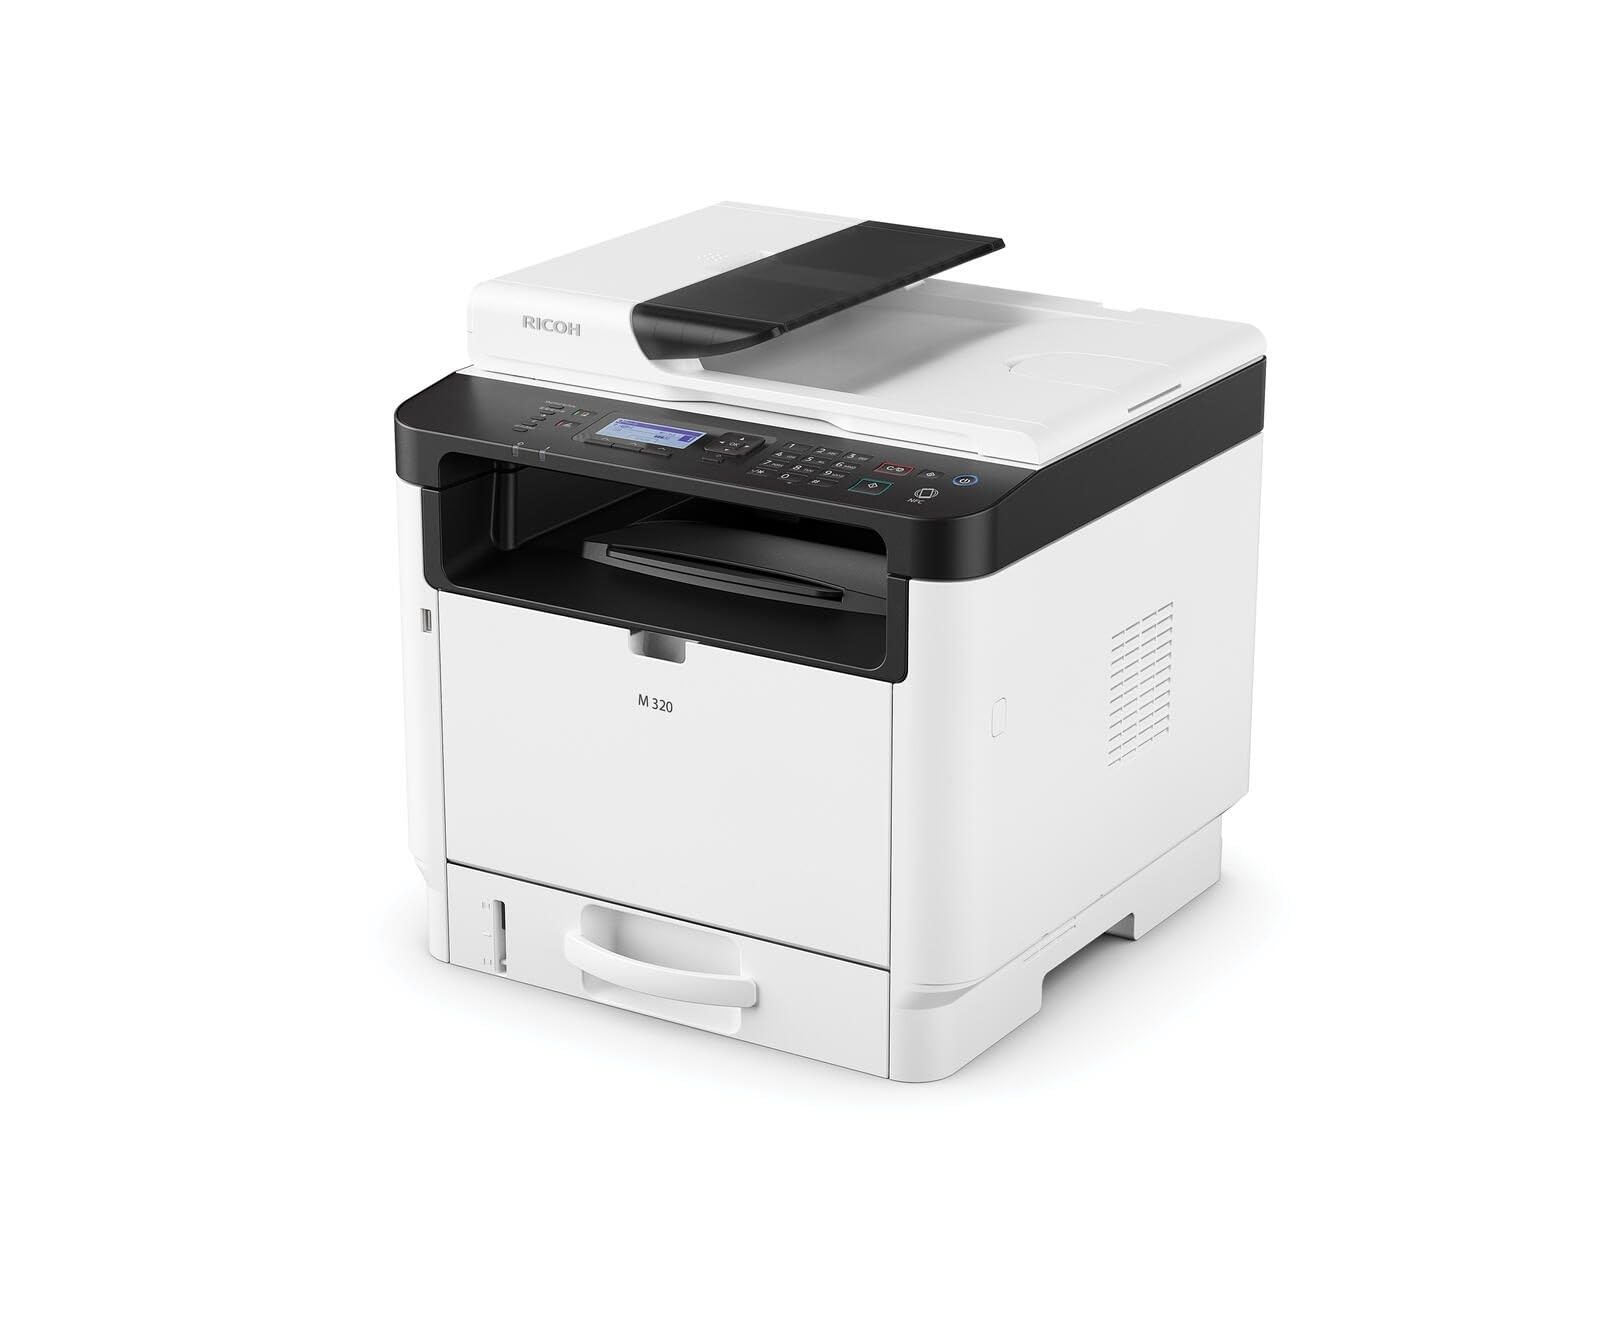
Figure 1: Ricoh M 320 Multifunction System. This image displays the compact design of the Ricoh M 320, highlighting its main components including the paper tray and control panel.
1.1 Zawartość pudełka
Sprawdź, czy w opakowaniu znajdują się wszystkie elementy:
- Ricoh M 320 Multifunction System
- Kabel zasilający
- Startowy wkład z tonerem
- Przewodnik po konfiguracji
- Płyta CD z oprogramowaniem (może się różnić w zależności od regionu)
2. Konfiguracja
2.1 Rozpakowywanie i umieszczanie
- Wyjmij drukarkę z opakowania.
- Usuń wszystkie taśmy ochronne i materiały opakowaniowe z zewnętrznej i wewnętrznej części drukarki.
- Ustaw drukarkę na stabilnej, równej powierzchni z odpowiednią wentylacją. Zapewnij wystarczającą przestrzeń wokół drukarki, aby umożliwić jej obsługę i konserwację.
2.2 Połączenie zasilania
- Podłącz kabel zasilający do gniazda zasilania drukarki.
- Podłącz drugi koniec kabla zasilającego do uziemionego gniazdka elektrycznego.
- Naciśnij przycisk zasilania, aby włączyć drukarkę.
2.3 Instalacja wkładu z tonerem
- Otwórz przednią pokrywę drukarki.
- Carefully remove the new toner cartridge from its packaging and gently shake it horizontally several times to distribute the toner evenly.
- Włóż wkład z tonerem do drukarki, aż zatrzaśnie się na swoim miejscu.
- Zamknij przednią pokrywę.
2.4 Ładowanie papieru
- Wyciągnij tacę papieru.
- Adjust the paper guides to match the size of the paper you are loading (up to A4).
- Załaduj stos papieru do podajnika, upewniając się, że jest on płaski i nie przekracza linii maksymalnego zapełnienia.
- Delikatnie wsuń tackę na papier z powrotem do drukarki.
2.5 Połączenie sieciowe
The Ricoh M 320 supports both Ethernet and Wi-Fi connectivity.
Połączenie Ethernet:
- Podłącz kabel Ethernet do routera sieciowego lub przełącznika do portu Ethernet z tyłu drukarki.
- Drukarka automatycznie spróbuje uzyskać adres IP.
Wi-Fi Connection (2.4 GHz / 5 GHz):
- On the printer's 4-line LCD display, navigate to the Network Settings menu.
- Select "WLAN Setup" or "Wi-Fi Setup".
- Wybierz swoją sieć Wi-Fi z listy dostępnych sieci.
- Enter the Wi-Fi password (WPA/WPA2 key) using the control panel.
- Confirm the settings. The printer will connect to the network.
2.6 Instalacja sterowników i oprogramowania
To use all functions of the Ricoh M 320, install the necessary drivers and software on your computer.
- Windows/Mac/Linux: Insert the provided software CD into your computer's CD/DVD drive and follow the on-screen instructions. Alternatively, download the latest drivers and utilities from the official Ricoh support webstrona.
- Mobile Devices (iOS/Android): Download the Ricoh Smart Device Connector app from your device's app store to enable mobile printing and scanning. The printer supports AirPrint and Mopria.
3. Obsługa drukarki
3.1 Drukowanie dokumentów
- Otwórz dokument, który chcesz wydrukować, na komputerze lub urządzeniu mobilnym.
- Wybierz opcję „Drukuj” z menu aplikacji (np. File > Drukuj).
- Choose "Ricoh M 320" as your printer.
- Adjust print settings such as number of copies, paper size, and duplex printing (automatic duplex is supported).
- Kliknij „Drukuj”.
The printer offers high-quality black and white printing at 1200 x 1200 dpi. Maximum print speed for black and white is 13 pages per minute, and for color is 4.5 pages per minute.
3.2 Kopiowanie dokumentów
- Place the document face-down on the scanner glass or face-up in the Automatic Document Feeder (ADF). The ADF supports up to 35 sheets.
- Na panelu sterowania drukarki wybierz opcję „Kopiuj”.
- Use the navigation buttons to adjust settings such as number of copies (up to 35 per run), copy quality, and zoom.
- Naciśnij przycisk „Start”, aby rozpocząć kopiowanie.
3.3 Skanowanie dokumentów
Documents can be scanned to a computer or mobile device.
- Umieść dokument na szybie skanera lub w podajniku ADF.
- On your computer, open the scanning software (e.g., Ricoh Scan Utility) or use the "Scan" function from the Ricoh Smart Device Connector app on your mobile device.
- Select "Ricoh M 320" as the scanner.
- Choose scan settings such as resolution (up to 1200 x 1200 dpi), color mode, and destination folder.
- Rozpocznij skanowanie.
3.4 Mobile Printing and Scanning
The Ricoh M 320 supports mobile printing and scanning via AirPrint, Mopria, and the Ricoh Smart Device Connector app.
- AirPrint (iOS): Ensure your iOS device is connected to the same Wi-Fi network as the printer. Open the document or photo, tap the share icon, and select "Print". Choose the Ricoh M 320.
- Mopria (Android): Ensure your Android device has the Mopria Print Service installed and is connected to the same Wi-Fi network. Open the document or photo, tap the menu icon, and select "Print". Choose the Ricoh M 320.
- Ricoh Smart Device Connector App: Use the dedicated app for advanced mobile printing, scanning, and device management features.
4. Konserwacja
4.1 Wymiana wkładu z tonerem
When the toner level is low, a message will appear on the printer's display. Use only genuine Ricoh standard laser toner cartridges.
- Upewnij się, że drukarka jest włączona.
- Otwórz przednią pokrywę drukarki.
- Carefully pull out the used toner cartridge.
- Rozpakuj nowy wkład z tonerem i delikatnie potrząśnij nim kilka razy w poziomie.
- Insert the new toner cartridge into the printer until it clicks into place.
- Close the front cover. The printer will calibrate the new cartridge.
4.2 Czyszczenie drukarki
Regularne czyszczenie pomaga zachować jakość druku i wydłuża żywotność drukarki.
- Zewnętrzny: Przetrzyj zewnętrzne powierzchnie miękką, damp, ściereczka niepozostawiająca włókien. Nie używaj środków czyszczących o właściwościach ściernych ani rozpuszczalników.
- Szyba skanera: Gently clean the scanner glass with a soft, lint-free cloth moistened with glass cleaner. Ensure no residue remains.
- Wnętrze: Periodically open the front cover and gently remove any paper dust or toner residue with a dry, lint-free cloth. Avoid touching the drum unit.
5. Rozwiązywanie Problemów
This section addresses common issues you might encounter with your Ricoh M 320.
5.1 Typowe problemy i rozwiązania
- Drukarka nie odpowiada:
- Check if the printer is powered on and connected to the power outlet.
- Verify network connectivity (Ethernet cable or Wi-Fi signal).
- Uruchom ponownie drukarkę i komputer/urządzenie mobilne.
- Sprawdź, czy zainstalowano i wybrano właściwy sterownik drukarki.
- Zacięcia papieru:
- Wyłącz drukarkę i odłącz ją od zasilania.
- Otwórz wszystkie pokrywy i ostrożnie usuń zacięty papier, pociągając go w kierunku ścieżki papieru.
- Sprawdź, czy papier jest prawidłowo załadowany i nie jest pognieciony lub uszkodzony.
- Close all covers and restart the printer.
- Słaba jakość druku:
- Sprawdź poziom tonera w pojemniku i wymień go, jeśli jest niski.
- Ensure you are using genuine Ricoh toner cartridges.
- Clean the interior of the printer, especially around the drum unit (refer to maintenance section).
- Adjust print quality settings in your printer driver.
- Skaner nie działa:
- Ensure the printer is connected to the network and recognized by your computer/mobile device.
- Restart the scanning application and the printer.
- Verify that the scanner glass and ADF are clean.
- Problemy z połączeniem Wi-Fi:
- Sprawdź, czy hasło Wi-Fi zostało wprowadzone poprawnie.
- Check if the printer is within range of your Wi-Fi router.
- Restart your Wi-Fi router and the printer.
- Try connecting to the 2.4 GHz band if experiencing issues with 5 GHz, or vice-versa.
For more detailed troubleshooting, refer to the comprehensive user manual available on the Ricoh support webstrona.
6. Specyfikacje
| Funkcja | Specyfikacja |
|---|---|
| Nazwa modelu | M 320 (9P01749) |
| Funkcje | Print, Copy, Scan (3-in-1 Multifunction) |
| Technologia druku | Laser |
| Wyjście druku | Color (Note: Primarily a mono laser printer, color output refers to specific elements or capabilities) |
| Maksymalna rozdzielczość wydruku (czarno-biała) | 1200 x 1200 dpi |
| Maksymalna rozdzielczość druku (kolor) | 1200 x 1200 dpi |
| Maksymalna prędkość drukowania (czarno-białe) | 13 stron na minutę |
| Maksymalna prędkość drukowania (kolor) | 4.5 stron na minutę |
| Czas wydruku pierwszej strony | 4.62 sekund |
| Drukowanie dwustronne | Automatyczny |
| Typ skanera | Automatyczny podajnik dokumentów (ADF) |
| Pojemność podajnika ADF | 35 arkuszy |
| Rozdzielczość skanera | 1200 x 1200 dpi |
| Max Copies per Run | 35 |
| Łączność | Ethernet, Wi-Fi (2.4 GHz / 5 GHz) |
| Obsługa drukowania mobilnego | AirPrint, Mopria, Ricoh Smart Device Connector App |
| Kompatybilne systemy operacyjne | Windows, Mac, Linux, iOS, Android |
| Maksymalny rozmiar papieru | A4 |
| Pojemność arkuszy wejściowych | 35 arkuszy |
| Pojemność arkuszy wyjściowych | 35 arkuszy |
| Typ wyświetlacza | 4-wierszowy wyświetlacz LCD |
| Kompatybilny wkład | Ricoh standard laser toner cartridges |
| Waga przedmiotu | 21 kilograma |
7. Gwarancja i wsparcie
7.1 Ograniczona gwarancja
The Ricoh M 320 Multifunction System comes with a limited warranty. Please refer to the warranty documentation included with your product or visit the official Ricoh webSzczegółowe warunki, w tym okres gwarancji i procedury serwisowe, znajdziesz na stronie. Zachowaj dowód zakupu na wypadek roszczeń gwarancyjnych.
7.2 Obsługa klienta
For technical assistance, product inquiries, or service requests, please contact Ricoh customer support.
- Wsparcie online: Visit the official Ricoh support website for FAQs, driver downloads, and digital manuals.
- Wsparcie telefoniczne: Contact numbers for your region can be found on the Ricoh webstrona.
When contacting support, please have your product model (M 320) and serial number ready.