1. Wprowadzenie
Thank you for choosing the Dieffematic PUSH-C1 Fixed Code 433.92 MHz Radio Transmitter. This manual provides essential information for the safe and efficient use of your new device. Please read these instructions carefully before installation and operation, and keep them for future reference.
2. Koniec produktuview
The Dieffematic PUSH-C1 is a versatile fixed code 433.92 MHz radio transmitter designed for various automation systems. It features a robust, single-channel, single-button, and watertight design, offering a practical wireless alternative to traditional mechanical buttons. The PUSH-C1 supports both fixed code auto-generation and fixed code copying from other 433.92 MHz fixed code radio controls. It is also compatible with Nologo RX1, RX2, and RX4 rolling code HCS receivers. The device is powered by a CR2032 3V battery and boasts an IP54 protection rating, ensuring reliable performance in diverse environments.
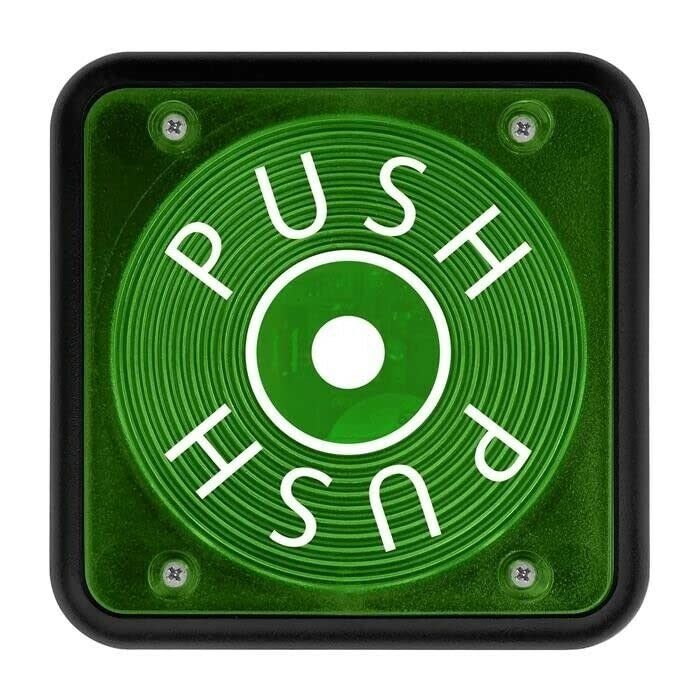
Image 1: Dieffematic PUSH-C1 Fixed Code 433.92 MHz Radio Transmitter. This image shows the compact, single-button design of the remote control, highlighting its robust casing.
Główne cechy:
- Fixed code 433.92 MHz frequency.
- Supports fixed code auto-generation.
- Capable of copying fixed codes from other 433.92 MHz remotes.
- Compatible with Nologo RX1, RX2, RX4 rolling code HCS receivers.
- Single-channel, single-button operation.
- Watertight design with IP54 protection rating.
- Powered by a CR2032 3V battery.
3. Informacje dotyczące bezpieczeństwa
Aby zapobiec uszkodzeniu urządzenia lub obrażeniom ciała, należy przestrzegać następujących środków ostrożności:
- Keep the transmitter out of reach of children.
- Nie wystawiaj urządzenia na działanie ekstremalnych temperatur, bezpośredniego światła słonecznego ani otwartego ognia.
- Avoid dropping or subjecting the transmitter to severe impacts.
- Do not attempt to disassemble or modify the device, as this will void the warranty and may cause malfunction.
- Zużytych baterii należy pozbywać się w sposób odpowiedzialny, zgodnie z lokalnymi przepisami.
- Ensure the automation system is clear of obstructions before activation.
4. Konfiguracja
4.1 Instalacja baterii
The PUSH-C1 transmitter uses a CR2032 3V battery. To install or replace the battery:
- Znajdź pokrywę komory baterii z tyłu nadajnika.
- Carefully open the cover using a small screwdriver or coin in the designated slot.
- Włóż baterię CR2032 biegunem dodatnim (+) skierowanym do góry.
- Zamknij pokrywę komory baterii, aż zatrzaśnie się na swoim miejscu.
4.2 Programowanie nadajnika
The PUSH-C1 offers two programming modes: fixed code auto-generation and fixed code copying.
4.2.1 Fixed Code Auto-Generation (Pairing with a Receiver)
This method is used to program the PUSH-C1 directly to a compatible receiver (e.g., Nologo RX1, RX2, RX4, or other fixed code 433.92 MHz receivers).
- Ensure the transmitter has a fresh battery installed.
- Refer to your specific receiver's instruction manual for details on how to put it into programming or 'Learn' mode. This typically involves pressing a dedicated button on the receiver's circuit board.
- While the receiver is in programming mode (often indicated by an LED), press and hold the single button on the PUSH-C1 transmitter.
- Continue holding the PUSH-C1 button until the receiver indicates successful pairing (e.g., an LED on the receiver flashes, changes color, or turns off).
- Release the button on the PUSH-C1.
- Test the transmitter to ensure it operates the automation system correctly.
4.2.2 Fixed Code Copying (from another 433.92 MHz Fixed Code Remote)
This method allows the PUSH-C1 to learn the code from an existing 433.92 MHz fixed code remote control.
- Place the original remote control and the PUSH-C1 transmitter side-by-side, as close as possible.
- On the PUSH-C1, press and hold its single button.
- While still holding the PUSH-C1 button, simultaneously press and hold the button on the original remote that you wish to copy.
- Hold both buttons until the PUSH-C1's internal indicator (if present) flashes rapidly or changes color, indicating successful code learning. This may take a few seconds.
- Zwolnij oba przyciski.
- Test the PUSH-C1 transmitter to ensure it now operates the automation system correctly.
Notatka: Compatibility with all fixed code 433.92 MHz remotes is not guaranteed. Some remotes may use proprietary encoding or different modulation types that the PUSH-C1 cannot copy.
5. Instrukcja obsługi
Once the PUSH-C1 transmitter is successfully programmed to your automation system, operation is straightforward:
- Simply press the single button on the PUSH-C1 transmitter to activate your automation system (e.g., open/close a gate, garage door, or activate another compatible device).
- The watertight design ensures reliable operation even in damp warunki.
6. Konserwacja
The PUSH-C1 transmitter requires minimal maintenance to ensure long-lasting performance.
- Wymiana baterii: Replace the CR2032 3V battery when you notice a decrease in transmission range or if the transmitter becomes unresponsive. Follow the battery installation steps in Section 4.1.
- Czyszczenie: Clean the exterior of the transmitter with a soft, dry cloth. Do not use abrasive cleaners, solvents, or harsh chemicals, as these can damage the casing.
- Składowanie: Store the transmitter in a dry place, away from extreme temperatures, direct sunlight, and corrosive substances.
7. Rozwiązywanie Problemów
If you encounter issues with your PUSH-C1 transmitter, refer to the following common problems and solutions:
- Nadajnik nie działa:
- Sprawdź akumulator. Upewnij się, że jest prawidłowo zainstalowany i wystarczająco naładowany. W razie potrzeby wymień.
- Verify that the transmitter has been successfully programmed to your receiver. Repeat programming steps if unsure.
- Zredukowany zasięg działania:
- Replace the battery with a new CR2032 3V battery.
- Ensure there are no significant physical obstructions (e.g., thick walls, metal structures) between the transmitter and the receiver.
- Sprawdź, czy w pobliżu nie występują źródła zakłóceń radiowych.
- Programming failure (transmitter not learning code):
- Ensure the receiver is correctly in programming/learn mode (for auto-generation).
- For code copying, ensure the original remote is a fixed code 433.92 MHz type and is functioning correctly.
- Ensure the original remote and PUSH-C1 are very close during the copying process.
- Try repeating the programming steps carefully, ensuring all button presses are firm and held for the correct duration.
- No LED indication on transmitter:
- The PUSH-C1 is a basic transmitter and may not feature an external LED indicator. Rely on the receiver's feedback during programming and the automation system's response during operation.
8. Specyfikacje
| Funkcja | Specyfikacja |
|---|---|
| Producent | Dieffematic |
| Model | PUSH-C1 |
| Częstotliwość | 433.92MHz |
| Typ kodu | Fixed Code (auto-generation and copying) |
| Zgodność | Fixed code 433.92 MHz receivers, Nologo RX1, RX2, RX4 rolling code HCS receivers |
| Zasilacz | Bateria CR2032 3V |
| Stopień ochrony | IP54 |
| Kanały | Pojedynczy kanał |
| Pikolak | Pojedynczy przycisk |
| ASIN | B0B435DCKH |
| Pierwsza dostępna data | 30 maja 2022 r. |
9. Gwarancja i wsparcie
For warranty information, technical assistance, or further support regarding your Dieffematic PUSH-C1 transmitter, please contact your authorized Dieffematic dealer or visit the official Dieffematic webStrona internetowa. Zachowaj paragon jako dowód zakupu na wypadek ewentualnych roszczeń gwarancyjnych.