
Wstęp
This manual provides detailed instructions for the installation, operation, and maintenance of your SMONET 8-Channel 5MP Wireless Network Video Recorder (NVR). This NVR is designed to work with SMONET 5MP wireless security camera systems, offering robust surveillance capabilities without a pre-installed power supply or hard drive, allowing for custom configuration.

Figure 1: SMONET 8-Channel 5MP Wireless NVR with compatible cameras.
1. Konfiguracja
1.1 Unboxing and Component Overview
Before beginning installation, ensure all components are present. The package typically includes the 8-Channel 5MP NVR unit, a power adapter (not included with this specific model, must be purchased separately), a USB mouse, and a quick start guide. Cameras are sold separately.
1.2 NVR Rear Panel Connections
Familiarize yourself with the NVR's rear panel for proper connectivity.
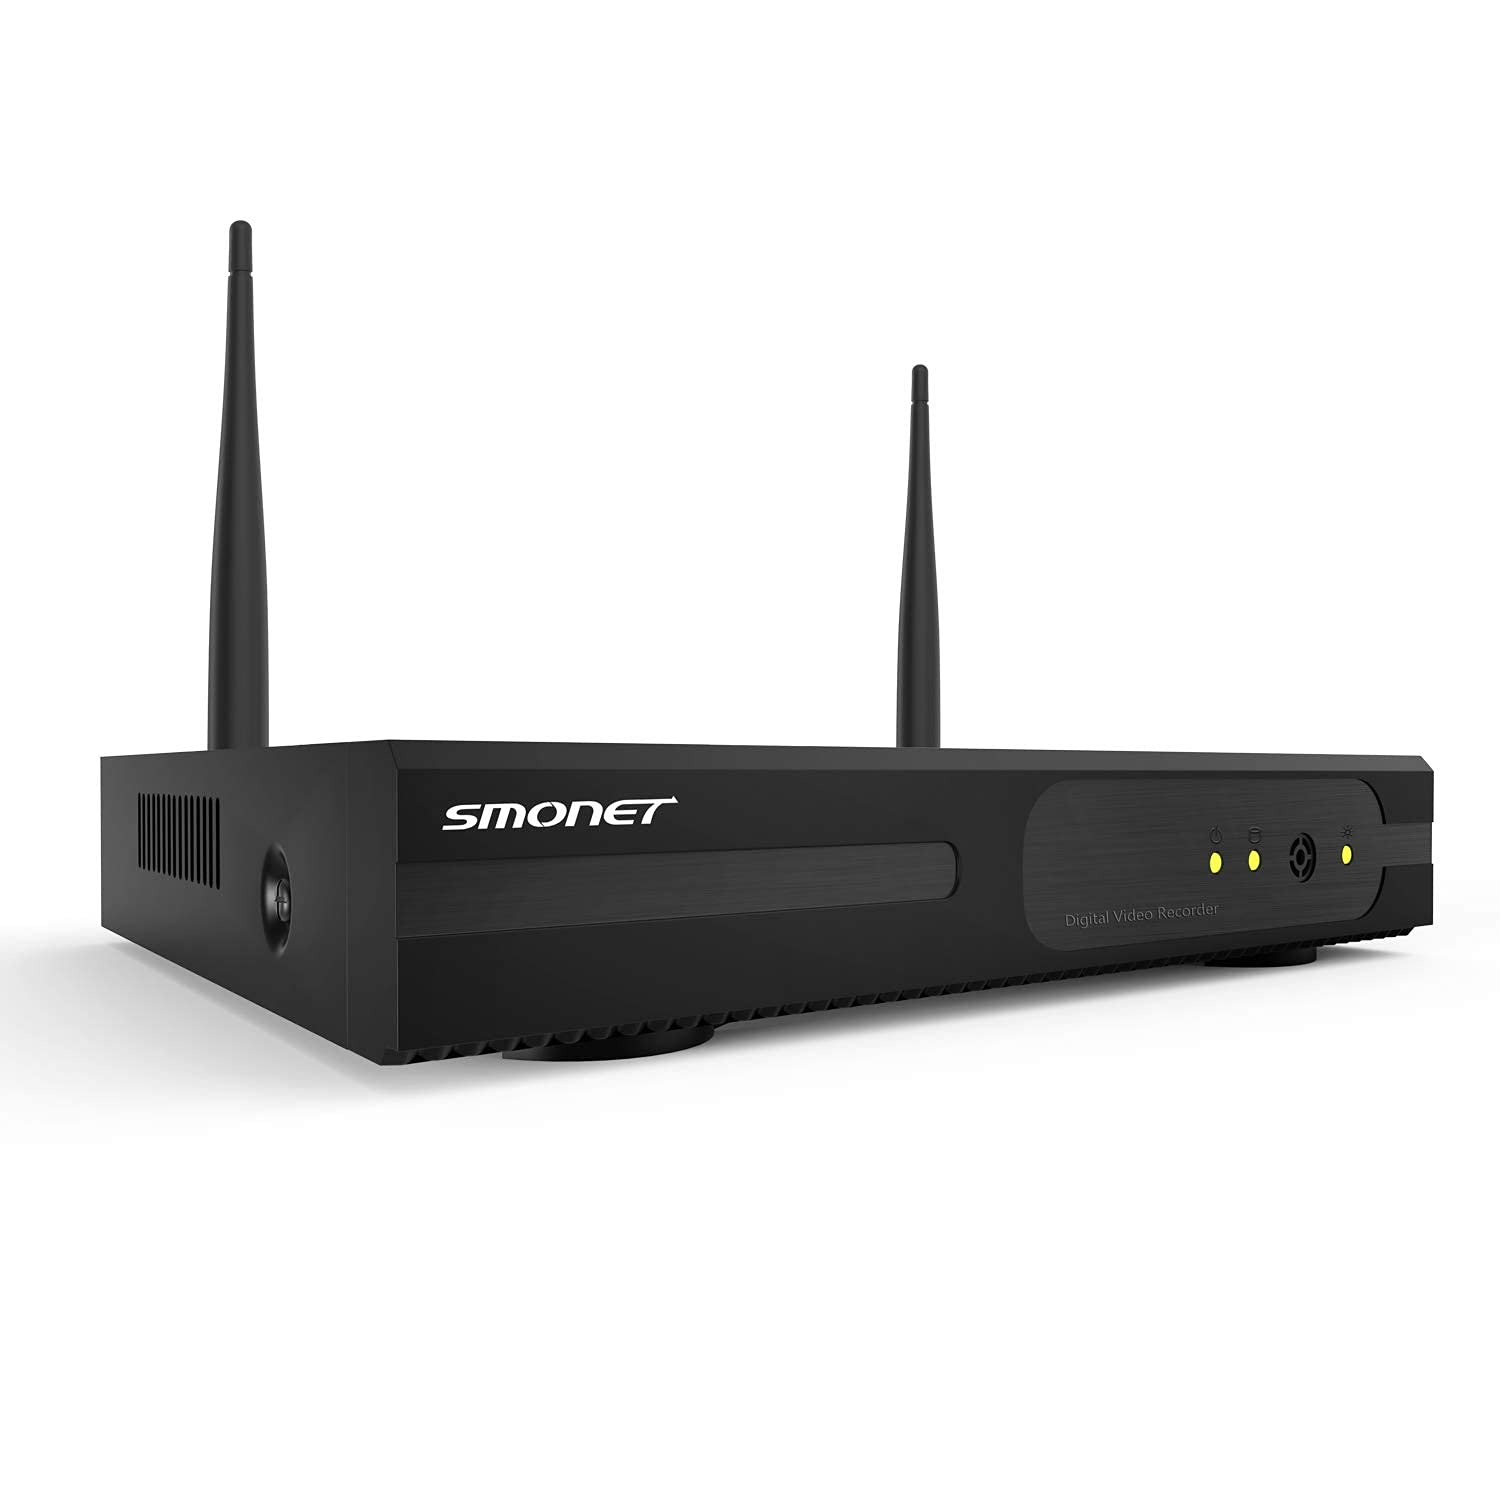
Figure 2: Rear panel of the SMONET NVR showing various ports.
- Porty USB: For connecting the USB mouse and external storage devices.
- Port VGA: For connecting to a PC monitor.
- Port HDMI: For connecting to a TV monitor.
- Port Ethernet (WAN): For connecting to your router for network access.
- Wyjście dzwięku: Do wyjścia audio.
- 12V DC: Power input for the NVR.
- Przełącznik włączania/wyłączania: Power control for the NVR.
1.3 Hard Drive Installation (User-Provided)
This NVR model does not include a pre-installed hard drive. A compatible 3.5-inch SATA hard drive (HDD) must be installed by the user for video recording. Ensure the NVR is powered off before installation.
- Odkręć pokrywę urządzenia NVR.
- Carefully connect the SATA data and power cables from the NVR to your hard drive.
- Secure the hard drive inside the NVR chassis using the provided screws.
- Replace and secure the NVR cover.
Video 1: Demonstration of hard drive installation in a similar DVR unit. Note: This NVR model requires a user-provided hard drive.
1.4 Initial Power-Up and Connections
- Connect the NVR to a monitor using either an HDMI or VGA cable.
- Podłącz mysz USB do jednego z portów USB rejestratora NVR.
- Podłącz NVR do routera za pomocą kabla Ethernet, aby uzyskać dostęp do sieci.
- Connect the appropriate 12V DC power supply (not included) to the NVR's DC 12V input.
- Turn on the NVR using the On/Off switch.
Video 2: General setup and connection process for a surveillance system video recorder.
1.5 Camera Pairing and Placement
The SMONET NVR is designed for wireless cameras. Ensure your SMONET 5MP wireless cameras are powered on and within range of the NVR. The NVR should automatically detect and pair with compatible cameras. For optimal signal strength, position cameras strategically, avoiding major obstructions.
Wideo 3: Ponadview of a SANNCE 8-Channel DVR, demonstrating camera features and setup. Note: This NVR is for wireless cameras, not wired as shown in parts of the video.
2. Działanie
2.1 Na żywo View and Multi-Channel Display
Once cameras are connected, the NVR will display live feeds on the connected monitor. You can typically switch between single-camera view and multi-channel views (e.g., 4-channel, 8-channel) using the mouse interface.
2.2 Tryby nagrywania
The NVR supports continuous recording. Other recording options, such as motion-activated recording, can be configured through the system settings.
2.3 Night Vision and Spotlight Features
Compatible SMONET cameras feature night vision technology for clear monitoring in low-light conditions. Some cameras may also include spotlights that activate upon motion detection, enhancing visibility and acting as a deterrent.
2.4 Two-Way Audio and Siren (Camera Dependent)
If your connected cameras support two-way audio, you can communicate through the camera via the NVR interface or a mobile application. Some cameras may also feature a siren function, which can be activated manually or automatically upon detection of suspicious activity.
2.5 Playback and Event Review
Uzyskaj dostęp do nagranego pliku footage through the NVR's playback menu. You can search by date, time, or event (if motion detection recording is enabled) to review konkretnych incydentów.
2.6 System Settings and Configuration
Navigate the NVR's menu using the USB mouse to adjust various settings, including:
- Rozdzielczość wideo: Set the display and recording resolution (up to 1920p).
- Data i godzina: Configure system date, time, and time zone.
- Ustawienia sieciowe: Manage IP address, port forwarding, and remote access.
- Zarządzanie pamięcią masową: Format the hard drive, set recording overwrite rules.
- Zarządzanie użytkownikami: Create and manage user accounts and permissions.
3. Konserwacja
3.1 Regularne kontrole systemu
Periodically check the NVR and camera connections to ensure they are secure. Verify that cameras are transmitting video and that the hard drive is recording properly.
3.2 Zarządzanie dyskiem twardym
If your hard drive becomes full, the NVR will typically overwrite the oldest footage. You can configure this behavior in the storage settings. Regularly back up important footage do urządzenia zewnętrznego, jeśli zajdzie taka potrzeba.
3.3 Trwałość aparatu
SMONET wireless cameras are often rated IP66, indicating they are built to withstand various outdoor weather conditions, including rain and snow. Regular cleaning of camera lenses is recommended for clear image quality.
4. Rozwiązywanie Problemów
- Brak wyjścia wideo:
- Ensure the NVR is powered on and connected to a monitor via HDMI or VGA.
- Sprawdź, czy źródło sygnału wejściowego monitora zostało wybrane prawidłowo.
- Check if the monitor resolution is compatible with the NVR's output. Adjust NVR display settings if necessary.
- Kamery nie łączą się:
- Upewnij się, że kamery są włączone i znajdują się w zasięgu sieci bezprzewodowej NVR.
- Check for strong Wi-Fi signals for each camera.
- Reboot both the NVR and cameras.
- Nie wolno robić nagrań:
- Verify that a hard drive is correctly installed and formatted.
- Sprawdź harmonogramy i ustawienia nagrywania w menu NVR.
- Ensure the hard drive is not full (if overwrite is disabled).
- Problemy ze zdalnym dostępem:
- Ensure the NVR is connected to the internet via the Ethernet port.
- Check network settings (IP address, port forwarding) on your router.
- Verify the mobile application is correctly configured and updated.
5. Specyfikacje
| Funkcja | Szczegół |
|---|---|
| Marka | SMONET |
| Numer modelu | 8CH 5MP NVR |
| Technologia łączności | Bezprzewodowy |
| Rozdzielczość przechwytywania wideo | 1920p (5 MP) |
| Liczba kanałów | 8 |
| System operacyjny | Linux |
| Kompatybilne urządzenia | SMONET Wireless Cameras |
| Technologia słabego oświetlenia | Wizja nocna |
| Szybkość klatek | 24, 30 lub 60 klatek na sekundę |
| Tryb nagrywania | Ciągły (konfigurowalny) |
| Łączna liczba portów USB | 1 |
| Interfejs sprzętowy | 802.11 ac/b/g/n (Wireless), RJ45 (Video Input/Ethernet) |
| Typ soczewki | Wide Angle (Camera dependent) |
| Składowanie | User-provided 3.5" SATA HDD (not included) |
| Zasilacz | 12 V DC (brak w zestawie) |
6. Wsparcie i gwarancja
For technical assistance, troubleshooting, or warranty inquiries, please contact SMONET customer support. SMONET is committed to providing top-rated service and offers 24/7 online support. Refer to your product packaging or the official SMONET webna tej stronie znajdziesz najnowsze dane kontaktowe i szczegóły gwarancji.
Additional protection plans are available for purchase, including 2-Year and 3-Year options, as well as a Complete Protect plan covering eligible past and future purchases.
- Wsparcie online: Dostępne 24/7.
- Producent: SMONET
- Zasady zwrotu: 30-day refund/replacement.