
Cuifati Cuifatip0izksa79g3281
Cuifati Wireless Smart Remote Control User Manual
Model: Cuifatip0izksa79g3281
Wstęp
This manual provides comprehensive instructions for the Cuifati Wireless Smart Remote Control. It covers setup, operation, maintenance, and troubleshooting to ensure optimal performance and longevity of your device. This remote control features 2.4G and Bluetooth 5.0 connectivity, voice control, and IR learning capabilities, making it compatible with a wide range of devices such as Nvidia Shield, PCs, Projectors, Smart TVs, and Android TV Boxes.
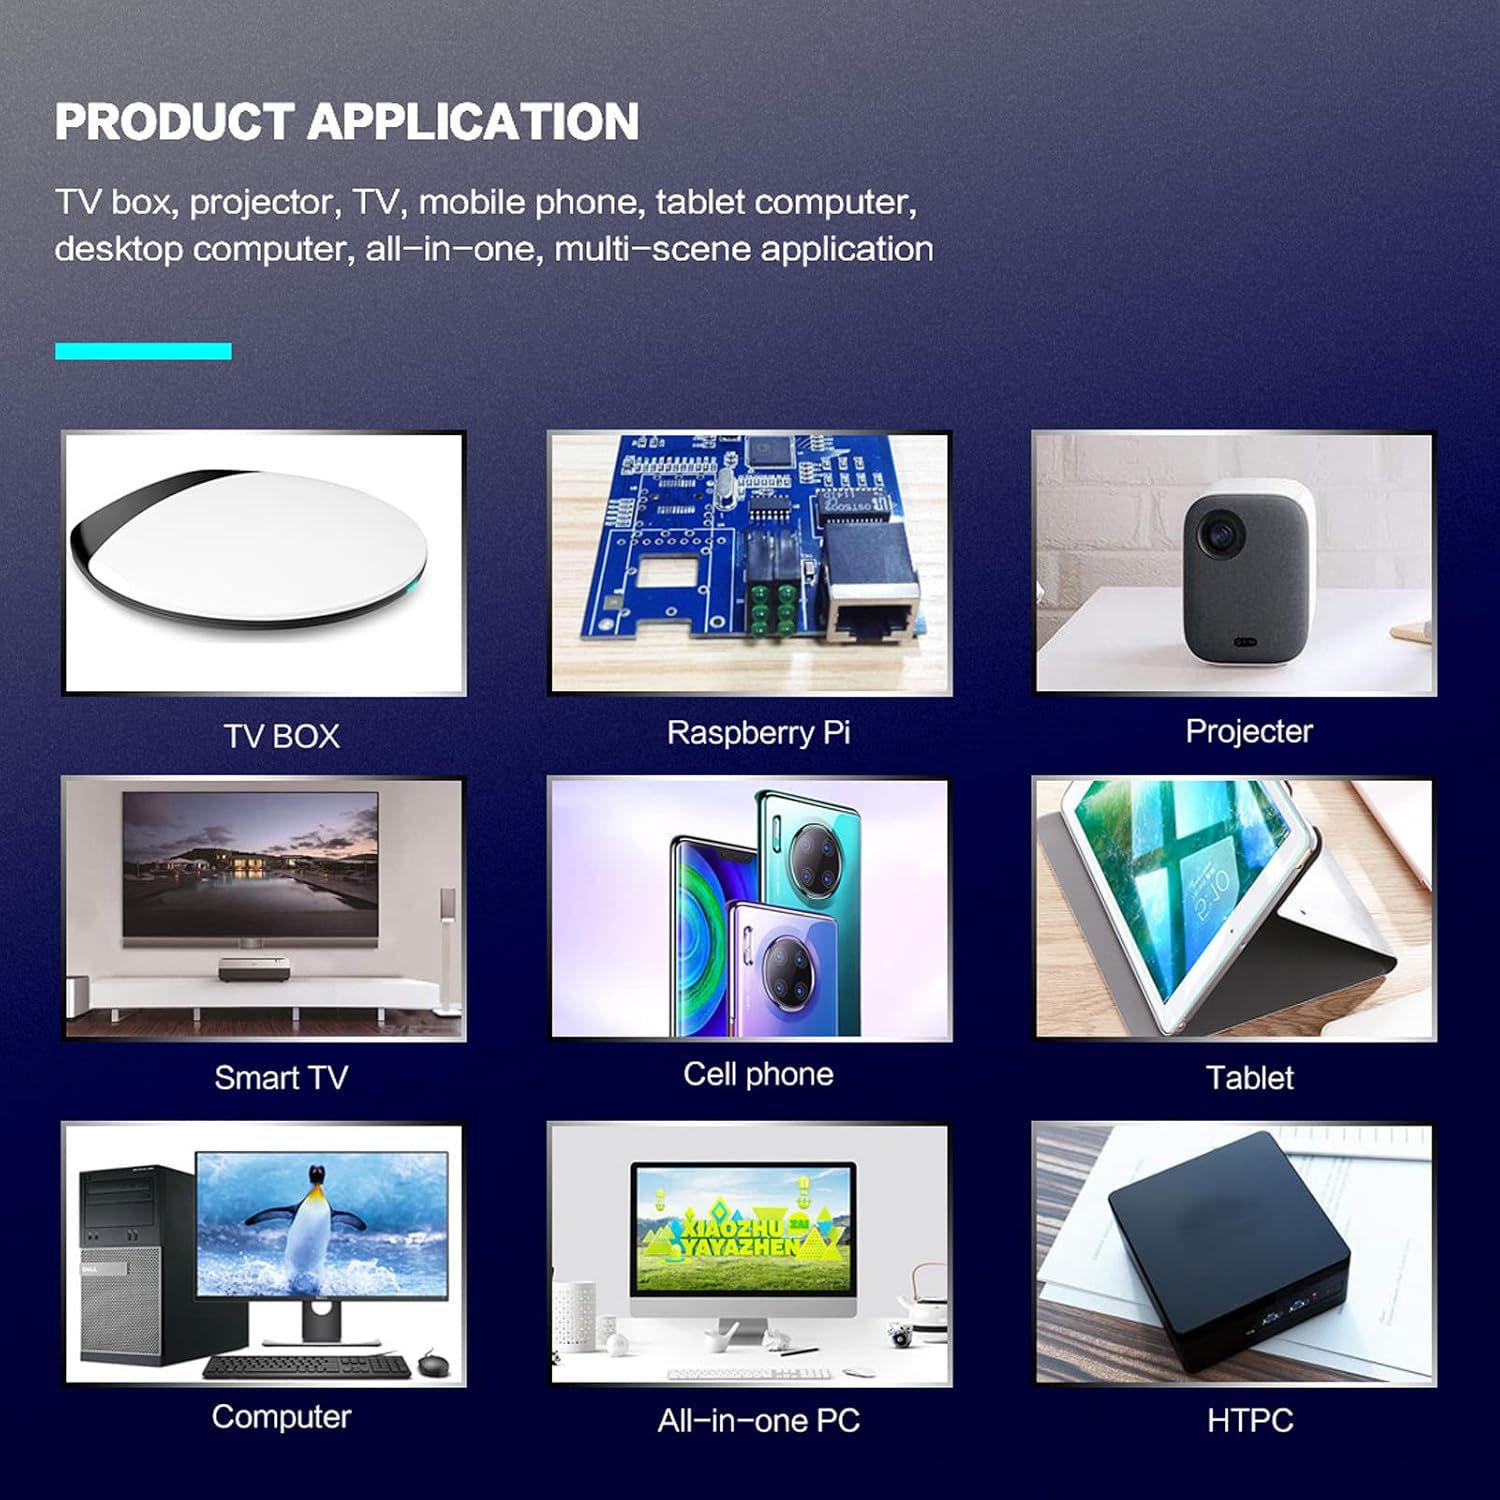
Rysunek 1: Zastosowanie produktu np.amples.
Zawartość opakowania
Sprawdź, czy w przesyłce znajdują się wszystkie elementy:
- 1 x Cuifati Wireless Smart Remote Control
- 1 x 2.4G Odbiornik USB
- 1 x Instrukcja obsługi
Specyfikacje
| Funkcja | Szczegół |
|---|---|
| Marka | Cuifatí |
| Numer modelu | Cuifatip0izksa79g3281 |
| Tworzywo | ABS |
| Tomtage | 3.0 V |
| Tryby łączności | 2.4G, Bluetooth 5.0 |
| Prąd roboczy | <15 mA |
| Prąd czuwania | <20 uA |
| Odległość robocza | >10 metrów (32.8 stóp) |
| Typ baterii | 2 baterie AAA (brak w zestawie) |
| Liczba przycisków | 5 (Control buttons, total buttons are more) |
| Kompatybilne urządzenia | Streaming devices, Televisions, PCs, Projectors, Smart TVs, Android TV Boxes |
| Funkcja specjalna | Universal, Voice Control, IR Learning, Backlit |
Przewodnik po konfiguracji
1. Instalacja baterii
Pilot wymaga dwóch baterii AAA (brak w zestawie).
- Otwórz pokrywę komory baterii z tyłu pilota.
- Włóż dwie baterie AAA, zwracając uwagę na prawidłową biegunowość (+ i -).
- Dokładnie zamknij pokrywę komory baterii.

Rysunek 2: Battery compartment with AAA batteries.
2. Podłączanie pilota zdalnego sterowania
The remote control supports both 2.4G wireless and Bluetooth 5.0 connectivity.
2.1. 2.4G Wireless Connection (via USB Receiver)
- Insert the 2.4G USB receiver into an available USB port on your device (e.g., Smart TV, Android TV Box, PC).
- The device should automatically detect and install the necessary drivers.
- Pilot zdalnego sterowania jest teraz gotowy do użycia.
2.2. Połączenie Bluetooth 5.0
For Bluetooth connection, ensure your device supports Bluetooth 5.0 or higher.
- Na pilocie naciśnij i przytrzymaj OK przycisk i Powrót button simultaneously for 3 seconds. The indicator light on the remote will flash rapidly, indicating it is in pairing mode.
- Na swoim urządzeniu przejdź do ustawień Bluetooth i wyszukaj dostępne urządzenia.
- Select "G20s Pro" (or similar device name) from the list of found devices to pair.
- Once paired, the indicator light on the remote will stop flashing.

Rysunek 3: Instrukcje parowania Bluetooth.
Instrukcja obsługi
1. Funkcje przyciskówview
Familiarize yourself with the layout and functions of the remote control buttons.

Rysunek 4: Układ i funkcje przycisków pilota.
- Power (IR Learning Key): Turns the device on/off. Can be programmed via IR learning.
- Mikrofon: Activates voice input.
- Kontrolka świetlna: Shows status (pairing, IR learning).
- Mute (IR Learning Key): Mutes/unmutes audio. Can be programmed via IR learning.
- Pg+ / Pg-: Page Up / Page Down.
- Navigation Keys (Up/Down/Left/Right): For menu navigation.
- OK / Enter / Mouse Left: Confirms selection or acts as left mouse click.
- Return / Mouse Right: Goes back or acts as right mouse click.
- Dom: Returns to the home screen.
- Open Google Voice Assistant: Dedicated button for voice assistant.
- Volume - / Volume +: Adjusts volume.
- Odtwórz/Pauza: Steruje odtwarzaniem multimediów.
- Poprzednie Następne: Skips to previous or next media track.
- BackSpace: Deletes characters.
- Menu: Press and hold to turn on/off the backlight.
2. Sterowanie głosowe
The remote control supports voice commands for compatible devices. Press the Mikrofon button and speak clearly into the remote to issue commands or search content.
3. Funkcja uczenia się IR
The Power and Mute buttons can learn infrared signals from your existing TV remote control, allowing you to control basic TV functions with this remote.

Rysunek 5: IR Learning process for the Power button.
- Naciśnij i przytrzymaj Moc przycisk (lub Niemy button) on the Cuifati remote for 3 seconds. The red indicator light will flash slowly, entering IR learning mode.
- Point the infrared emitter of your original TV remote control directly at the infrared receiver of the Cuifati remote (approximately 2-3 cm apart).
- Press the desired button on your original TV remote (e.g., Power button). The Cuifati remote's red indicator light will flash rapidly and then turn off, indicating successful learning.
- Repeat the process for other buttons if desired.
4. Motion Sensing (Air Mouse)
The remote control features a gyroscope core compensation algorithm for motion sensing, allowing it to function as an air mouse. Move the remote in the air to control the cursor on your screen.

Rysunek 6: Motion sensing in action.
Konserwacja
- Przechowuj pilota w suchym miejscu. Unikaj narażenia na działanie wilgoci i płynów.
- Czyść pilota miękką, suchą ściereczką. Nie używaj środków czyszczących ani rozpuszczalników o działaniu ściernym.
- Jeżeli pilot nie będzie używany przez dłuższy czas, należy wyjąć baterie, aby zapobiec ich wyciekowi.
- Unikaj upuszczania pilota i narażania go na silne uderzenia.
Rozwiązywanie problemów
- Pilot nie odpowiada:
- Upewnij się, że baterie są prawidłowo zainstalowane i nie są rozładowane. W razie potrzeby wymień je.
- Check if the 2.4G USB receiver is properly inserted into the device's USB port.
- For Bluetooth connection, ensure the remote is paired correctly. Re-pair if connection is lost.
- Ensure there are no obstructions between the remote and the device (for 2.4G) or within Bluetooth range.
- Voice control is not working:
- Ensure the remote is properly connected via 2.4G or Bluetooth.
- Verify that your device supports voice input and that the microphone is enabled.
- Speak clearly and close to the remote's microphone.
- Nie udało się nauczyć IR:
- Ensure the original remote's IR emitter is pointed directly at the Cuifati remote's IR receiver, within 2-3 cm.
- Make sure the original remote has sufficient battery power.
- Repeat the learning steps carefully.
Gwarancja i wsparcie
Specific warranty information is not provided in this manual. For warranty details, technical support, or service inquiries, please refer to the product packaging or contact the manufacturer directly through their official webwitrynę lub kanały obsługi klienta.
Ask a question about this manual
Ask about setup, troubleshooting, compatibility, parts, safety, or missing instructions. Manuals+ will review the question and use this page’s manual context to help answer it.