1. Wprowadzenie
Thank you for choosing the NEEWER TP-M200 Heavy Duty Video Tripod. This manual provides essential information for the safe and effective use of your tripod. Please read these instructions carefully before operation and retain them for future reference. This tripod is designed for stability and smooth camera movements, suitable for various photography and videography applications with DSLR cameras and camcorders.
2. Koniec produktuview & Składniki
The NEEWER TP-M200 tripod features a robust aluminum alloy construction, a 360° fluid drag head, and a quick release plate for versatile camera mounting. Key components include:
- Fluid Drag Head: Allows for smooth 360° horizontal panning and -70° to +90° vertical tilting.
- Płyta szybkiego uwalniania: Equipped with 1/4" and 3/8" screws for broad compatibility with various cameras and camcorders.
- Zamki Flip: Securely extend and retract the tripod legs for height adjustment.
- 70mm Bowl Base: Provides stability and allows for quick leveling on uneven surfaces.
- Mid-Level Spreader: Enhances stability and allows for precise leg angle adjustments.
- Double Tube Metal Legs: Heavy-duty design for durability and stability.
- Poziom bańki: Integrated to ensure the tripod is perfectly balanced.
- Antypoślizgowe gumowe nóżki: Provides secure footing on various terrains.

Figure 1: Key structural components including the 70mm bowl base, mid-level spreader, and double tube metal legs.
3. Specyfikacje
| Marka | NIGDY |
| Nazwa modelu | TP-M200 |
| Typ materiału | Stop aluminium |
| Maksymalna wysokość | 200 cm (79 cala) |
| Minimalna wysokość | 88 cm (34.6 cala) |
| Rozmiar po złożeniu | 91 cm (35.8 cala) |
| Waga przedmiotu | 5.64 kilograma |
| Ograniczenie wagowe | 8 kilogramów (17.6 funty) |
| Typ głowy | Głowica płynu |
| Sekcje nóg | 3 |
| Kompatybilne urządzenia | DSLR Cameras, Camcorders, Handheld Cameras, Mirrorless Cameras, Telephoto Lens Cameras, Camera Sliders |
4. Konfiguracja
4.1 Rozkładanie statywu
- Ustaw statyw na płaskiej i stabilnej powierzchni.
- Release the leg locks on each leg.
- Extend the legs to the desired height. Ensure all leg sections are fully extended or retracted evenly for optimal stability.
- Securely fasten all flip locks to prevent accidental collapse.

Figure 2: Adjustable height mechanism using flip locks, showing various height configurations from 35.8 inches (91cm) folded to 78.7 inches (200cm) fully extended.
4.2 Mocowanie kamery
- Locate the quick release plate on the fluid head.
- Press the QR plate release button and slide the quick release plate out.
- Attach the quick release plate to the bottom of your camera or camcorder using the appropriate 1/4" or 3/8" screw. Ensure it is tightened securely.
- Slide the camera with the attached quick release plate back into the fluid head until it clicks into place.
- Tighten the QR plate locking knob to prevent any movement.

Rysunek 3: Szczegółowy view of the quick release plate mechanism and fluid head controls.
4.3 Leveling the Tripod
- Adjust the tripod legs until the built-in bubble level indicates a level position.
- For fine adjustments, the 70mm bowl base allows for minor leveling without adjusting the legs. Loosen the bowl base locking knob, adjust the head until level, and then re-tighten the knob.
5. Instrukcja obsługi
5.1 Panning and Tilting
- Ruch Pan: Loosen the pan locking knob to allow horizontal rotation (360°). Tighten the knob to lock the head in position.
- Ruch pochylenia: Loosen the tilt locking knob to allow vertical movement (-70° to +90°). Tighten the knob to secure the desired tilt angle.
- Use the fluid head handle for smooth and controlled movements.

Figure 4: Demonstrates the 360° panoramic rotation and vertical tilt range of the fluid head.
5.2 Nośność
The tripod has a maximum load capacity of 8 kg (17.6 lbs). Do not exceed this weight limit to ensure stability and prevent damage to the tripod or your equipment.
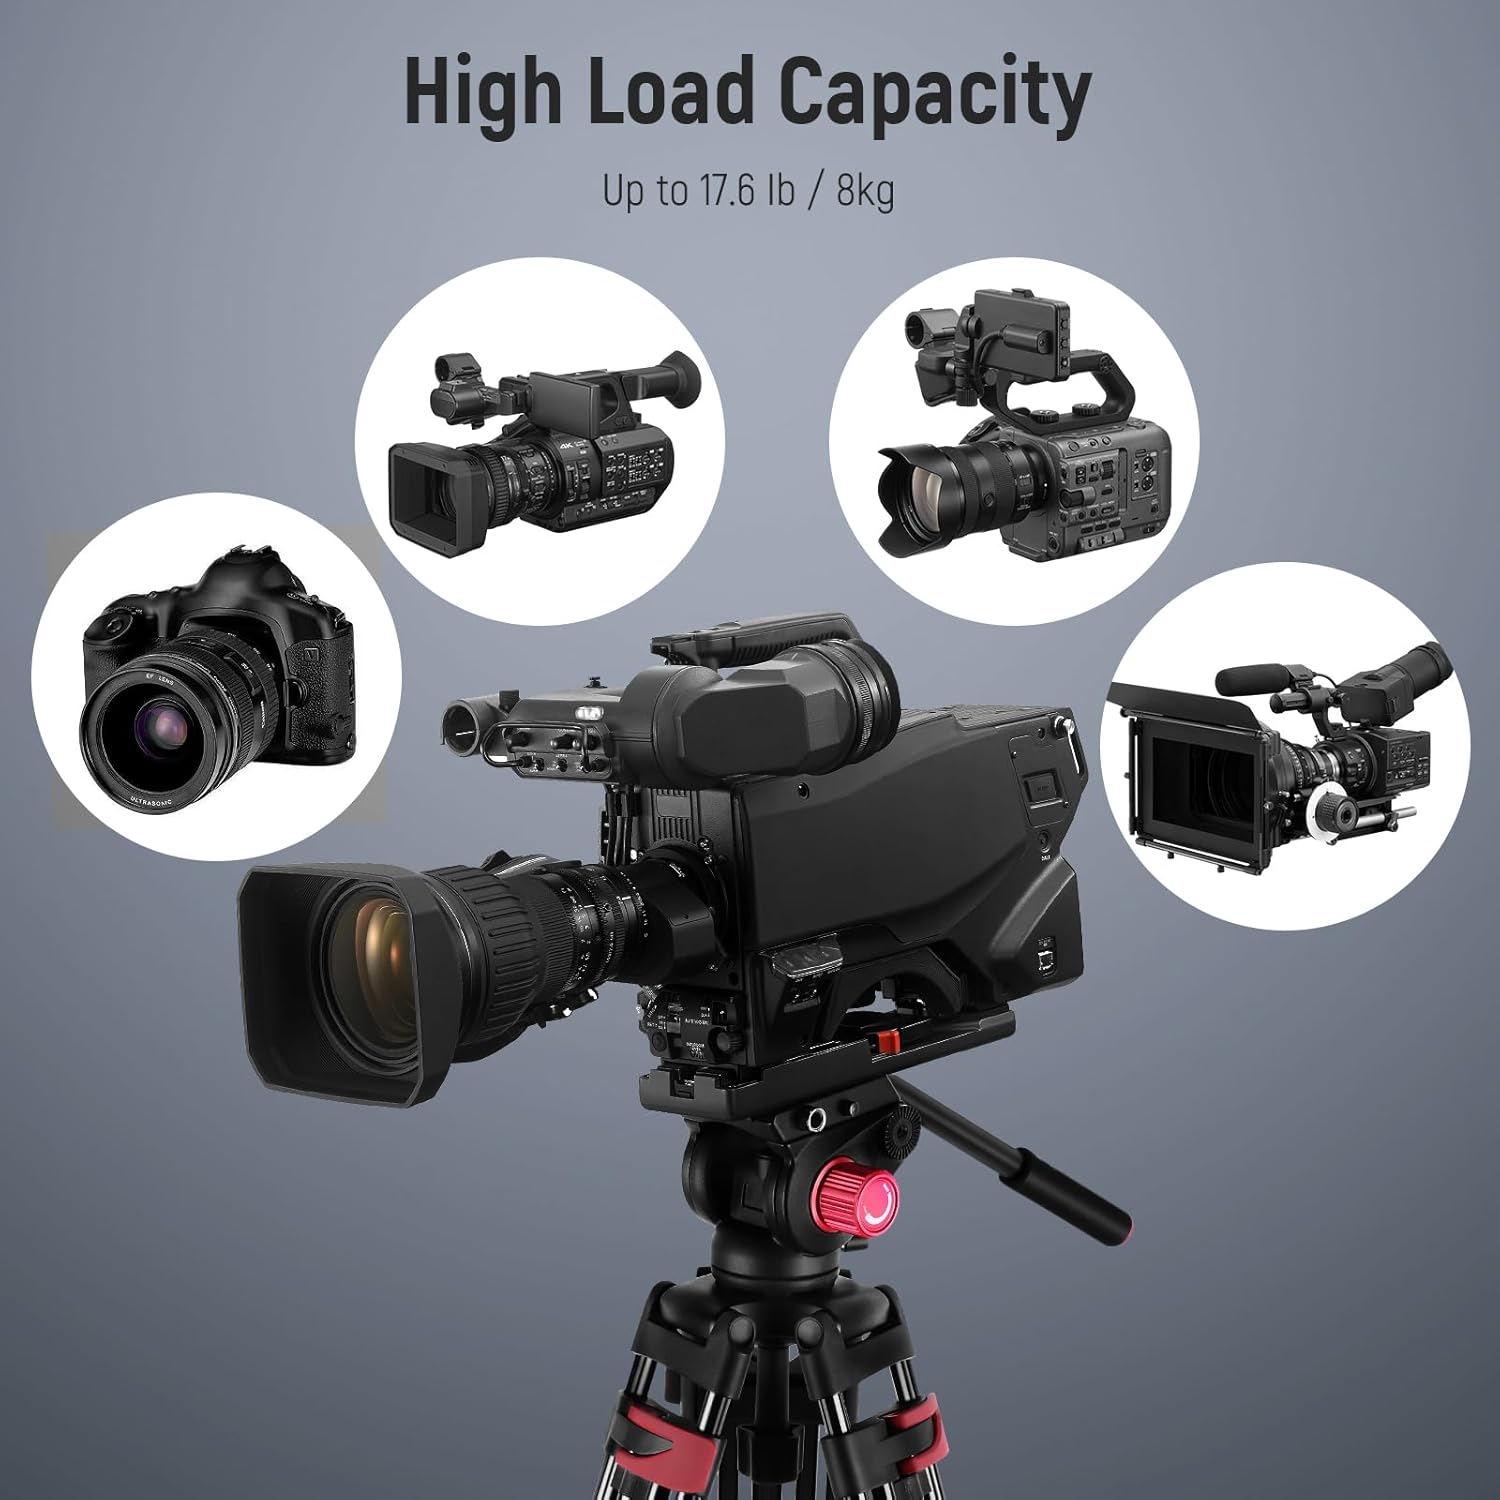
Figure 5: The tripod supports a variety of cameras and camcorders up to its maximum load capacity.
5.3 Zgodność
The quick release plate features both 1/4" and 3/8" mounting screws, making it compatible with a wide range of photography and videography equipment, including:
- Aparaty DSLR
- Aparaty bezlusterkowe
- Aparaty ręczne
- Telephoto Lens Cameras
- Professional Video Cameras
- Camera Sliders

Figure 6: The tripod's quick release plate offers wide compatibility with 1/4" and 3/8" screws.
6. Konserwacja
Właściwa konserwacja gwarantuje długowieczność i optymalną wydajność statywu.
- Czyszczenie: Po każdym użyciu przetrzyj statyw miękką, suchą ściereczką. W przypadku uporczywych zabrudzeń użyj lekko wilgotnej ściereczki.amp ściereczką i łagodnym mydłem, a następnie dokładnie wysuszyć. Unikać silnych środków chemicznych.
- Smarowanie: Periodically check moving parts for smooth operation. If any part feels stiff, apply a small amount of silicone-based lubricant to the joints and locks. Do not over-lubricate.
- Składowanie: Store the tripod in its included carrying bag in a cool, dry place, away from direct sunlight and extreme temperatures.
- Kontrola: Regularly inspect all screws, knobs, and leg locks for tightness and wear. Tighten any loose components and replace worn parts as necessary.
7. Rozwiązywanie Problemów
If you encounter issues with your NEEWER TP-M200 tripod, refer to the following common problems and solutions:
| Problem | Możliwa przyczyna | Rozwiązanie |
|---|---|---|
| Statyw jest niestabilny lub chwiejny. | Leg locks not fully tightened; uneven surface; weight exceeding capacity. | Ensure all leg locks are securely fastened. Adjust legs for a level surface using the bubble level. Verify camera weight is within the 8kg limit. |
| Ruchy głowy są sztywne i szarpane. | Pan/tilt locking knobs are too tight; lack of lubrication; dirt in mechanism. | Loosen pan/tilt locking knobs slightly. Clean the head and apply a small amount of silicone lubricant if necessary. |
| Quick release plate does not attach securely. | QR plate not fully inserted; locking knob not tightened; obstruction. | Ensure the QR plate is fully seated and clicks into place. Tighten the QR plate locking knob firmly. Check for any debris obstructing the plate slot. |
| Nogi nie wysuwają się i nie chowają płynnie. | Dirt or debris in leg sections; worn leg locks. | Clean leg sections thoroughly. Inspect leg locks for damage and replace if necessary. |
8. Gwarancja i pomoc techniczna
This NEEWER TP-M200 tripod comes with a Roczna gwarancja producenta od daty zakupu. Niniejsza gwarancja obejmuje wady materiałowe i wykonawcze przy normalnym użytkowaniu.
For warranty claims, technical support, or any inquiries regarding your product, please contact NEEWER customer service through the retailer where you purchased the product or visit the official NEEWER webwitryna do informacji kontaktowych.
Zachowaj dowód zakupu w celu potwierdzenia gwarancji.