1. Wprowadzenie
This manual provides essential information for the proper installation, configuration, and operation of your Hikvision Turbo HD DVR 8-Channel, model DS-7108HGHI-K1(S). Please read this manual thoroughly before using the device to ensure safe and efficient operation. Keep this manual for future reference.
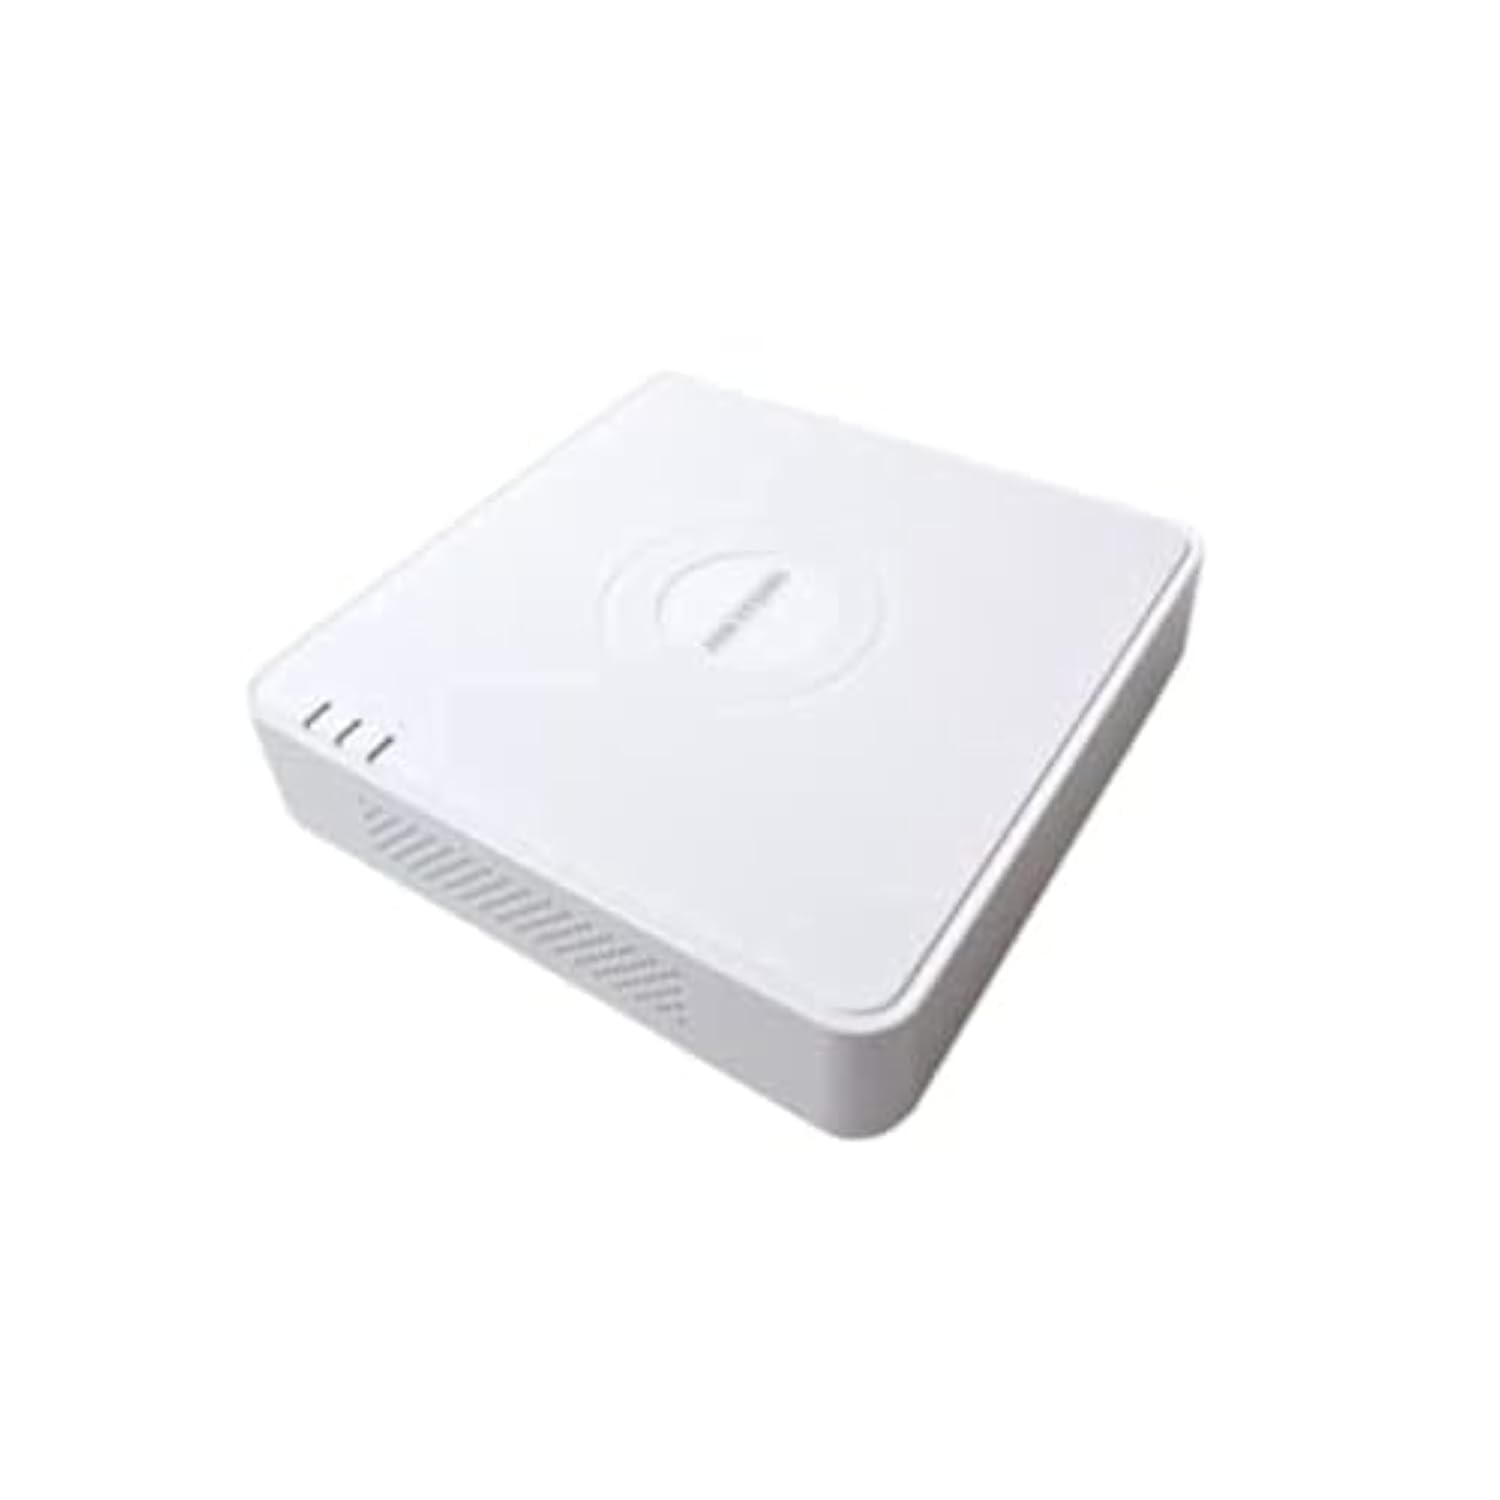
This image shows the Hikvision Turbo HD DVR unit from a front-side perspective, highlighting its compact design, ventilation grilles, and status indicator lights.
2. Funkcje produktu
- High-definition 8-channel Turbo HD DVR
- Supports audio transmission over coaxial cable
- Equipped with one SATA interface for storage
- Trwały plastik casing dla ochrony
- Video encoding capabilities up to 1080p Lite at 15 frames per second
- Advanced video compression: H.265 Pro+/H.265 Pro/H.265
3. Przewodnik konfiguracji
3.1 Rozpakowanie i kontrola
Carefully unpack the DVR and all accessories. Verify that all components are present and undamaged. If any items are missing or damaged, contact your supplier immediately.
3.2 Podłączanie rejestratora DVR
- Connect Hard Drive (if not pre-installed): Otwórz rejestrator DVRasing, connect the SATA data and power cables to the hard drive, and secure the drive.
- Podłącz kamery: Connect your Turbo HD cameras to the BNC video input ports on the rear panel.
- Podłącz monitor: Use an HDMI or VGA cable to connect a monitor to the corresponding output port on the DVR.
- Podłącz mysz: Podłącz mysz USB do portu USB w rejestratorze DVR.
- Połącz sieć: Connect an Ethernet cable from your router/switch to the LAN port on the DVR for network access and remote viewing.
- Podłącz zasilanie: Podłącz zasilacz do wejścia zasilania rejestratora DVR, a następnie do gniazdka elektrycznego. Rejestrator DVR włączy się automatycznie.
3.3 Konfiguracja początkowa
Upon first power-on, the DVR will guide you through an initial setup wizard. This includes setting up a strong password, configuring network settings, and initializing the hard drive. Follow the on-screen prompts to complete the setup.
4. Instrukcja obsługi
4.1 Na żywo View
Po wstępnej konfiguracji rejestrator DVR wyświetli obraz na żywo view ze wszystkich podłączonych kamer na monitorze. Możesz przełączać się między obrazami z pojedynczej kamery view i siatka wielokamerowa view za pomocą elementów sterujących na ekranie lub myszy.
4.2 Nagrywanie
The DVR is typically configured for continuous recording by default. You can access the recording schedule settings via the main menu to customize recording modes (e.g., motion detection, scheduled recording) for each channel.
4.3 Odtwarzanie
Aby ponownieview nagrano footage, navigate to the Playback menu. Select the desired camera(s) and time range. You can use the timeline and playback controls to fast forward, rewind, or pause the video.
4.4 Dostęp zdalny
Dla pilota viewing on a mobile device or computer, ensure the DVR is connected to the internet. Download the official Hik-Connect app (or client software) and follow the instructions to add your DVR using its serial number or QR code. This allows you to view live feeds and playback recordings from anywhere with an internet connection.
5. Konserwacja
5.1 Regularne czyszczenie
Keep the DVR clean by wiping its exterior with a soft, dry cloth. Ensure ventilation openings are free from dust and obstructions to prevent overheating.
5.2 aktualizacji oprogramowania sprzętowego
Okresowo sprawdzaj oficjalną stronę Hikvision website for firmware updates. Keeping your DVR's firmware up-to-date ensures optimal performance, security, and access to new features. Follow the provided instructions carefully when performing updates.
5.3 Kopia zapasowa danych
Regularnie twórz kopie zapasowe ważnych plików wideotage to an external USB drive or network storage. This helps prevent data loss in case of hard drive failure or other unforeseen issues.
6. Rozwiązywanie Problemów
6.1 Brak wyjścia wideo
- Check all video cable connections (BNC, HDMI, VGA) to ensure they are secure.
- Sprawdź, czy monitor jest włączony i ustawiony na prawidłowe źródło sygnału wejściowego.
- Ensure cameras are powered and functioning correctly.
6.2 Problemy z połączeniem sieciowym
- Confirm the Ethernet cable is properly connected to both the DVR and the router/switch.
- Check network settings in the DVR menu (IP address, gateway, DNS). Ensure they are correct for your network.
- Restart your router/switch and the DVR.
6.3 Problemy z nagrywaniem
- Verify that a hard drive is installed and properly initialized.
- Check the recording schedule and settings for the affected channels.
- Sprawdź, czy na dysku twardym jest wystarczająca ilość wolnego miejsca.
7. Specyfikacje
| Funkcja | Szczegół |
|---|---|
| Producent | Hikvision |
| Numer modelu | DS-7108HGHI-K1(S) |
| Wymiary produktu (szer. x gł. x wys.) | 10 x 10 x 3 cm (approximate, based on video) |
| Waga przedmiotu | 1000 gramów (1 kg) |
| Technologia łączności | Sieć Ethernetowa |
| Kompatybilne urządzenia | Kamera |
| Pojemność pamięci masowej | 4 Terabytes (HDD not included) |
| Rozmiar dysku twardego | 4 Terabytes (Maximum supported) |
| Pobór mocy | 17 watów |
| Liczba kanałów | 8 |
| Format cyfrowego nośnika wideo | MP4 |
8. Gwarancja i wsparcie
For specific warranty terms and conditions, please refer to the documentation provided with your purchase or contact Hikvision directly. Technical support may be available through the Hikvision official weblub u autoryzowanego sprzedawcy.