1. Wprowadzenie
The Godox MF12-K2 Macro Flash Kit is designed for macro photography, providing precise and flexible lighting solutions for small subjects. This kit includes two MF12 macro flashes, which can be used individually or combined with the included mounting ring and adapter rings for various lighting configurations. The flashes feature a built-in lithium battery, TTL auto flash, and 2.4G wireless control for versatile operation.
2. Co znajduje się w pudełku
Sprawdź, czy w przesyłce znajdują się wszystkie elementy wymienione poniżej:
- 2 x Godox MF12 Macro Flashes
- 2 x Flash Stands
- 2 x Cold Shoe Adapters
- 2 x Color Filter Holders
- 2 x Color Effects Set MF-11C (various colored gels)
- 2 x Color Temperature Adjustment Set MF-11T (various color temperature gels)
- 2 x Extreme Close-Up Positioning Adapters
- 1 x Mounting Ring MF-AR
- 1 x Adapter Rings Kit AR-R Kit (includes 49mm, 52mm, 55mm, 58mm, 62mm, 67mm, 72mm, 77mm rings)
- 1 x Carry Case
- 2 kable ładujące USB typu C

Image: The complete Godox MF12-K2 Macro Flash Kit, showing two MF12 flashes, mounting ring, adapter rings, color filters, charging cables, and carry case.

Image: A detailed layout of all components included in the MF12-K2 kit, including flashes, ring, adapters, and accessories.
3. Konfiguracja
3.1 Charging the MF12 Flashes
Each MF12 flash unit has a built-in lithium battery. Before first use, fully charge the flashes.
- Locate the USB Type-C port on the side of the MF12 flash unit.
- Connect the provided USB Type-C cable to the flash unit and a compatible USB power source (e.g., USB wall adapter, computer USB port).
- The charging indicator will show the charging status. Once fully charged, the indicator will change (refer to the flash unit's display for specific indications).
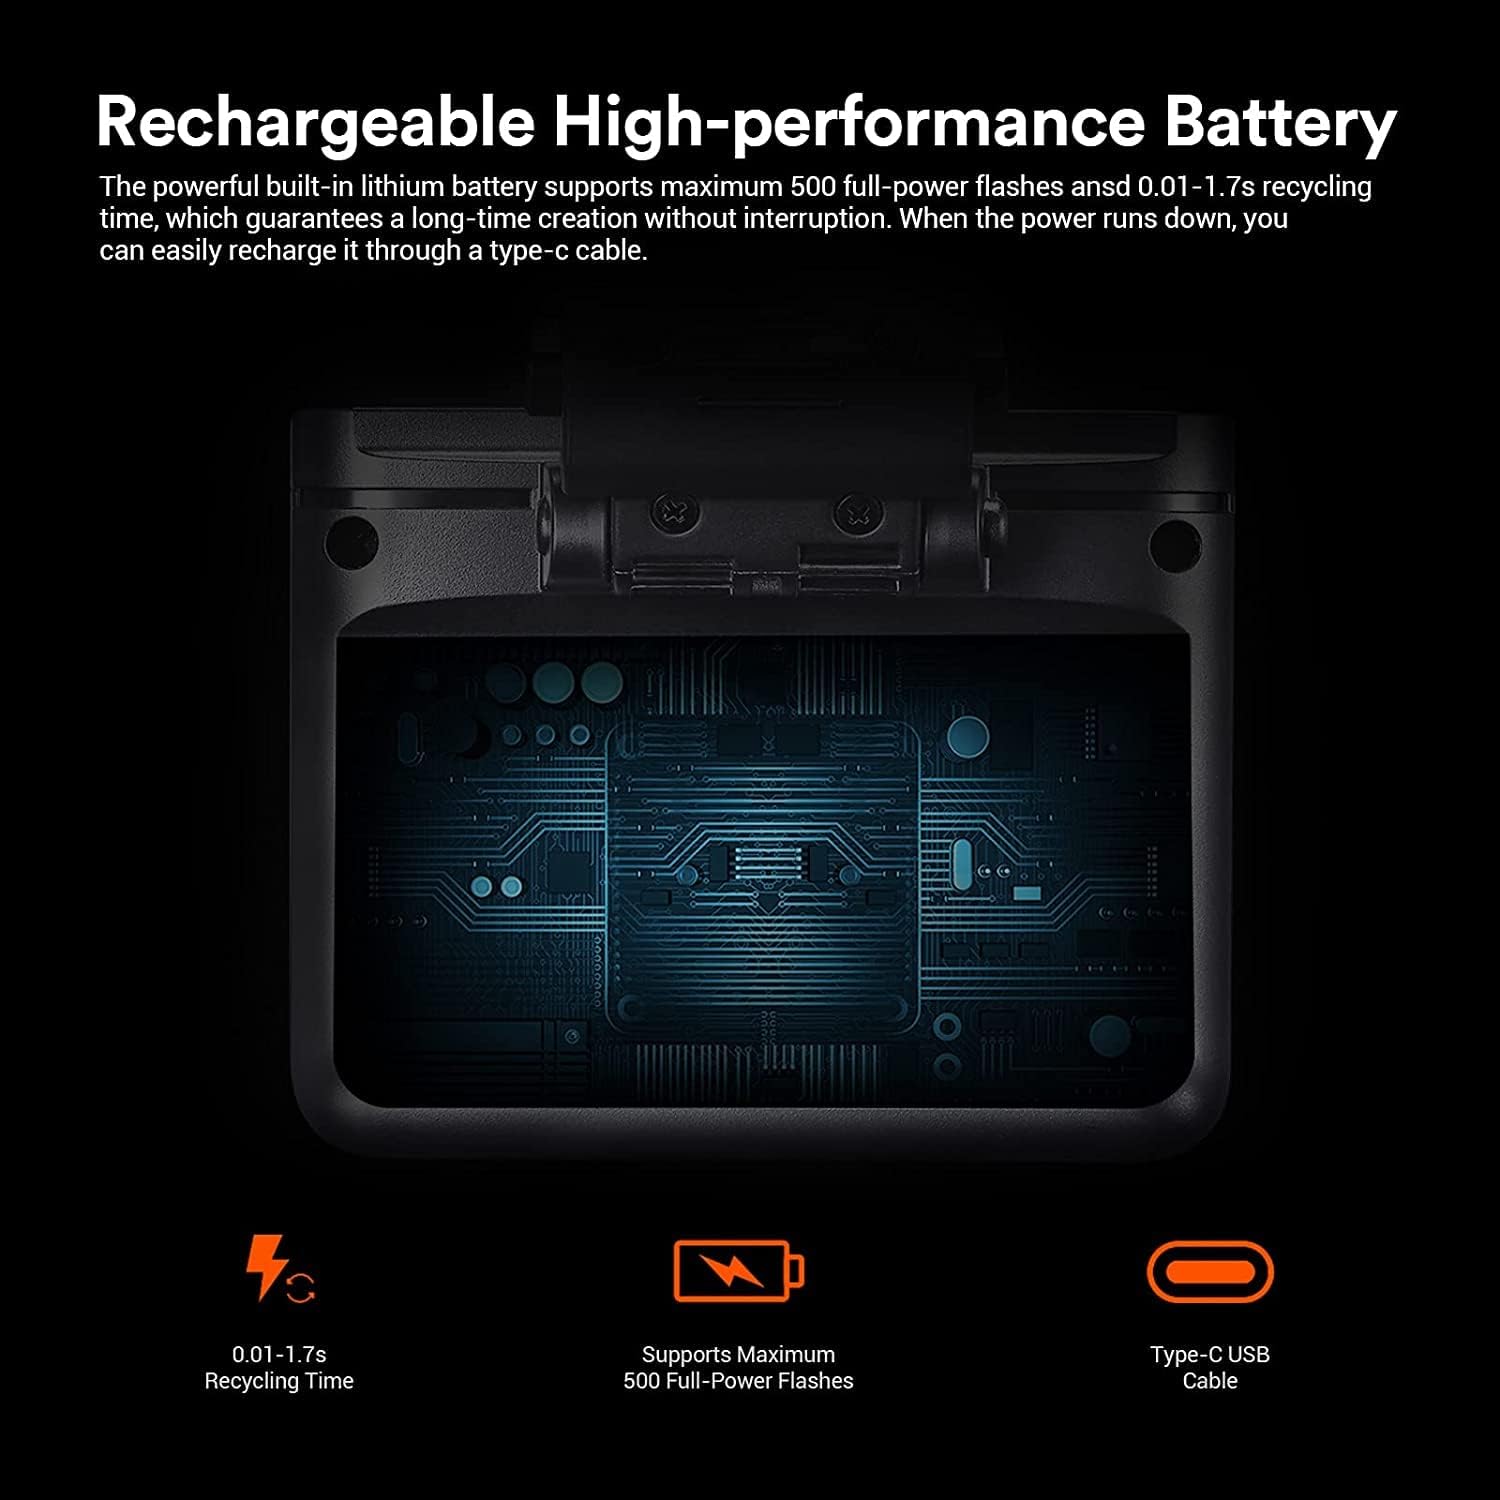
Image: A close-up of the MF12 flash unit highlighting its Type-C charging port and battery status display.
3.2 Attaching Flashes to the Mounting Ring (MF-AR)
The MF-AR mounting ring allows for flexible positioning of the MF12 flashes around your lens.
- Align the MF12 flash unit with one of the mounting slots on the MF-AR ring.
- Slide the flash into the slot until it clicks securely into place.
- Repeat for the second MF12 flash unit.
- The flashes can be rotated and slid along the ring for optimal positioning.

Image: The MF-AR mounting ring, designed to hold the MF12 flashes.
3.3 Attaching the Mounting Ring to Your Lens
Use the appropriate adapter ring from the AR-R Kit to attach the MF-AR mounting ring to your camera lens.
- Determine the filter thread size of your camera lens (e.g., 49mm, 52mm, 77mm).
- Select the corresponding adapter ring from the AR-R Kit.
- Screw the selected adapter ring onto the front filter thread of your lens.
- Attach the MF-AR mounting ring (with flashes) to the adapter ring by aligning the grooves and twisting until secure.

Image: The MF-AR mounting ring displayed with a selection of adapter rings from the AR-R Kit, showing different sizes.
3.4 Using Flashes Off-Camera
For off-camera lighting, use the provided flash stands and cold shoe adapters.
- Attach a cold shoe adapter to the bottom of an MF12 flash unit.
- Mount the flash unit with the cold shoe adapter onto a flash stand or other compatible light stand.
- Position the flash as desired for your lighting setup.

Image: A flash stand for supporting the MF12 unit off-camera.

Image: A cold shoe adapter for mounting the MF12 flash.
3.5 Attaching Color Filters and Extreme Close-Up Adapters
The kit includes color filter sets (MF-11C, MF-11T) and extreme close-up positioning adapters for creative lighting and precise subject illumination.
- Slide the desired color filter into the color filter holder.
- Attach the color filter holder to the front of the MF12 flash unit.
- For extreme close-up work, attach the extreme close-up positioning adapter to the front of the flash unit.

Obraz: Byłyamples of MF12 flashes with color filters applied, demonstrating their use in a multi-flash setup.
4. Instrukcja obsługi
4.1 Włączanie/wyłączanie
To power on the MF12 flash, press and hold the power button until the display illuminates. To power off, press and hold the power button again until the display turns off.
4.2 Flash Modes (TTL and Manual)
The MF12 supports both TTL (Through-The-Lens) auto flash and Manual (M) flash modes.
- Tryb TTL: The flash automatically adjusts its output based on the camera's metering system. This is suitable for quick shooting and changing light conditions.
- Tryb ręczny: Allows you to manually set the flash power output (e.g., 1/1 to 1/128). This provides precise control over lighting for consistent results.
Refer to the flash unit's display and controls to switch between modes and adjust settings.

Image: A close-up of the MF12 flash unit's display, showing mode and power settings.
4.3 2.4G Wireless Control
The MF12 flashes can be controlled wirelessly using a compatible Godox 2.4G wireless trigger (e.g., XPro, X1, X2, X3 series, sold separately). This allows for remote control of flash power, mode, and group settings.
- Zgodność: Works with camera systems from Nikon, Sony, Canon, Fuji, Olympus, and Panasonic when paired with the appropriate Godox trigger.
- Groups and Channels: The system supports 5 groups and 32 channels, minimizing interference when multiple wireless systems are in use.
- Organizować coś: Ensure your MF12 flashes and wireless trigger are set to the same group and channel. Refer to your trigger's manual for specific pairing instructions.

Image: A Godox XPro wireless trigger mounted on a camera hot shoe, wirelessly controlling two MF12 flashes attached to the lens.

Image: The display of a Godox XPro trigger, illustrating the interface for adjusting flash settings for multiple groups.

Image: A Godox XPro wireless trigger.
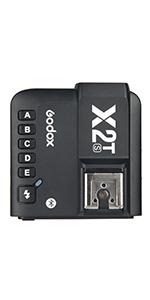
Image: A Godox X2T wireless trigger.
4.4 Multi-Flash Configurations
The MF12 flashes can be arranged in various ways to achieve different lighting effects for macro photography.
- Ring Flash Effect: Attach both MF12 units to the MF-AR mounting ring for even, shadow-reducing illumination, ideal for capturing fine details.
- Oświetlenie kierunkowe: Use the adjustable heads of the MF12 units to direct light from specific angles, creating shadows and enhancing texture.
- Oświetlenie poza kamerą: Utilize the flash stands and cold shoe adapters to position flashes independently for more complex lighting setups.

Image: An MF12 flash mounted on a camera lens, demonstrating its use for macro photography of small subjects.

Image: Two MF12 flashes positioned to illuminate a ring, showcasing precise lighting for small objects.

Image: Illustrations of different multi-flash setups using the MF12 units, including a ring flash configuration and off-camera placement for food photography.
5. Konserwacja
- Czyszczenie: Use a soft, dry cloth to clean the flash units and accessories. Avoid using harsh chemicals or abrasive materials.
- Składowanie: Store the kit in the provided carry case in a cool, dry place away from direct sunlight and extreme temperatures.
- Pielęgnacja baterii: For optimal battery life, fully charge the flashes before long-term storage and recharge them every three months if not in use.
- Obsługiwanie: Handle the flash units and accessories with care to prevent damage from drops or impacts.
6. Rozwiązywanie Problemów
| Problem | Możliwa przyczyna | Rozwiązanie |
|---|---|---|
| Lampa błyskowa nie działa | Low battery; Incorrect wireless settings; Flash not powered on; Trigger not compatible or paired. | Charge the battery; Verify flash is powered on; Check group and channel settings on flash and trigger; Ensure trigger is compatible and properly paired with the flash. |
| Niespójna moc błysku | TTL metering issues; Manual power set too low/high; Obstruction between flash and subject. | Switch to Manual mode and adjust power; Ensure clear line of sight; Check camera's metering mode. |
| Flashes not mounting securely | Incorrect adapter ring size; Mounting ring not properly aligned. | Ensure the correct adapter ring size is used for your lens; Verify the MF-AR ring is twisted securely onto the adapter ring. |
7. Specyfikacje
| Funkcja | Szczegół |
|---|---|
| Model | MF12-K2 |
| Marka | GODOX |
| Typ lampy błyskowej | Błysk makro |
| Kompatybilne mocowania | Canon, Sony, Nikon, Fuji, Panasonic (with compatible trigger) |
| Prędkość synchronizacji błysku | 1/250s |
| Bateria | Built-in Lithium Ion (1 required, included) |
| Błyski o pełnej mocy | Do 500 |
| Czas recyklingu | 0.01-1.7 sekund |
| Wymiary produktu | 3.19 x 3.03 x 2.56 inches (per flash unit) |
| Waga przedmiotu | 2.46 funta (cały zestaw) |
| ASIN | B09CKXG1DQ |
| Data pierwszej dostępności | 13 sierpnia 2021 r. |
8. Gwarancja i wsparcie
Aby uzyskać informacje dotyczące gwarancji i pomocy technicznej, zapoznaj się z oficjalną stroną GODOX webOdwiedź naszą stronę lub skontaktuj się z lokalnym dystrybutorem. Zachowaj paragon jako dowód zakupu na wypadek reklamacji.
Additional product information can sometimes be found using the UPC: 6952344222430
For further inquiries, you may also visit the GODOX store on Amazon: Sklep GODOX