
1. Wprowadzenie
This manual provides detailed instructions for the Tyler 16-inch Portable LCD TV Monitor, Model T709. Please read this manual thoroughly before using the product to ensure proper operation and to maximize its lifespan. Keep this manual for future reference.
2. Informacje dotyczące bezpieczeństwa
- Aby uniknąć pożaru lub porażenia prądem, nie wystawiaj urządzenia na działanie deszczu i wilgoci.
- Nie otwierać casing. Wszelkie prace serwisowe powierzaj wykwalifikowanemu personelowi.
- Zapewnij odpowiednią wentylację. Nie blokuj otworów wentylacyjnych.
- Use only the power adapter and car charger provided by the manufacturer.
- Unikaj ekstremalnych temperatur i bezpośredniego światła słonecznego.
- Handle the screen with care to prevent damage.
3. Zawartość opakowania
Sprawdź, czy w przesyłce znajdują się wszystkie elementy wymienione poniżej:
- Tyler 16-inch Portable LCD TV Monitor (Model T709)
- Zdalne sterowanie
- Baterie do pilota
- Zasilacz AC/DC
- Car Charger Adapter (12V)
- Antenna Set (for digital TV and FM receivers)
- RCA Cable (for analogue video input)

Image: All components included with the Tyler 16-inch Portable TV Monitor, including the TV, remote control, batteries, AC/DC adapter, car charger, antenna, and RCA cable.
4. Koniec produktuview
The Tyler 16-inch Portable LCD TV Monitor (Model T709) is designed for versatile entertainment on the go. It features a 16-inch widescreen LED display, built-in rechargeable battery, and multiple connectivity options.
Przód View

Obraz: Przód view of the Tyler 16-inch Portable TV Monitor, showcasing the screen, integrated stand, and the included remote control and antenna.
Side and Rear Connections
The unit provides various ports for connecting external devices:

Obraz: Szczegółowy view of the side panel connections, including the USB port, Analogue Video port, HDMI digital video and audio port, and FM radio antenna input.
- Port USB: For external audio/video playback.
- Analogue Video Port: Do podłączania starszych urządzeń.
- Port HDMI: Do cyfrowego sygnału wideo i audio o wysokiej rozdzielczości.
- FM Radio Antenna Input: Do odbioru radia FM.
- Wejście prądu stałego 12 V: For power adapter or car charger.
- AV In/Out: Dual AV inputs for DVD players or game systems.
- Gniazdo słuchawkowe: Do prywatnego słuchania.
5. Konfiguracja
5.1 Pierwsze ładowanie
Before first use, fully charge the built-in battery. Connect the AC/DC power adapter to the DC 12V input on the TV and plug it into a wall outlet. The charging indicator will illuminate. A full charge typically takes several hours.
5.2 Podłączenie anteny
For receiving digital TV or FM radio signals, connect the included antenna to the appropriate antenna input port on the TV. Extend the antenna fully for optimal reception.
5.3 Włączanie/wyłączanie
Naciśnij MOC button on the TV or the remote control to turn the unit on or off.
5.4 Podłączanie urządzeń zewnętrznych
- HDMI: Connect an HDMI cable from your device (e.g., Roku, Firestick, game console) to the HDMI port on the TV.
- USB: Aby odtwarzać multimedia, podłącz dysk USB do portu USB.
- RCA (AV In): Use the provided RCA cable to connect devices like DVD players to the AV In ports.
5.5 Regulacja stojaka
The TV features a built-in steel stand that can be adjusted for optimal viewing angles. Simply pull out the stand from the back of the unit and position it as desired. The stand allows for a wide range of rotation.

Image: The rear of the TV demonstrating the adjustable, rotating stand for flexible positioning.
6. Instrukcja obsługi
6.1 Funkcje zdalnego sterowania
The included remote control provides full functionality for the TV. Ensure batteries are correctly inserted.

Image: The Tyler multimedia remote control, showing various buttons for power, channel, volume, menu navigation, and input selection.
- MOC: Włącza/wyłącza telewizor.
- MENU: Dostęp do menu głównego w celu uzyskania dostępu do ustawień.
- CO +/-: Zmienia kanały.
- GŁOŚNOŚĆ +/-: Reguluje głośność.
- ŹRÓDŁO SYGNAŁU WEJŚCIOWEGO: Selects input source (HDMI, AV, USB, TV).
- OK/ENTER: Potwierdza wybór.
- NIEMY: Wycisza/włącza dźwięk.
- INFORMACJE: Wyświetla informacje o kanale.
6.2 Channel Scan (First Time Setup)
- Sprawdź, czy antena jest podłączona.
- Włącz telewizor.
- Naciśnij MENU przycisk na pilocie.
- Przejdź do menu „Kanał” lub „Konfiguracja”.
- Select "Auto Scan" or "Auto Tune" and confirm. The TV will search for available digital channels. This process may take several minutes.
6.3 Odtwarzanie multimediów przez USB
Włóż dysk flash USB zawierający kompatybilny nośnik files (AVI, MOV, MPEG, MP4, MP3, JPEG, etc.) into the USB port. Select "USB" as the input source using the WEJŚCIE button. Navigate through your fileza pomocą pilota.
6.4 Obsługa radia FM
Select "FM Radio" as the input source. Use the channel buttons to tune to different radio stations. Perform an auto-scan in the FM radio menu for the first time to find available stations.
6.5 Korzystanie ze słuchawek
Connect standard 3.5mm headphones to the headphone jack for private listening. The built-in speakers will automatically mute when headphones are connected.
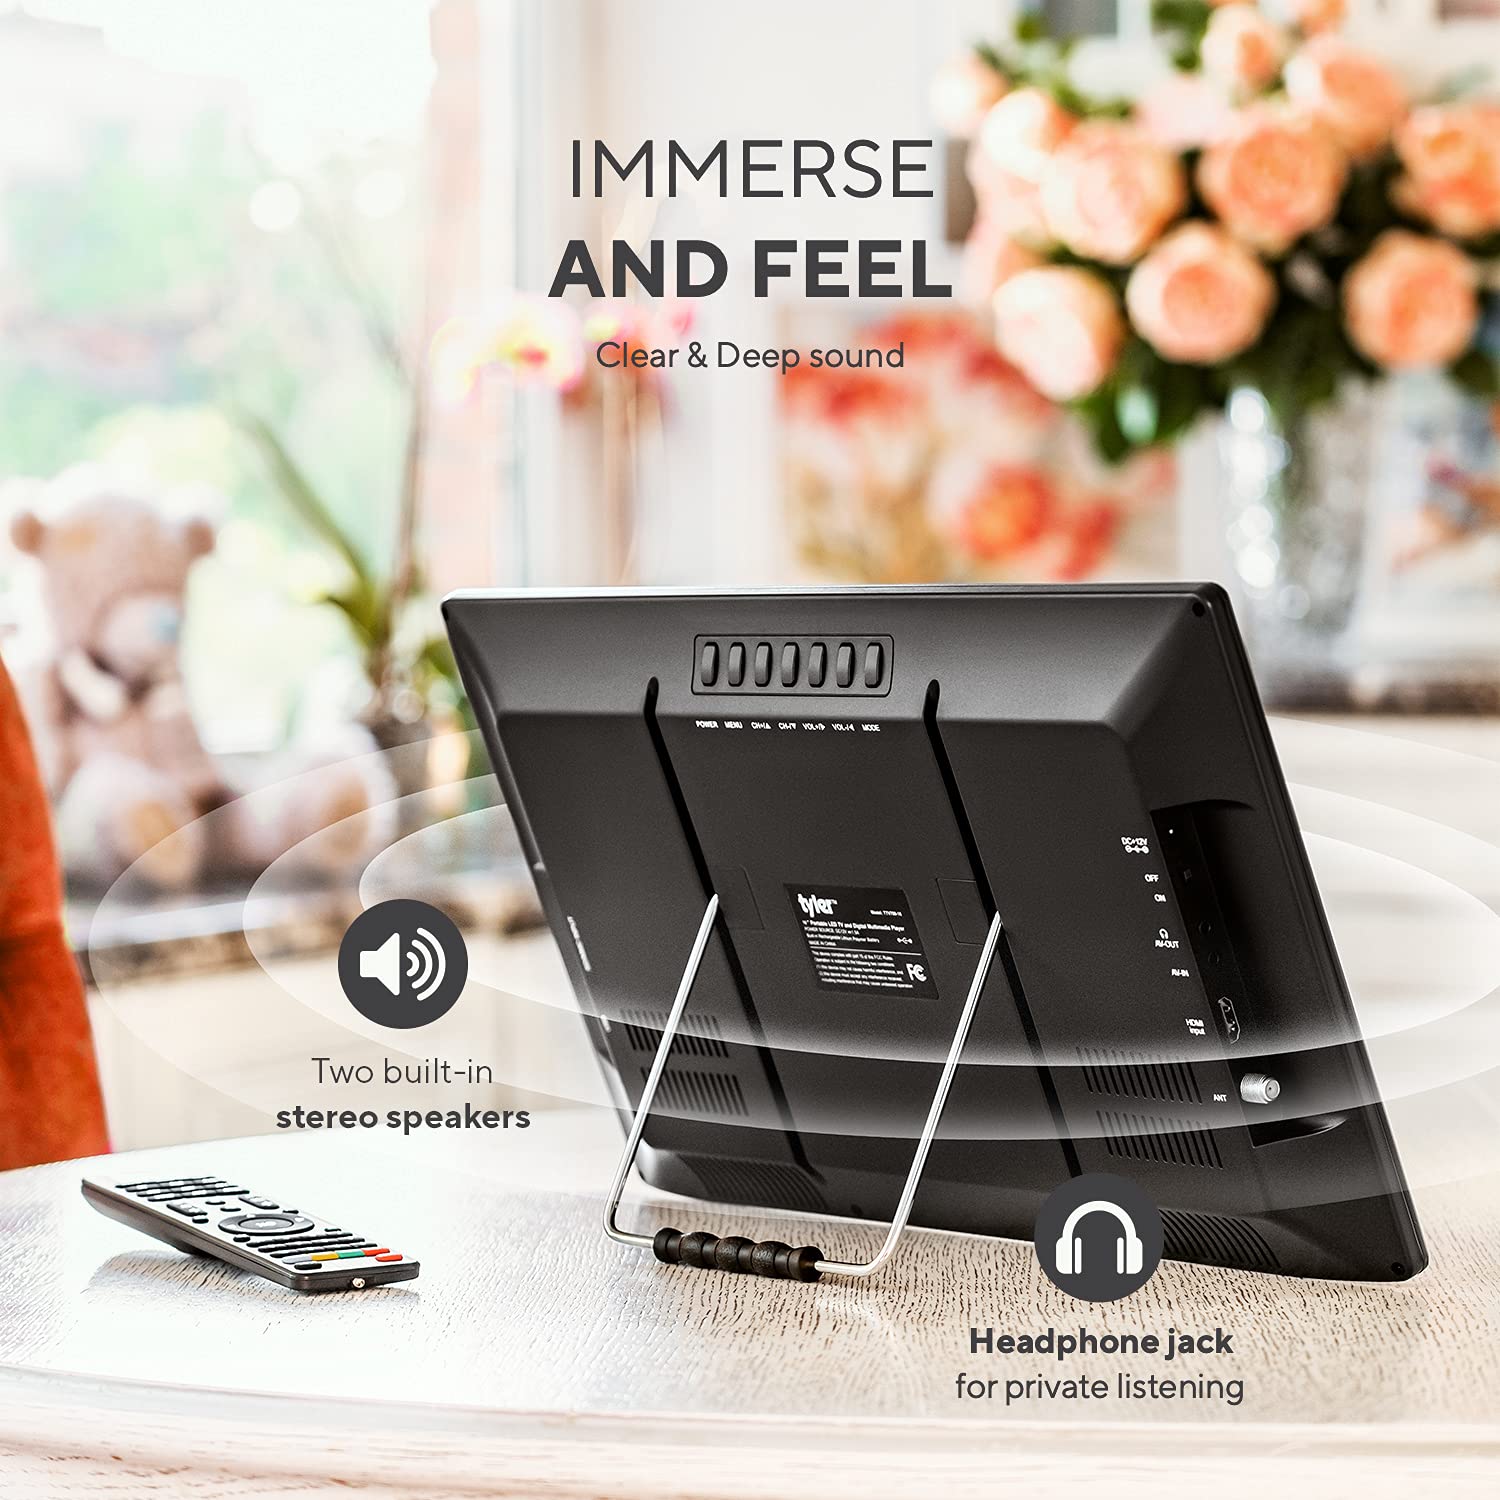
Image: The rear of the TV, indicating the location of the headphone jack for private listening and the two built-in stereo speakers.
7. Konserwacja
7.1 Czyszczenie urządzenia
Wytrzyj ekran i casing with a soft, dry, lint-free cloth. For stubborn marks, slightly dampWytrzyj szmatkę wodą. Nie używaj środków czyszczących o działaniu ściernym, wosków ani rozpuszczalników.
7.2 Pielęgnacja baterii
- Aby przedłużyć żywotność baterii, należy unikać częstego całkowitego rozładowywania baterii.
- If storing the unit for an extended period, charge the battery to approximately 50% every 3-6 months.
- Nie wystawiaj akumulatora na działanie ekstremalnie wysokich lub niskich temperatur.
8. Rozwiązywanie Problemów
| Problem | Możliwa przyczyna | Rozwiązanie |
|---|---|---|
| Brak zasilania | Battery discharged; Power adapter not connected; Remote control batteries dead. | Charge the battery; Connect the power adapter; Replace remote control batteries. |
| No signal/Poor picture quality | Antenna not connected or positioned correctly; No channel scan performed; Weak broadcast signal. | Connect/adjust antenna; Perform auto channel scan; Try repositioning the TV or antenna. |
| Brak dźwięku lub niska głośność | Volume too low; Mute activated; External speakers/headphones not connected properly. | Increase volume; Deactivate mute; Check external audio connections. Note: Built-in speakers are designed for portability and may not offer high fidelity. |
| HDMI input not working | Incorrect input source selected; Faulty HDMI cable; External device not powered on. | Select correct HDMI input; Try a different HDMI cable; Ensure external device is on. |
| Martwe piksele lub linie na ekranie | Manufacturing defect or physical damage. | Aby uzyskać pomoc, skontaktuj się z obsługą klienta. |
| Pilot nie odpowiada | Baterie są rozładowane lub nieprawidłowo włożone; Przeszkoda między pilotem a telewizorem. | Wymień baterie. Upewnij się, że odbiornik podczerwieni telewizora jest w dobrej widoczności. |
9. Specyfikacje
| Funkcja | Szczegół |
|---|---|
| Numer modelu | T709 |
| Rozmiar ekranu | 16 cali |
| Technologia wyświetlania | LCD, LED |
| Rezolucja | 1080p |
| Częstotliwość odświeżania | 60 Hz |
| Proporcje obrazu | 16:9 |
| Łączność | HDMI, USB, VGA, RCA (AV In/Out), Headphone Jack, FM Antenna |
| Źródło zasilania | AC/DC Adapter, 12V Car Charger, Built-in Lithium Ion Battery |
| Żywotność baterii | Approximately 4+ hours (TV playback), 25 minutes (HDMI with DVD player) |
| Wymiary produktu | 1"D x 1"W x 2"H (Note: These dimensions are as provided in product data and may refer to packaging or a specific component.) |
| Waga | 4.35 funtów |
| Producent | Tyler |
10. Gwarancja i wsparcie
10.1 Informacje o gwarancji
This product is covered by a manufacturer's warranty. Please refer to the warranty card included in your package or visit the official Tyler webSzczegółowe warunki gwarancji znajdziesz na stronie. Zachowaj dowód zakupu na wypadek roszczeń gwarancyjnych.
10.2 Obsługa klienta
For technical assistance, troubleshooting not covered in this manual, or warranty inquiries, please contact Tyler customer support. Contact details can typically be found on the manufacturer's webmiejscu lub na opakowaniu produktu.
Uwaga: Niniejsza instrukcja nie zawiera szczegółowych danych kontaktowych. Prosimy o zapoznanie się z opakowaniem produktu lub informacjami producenta. webna tej stronie znajdziesz najnowsze informacje dotyczące pomocy technicznej.