
1. Koniec produktuview
The ORDRO AE7 is a versatile 2.7K digital camcorder designed for capturing high-quality videos and photos. It features IR night vision, a 3.0-inch TFT touchscreen with 270° rotation, 16x digital zoom, and multiple connectivity options, making it suitable for various recording needs.
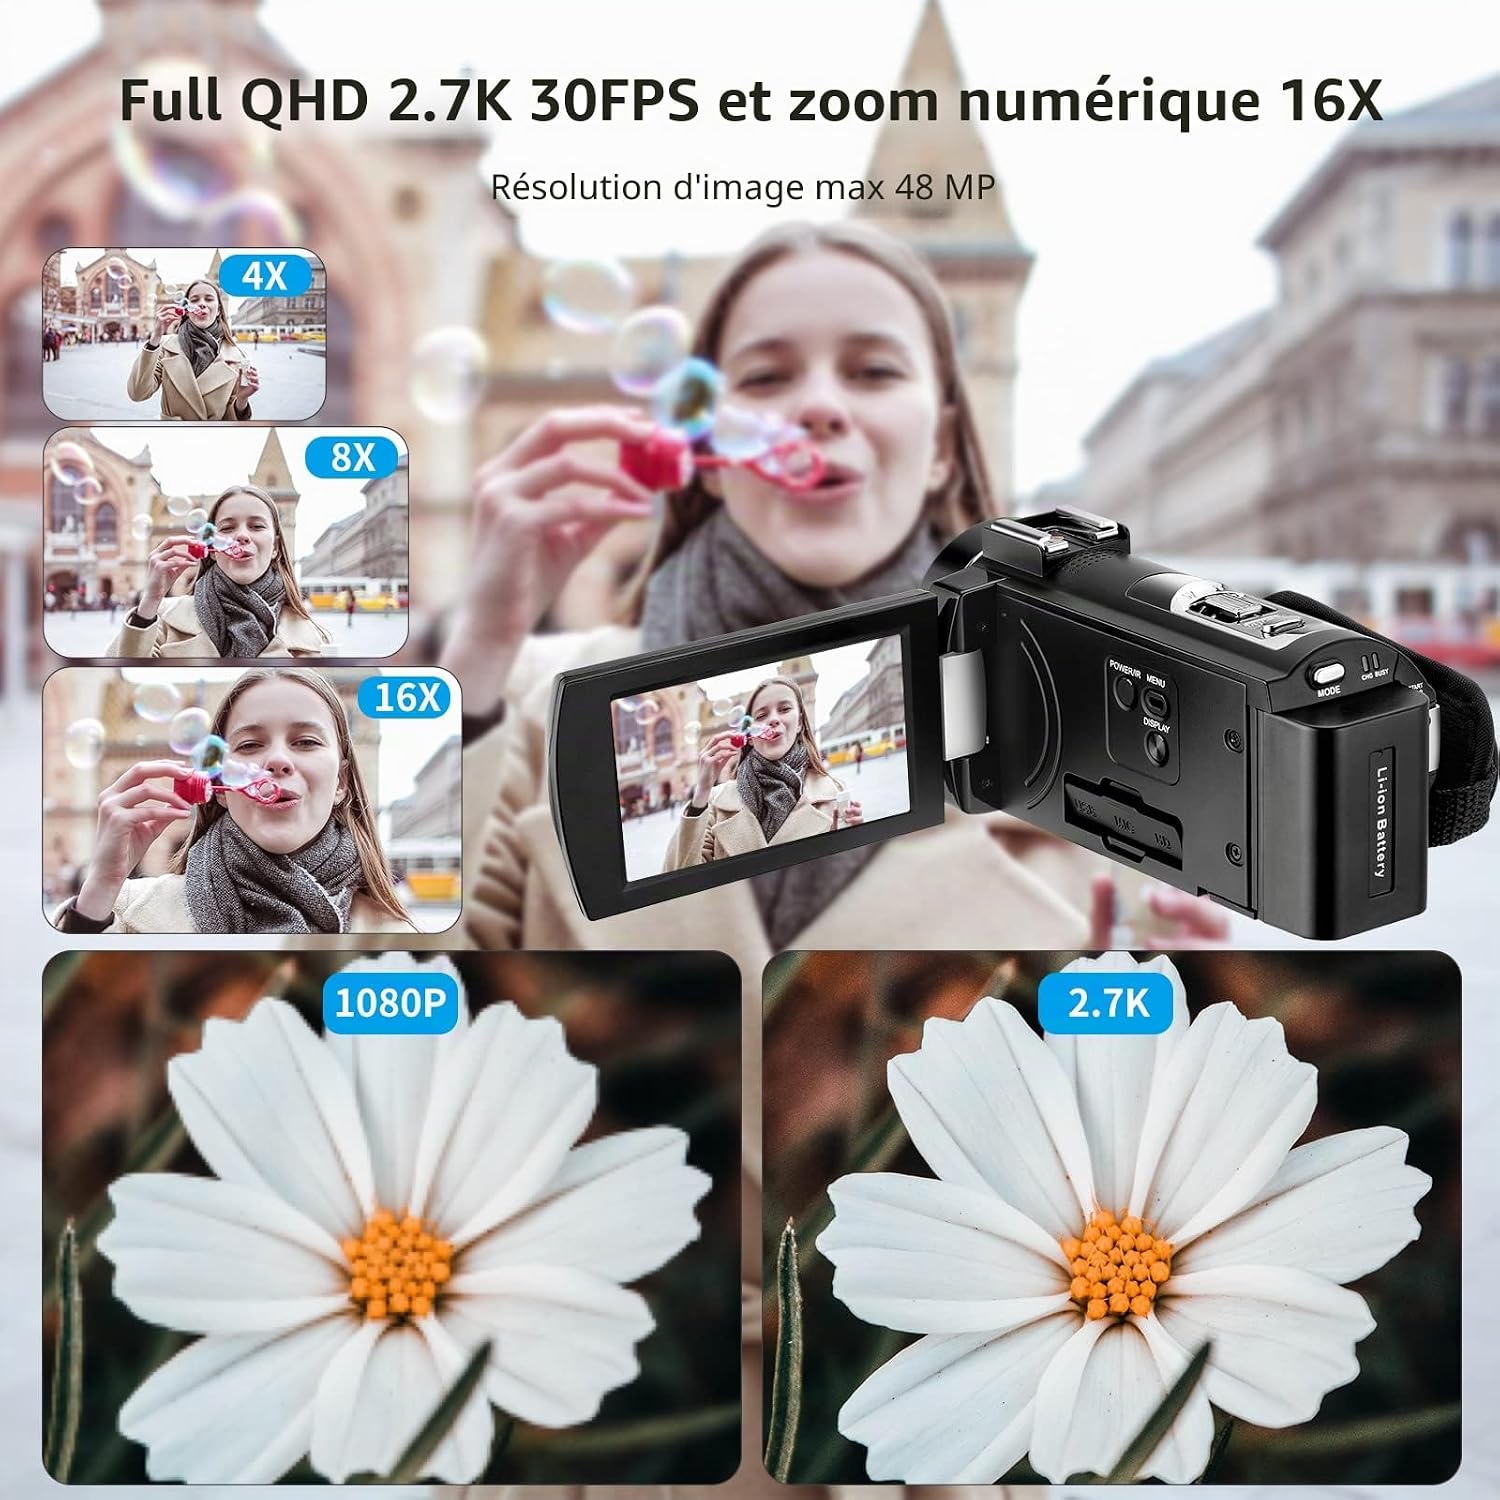
Image: The ORDRO AE7 camcorder with its screen open, showcasinze względu na kompaktową konstrukcję.
Główne cechy:
- 2.7K QHD Video Recording: Capture videos at 2688*1520 resolution (30fps) for clear and detailed footage.
- Robienie zdjęć 48 MP: Take high-resolution still images.
- IR Night Vision: Record in low-light or no-light conditions using infrared technology.
- 3.0-calowy ekran dotykowy TFT: A rotatable screen (270°) for flexible viewi kontroli.
- 16-krotny zoom cyfrowy: Powiększaj obiekty, aby wykonywać zbliżenia.
- WebFunkcja kamery: Connect to a computer via USB for video calls.
- Funkcja pauzy: Pause and resume recording within the same file.
- Zdalne sterowanie: Conveniently operate the camcorder from a distance.
- Wyjście HDMI: Connect to a TV for larger viewing.
- Lekki i przenośny: Easy to carry for on-the-go recording.
Co jest zawarte:
The ORDRO AE7 package typically includes:
- ORDRO AE7 Video Camera
- Two NP-180 Lithium Batteries (3.7V 1400mAh)
- Ładowarka USB
- Kabel USB
- Kabel HDMI
- Zdalne sterowanie
- Torba na aparat
- Instrukcja obsługi
2. Przewodnik konfiguracji
2.1. Montaż i ładowanie akumulatora
The camcorder uses NP-180 Lithium-polymer batteries. Ensure batteries are fully charged before first use.
- Otwórz pokrywę komory baterii znajdującą się na spodzie kamery.
- Insert a fully charged NP-180 battery, ensuring correct polarity.
- Dokładnie zamknij pokrywę komory baterii.
- To charge, connect the camcorder to the USB charger using the provided USB cable. The charging indicator will illuminate. A full charge provides approximately 90 minutes of recording time. The camcorder supports charging during recording.

Image: The camcorder connected to a power bank, illustrating the "Recording While Charging" feature.
2.2. Instalacja karty pamięci
The ORDRO AE7 supports SD cards up to 128GB. A Class 10 or higher SD card is recommended for optimal performance.
- Znajdź gniazdo karty SD z boku kamery.
- Włóż kartę SD metalowymi stykami skierowanymi w dół, aż do zatrzaśnięcia.
- Aby wyjąć kartę, delikatnie naciśnij, aż wyskoczy.
- Upon first use or with a new card, format the SD card using the camcorder's menu settings to ensure compatibility and prevent data corruption.
2.3. Pierwsze włączenie zasilania
Press and hold the power button until the screen illuminates. The camcorder will boot up and display the main recording interface.
3. Instrukcja obsługi
3.1. Podstawowe sterowanie
Familiarize yourself with the main buttons and screen functions:
- Przycisk zasilania: Włącza/wyłącza kamerę.
- Przycisk nagrywania: Rozpoczyna i zatrzymuje nagrywanie wideo.
- Przycisk zdjęć: Rejestruje nieruchome obrazy.
- Dźwignia zoomu: Steruje zoomem cyfrowym (W – szeroki kąt, T – teleobiektyw).
- Przycisk trybu: Przełącza między trybami wideo, zdjęć i odtwarzania.
- Przycisk menu: Dostęp do ustawień i opcji systemu.
- 3.0-calowy ekran dotykowy TFT: Navigate menus and settings by touching the screen. The screen can rotate 270 degrees for various shooting angles.

Image: The ORDRO AE7 camcorder with its screen rotated, demonstrating flexibility for different shooting perspectives.
3.2. Nagrywanie wideo
- Włącz kamerę.
- Ensure the camcorder is in video recording mode (indicated by an icon on the screen).
- Press the Record button to start recording. A red indicator will typically appear on the screen.
- Naciśnij ponownie przycisk nagrywania, aby zatrzymać nagrywanie.
- Use the zoom lever to adjust the digital zoom during recording.
3.3. Robienie zdjęć
- Włącz kamerę.
- Przełącz na tryb zdjęć.
- Skadruj ujęcie korzystając z ekranu.
- Press the Photo button to capture an image.
3.4. Widzenie nocne w podczerwieni
To record in low-light conditions:
- In video or photo mode, access the menu.
- Locate and activate the "IR Night Vision" function. The screen will display a monochrome image.
- Proceed with recording or photo capture as usual.

Image: The camcorder displaying a scene in IR night vision mode, showing its capability in dark environments.
3.5. WebFunkcja krzywki
Use the camcorder as a webkamera do rozmów wideo:
- Connect the camcorder to your computer using the USB cable.
- Na ekranie kamery wybierz „Kamera PC” lub „Webcam Mode" when prompted.
- Twój komputer powinien rozpoznać kamerę jako webcam. Select it in your video conferencing software.

Image: The camcorder connected to a laptop, demonstrating its use as a webkamera do rozmów wideo.
3.6. Funkcja pauzy
Funkcja pauzy umożliwia tymczasowe zatrzymanie nagrywania i wznowienie go w tym samym czasie. file, avoiding multiple video clips for a single event.
- During video recording, press the Pause button (or the designated button on the remote control).
- To resume recording in the same file, press the Record button again.

Image: An icon representing the pause function, indicating its availability for video recording.
3.7. Connecting to a TV (HDMI)
Do view your recordings on a larger screen:
- Connect one end of the HDMI cable to the camcorder's HDMI port.
- Connect the other end to an HDMI input on your television.
- Select the corresponding HDMI input on your TV. The camcorder's display will appear on the TV screen.
3.8. Korzystanie z pilota zdalnego sterowania
The included remote control allows for convenient operation from a distance. It can be used to start/stop recording, take photos, and adjust zoom without touching the camcorder.

Image: The ORDRO AE7 camcorder being operated with its remote control, showing ease of use from a distance.
4. Konserwacja
4.1. Czyszczenie kamery
- Do czyszczenia obudowy kamery należy używać miękkiej, suchej ściereczki.
- Do czyszczenia soczewek należy używać specjalnej ściereczki i płynu do czyszczenia soczewek. Unikaj dotykania soczewek palcami.
- Clean the screen with a soft, lint-free cloth. Do not use abrasive cleaners.
4.2. Pielęgnacja baterii
- Baterie, które nie są używane, przechowuj w chłodnym i suchym miejscu.
- Aby przedłużyć żywotność baterii, należy unikać ich całkowitego rozładowywania.
- Jeśli akumulatory będą przechowywane przez dłuższy okres, należy je naładować do około 50% ich pojemności.
4.3. Przechowywanie
When not in use, store the camcorder in its protective bag in a dry, dust-free environment, away from extreme temperatures and direct sunlight.
5. Rozwiązywanie Problemów
If you encounter issues with your ORDRO AE7 camcorder, refer to the following common problems and solutions:
| Problem | Możliwa przyczyna | Rozwiązanie |
|---|---|---|
| Kamera nie włącza się. | Bateria jest rozładowana lub nieprawidłowo włożona. | Ensure battery is fully charged and correctly inserted. Try the second battery. |
| Nie można nagrywać filmów/robić zdjęć. | Karta SD jest pełna, nie została włożona lub nie jest sformatowana. | Insert an SD card. Format the SD card via the camcorder's menu. Delete unnecessary files aby zwolnić miejsce. |
| Słaba jakość obrazu/wideo. | Obiektyw jest brudny, oświetlenie jest niewystarczające, ustawienia są nieprawidłowe. | Clean the lens. Ensure adequate lighting or activate IR Night Vision. Check resolution settings in the menu. |
| Pilot nie działa. | Bateria w pilocie jest rozładowana; między pilotem a kamerą znajduje się przeszkoda. | Replace remote control battery. Ensure clear line of sight to the camcorder's IR receiver. |
| Kamera zawiesza się lub przestaje reagować. | Tymczasowy błąd oprogramowania. | Aby wykonać twardy reset, wyjmij i ponownie włóż baterię. |
6. Specyfikacje
Detailed technical specifications for the ORDRO AE7 Camcorder:
| Funkcja | Specyfikacja |
|---|---|
| Marka | ORDRO |
| Numer modelu | AE7 |
| Technologia czujnika fotograficznego | CMOS |
| Rozdzielczość nagrywania wideo | 2.7K (2688x1520 pikseli) |
| Efektywna rozdzielczość zdjęcia | 48 megapiksela |
| Maksymalna ogniskowa | 7.5 milimetrów |
| Maksymalna apertura | f/3.2 |
| Typ pamięci flash | SD (do 128 GB) |
| Format przechwytywania wideo | Plik AVI |
| Obsługiwany format audio | Common audio formats |
| Rozmiar ekranu | 3 Inches (TFT Touch Screen, 270° Rotation) |
| Technologia łączności | USB,HDMI |
| Kolor | Czarny |
| Cechy produktu | Infrared Night Vision, Webcam Function, Pause Function, Remote Control |
| Poziom wodoodporności | Nie wodoodporny |
| Stabilizacja obrazu | Cyfrowy |
| Współczynnik kształtu | Ręczny |
| Waga przedmiotu | 250 gram |
| Średnia żywotność baterii | 90 minutes (recording) |
| Typ technologii bezprzewodowej | 2.4 GHz Radio Frequency (for remote) |
| Liczba baterii | 2 litowo-polimerowy (w zestawie) |
| Obsługiwane systemy operacyjne | Android, Windows, iOS (for compatible devices/webkrzywka) |
| Tryby fotografowania | Night, Aperture Priority |
| Proporcje obrazu | 16:9 |
| Obsługiwany format obrazu | Plik JPEG |
| Ustawienia balansu bieli | Automatyczny |
| Typ kontroli ekspozycji | Automatyczny |
| Zoom cyfrowy | 16x |
| Typ fokusu | Autofokus |
| Kompatybilne urządzenia | Computer, TV, Smartphone, Tablet |
7. Informacje o gwarancji
ORDRO products are typically covered by an official manufacturer's warranty. For specific details regarding the warranty period and terms for your ORDRO AE7 camcorder, please refer to the warranty card included in your product packaging or visit the official ORDRO webZachowaj dowód zakupu na wypadek roszczeń gwarancyjnych.
8. Obsługa klienta
For technical assistance, troubleshooting not covered in this manual, or service inquiries, please contact ORDRO customer support through their official website or the contact information provided in your product documentation. You may also find helpful resources and FAQs on the ORDRO brand store page on Amazon: ORDRO Amazon Store.
9. Oficjalne filmy o produktach
No official seller videos (m3u8 format) were found in the provided product data to embed in this manual.