1. Wprowadzenie
The AXTON AT401 is a powerful 4-channel Class D amplifier specifically designed for 24V on-board networks found in trucks, lorries, and motorhomes. This amplifier provides a significant audio upgrade, enhancing the performance and sound quality of existing factory or aftermarket multimedia/GPS systems without requiring a complete system overhaul. Its compact design and robust construction ensure reliable operation and flexible installation.
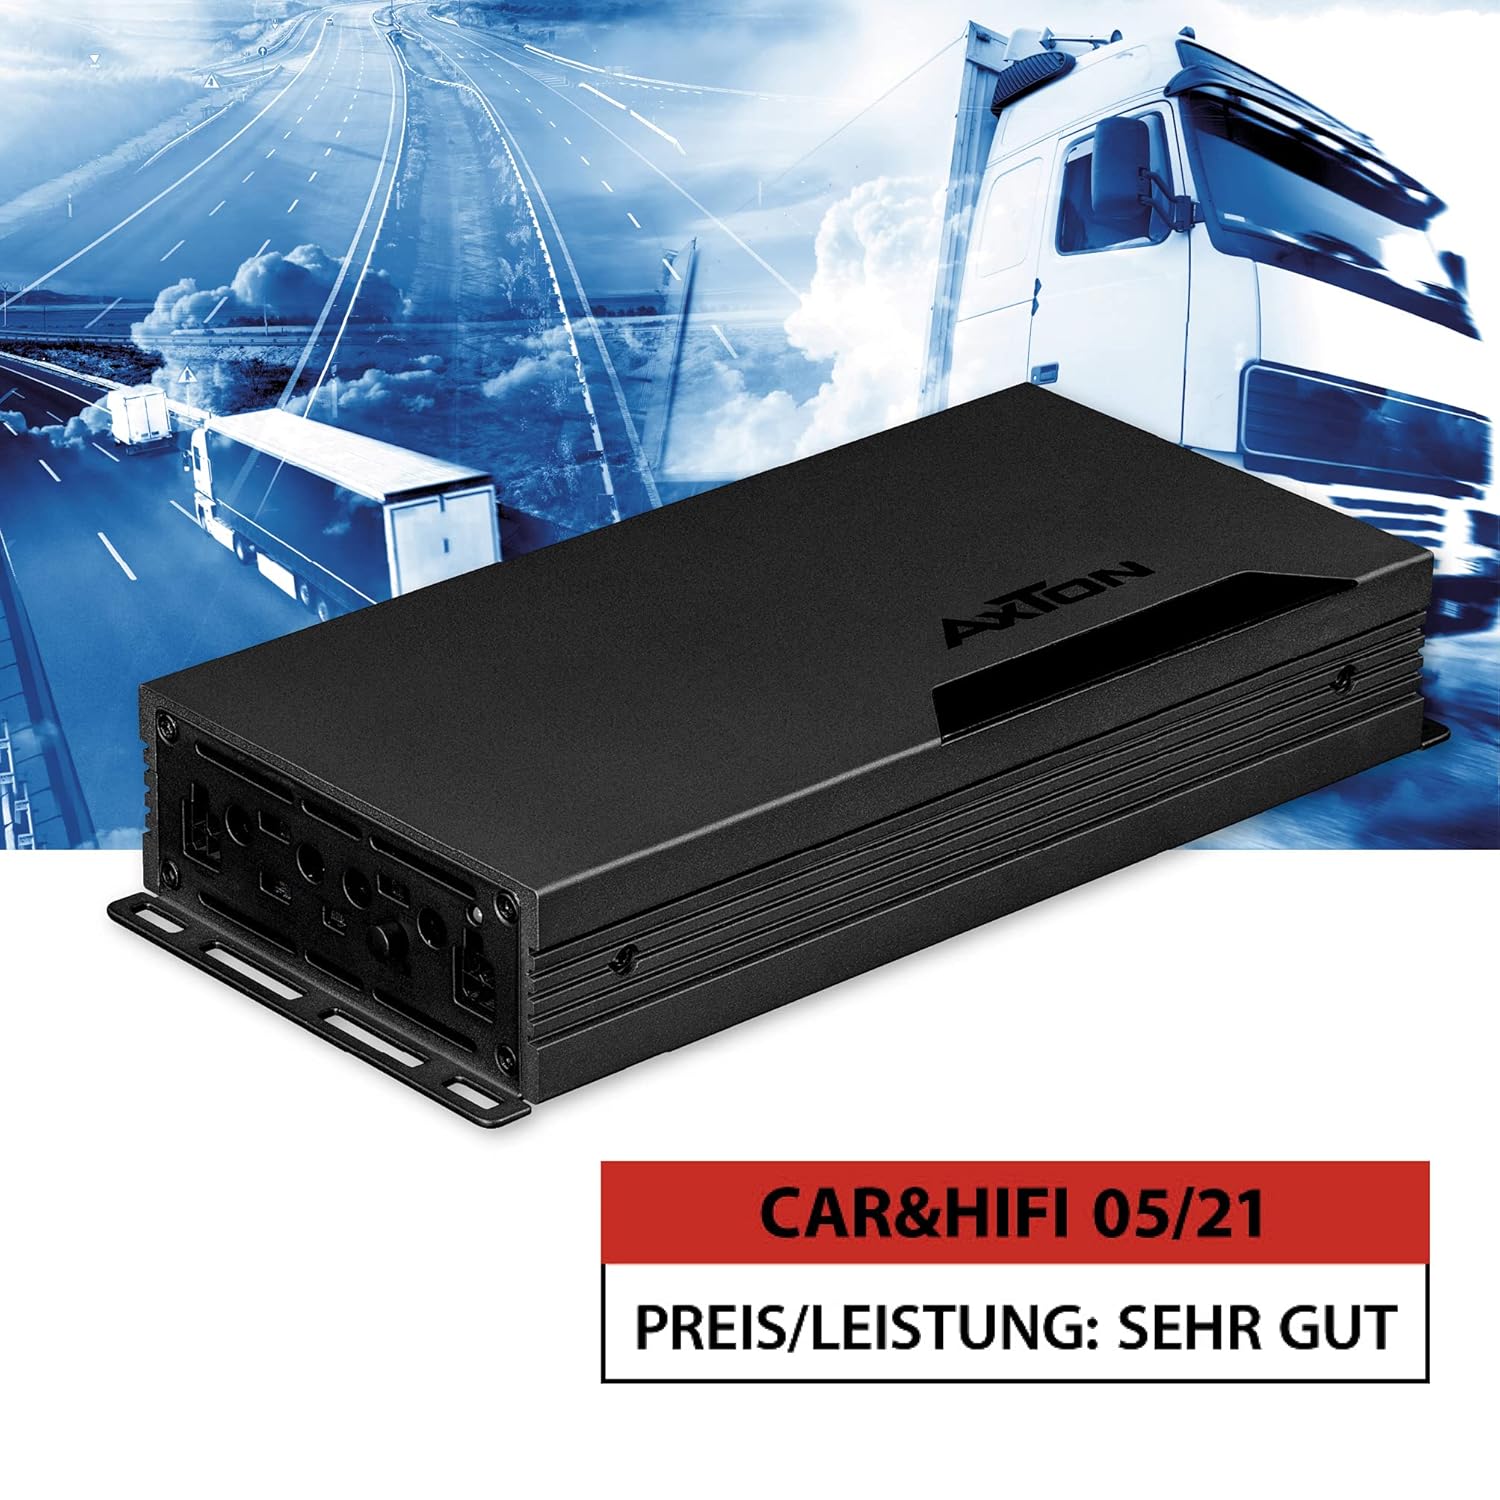
Obraz 1.1: Przód view of the AXTON AT401 4-Channel 24V Class D Ampliyfikator.
2. Instrukcje bezpieczeństwa
- Przed rozpoczęciem jakichkolwiek prac elektrycznych należy zawsze odłączyć akumulator pojazdu.
- Zapewnij właściwe uziemienie, aby zapobiec zagrożeniom elektrycznym.
- Zainstaluj ampPrzechowywać w suchym i dobrze wentylowanym miejscu, z dala od bezpośredniego światła słonecznego, źródeł ciepła i wilgoci.
- Use appropriate gauge wiring for power, ground, and speaker connections as specified in the installation guide.
- Nie próbuj otwierać ani modyfikować pliku amplifier. Wszelkie prace serwisowe należy zlecać wykwalifikowanemu personelowi.
- Avoid routing cables near moving parts or sharp edges. Secure all wiring to prevent damage.
- Ten amplifier is designed for 24V vehicle electrical systems only. Connecting it to a 12V system or higher voltage than specified will cause damage.
3. Zawartość opakowania
Proszę sprawdzić, czy w paczce znajdują się następujące elementy:
- AXTON AT401 4-Channel Ampżywsze
- Elementy montażowe (śruby, wsporniki)
- Instrukcja obsługi (ten dokument)
- Connector plugs for power and speaker outputs
W przypadku braku lub uszkodzenia jakichkolwiek elementów należy natychmiast skontaktować się ze sprzedawcą.
4. Funkcje produktu
- Powerful 4-Channel Class D AmpLiyfikator: Delivers robust sound performance for 24V vehicle systems.
- 24V On-Board Network Compatibility: Specifically designed for trucks, lorries, and motorhomes.
- Kompaktowa konstrukcja: Measuring approximately 10.5 cm wide and 4 cm high, allowing flexible installation in confined spaces.
- Efektywne odprowadzanie ciepła: Solid aluminum heat sink ensures optimal continuous operating temperature.
- Zoptymalizowane obwody: Board layout designed for low distortion and equipped with selected components.
- Wysoka moc wyjściowa: 4 x 100 W RMS (4 ohms) or 2 x 350 W RMS (bridged).
- Integrated Electronic Crossovers: 12 dB/octave, continuously adjustable from 40 to 400 Hz (High-Pass or Low-Pass filter).
- Wejścia wysokiego poziomu z automatycznym włączaniem: Allows connection to original radios without RCA outputs, simplifying integration with factory systems.
5. Konfiguracja i instalacja
Prawidłowy montaż jest kluczowy dla optymalnej wydajności i bezpieczeństwa. W razie wątpliwości co do któregokolwiek kroku, skonsultuj się z profesjonalnym instalatorem.
5.1 Montaż Ampżywsze
Wybierz miejsce montażu, które jest suche, dobrze wentylowane i bezpieczne. Zapewnij wystarczającą ilość miejsca wokół amplifier for air circulation. Use the provided mounting hardware to firmly secure the ampdo twardej powierzchni w pojeździe.

Image 5.1: The aluminum heat sink ensures efficient heat dissipation.
5.2 połączeń przewodów
Refer to the diagram below for connection points. Always use appropriate gauge wiring.

Obraz 5.2: Koniecview of amplifier connections and controls.
- Podłączenie zasilania (+24V): Connect a fused 24V power cable directly from the vehicle's battery. Ensure the fuse is located close to the battery.
- Połączenie uziemiające (GND): Connect a short, heavy-gauge cable from the amplifier's GND terminal to a clean, unpainted metal surface on the vehicle chassis.
- Zdalne włączanie (REM): If using low-level inputs, connect this to the remote output of your head unit. If using high-level inputs with Auto-Turn-On, this connection may not be necessary.
- Wyjścia głośnikowe: Connect your speakers to the FRONT and REAR output terminals. Observe correct polarity (+/-). For bridged mode, refer to the specific bridging instructions.
- Połączenia wejściowe:
- Wejście wysokiego poziomu: Connect the speaker outputs from your head unit directly to the amplifier's high-level input terminals. This is ideal for factory radios without RCA outputs.
- Wejście niskopoziomowe (RCA): Jeżeli jednostka główna ma wyjścia przedwzmacniacza RCA, podłącz je do ampgniazda wejściowe RCA firmy lifier.
5.3 Funkcja automatycznego włączania
The AT401 features an Auto-Turn-On function for high-level inputs. This allows the amplifier to turn on automatically when it detects an audio signal from the head unit, eliminating the need for a separate remote turn-on wire. Ensure the switch is set to the appropriate mode (DC or VOX) for this function.

Image 5.3: Auto-Turn-On function switch for flexible use.
6. Instrukcja obsługi
Once installed, the AT401 amplifier offers various adjustments to fine-tune your audio system.
6.1 Regulacja wzmocnienia (SENS)
The gain control (SENS) matches the amplifier's input sensitivity to the output level of your head unit. Start with the gain set to minimum. Gradually increase the head unit volume until distortion is heard, then back off slightly. Then, slowly increase the amplifier's gain until the desired volume is achieved without distortion.
6.2 Crossover (X-OVER) Settings
The AT401 features integrated 12 dB/octave electronic crossovers, adjustable from 40 to 400 Hz. These allow you to filter specific frequency ranges to your speakers.

Image 6.1: Adjustment options for crossovers and input sensitivity.
- HPF (filtr górnoprzepustowy): Umożliwia częstotliwości powyżej the set point to pass through. Use for full-range speakers to prevent low bass distortion.
- LPF (filtr dolnoprzepustowy): Umożliwia częstotliwości poniżej the set point to pass through. Use for subwoofers.
- PEŁNY: Disables the crossover, allowing all frequencies to pass.
Adjust the FREQ knob to select the desired crossover frequency for each channel pair (FRONT/REAR).
7. Konserwacja
- Zachowaj ampCzyść filtr miękką, suchą ściereczką. Nie używaj silnych środków chemicznych ani ściernych środków czyszczących.
- Ensure that the heat sink fins are free from dust and debris to maintain proper cooling.
- Regularnie sprawdzaj wszystkie połączenia przewodów pod kątem szczelności i korozji.
- Unikaj umieszczania przedmiotów na górze amplifier that could obstruct airflow.
8. Rozwiązywanie Problemów
| Problem | Możliwa przyczyna | Rozwiązanie |
|---|---|---|
| Brak zasilania/Brak dźwięku | Blown fuse, loose power/ground connection, no remote signal, incorrect Auto-Turn-On setting. | Check fuse, verify power/ground connections, ensure remote wire is connected (if applicable), check Auto-Turn-On switch. |
| Zniekształcony dźwięk | Gain set too high, incorrect crossover settings, damaged speaker. | Reduce gain, adjust crossover settings, check speaker condition. |
| Brak dźwięku z jednego kanału | Loose speaker wire, faulty RCA/high-level input, damaged speaker. | Check speaker connections, verify input signal, test speaker. |
| Amplifier się nagrzewa | Niewystarczająca wentylacja, niskie obciążenie impedancyjne, długotrwale wysoka moc wyjściowa. | Ensure proper airflow, check speaker impedance, reduce volume or gain. |
9. Specyfikacje
| Funkcja | Specyfikacja |
|---|---|
| Numer modelu | AT401 |
| Producent | AXTON |
| Liczba kanałów | 4 |
| AmpKlasa lifier | Klasa D |
| Moc wyjściowa (RMS) | 4 x 100 W (4 Ohms) / 2 x 350 W (Bridged) |
| Tomtage | 24 V (prąd stały) |
| Typ zwrotnicy | 12 dB/oct. High-Pass/Low-Pass |
| Zakres częstotliwości podziału | 40 - 400 Hz (Continuously adjustable) |
| Typ wejścia | High-Level with Auto-Turn-On / Low-Level (RCA) |
| Tworzywo | Aluminium |
| Wymiary (dł. x szer. x wys.) | Około 27.7 x 10.5 x 4 cm (10.9 x 4.1 x 1.6 cala) |
| Waga | 1.38 kg (3.04 funta) |
| Certyfikaty | CE |
10. Gwarancja i wsparcie
AXTON products are manufactured to high-quality standards. This product is covered by a manufacturer's warranty against defects in materials and workmanship. The specific warranty period and terms may vary by region and retailer. Please retain your proof of purchase for warranty claims.
For technical support, service, or warranty inquiries, please contact your authorized AXTON dealer or visit the official AXTON webwitryna do informacji kontaktowych.