Wstęp
This user manual provides detailed instructions for the installation, operation, maintenance, and troubleshooting of your Xprinter XP-K200L 80mm Thermal Receipt Printer. Please read this manual thoroughly before using the printer to ensure proper function and to extend the product's lifespan. Keep this manual for future reference.
Informacje dotyczące bezpieczeństwa
- Zawsze należy używać zasilacza dołączonego do drukarki.
- Nie wystawiaj drukarki na działanie wody i wilgoci.
- Unikaj umieszczania drukarki w bezpośrednim świetle słonecznym lub w pobliżu źródeł ciepła.
- Należy zapewnić odpowiednią wentylację wokół drukarki.
- Nie próbuj samodzielnie demontować ani naprawiać drukarki. Skontaktuj się z wykwalifikowanym personelem serwisowym.
- Przechowywać w miejscu niedostępnym dla dzieci.
Zawartość opakowania
Please check the package contents upon unpacking. If any items are missing or damaged, contact your vendor.
- Xprinter XP-K200L Thermal Receipt Printer
- Zasilacz
- Przewód zasilający
- Kabel USB
- Thermal Paper Roll (starter roll)
- Kabel do szuflady na gotówkę
- Instrukcja obsługi (ten dokument)
Produkt ponadview
Familiarize yourself with the main components of your Xprinter XP-K200L thermal receipt printer.

Rysunek 1: Strona view of the Xprinter XP-K200L thermal receipt printer. On the right, the power switch is visible, and on the left, a button to open the paper cover is present.
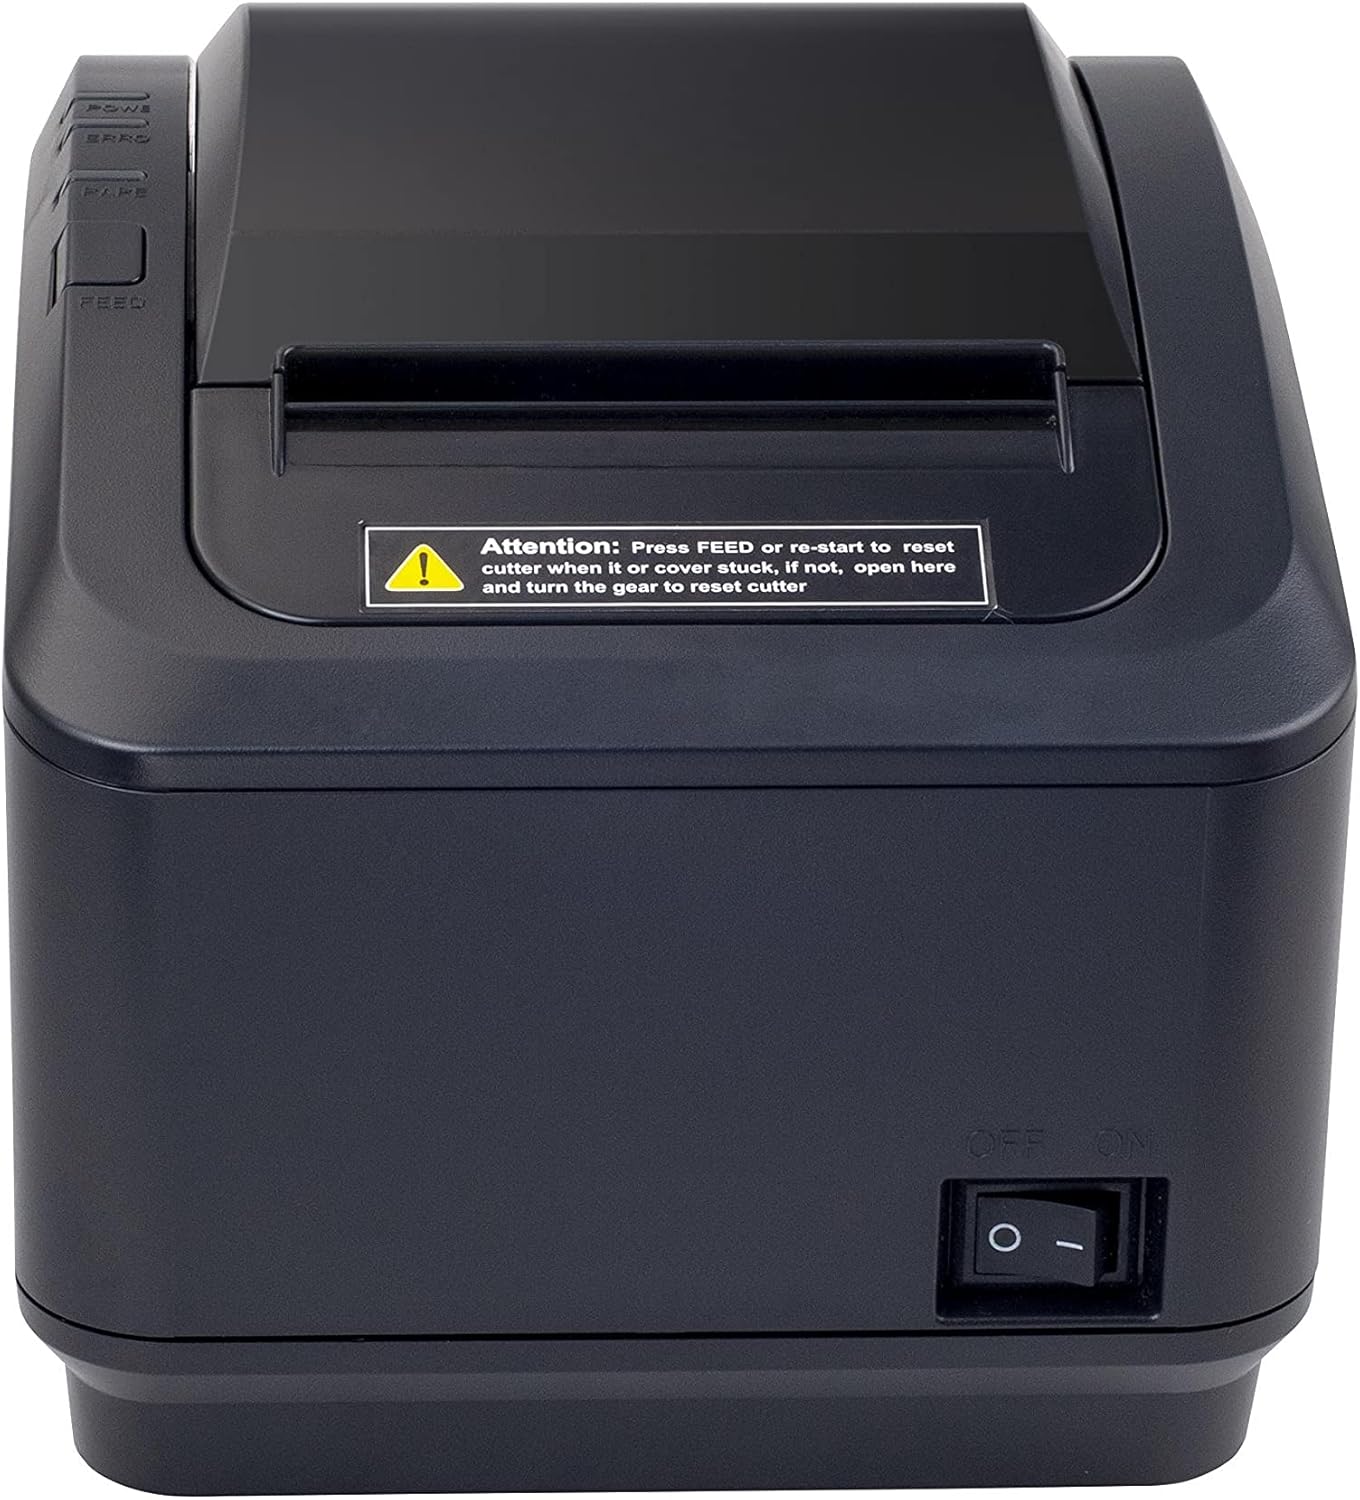
Rysunek 2: Przód view of the Xprinter XP-K200L thermal receipt printer. The paper output slot is at the top, and below it are control buttons for functions like feed and error reset. A warning label is also visible.

Figure 3: This image displays the Xprinter XP-K200L thermal receipt printer with its top cover open, showing the internal compartment where the thermal paper roll is loaded. The print head mechanism is also visible.
Organizować coś
1. Podłączanie zasilania
- Ensure the printer's power switch is in the WYŁĄCZONY pozycja.
- Podłącz zasilacz do portu zasilania drukarki.
- Podłącz przewód zasilający do odpowiedniego gniazdka elektrycznego.
2. Ładowanie papieru termicznego
- Press the cover open button (refer to Figure 1) to open the top cover of the printer.
- Insert a new 80mm thermal paper roll into the compartment, ensuring the paper feeds from the bottom and the leading edge extends slightly out of the printer.
- Close the top cover firmly until it clicks into place. Ensure there is no slack in the paper roll.
3. Łączenie się z komputerem/siecią
The XP-K200L printer supports both USB and LAN (Ethernet) connectivity.
Połączenie USB:
- Podłącz jeden koniec kabla USB do portu USB drukarki.
- Podłącz drugi koniec kabla USB do wolnego portu USB w komputerze.
- Install the printer drivers. Drivers are typically provided on a CD or can be downloaded from the manufacturer's webwitrynę. Postępuj zgodnie z instrukcjami wyświetlanymi na ekranie, aby przeprowadzić instalację.
Połączenie LAN (Ethernet):
- Connect one end of an Ethernet cable to the printer's LAN port.
- Podłącz drugi koniec kabla Ethernet do routera lub przełącznika sieciowego.
- Configure the printer's network settings (e.g., IP address) if necessary. This usually involves printing a self-test page to get the current IP address and then accessing the printer's web interface or using a utility tool provided by the manufacturer.
- Install the printer drivers on your computer, selecting the network connection option during setup.
4. Connecting a Cash Drawer
- Podłącz kabel szuflady na pieniądze do dedykowanego portu szuflady na pieniądze w drukarce.
- Ensure your POS software is configured to send commands to open the cash drawer via the printer.
Instrukcja obsługi
Włączanie/wyłączanie
- To power on the printer, flip the power switch (refer to Figure 1) to the ON pozycja.
- To power off the printer, flip the power switch to the WYŁĄCZONY pozycja.
Drukowanie podstawowe
Once the printer is connected and drivers are installed, you can print receipts from your POS software or any application that supports printing.
- Ensure the printer is powered on and has paper loaded.
- From your application, select the print option.
- Choose the "Xprinter XP-K200L" from the list of available printers.
- Confirm print settings and click "Print".
Self-Test Page
To print a self-test page, which provides information about the printer's settings and status:
- Ensure the printer is powered off and the paper roll is loaded.
- Naciśnij i przytrzymaj KARMIĆ przycisk.
- Podczas trzymania KARMIĆ button, turn the power switch to ON.
- Uwolnij KARMIĆ button after the printer starts printing.
Konserwacja
Czyszczenie drukarki
- Głowica drukująca: Delikatnie przetrzyj wacikiemampened with isopropyl alcohol to gently wipe the thermal print head. Allow it to dry completely before use. Clean regularly to ensure print quality.
- Nóż: If the cutter becomes jammed or dirty, carefully clean it with a soft brush or cloth.
- Zewnętrzny: Przetrzyj obudowę drukarki miękką, suchą ściereczką. Nie używaj środków czyszczących o właściwościach ściernych ani rozpuszczalników.
Wymiana papieru termicznego
When the paper roll is depleted or near its end, replace it following the steps in the "Loading Thermal Paper" section under Setup.
Rozwiązywanie problemów
| Problem | Możliwa przyczyna | Rozwiązanie |
|---|---|---|
| Drukarka się nie włącza. | Power cord or adapter not connected properly; power outlet issue. | Sprawdź wszystkie połączenia zasilania. Spróbuj użyć innego gniazdka elektrycznego. |
| Brak nadruku. | No paper; paper loaded incorrectly; printer offline; driver issue; incorrect connection. | Load paper correctly. Check printer status. Reinstall drivers. Verify USB/LAN connection. |
| Niska jakość druku. | Dirty print head; low quality thermal paper. | Clean the print head (see Maintenance). Use recommended thermal paper. |
| Paper jam or cutter error. | Paper loaded incorrectly; debris in cutter mechanism. | As per printer label: Naciskać KARMIĆ or re-start to reset cutter. If the issue persists, open the top cover and carefully turn the gear to reset the cutter mechanism. Ensure paper is loaded correctly and remove any obstructions. |
| Cash drawer does not open. | Cable not connected; POS software not configured. | Check cash drawer cable connection. Verify POS software settings for cash drawer trigger. |
Specyfikacje
| Funkcja | Szczegół |
|---|---|
| Marka | Drukarka X |
| Nazwa modelu | XP-K200L |
| Technologia drukarek | Termiczny |
| Technologia łączności | USB, LAN (Ethernet) |
| Cechy specjalne | Gotowość do pracy w sieci |
| Kolor | Czarny |
| Wyjście drukarki | Monochromia |
| Waga przedmiotu | 1.5 kilogramów |
| Wymiary produktu (gł. x szer. x wys.) | Wymiary: 19.5 cm x 14 cm x 13.8 cm |
| Compatible OS/Controller Type | Android (and typically Windows/Linux via drivers) |
| Media drukowane | Plain Thermal Paper |
| Drukuj Kolor | Czarny |
| Rezolucja | 576 x 512 dots per inch (or dots per line) |
| Max Print Resolution B/W | 576 dpi |
| Dodatkowe funkcje drukarki | Tylko do druku |
| Metoda kontroli | Zdalny |
| Maksymalny rozmiar nośnika | 80 mm |
| Rozmiar papieru | 79.5 mm |
| Moc | 60 watów |
| Zawarte komponenty | Power adapter, Cash drawer cable |
| Szereg | XP-K |
| Konkretne zastosowania | Restaurants, bars, cinemas, garages, transportation, hospitals, clinics |
| Łączna liczba portów USB | 1 |
Gwarancja i wsparcie
For warranty information and technical support, please refer to the documentation provided with your purchase or contact your vendor directly. Keep your proof of purchase for warranty claims.
For driver downloads and further support resources, visit the official Xprinter webstrona.