
1. Wprowadzenie
This manual provides detailed instructions for the safe and effective operation of your Teslong Rigid Rifle Borescope Model TSNTG500H. This device is designed for inspecting the interior of rifle barrels, aiding in cleaning regimen evaluation and firearm problem diagnosis. Please read this manual thoroughly before use and retain it for future reference.

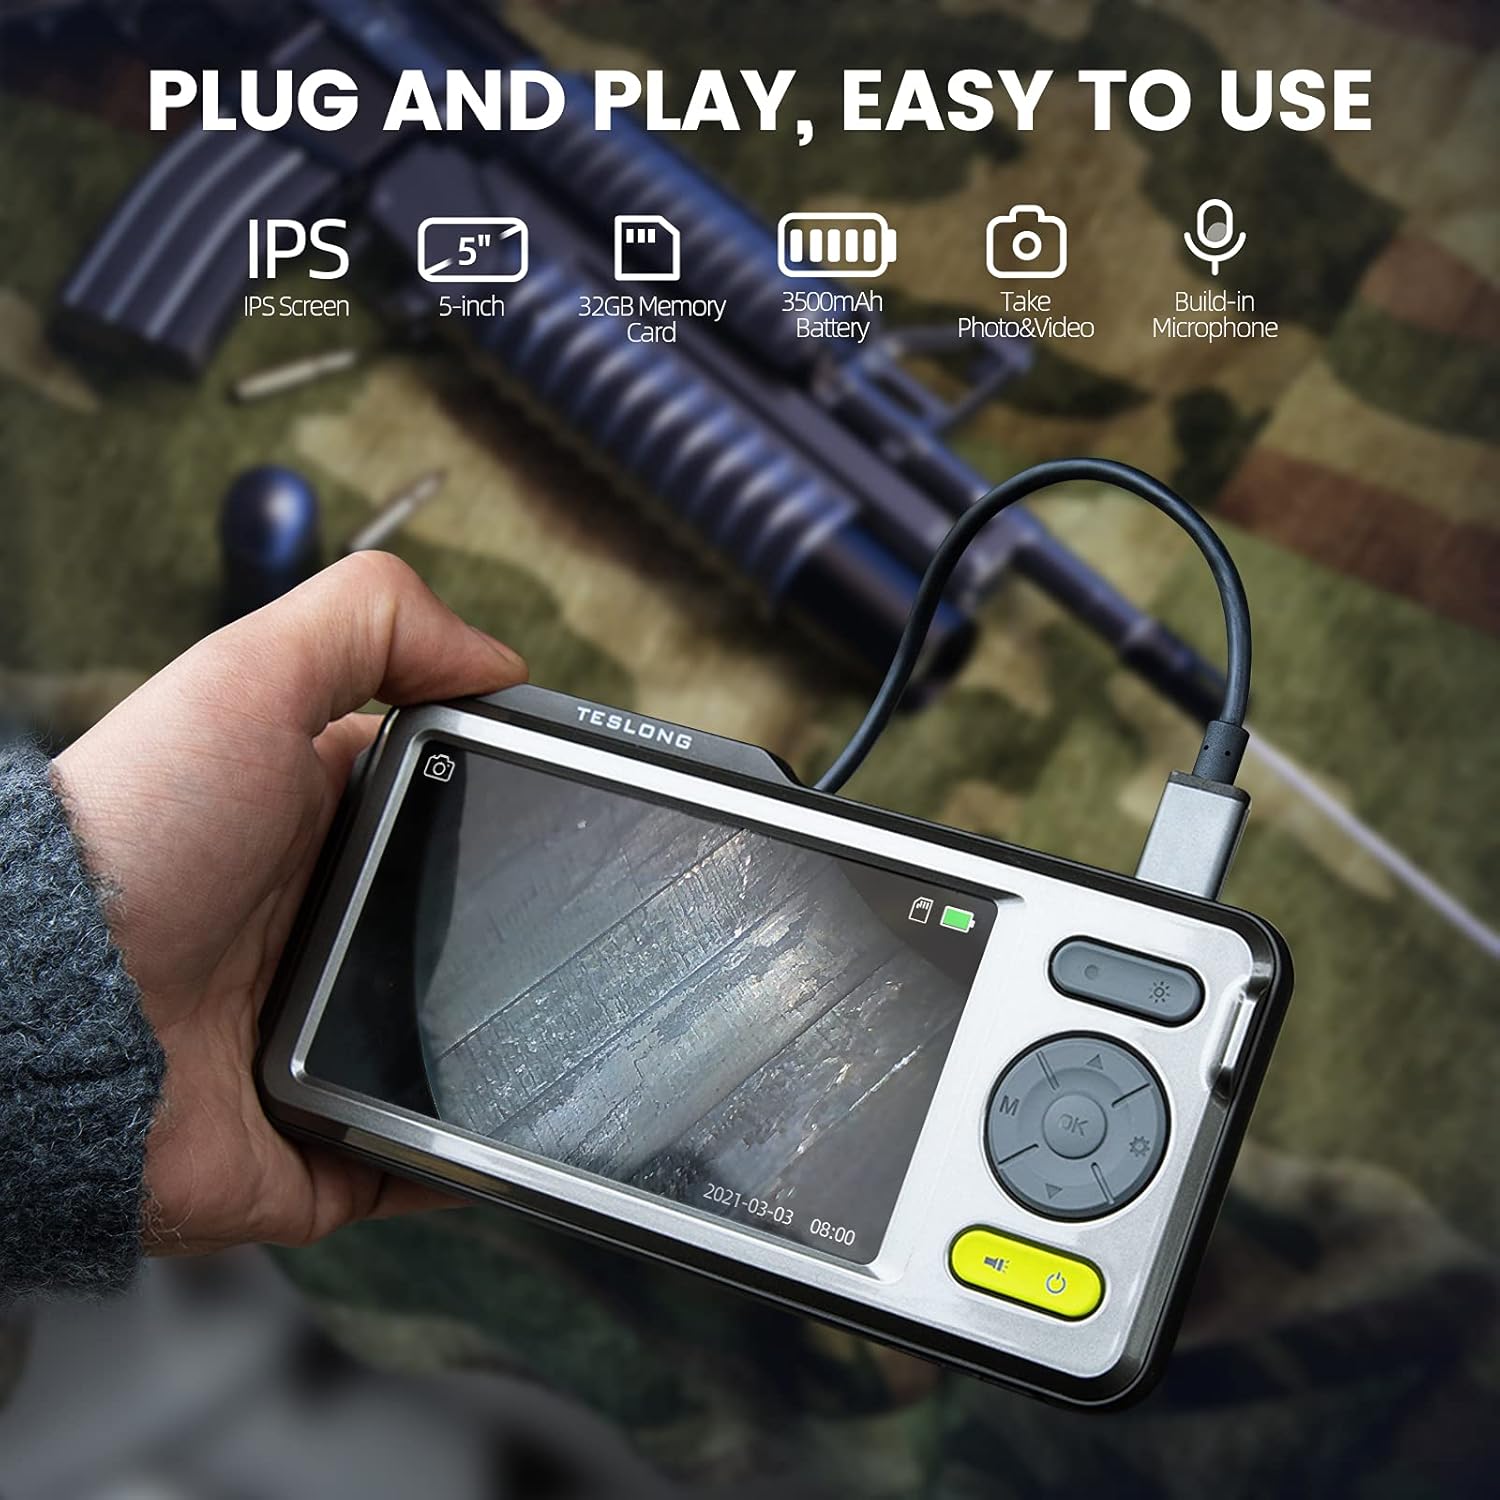
Image: The Teslong Rigid Rifle Borescope in use, showing the monitor displaying the bore's interior.
2. Zawartość opakowania
Sprawdź, czy w przesyłce znajdują się wszystkie wymienione poniżej elementy:
- Teslong NTG500H Rifle Borescope with 5-inch IPS Screen
- Rigid Camera Probe (26-inch long, 0.2-inch diameter)
- Aviation to USB-C Cable
- Aviation to USB-A Cable
- USB-A to USB-C Cable (for charging and data transfer)
- Podstawa monitora
- Set of 5 Side-View Mirrors (5mm, 6mm, 7mm, 8.5mm, 10mm)
- Karta Micro SD 32 GB (wstępnie zainstalowana)
- Instrukcja obsługi (ten dokument)
Obraz: Ponadview of the Teslong Borescope components and accessories.
3. Koniec produktuview
3.1. Funkcje monitora
The 5-inch HD color IPS LCD screen provides a clear view of the inspection area. It features intuitive controls for operation.
- Przycisk zasilania: Włącza/wyłącza urządzenie.
- Przycisk trybu (M): Switches between Photo, Video, and Playback modes.
- Przycisk OK/Enter: Potwierdza wybór.
- Przycisk Ustawienia (ikona koła zębatego): Dostęp do ustawień urządzenia.
- Lights Button (Sun Icon): Adjusts LED brightness (3 levels) or turns lights off.
- Strzałki w górę/w dół: Umożliwia nawigację po menu i zmianę ustawień.
- Port USB-C: Do ładowania i podłączania do komputera.
- Gniazdo kart Micro SD: For storing images and videos (32GB card included).
- Probe Lock: Secures the camera probe connection.
- Głośnik: Do odtwarzania dźwięku.
- Montaż na stojaku: For attaching the monitor stand.
- Przycisk resetowania: Resetuje urządzenie.

Image: The Teslong Borescope monitor highlighting its various buttons and ports.
3.2. Funkcje sondy kamery
The rigid probe is specifically designed for rifle barrel inspection.
- Rura sztywna: 26-inch long for stable insertion.
- Small Diameter: 0.2-inch diameter fits .20 caliber and larger barrels.
- Pierścień świetlny LED: Six adjustable LED lights illuminate dark inspection areas.
- Strona-View Lustro: Detachable 90° mirror for inspecting barrel walls. Includes various sizes for different calibers.
- Inch Scale: Laser-marked scale on the probe for depth measurement.

Image: The rigid probe of the borescope, illustrating its length and diameter.
4. Konfiguracja
- Ładowanie monitora: If the battery indicator is low, connect the monitor to a power source using the USB-A to USB-C cable.
- Włóż kartę Micro SD: Ensure the 32GB Micro SD card is properly inserted into the slot on the bottom of the monitor.
- Podłącz sondę:
- Thread the Aviation to USB-C cable onto the camera probe.
- Plug the other end of the cable into the probe port on top of the monitor.
- Secure the connection using the probe lock.
- Remove Protective Tip: Carefully remove the black protective tip from the end of the probe.
- Attach Side-View Mirror (Optional): If side-view inspection is required, select the appropriate caliber mirror and carefully screw it onto the threaded end of the probe. Use the lock ring to secure it in place once focus is achieved.
Video: A detailed instruction video on setting up and using the Teslong Rigid Rifle Borescope.
5. Instrukcja obsługi
5.1. Włączanie/wyłączanie zasilania
Naciśnij i przytrzymaj Przycisk zasilania (green button) for a few seconds to turn the monitor on or off. The Teslong logo will appear, and the probe's ring light will illuminate.
5.2. Przełączanie trybu
Naciśnij Przycisk trybu (M) aby przełączać się między następującymi trybami:
- Tryb zdjęć: Do robienia zdjęć.
- Tryb wideo: Do nagrywania wideo footage.
- Tryb odtwarzania: Dla reviewrobienia zdjęć i nagrywania filmów.
5.3. Regulacja światła
Naciśnij Lights Button (Sun Icon) to adjust the brightness of the LED ring light on the probe. There are three brightness levels, and you can also turn the lights off.
5.4. Przechwytywanie obrazu i wideo
- Ensure the probe is inserted into the barrel and positioned correctly.
- Przełącz na Tryb fotograficzny or Tryb wideo używając Przycisk trybu (M).
- Naciśnij Przycisk OK/Enter to capture a photo or start/stop video recording. A timecode will appear on the screen when recording video.

Image: The borescope monitor showing a detailed view of a rifle barrel's interior.
5.5. Mirror Installation and Adjustment
The borescope comes with various side-view mirrors to inspect barrel walls. The probe has a fixed focal distance of approximately 10mm for direct viewing. When using a mirror, the focus is adjusted by how far the mirror is threaded onto the probe.
- For smaller caliber barrels (e.g., .22 caliber), position the mirror farther away from the lens.
- For larger caliber barrels (e.g., .30 caliber), move the mirror closer to the lens to achieve sharp focus.
- Use the small lock ring on the threads to secure the mirror in place once the desired focus is achieved.

Image: A selection of removable side-view mirrors for various caliber rifles.
Video: A demonstration of how to attach and adjust the side-view mirrors for optimal focus.
6. Przesyłanie danych
There are two primary methods to transfer photos and videos from your borescope to a computer:
- Połączenie bezpośrednie:
- Connect the monitor to your computer using the provided USB-A to USB-C cable.
- Turn on the monitor. Your computer should recognize the device as a removable drive.
- Navigate to the "DCIM" folder to access your stored photos and videos. You can then drag and drop them to your computer.
- Czytnik kart Micro SD:
- Carefully remove the Micro SD card from the monitor's slot.
- Insert the Micro SD card into a compatible card reader connected to your computer.
- Access the "DCIM" folder on the card to transfer your files.
7. Konserwacja
Właściwa konserwacja gwarantuje długowieczność i optymalną wydajność endoskopu:
- Cleaning the Lens and Mirrors: Always clean the camera lens and any attached mirrors before and after each use. Use a soft microfiber cloth and a cotton swab. For stubborn stains, warm water or rubbing alcohol can be used. Do not use stronger solvents as they may damage the lens or mirror coatings.
- Czyszczenie monitora: Wipe the monitor screen and case with a microfiber cloth and a few drops of warm water or rubbing alcohol to remove dust and fingerprints.
- Składowanie: Store the borescope and its accessories in the provided protective case in a cool, dry place when not in use.
8. Rozwiązywanie Problemów
- Urządzenie się nie włącza: Ensure the monitor is fully charged. If the battery indicator is low, connect it to a power source.
- Brak obrazu na ekranie: Verify that the camera probe is securely connected to the monitor and the probe lock is engaged. Check if the LED lights are on.
- Rozmazany obraz: If using a side-view mirror, adjust its position by threading it closer or farther from the lens until a clear image is achieved. Ensure the lens and mirror are clean.
- Nie można przenieść Files do komputera: Ensure the monitor is turned on when connected to the computer. If it's off, it will only charge. Try using a different USB port or a Micro SD card reader.
- Urządzenie nie odpowiada: Use a small pin to press the Przycisk resetowania znajduje się z tyłu monitora.
9. Specyfikacje
| Funkcja | Specyfikacja |
|---|---|
| Model | TSNTG500H |
| Rozmiar ekranu | 5-calowy wyświetlacz IPS |
| Typ sondy | Sztywny |
| Długość sondy | 26 cali |
| Średnica sondy | 0.2 inches (fits .20 caliber & larger) |
| Rozdzielczość przechwytywania wideo | 1080p |
| Składowanie | Karta Micro SD 32 GB (w zestawie) |
| Bateria | Wymagana 1 bateria (w zestawie) |
| Zakres ostrości makro | 1-10cm |
| Kolor | Czarny |
| Waga przedmiotu | 2.29 funta |
| Wymiary opakowania | 30.75 x 4.25 x 2 cala |
10. Gwarancja i wsparcie
Teslong products are designed for reliability and performance. For warranty information, technical support, or service inquiries, please refer to the official Teslong webOdwiedź stronę internetową lub skontaktuj się bezpośrednio z działem obsługi klienta. Zachowaj paragon jako dowód zakupu na wypadek reklamacji.
Aby uzyskać dodatkowe zasoby i informacje o produkcie, odwiedź stronę Sklep Teslong na Amazonie.