Nextbase NBDVR222XRWC
Instrukcja obsługi kamery samochodowej Nextbase 222XR
Model: NBDVR222XRWC
Marka: Nextbase
1. Wprowadzenie
This manual provides detailed instructions for the installation, operation, and maintenance of your Nextbase 222XR Dash Cam. This device is designed to record high-definition video of your journeys, offering enhanced security and peace of mind on the road. Please read this manual thoroughly before using the product to ensure proper functionality and safety.
2. Informacje dotyczące bezpieczeństwa
- Upewnij się, że kamera samochodowa jest zamontowana w miejscu, które nie będzie przeszkadzać kierowcy. view of the road or interfere with the operation of vehicle controls.
- Nie używaj kamery samochodowej podczas jazdy. Dostosuj ustawienia lubview footagtylko wtedy, gdy pojazd jest bezpiecznie zaparkowany.
- Unikaj wystawiania urządzenia na działanie ekstremalnych temperatur, długotrwałego bezpośredniego światła słonecznego i nadmiernej wilgoci.
- Use only the power cable and accessories supplied with the dash cam. Using unauthorized accessories may damage the device and void the warranty.
- Aby zapewnić wyraźne nagrania wideo, utrzymuj obiektyw w czystości.
3. Zawartość opakowania
The Nextbase 222XR Dash Cam package includes the following items:
- Nextbase 222XR Dash Cam (Front Camera)
- Rear Wired Window Camera
- 6m cable for Rear Wired Window Camera connection
- Click&Go PRO Mount
- Power Cable (for vehicle 12V socket)
- Memory Card (as per product specifications, though some listings may vary)
Note: A Nextbase 128GB SD Card is recommended for optimal performance, but not always included in the standard package.
4. Koniec produktuview
The Nextbase 222XR is a comprehensive dash cam system designed for all-round vehicle protection.

The Nextbase 222XR system, featuring the main front dash cam and the compact rear camera.

Connect & Go: Easily connect your dash cam with the 6.5m cable, designed to be hidden for a tidy installation.

1080p 30 FPS Recording: Records in Full HD with a 140-degree viewing angle, capturing pavements and road signs clearly.
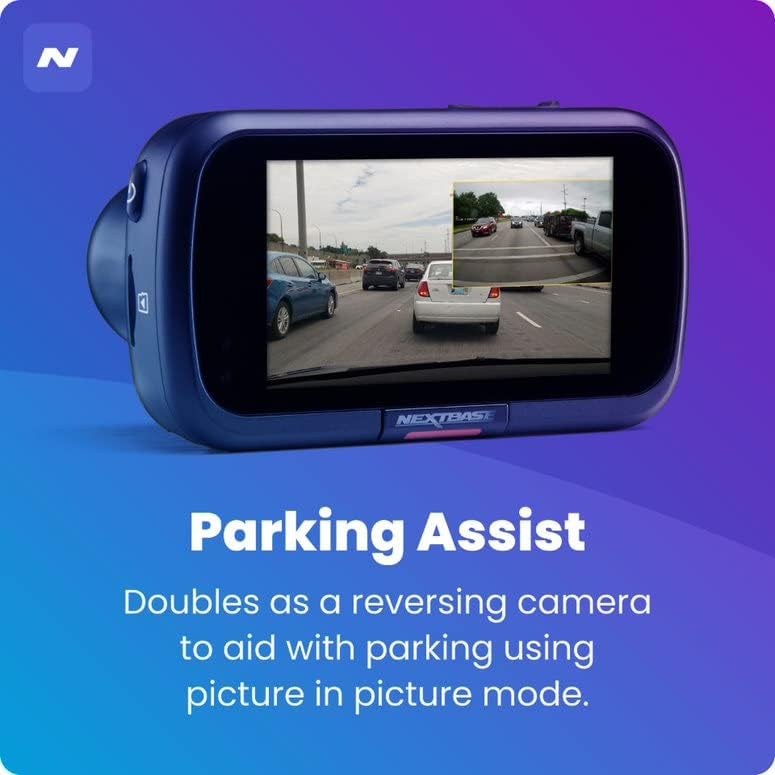
Asystent parkowania: The rear camera doubles as a reversing camera, aiding with parking using picture-in-picture mode.
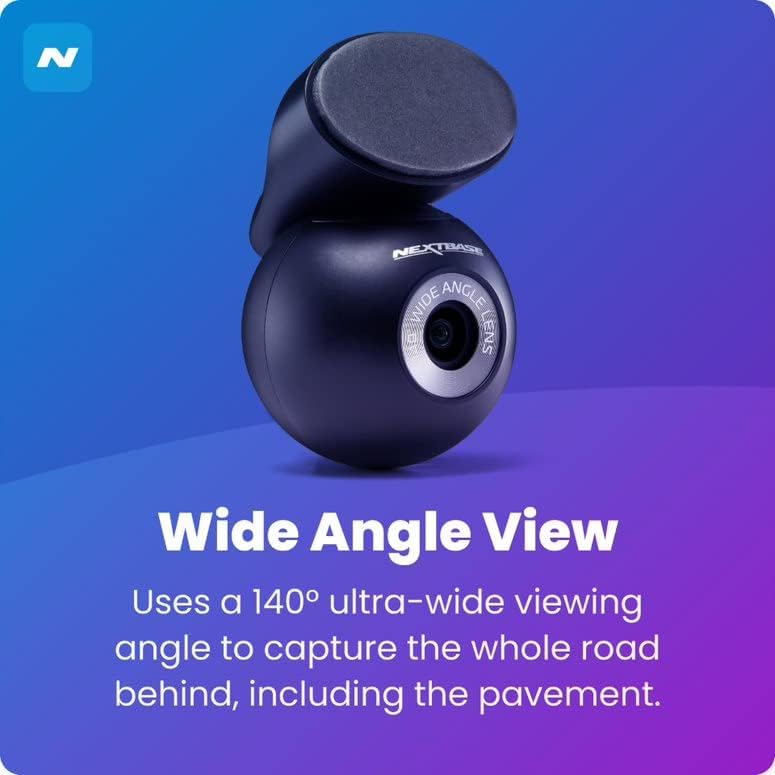
Szeroki kąt View: The rear camera uses a 140-degree ultra-wide viewing angle to capture the entire road behind, including the pavement.
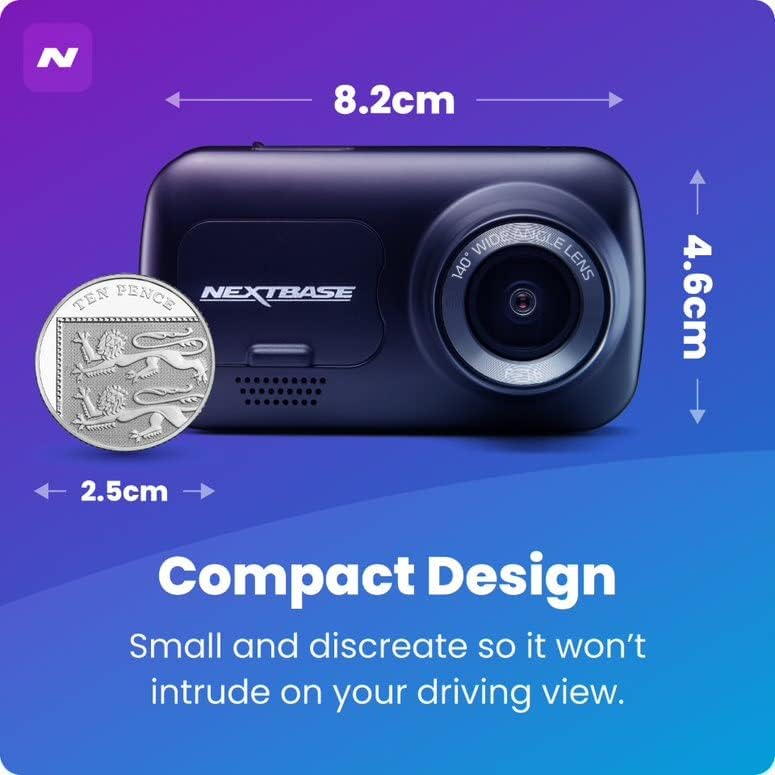
Kompaktowa konstrukcja: Small and discreet, ensuring it does not intrude on your driving view.

Inteligentny tryb parkowania: Records any bump or physical movement on the vehicle when left unattended. Requires Nextbase Hardwire Kit (sold separately).

Click&Go PRO: Exclusive mount clips on and charges your dash cam via magnetic connection for easy removal and reattachment.
5. Konfiguracja
Instrukcja instalacji
For a visual guide on installing your Nextbase Dash Cam, please refer to the official fitting video below:
Official Nextbase Fitting Video: This video demonstrates the step-by-step process for installing your Nextbase Dash Cam, including mounting and cable management.
Początkowe kroki konfiguracji:
- Prepare the Windscreen: Clean the area where the mount will be attached using the provided wet and dry wipes to ensure a strong adhesive bond.
- Attach Mount to Dash Cam: Connect the Click&Go PRO mount to the dash cam. The strong magnet will hold it securely in place.
- Position the Dash Cam: Temporarily position the dash cam on the windscreen to find an optimal location. Ensure the 'Protect' button is accessible and the driver's view is not obstructed. Note the exact position.
- Zamocuj podkładkę 3M: Remove the protective film from the 3M adhesive pad on the mount. Align the keyway on the pad to the bottom left-hand side. Push the pad firmly towards the windscreen for 5-10 seconds to ensure maximum contact.
- Podłącz zasilanie: Podłącz kabel zasilający USB do uchwytu.
- Montaż kamery samochodowej: Slide the dash cam onto the mount until it clicks into place. Ensure it is correctly positioned and powers on.
- Zainstaluj tylną kamerę: Attach the bespoke Rear Wired Window Camera to the main unit via the supplied 6m cable. Position it on the rear window for optimal rear view nagranie.
- Włóż kartę SD: Insert a compatible Micro SD card (Class 10 or U1, up to 128GB recommended) into the dash cam's slot.
6. Instrukcja obsługi
Podstawowa obsługa:
- Automatyczne nagrywanie: The dash cam will automatically power on and begin recording when connected to a power source and the vehicle ignition is turned on.
- Nagrywanie w pętli: The device features automatic loop recording, which continuously records video. When the memory card is full, the oldest filesą nadpisywane w celu zwolnienia miejsca na nowe nagrania.
- File Ochrona: In the event of an impact or sudden braking, the G-sensor will automatically lock the current recording, preventing it from being overwritten. You can also manually protect a file by pressing the 'Protect' button during recording.
- Tryb parkowania: When enabled, the Intelligent Parking Mode will automatically start recording if any physical movement or impact is detected while your vehicle is parked and the ignition is off.
- MyNextbase Cloud & Player: Utilize the MyNextbase Cloud for free storage of your important footage and the MyNextbase Player software for easy playback and management of your recordings on a computer.
7. Konserwacja
- Czyszczenie: Regularly clean the dash cam's lens and screen with a soft, lint-free cloth. Do not use abrasive cleaners or solvents.
- Zarządzanie kartami SD: Format your Micro SD card regularly (e.g., monthly) within the dash cam's settings to maintain optimal performance and prevent data corruption. Always use a high-quality, branded Class 10 or U1 Micro SD card.
- Aktualizacje oprogramowania układowego: Check the Nextbase webOdwiedzaj naszą stronę regularnie, aby uzyskać aktualizacje oprogramowania sprzętowego. Aktualizowanie oprogramowania sprzętowego kamery samochodowej gwarantuje dostęp do najnowszych funkcji i poprawek błędów.
- Kontrola kabla: Periodically inspect all cables for any signs of wear or damage. Replace damaged cables immediately to prevent malfunction or safety hazards.
8. Rozwiązywanie Problemów
| Problem | Możliwa przyczyna | Rozwiązanie |
|---|---|---|
| Kamera samochodowa nie włącza się. | No power supply; faulty cable; loose connection. | Check power cable connection to the vehicle's 12V socket and the dash cam. Ensure the vehicle's ignition is on. Try a different power source if available. |
| Recordings are not saving or are being deleted unexpectedly. | SD card issue (not compatible, full, corrupted); loop recording settings. | Ensure you are using a compatible Class 10 or U1 Micro SD card. Format the SD card within the dash cam's settings. If issues persist, try a new Nextbase branded SD card. |
| Jakość obrazu jest słaba lub rozmazana. | Brudny obiektyw; na obiektywie nadal znajduje się folia ochronna; nieprawidłowe ustawienia rozdzielczości. | Clean the lens with a soft cloth. Check if any protective film remains on the lens. Verify video resolution settings in the menu. |
| Dash cam freezes or becomes unresponsive. | Software glitch; SD card issue. | Perform a soft reset (refer to device manual for specific button combination). Format or replace the SD card. Update firmware if available. |
9. Specyfikacje
- Wymiary produktu: 1.85 x 3.27 x 2.05 cala
- Waga przedmiotu: 14.1 uncji
- Nazwa modelu: 222XR
- Baterie: Wymagana 1 bateria litowo-jonowa
- Technologie łączności: USB
- Cechy szczególne: Compact Design, Parking Mode, Night Vision, Automatic Loop Recording, File Ochrona
- Kolor: Czarny
- Rozdzielczość przechwytywania wideo: 1080p (przód), 720p (tył)
- Typ montażu: Magnetic Mount (Click&Go PRO)
- Maksymalna obsługa kart SD: Up to 128GB Micro SD cards
10. Gwarancja i wsparcie
Nextbase products are designed for reliability and durability. For specific warranty information, please refer to the documentation included with your product or visit the official Nextbase webstrona.
Opcjonalne plany ochrony mogą być dostępne w celu rozszerzenia zakresu ochrony:
- 2-letni plan ochrony
- 3-letni plan ochrony
- Complete Protect (plan miesięczny)
For technical support, troubleshooting assistance, or to inquire about replacement parts, please contact Nextbase customer service through their official channels. Always provide your product model number (NBDVR222XRWC) when seeking support.
Ask a question about this manual
Ask about setup, troubleshooting, compatibility, parts, safety, or missing instructions. Manuals+ will review the question and use this page’s manual context to help answer it.