
Wstęp
Thank you for choosing the ThreeH Digital Alarm Clock Radio. This manual provides essential information for setting up, operating, and maintaining your device. Please read it carefully to ensure proper use and to fully utilize all features.
Informacje dotyczące bezpieczeństwa
- Nie wystawiaj urządzenia na działanie wody, wilgoci ani ekstremalnych temperatur.
- Unikaj umieszczania zegara w pobliżu źródeł ciepła lub w bezpośrednim świetle słonecznym.
- Use only the provided USB cable for power. Ensure the power adapter (not included) meets the specified voltagi (prąd stały 5 V).
- Nie próbuj samodzielnie demontować ani naprawiać urządzenia. Skontaktuj się z wykwalifikowanym personelem serwisowym w celu uzyskania pomocy.
- Przechowywać w miejscu niedostępnym dla dzieci.
Zawartość opakowania
Pakiet zawiera:
- ThreeH Digital Alarm Clock Radio (Model H-AC55Red)
- Kabel zasilający USB (Uwaga: zasilacz nie jest dołączony)
- CR2032 Button Battery (pre-installed for memory backup)
- Instrukcja obsługi (ten dokument)
Produkt ponadview
Wyświetlacz przedni

Obraz: Przód view of the ThreeH Digital Alarm Clock Radio, displaying the time and alarm icons.
The device features a large 7.3-inch LED display for clear time visibility. The curved screen design enhances readability.
Back Panel and Controls

Obraz: Szczegółowy view of the clock's back panel, highlighting control buttons and connection ports.
Główne elementy sterujące:
- VOL / DOWN: Adjust volume, navigate down in settings.
- RADIO / SLEEP: Activate FM radio, set sleep timer, turn off radio.
- DRZEMKA / ŚCIEMNIACZ: Snooze alarm, adjust display brightness (manual/auto).
- ZESTAW: Wejdź w tryb ustawień i potwierdź wybór.
- W GÓRĘ: Navigate up in settings, adjust values, increase volume.
- AL1 / AL2: Set and activate/deactivate Alarm 1 and Alarm 2.

Image: Diagram illustrating the functions of the buttons and ports on the back of the alarm clock.
Organizować coś
Podłączenie zasilania
Connect the provided USB power cable to the DC 5V input port on the back of the alarm clock. Plug the other end into a USB power adapter (not included) or a powered USB port.

Image: Illustration of connecting the USB power cable to the device.
The built-in CR2032 button battery provides memory backup for time and alarm settings during power outages. This battery is pre-installed.
Ustawianie czasu
- Naciśnij i przytrzymaj USTAWIĆ Naciskaj przycisk, aż zaczną migać cyfry godziny.
- Użyj UP or W DÓŁ przyciski do regulacji godziny.
- Naciskać USTAWIĆ ponownie, aby potwierdzić godzinę i przejść do ustawiania minut.
- Użyj UP or W DÓŁ przyciski, aby ustawić minuty.
- Naciskać USTAWIĆ ponownie, aby potwierdzić minuty i wyjść z trybu ustawiania czasu.
Format 12/24 godzinny
Podczas wyświetlania czasu naciśnij przycisk UP button briefly to switch between 12-hour and 24-hour formats. In 12-hour format, "PM" will be indicated on the display.
Instrukcja obsługi
Regulacja jasności wyświetlacza
The display has 4 levels of adjustable brightness (Bright, Medium, Dim, Off). You can adjust it manually or set it to adjust automatically based on ambient light.

Obraz: Wizualna reprezentacja czterech regulowanych poziomów jasności.
- Naciśnij DRZEMKA / ŚCIEMNIACZ button repeatedly to cycle through the manual brightness levels: Bright > Medium > Dim > Off.
- To enable automatic brightness adjustment, press and hold the DRZEMKA / ŚCIEMNIACZ button. The display will show "AU" to indicate automatic mode. The clock will then adjust its brightness based on ambient light conditions.
- To disable automatic brightness, press and hold the DRZEMKA / ŚCIEMNIACZ naciśnij przycisk ponownie.
Ustawianie alarmów (Alarm 1 i Alarm 2)
The clock supports two independent alarms. The default snooze time is 9 minutes.
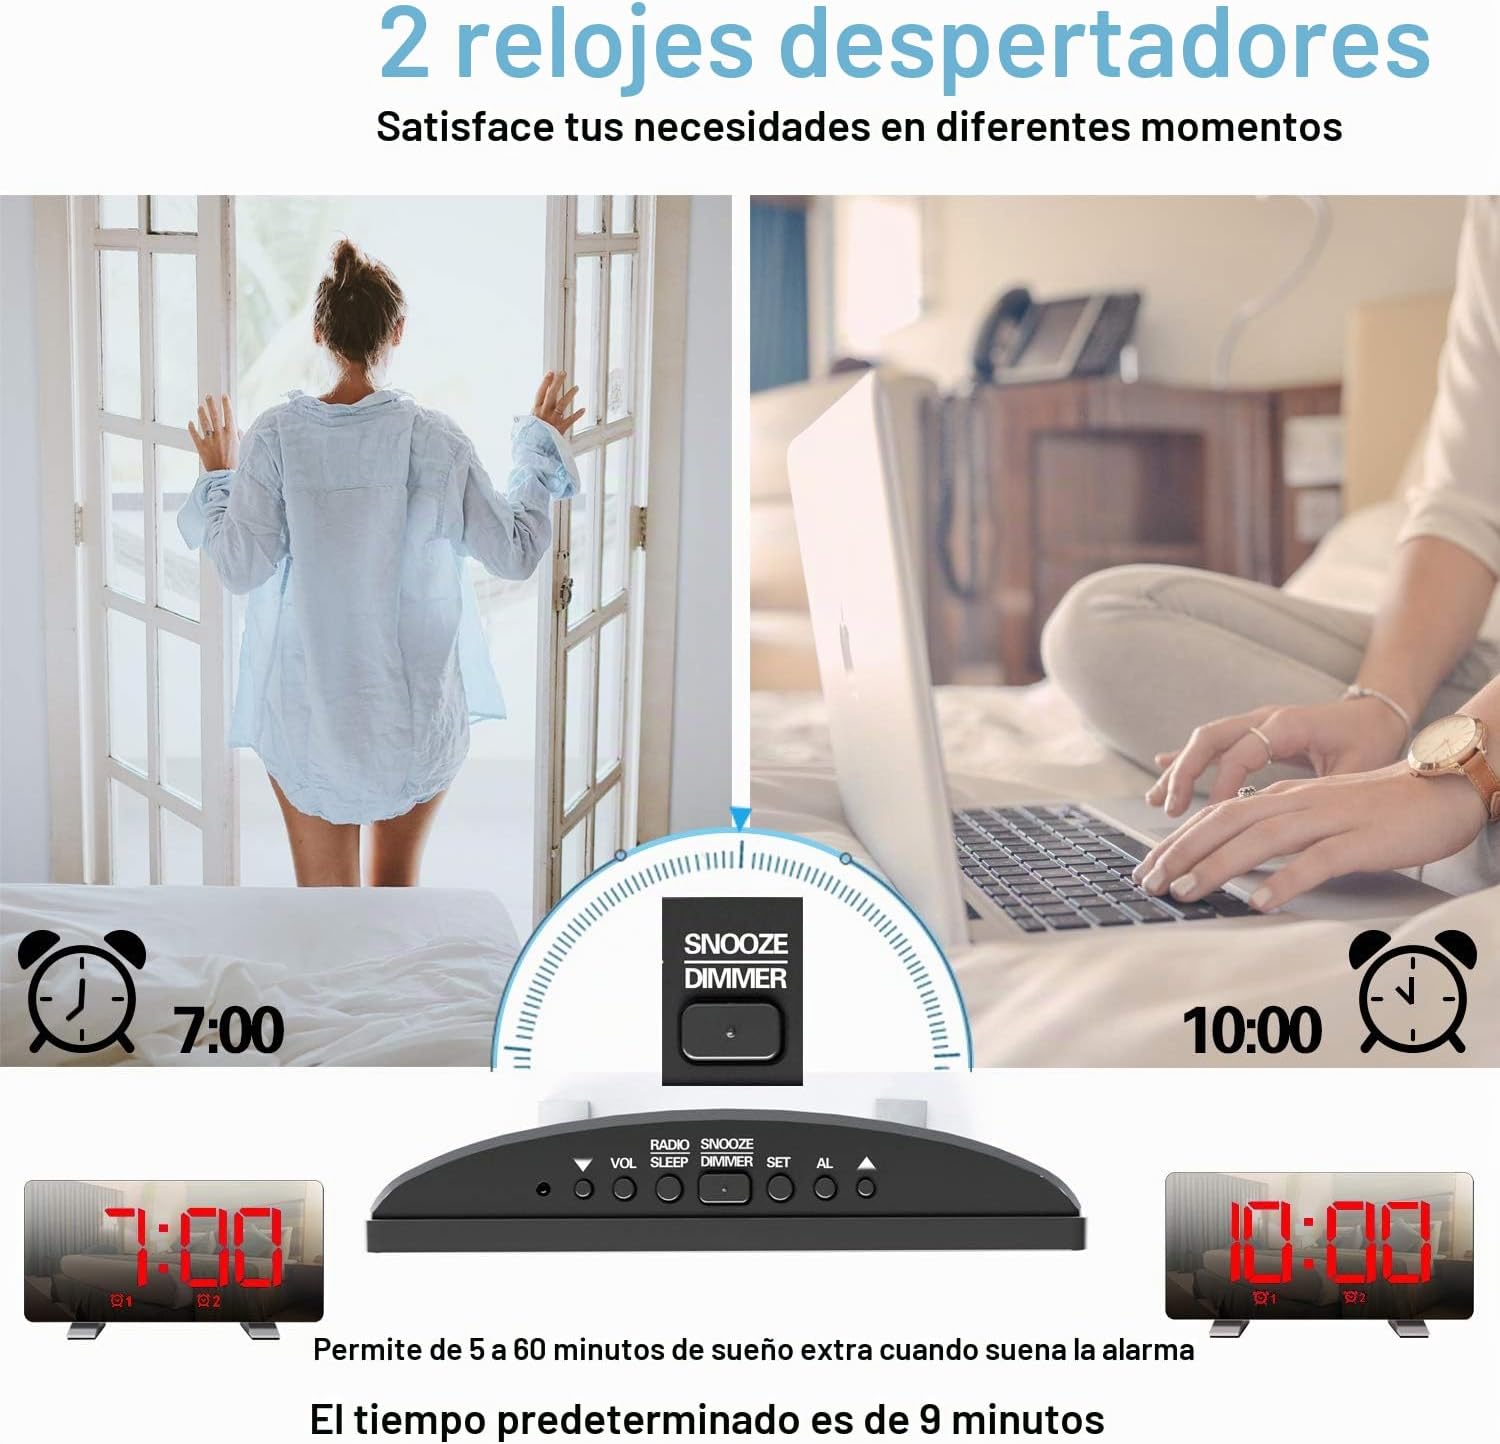
Image: Depiction of setting two separate alarms for different times.
- Naciśnij AL1 or AL2 button to select the alarm you wish to set. The alarm icon and hour digits will flash.
- Użyj UP or W DÓŁ przyciski do regulacji godziny.
- Press the selected alarm button (AL1 or AL2) again to confirm the hour and move to minute adjustment.
- Użyj UP or W DÓŁ przyciski, aby ustawić minuty.
- Press the selected alarm button (AL1 or AL2) again to confirm the minutes.
- Next, select the alarm sound source: Use UP or W DÓŁ to choose between "BU" (Buzzer) or "RA" (Radio).
- If "RA" is selected, use UP or W DÓŁ to select a preset radio station (P01-P15).
- Press the selected alarm button (AL1 or AL2) again to confirm the sound source and exit alarm setting mode.
Activating/Deactivating Alarms
Naciśnij AL1 or AL2 button briefly to toggle the respective alarm ON or OFF. The alarm icon will appear on the display when active.
Funkcja drzemki
Gdy zabrzmi alarm, naciśnij przycisk DRZEMKA / ŚCIEMNIACZ button to activate snooze. The alarm will pause for 9 minutes and then sound again.
Zatrzymywanie alarmu
To stop an alarm from sounding (without snooze), press any button other than DRZEMKA / ŚCIEMNIACZ.
Obsługa radia FM
The clock features an FM radio with a frequency range of 76-108 MHz and can store up to 15 preset stations.

Obraz: Ponadview of FM radio features and product dimensions.
- Naciśnij RADIO / SLEEP Naciśnij przycisk, aby włączyć radio FM. Zostanie wyświetlona aktualna częstotliwość.
- Automatyczne skanowanie stacji: Naciśnij i przytrzymaj RADIO / SLEEP button to automatically scan and save available FM stations. The clock can store up to 15 stations.
- Strojenie ręczne: Naciśnij krótko UP or W DÓŁ przyciski umożliwiające ręczne dostrojenie częstotliwości.
- Wybieranie zaprogramowanych stacji: After an automatic scan, briefly press the RADIO / SLEEP button to cycle through the preset stations (P01, P02, etc.).
- Adjusting Radio Volume: Użyj VOL / DOWN button to decrease volume and the UP button to increase volume. There are 15 volume levels.
- Wyłączanie radia: Naciśnij i przytrzymaj RADIO / SLEEP button to turn off the FM radio.

Image: Visual representation of FM radio reception and frequency range.
Funkcja Timer
Wyłącznik czasowy pozwala radiu grać przez ustalony czas, po czym automatycznie się wyłączy.
- Podczas odtwarzania radia naciśnij przycisk RADIO / SLEEP Naciskaj przycisk wielokrotnie, aby przełączać się między opcjami timera uśpienia (np. 90, 60, 30, 15 minut, WYŁĄCZONY).
- Wybrany czas trwania zostanie wyświetlony na krótko. Radio wyłączy się automatycznie po ustawionym czasie.
Port ładowania USB
The USB port on the back of the clock can be used to charge mobile phones or other USB-powered devices.

Image: The alarm clock actively charging a smartphone via its integrated USB port.
Connect your device's USB charging cable to the USB port on the back of the alarm clock. Ensure the alarm clock is powered on.
Konserwacja
- Czyść zegar miękką, suchą ściereczką. Nie używaj środków czyszczących ani rozpuszczalników o działaniu ściernym.
- Trzymaj urządzenie z dala od wody i dużej wilgotności.
- Unikaj wystawiania zegara na bezpośrednie działanie promieni słonecznych i ekstremalnych temperatur.
- If the display becomes dim or unresponsive after a power outage, the internal CR2032 battery may need replacement.
Rozwiązywanie problemów
| Problem | Możliwa przyczyna | Rozwiązanie |
|---|---|---|
| Zegar się nie włącza. | Brak zasilania lub luźne połączenie. | Ensure the USB cable is securely connected to both the clock and a working power source. |
| Alarm nie włącza się. | Alarm nie został włączony lub głośność jest zbyt niska. | Check if the alarm icon is displayed. Adjust alarm volume if using radio alarm. |
| Słaby odbiór radia FM. | Słaby sygnał lub antena nie jest wysunięta. | Extend the FM antenna fully. Try repositioning the clock for better reception. |
| Resetowanie czasu/ustawień po wyłączeniu zasilaniatage. | CR2032 backup battery depleted. | Replace the CR2032 button battery in the battery compartment on the back. |
Specyfikacje
- Model: H-AC55Red
- Marka: TrzyH
- Wyświetlacz: 7.3-calowy wyświetlacz cyfrowy LED
- Wymiary: 17.2 cm (szer) x 3.81 cm (gł) x 9.1 cm (wys)
- Waga: 290 gramów
- Źródło zasilania: USB Cable (DC 5V input)
- Bateria zapasowa: 1 x CR2032 (w zestawie)
- Zakres częstotliwości FM: 76-108MHz
- Funkcje alarmu: Dual Alarms, Snooze (9 minutes default), Radio/Buzzer alarm sound
- Jasność: 4 levels (manual) + Auto-dimming
- Wyjście ładowania USB: Standard USB (for charging external devices)
Gwarancja i wsparcie
For warranty information and customer support, please refer to the documentation provided at the time of purchase or contact ThreeH customer service directly. Keep your purchase receipt for warranty claims.