Wstęp
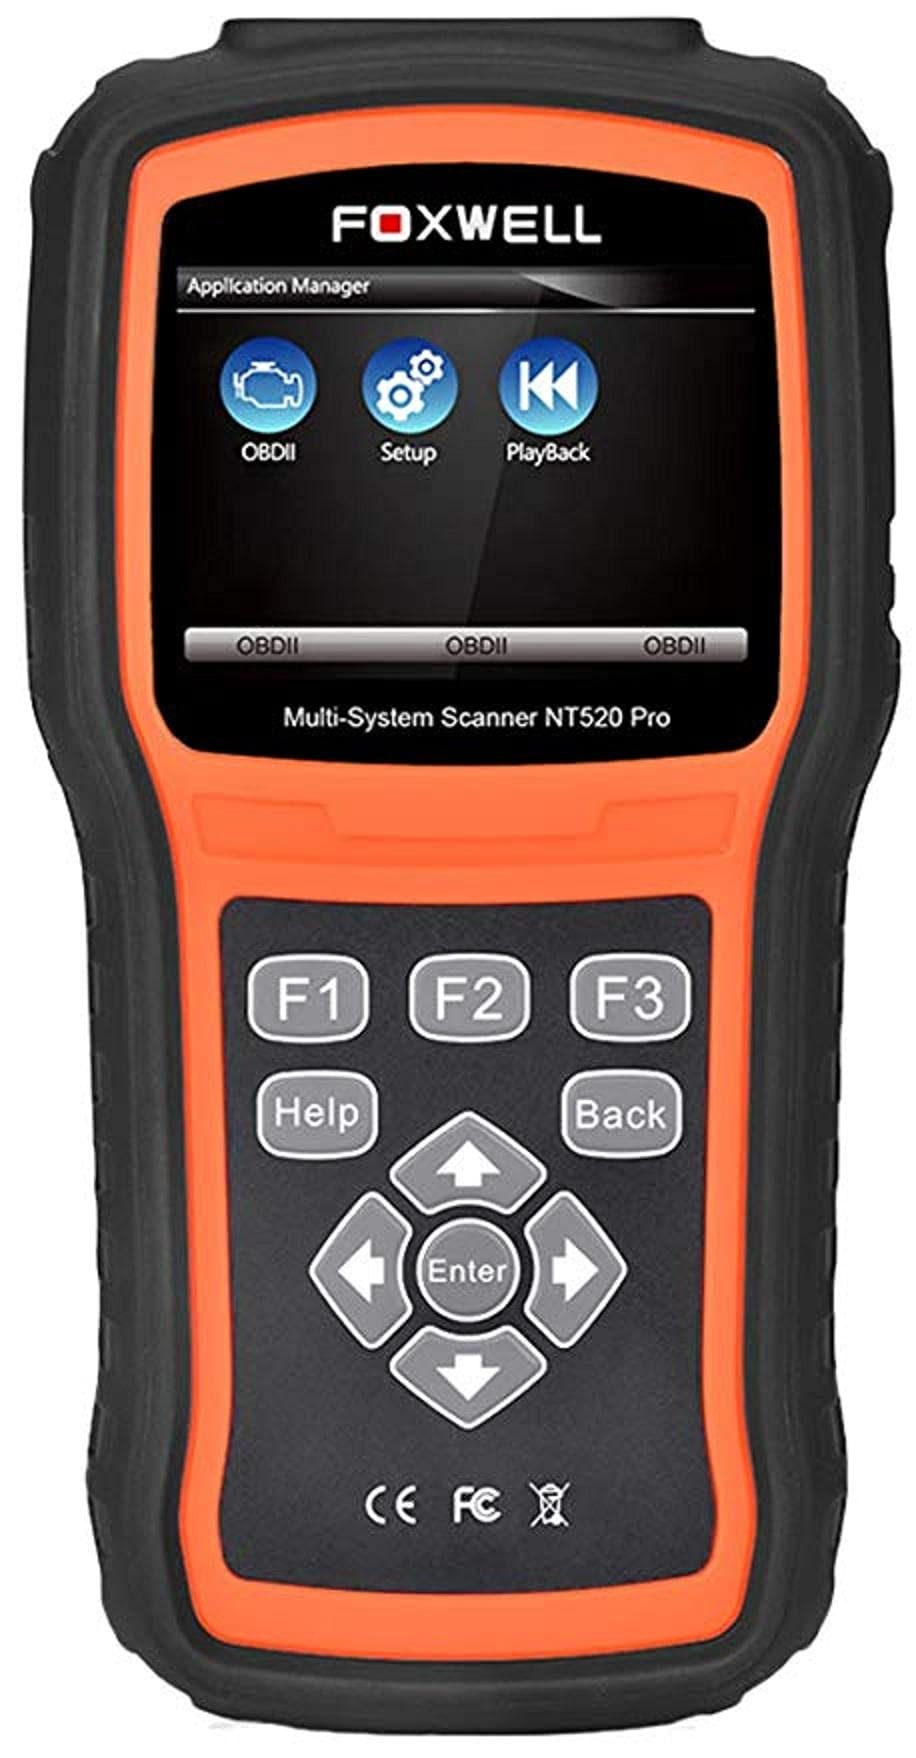
The Foxwell NT520 PRO is a professional-grade car fault diagnostic tool designed to help users identify and resolve issues in various vehicle systems. This device offers comprehensive diagnostic functions, including reading and clearing fault codes, viewing live data streams, and performing specialized tests and coding functions. It supports a wide range of car makes and models equipped with an OBD II - 16 pin connector.
1. Konfiguracja
1.1 Zawartość opakowania
- Foxwell NT520 PRO Diagnostic Tool
- Kabel diagnostyczny OBD II
- USB Cable (for updates and data transfer)
- Instrukcja obsługi (ten dokument)
1.2 Początkowe włączenie urządzenia
- Connect the OBD II diagnostic cable to the NT520 PRO device.
- Locate the vehicle's OBD II port, typically found under the dashboard on the driver's side.
- Plug the diagnostic cable into the vehicle's OBD II port. The device should power on automatically. If not, ensure the vehicle's ignition is in the ON position.
1.3 Aktualizacje oprogramowania
The NT520 PRO offers free updates for one selected car brand. Additional brands (up to five) can be added via internet for a fee. Regular software updates ensure compatibility with newer vehicle models and provide access to the latest diagnostic features.
- Podłącz urządzenie do komputera za pomocą dostarczonego kabla USB.
- Install the Foxwell update client software on your computer (refer to the official Foxwell website for download).
- Follow the on-screen instructions in the update client to register your device and perform software updates.
2. Instrukcja obsługi
The NT520 PRO features a color screen for easy navigation and data display.
2.1 Podstawowa nawigacja
- Użyj klawiszy strzałek, aby poruszać się po menu.
- Press the 'Enter' or 'OK' button to select an option.
- Press the 'Back' or 'Exit' button to return to the previous screen.
2.2 Funkcje diagnostyczne
The device supports diagnostics for most available control units in a vehicle, including:
- Moduł sterowania silnikiem (ECM)
- Moduł kontroli skrzyni biegów (TCM)
- System zapobiegający blokowaniu kół (ABS)
- System poduszek powietrznych
- Moduł sterowania nadwoziem (BCM)
2.2.1 Odczyt i kasowanie kodów błędów
- From the main menu, select 'Diagnostics' or 'Scan'.
- Wybierz markę i model pojazdu.
- Select the desired control unit (e.g., Engine, ABS).
- Wybierz „Odczytaj kody”, aby view current and stored Diagnostic Trouble Codes (DTCs).
- Select 'Clear Codes' to erase the detected fault codes. This will also turn off the Malfunction Indicator Lamp (MIL) if the fault is no longer present.
2.2.2 Strumień danych na żywo
View dane w czasie rzeczywistym z różnych czujników i komponentów.
- After selecting the control unit, choose 'Live Data'.
- Wybierz parametry, które chcesz monitorować.
- The data will be displayed in numerical or graphical format.
2.2.3 Informacje ECU
Access information about the Electronic Control Unit.
- After selecting the control unit, choose 'ECU Information'.
- View details such as VIN, calibration ID, and software version.
2.2.4 Component Testing and Coding
The device can perform tests on various car parts and supports programming and coding for different components.
- Component Tests: Select 'Active Test' or 'Component Test' from the menu to activate specific components and check their functionality.
- Programming and Coding: This function allows for programming and coding of various parts. Use with caution and only if you are familiar with the specific vehicle's requirements.
- Key Coding: For certain models, the device supports key coding functionality. Refer to your vehicle's service manual for specific procedures.
3. Konserwacja
3.1 Pielęgnacja urządzenia
- Utrzymuj urządzenie w czystości, bez kurzu i wilgoci.
- Przechowuj urządzenie w chłodnym, suchym miejscu, gdy nie jest używane.
- Unikaj upuszczania urządzenia i narażania go na silne uderzenia.
- Do not use harsh chemicals for cleaning; a soft, damp szmatka wystarczy.
3.2 Konserwacja oprogramowania
Regularly check for and install software updates to ensure optimal performance and compatibility with the latest vehicle models. Refer to section 1.3 for update instructions.
4. Rozwiązywanie Problemów
4.1 Urządzenie się nie włącza
- Ensure the OBD II cable is securely connected to both the device and the vehicle's OBD II port.
- Sprawdź, czy zapłon pojazdu jest w pozycji ON.
- Check the vehicle's fuse for the OBD II port (consult your vehicle's owner's manual).
4.2 Błąd komunikacji
- Confirm the vehicle supports the OBD II protocol (most vehicles manufactured after 1996 do).
- Ensure the diagnostic cable is not damaged.
- Spróbuj podłączyć się do innego pojazdu, aby wykluczyć problem związany z danym pojazdem.
- Zaktualizuj oprogramowanie urządzenia do najnowszej wersji.
4.3 Wskaźnik awarii Lamp (MIL) Remains On
After clearing fault codes, if the MIL (Check Engine Light) remains illuminated, it indicates that the underlying fault has not been resolved or a new fault has occurred. Address the root cause of the fault before attempting to clear codes again.
5. Specyfikacje
| Funkcja | Szczegół |
|---|---|
| Producent | Foxwella |
| Marka | Foxwella |
| Numer modelu | 111111111111 |
| Numer części producenta | 111111111111 |
| Źródło zasilania | Elektryczny przewodowy |
| Waga przedmiotu | 818 gramów |
| Wymiary wysyłkowe | Wymiary 21.2 x 17.8 x 8.2 cm |
| ASIN | B092326PXZ |
| Pierwsza dostępna data | 8 kwietnia 2021 r. |
6. Gwarancja i wsparcie
6.1 Gwarancja na produkt
Please refer to the warranty card included with your product or visit the official Foxwell website for detailed warranty information. Warranty terms typically cover manufacturing defects for a specified period from the date of purchase.
6.2 Wsparcie techniczne
For technical assistance, software updates, or troubleshooting not covered in this manual, please contact Foxwell customer support through their official website or authorized service centers. Have your product model and serial number ready when contacting support.