
1. Wprowadzenie
This manual provides detailed instructions for the setup, operation, maintenance, and troubleshooting of your UF-TOOLS 7-Inch LCD Digital Microscope. Please read this manual thoroughly before using the device to ensure proper functionality and to maximize its lifespan.
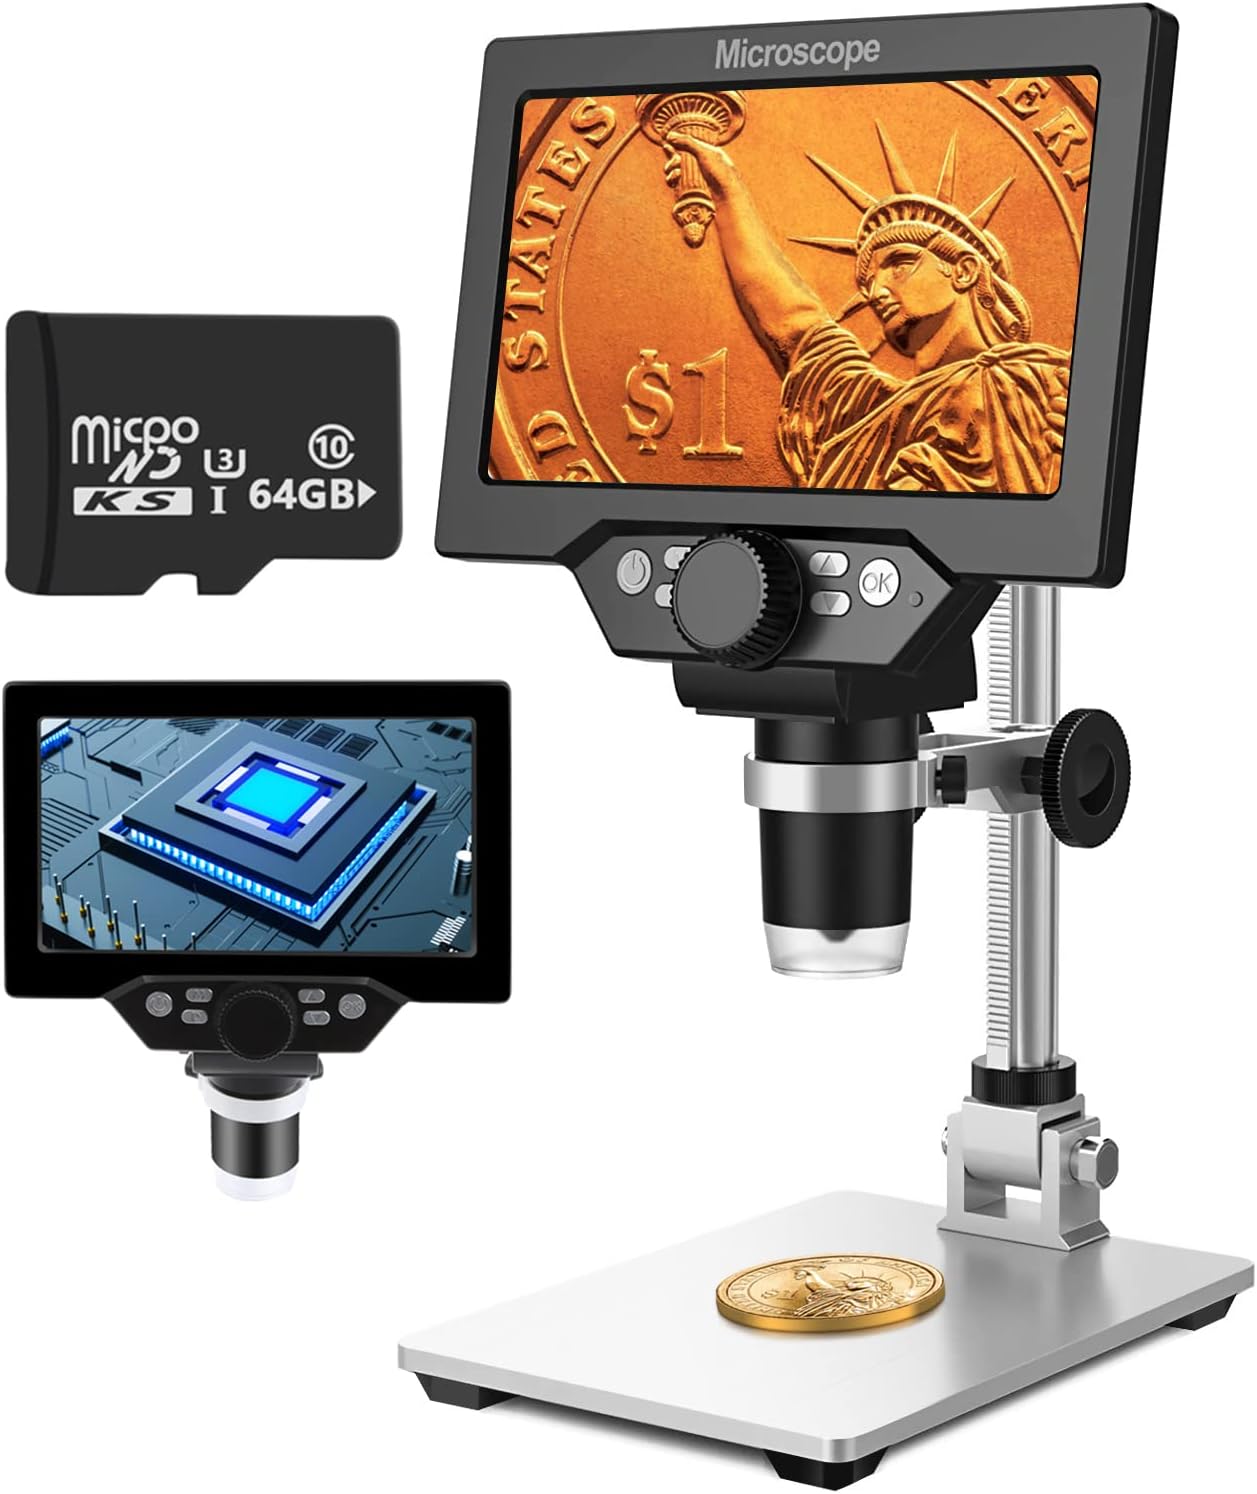
Image 1.1: UF-TOOLS 7-Inch LCD Digital Microscope with included 64GB TF card, showing the main unit and stand.
1.1 Główne cechy
- Ekran LCD 7 cali: Provides a clear, high-definition display for direct viewing without a computer.
- Powiększenie 10X-1200X: Continuous zoom capability for observing various objects.
- Aparat 12MP: Captures high-resolution images and 1080P video.
- Karta TF 64 GB: Included for direct storage of photos and videos. Supports up to 128GB.
- 8 regulowanych świateł LED: Ensures optimal illumination for detailed observation.
- Flexible Aluminum Alloy Stand: Allows for 90° angle adjustment and 2-10cm focus distance adjustment.
- Wbudowana bateria 3000mAh: Offers portability with up to 6 hours of operation on a full charge.
- Łączność z komputerem: Compatible with Windows 7/8/10 for larger display and data transfer.
2. Zawartość opakowania
Sprawdź, czy w przesyłce znajdują się wszystkie wymienione poniżej elementy:
- UF-TOOLS 7-Inch LCD Digital Microscope Unit
- Adjustable Aluminum Alloy Stand
- Karta 64GB TF
- Kabel USB
- Zasilacz (jeśli jest dołączony)
- Instrukcja obsługi (ten dokument)

Image 2.1: The microscope package includes a 64GB TF card for storage.
3. Przewodnik konfiguracji
3.1 Montaż mikroskopu
- Ostrożnie wypakuj wszystkie elementy z pudełka.
- Attach the microscope unit to the adjustable aluminum alloy stand. Ensure it is securely fastened using the provided screws or locking mechanisms.
- Insert the 64GB TF card into the designated slot on the microscope unit.
- Place the assembled microscope on a stable, flat surface.

Image 3.1: Product dimensions and adjustable stand features, including 270° rotation and height adjustment.
3.2 Ładowanie akumulatora
The microscope has a built-in 3000mAh rechargeable battery. Before first use, fully charge the device.
- Connect the USB cable to the microscope's charge port and the other end to a power adapter or a computer's USB port.
- Kontrolka ładowania pokaże stan ładowania.
- Pełne naładowanie zazwyczaj wystarcza na 6 godzin ciągłego użytkowania.

Image 3.2: The microscope features a long-lasting rechargeable battery, charged via USB.
4. Instrukcja obsługi
4.1 Urządzenie ponadview i sterowanie

Obraz 4.1: Koniecview of the microscope's controls and ports, including charge port, MicroSD slot, light regulation, fixed knob, lifting adjusting bracket knob, and various function buttons.
- Włączanie/wyłączanie: Naciśnij i przytrzymaj przycisk zasilania, aby włączyć lub wyłączyć urządzenie.
- Video/Camera Playback: Use dedicated buttons to switch between video recording, photo capture, and playback modes.
- System Key Programming: Access menu settings for various configurations.
- Object Distance Adjustment: Dostosuj odległość między soczewką a obiektem.
- Strona w górę/w dół: Navigate through menus or captured media.
- Confirm Key/Camera Button: Select options or capture photos/videos.
- Light Regulation: Dostosuj jasność 8 diod LED.
- Fixed Knob: Secures the microscope unit to the stand.
- Lifting Adjusting Bracket Knob: Adjusts the height of the microscope unit on the stand.
4.2 Regulacja powiększenia i ostrości
- Umieść obiekt, który chcesz obserwować, na płycie bazowej.
- Adjust the height of the microscope unit using the Lifting Adjusting Bracket Knob to get a rough focus.
- Use the focus wheel on the microscope lens to fine-tune the focus until the image on the 7-inch LCD screen is clear.
- The magnification range is 10X to 1200X. Adjust the distance between the lens and the object, along with the focus wheel, to achieve the desired magnification.

Image 4.2: The microscope features an adjustable screen, free length adjustment, and precise focus control.

Image 4.3: Digital magnification from 10X to 1200X, demonstrating the zoom capability on small objects.
4.3 Korzystanie ze świateł LED
The microscope is equipped with 8 adjustable LED lights to illuminate your subject. Use the Light Regulation control to increase or decrease brightness as needed for optimal viewing.

Image 4.4: The 8 LED lights provide adequate illumination for observing objects in various lighting conditions.
4.4 Robienie zdjęć i nagrywanie filmów
With the included 64GB TF card, you can directly save images and videos.
- In photo mode, press the Confirm/Camera button to capture an image.
- In video mode, press the Confirm/Camera button to start recording, and press again to stop.
- Captured media can be reviewed using the playback function.
4.5 Łączność z komputerem
Do view observations on a larger screen or transfer files, connect the microscope to a Windows PC (Windows 7/8/10) using the provided USB cable.
- Connect the microscope to your PC via the USB cable.
- Mikroskop należy traktować jako urządzenie pamięci masowej lub webcam, depending on the mode selected on the microscope.
- You can then access the stored images/videos or use the microscope as a live camera feed.

Image 4.5: Connect the microscope to a PC for a larger viewing experience and data management.
5. Konserwacja
5.1 Czyszczenie
- Obiektyw: Użyj miękkiej, niepozostawiającej włókien ściereczki przeznaczonej specjalnie do soczewek optycznych. W przypadku uporczywych zabrudzeń, niewielką ilość płynu do czyszczenia soczewek można nanieść na ściereczkę, a nie bezpośrednio na soczewkę.
- Ekran: Wipe the LCD screen gently with a microfiber cloth. Avoid harsh chemicals.
- Ciało: Clean the microscope body and stand with a soft, dry cloth. Do not use abrasive cleaners or solvents.
5.2 Przechowywanie
- Przechowuj mikroskop w chłodnym, suchym miejscu, z dala od bezpośredniego światła słonecznego i ekstremalnych temperatur.
- Jeśli akumulator będzie przechowywany przez dłuższy okres, należy upewnić się, że jest częściowo naładowany (około 50%), aby wydłużyć jego żywotność.
- Aby zapobiec gromadzeniu się kurzu, należy przykrywać obiektyw.
5.3 Pielęgnacja baterii
- Unikaj częstego całkowitego rozładowywania akumulatora.
- Aby zachować sprawność akumulatora, należy go regularnie ładować, nawet jeśli nie jest używany.
- Nie wystawiaj baterii na działanie wysokich temperatur.
6. Rozwiązywanie Problemów
- Brak zasilania:
- Ensure the battery is charged. Connect the microscope to a power source and try again.
- Sprawdź połączenie kabla zasilającego.
- Rozmazany obraz:
- Ostrożnie ustaw pokrętło ostrości.
- Adjust the height of the microscope unit on the stand.
- Ensure the object is properly illuminated by adjusting the LED lights.
- Clean the lens if smudges or dust are present.
- Nie można robić zdjęć/nagrywać filmów:
- Ensure a TF card is inserted and properly formatted.
- Check if the TF card has sufficient storage space.
- Verify the device is in the correct photo or video capture mode.
- PC Not Recognizing Device:
- Sprawdź, czy kabel USB jest prawidłowo podłączony zarówno do mikroskopu, jak i do komputera.
- Wypróbuj inny port USB na swoim komputerze.
- Restart both the microscope and the PC.
- Ensure your PC is running Windows 7/8/10.
7. Specyfikacje
| Funkcja | Szczegół |
|---|---|
| Nazwa modelu | SUGON-Digital Microscope |
| Rozmiar ekranu | 7-calowy wyświetlacz LCD |
| Powiększenie | 10X-1200X |
| Rozdzielczość kamery | 12MP |
| Rozdzielczość wideo | 1080P |
| Składowanie | 64GB TF Card (Max 128GB supported) |
| Oświetlenie | 8 świateł LED |
| Pojemność baterii | Polimer litowy 3000 mAh |
| Żywotność baterii | Do 6 godzin (w przybliżeniu). |
| Zgodność z komputerem | Windows 7/8/10 |
| Tworzywo | Metal, Plastik |
| Waga przedmiotu | 2.44 funtów (1.11 kg) |
| Wymiary opakowania | 9.8 x 8.19 x 3.35 cala |
8. Gwarancja i wsparcie
UF-TOOLS provides the following warranty and support for this product:
- Okres zwrotu: 45 days limited product return period.
- Polityka wymiany: 18 months exchange for product defects.
For technical support or warranty claims, please contact UF-TOOLS customer service through the retailer where the product was purchased or visit the official UF-TOOLS webwitryna do informacji kontaktowych.
Note: Warranty terms may vary based on region and retailer. Please retain your proof of purchase.