
Roxicosly CR1001E
Instrukcja obsługi budzika cyfrowego Roxicosly
Model: CR1001E
1. Wprowadzenie
This manual provides detailed instructions for the setup, operation, and maintenance of your Roxicosly Digital Alarm Clock. Designed for ease of use, this alarm clock features a large LED display, dual alarms, adjustable brightness and volume, a USB charging port, and battery backup for convenience and reliability.
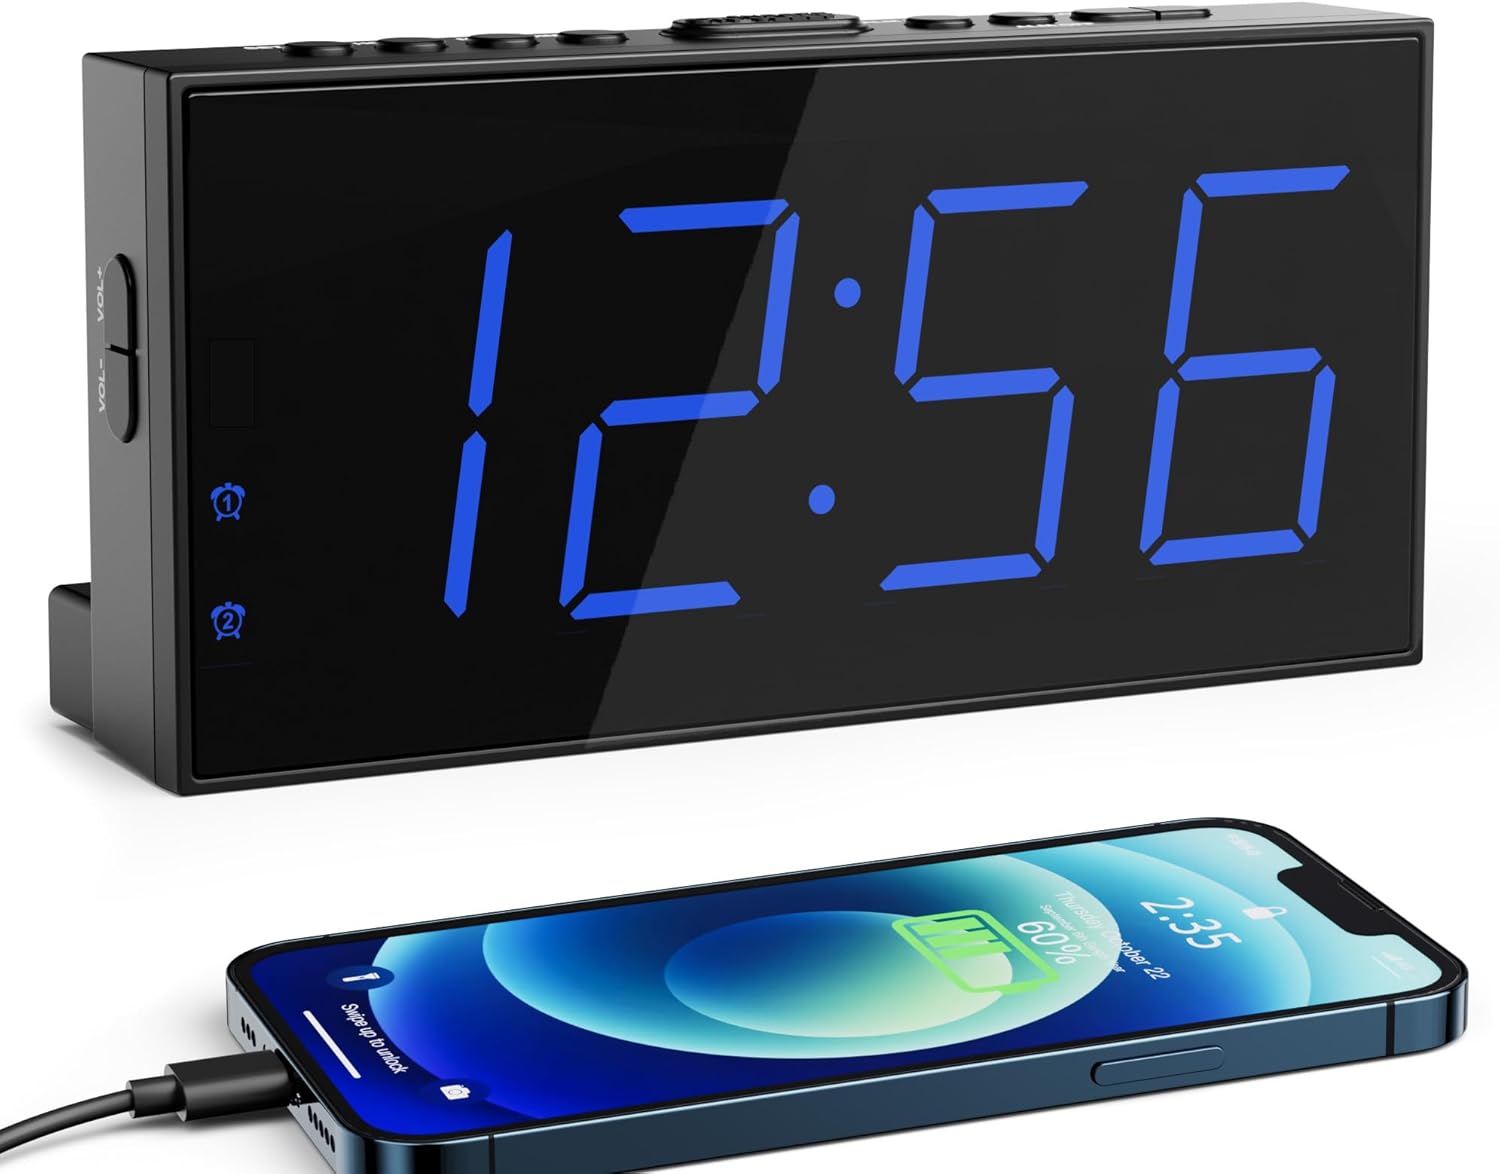
Image 1.1: The Roxicosly Digital Alarm Clock displaying time, with a smartphone connected for charging.
2. Funkcje produktu
- 7.5-calowy duży wyświetlacz LED: Provides clear visibility of time from a distance.
- 5-Level Adjustable Screen Brightness: Customize display intensity for day or night viewing.
- Podwójne alarmy: Set two independent wake-up times.
- 5-Level Adjustable Alarm Volume: Ensures effective waking for various sleep preferences.
- Funkcja drzemki 9-minutowej: Allows for a brief extension of sleep.
- Port ładowania USB: Conveniently charge external devices (e.g., smartphones).
- 12/24H Format & DST Function: Switch between time formats and adjust for Daylight Saving Time.
- Zasilany prądem przemiennym z baterią podtrzymującą: Operates on AC power with AAA batteries (not included) to retain settings during power outagt.j.
- Stable Standing Design: Includes two back holders for secure tabletop placement.
3. Instrukcje konfiguracji
3.1 Rozpakowanie i komponenty
Ostrożnie wyjmij wszystkie elementy z opakowania. Opakowanie powinno zawierać:
- Roxicosly Digital Alarm Clock
- Wtyczka zasilająca
- Kabel zasilający 1.5 m
- Two Back Holders
- Instrukcja obsługi (ten dokument)

Image 3.1: Included components of the alarm clock package.
3.2 Połączenie zasilania
- Connect the provided power cable to the DC IN port on the back of the alarm clock.
- Plug the power adapter into a standard AC power outlet (100-240V). The clock display will illuminate.

Image 3.2: Connecting the alarm clock to AC power.
3.3 Instalacja baterii zapasowej
Do zapamiętywania ustawień czasu i alarmu podczas wyłączania zasilaniatages, install two AAA batteries (not included).
- Otwórz pokrywę komory baterii z tyłu zegara.
- Włóż dwie baterie AAA 1.5 V, zwracając uwagę na prawidłową biegunowość (+ i -).
- Zamknij pokrywę komory baterii.
Notatka: Batteries are for backup only; the clock requires AC power for normal operation and display illumination.

Image 3.3: Installing AAA batteries for backup.
3.4 Stable Placement
Insert the two provided back holders into the designated slots on the bottom rear of the clock for enhanced stability on flat surfaces.
4. Instrukcja obsługi
4.1 Ustawianie czasu
- Naciśnij i przytrzymaj USTAW CZAS Naciskaj przycisk, aż cyfry godziny zaczną migać.
- Użyj GODZINA I MIN buttons to adjust the hour and minute respectively.
- Naciskać USTAW CZAS ponownie, aby potwierdzić i wyjść z trybu ustawiania czasu.
4.2 Format 12/24-godzinny i czas letni
To switch between 12-hour and 24-hour time formats, or to activate/deactivate Daylight Saving Time (DST):
- Naciśnij 12/24H i czas letni button. Each press will cycle through 12H, 24H, and DST modes.
- In 12H format, a 'PM' indicator will appear for afternoon hours.
- When DST is active, a 'DST' indicator will be displayed, and the time will adjust by one hour.

Image 4.1: 12/24H and DST function button.
4.3 Regulacja jasności wyświetlacza
The clock features 5 levels of display brightness. To adjust:
- Naciśnij OPORNIK button repeatedly to cycle through the 5 brightness levels (from brightest to darkest, then off).
- Wybierz pożądany poziom jasności, aby zapewnić sobie komfort viewing.
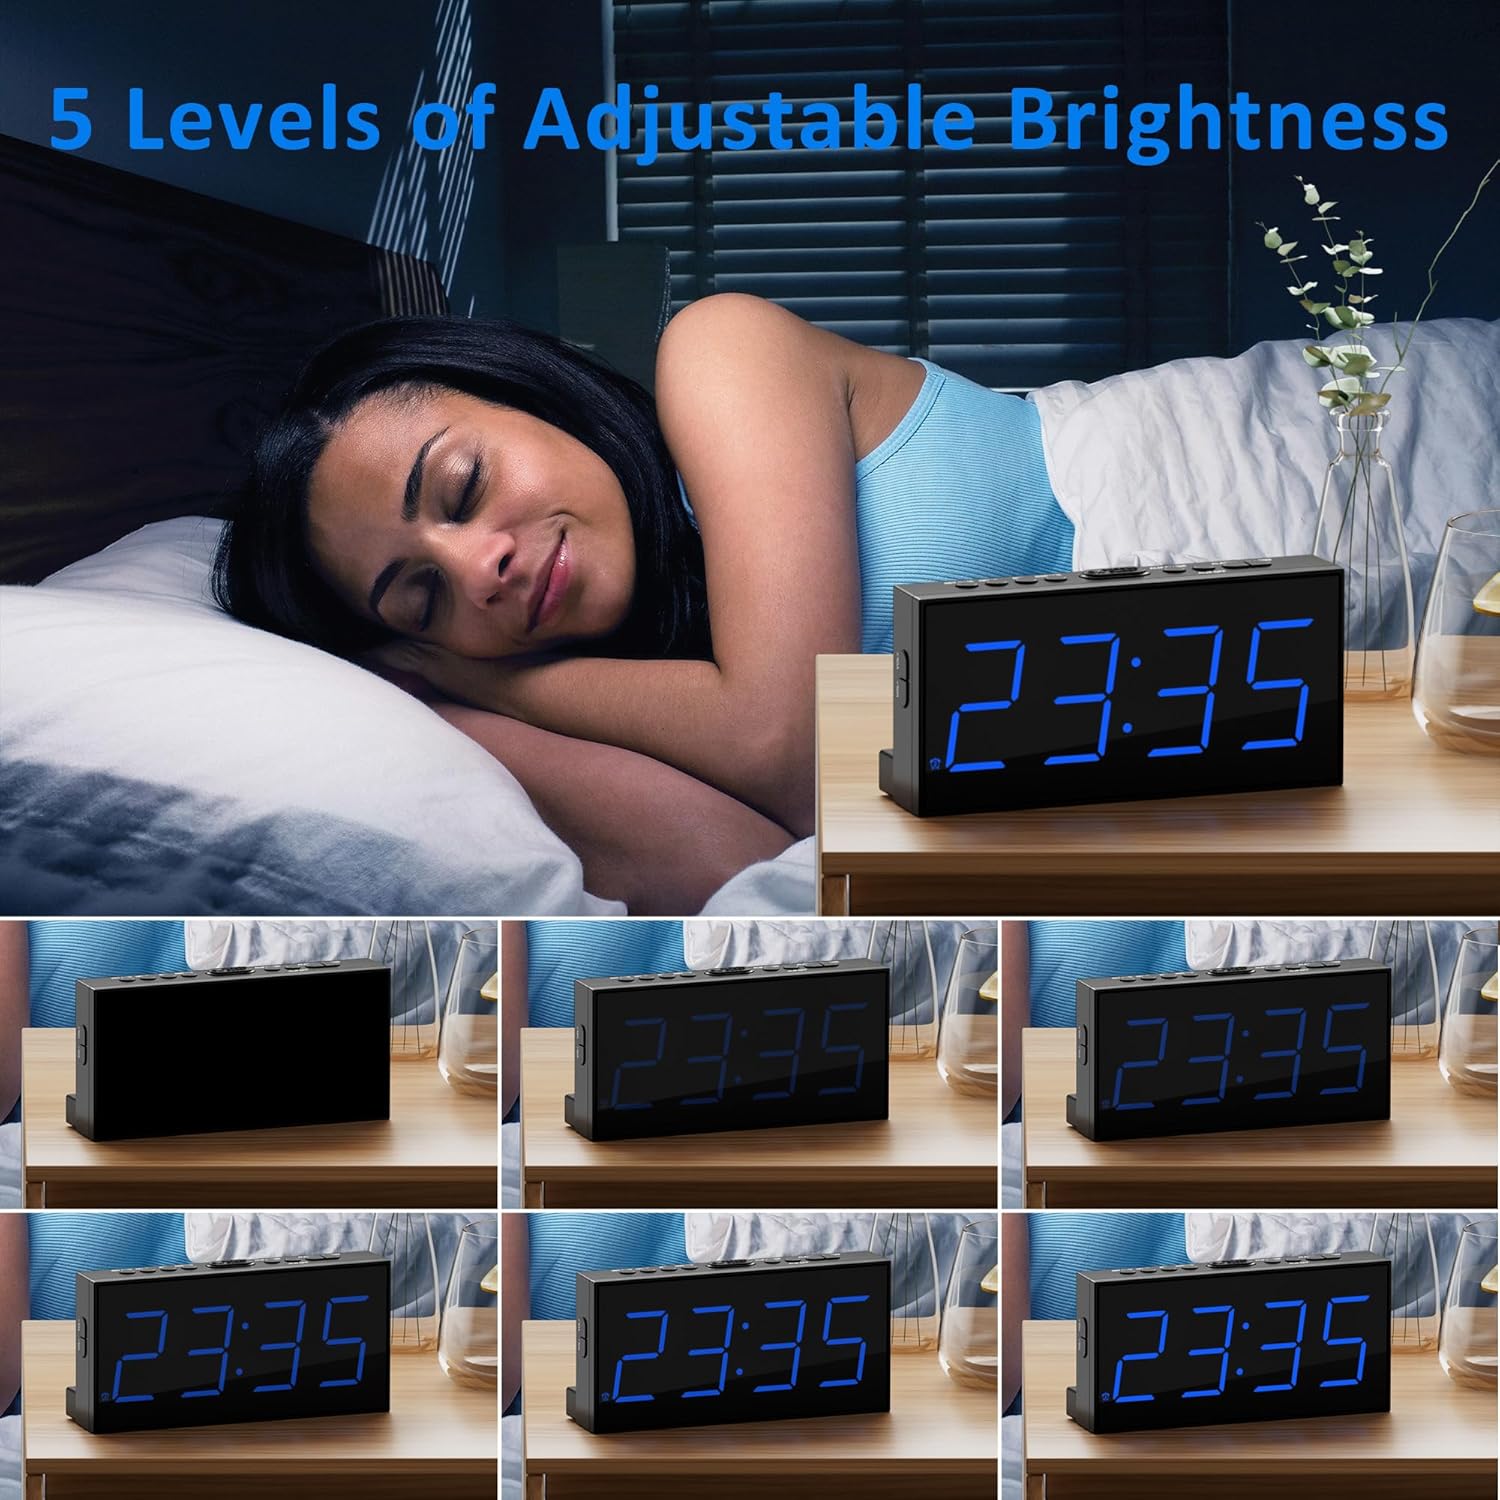
Obraz 4.2: Examples of the 5 adjustable brightness levels.
4.4 Ustawianie alarmów (Alarm 1 i Alarm 2)
The clock allows you to set two independent alarms.
- Naciśnij ALARM 1 or ALARM 2 Naciśnij przycisk raz, aby wyświetlić aktualną godzinę alarmu.
- Naciśnij i przytrzymaj odpowiedni przycisk ALARM Naciskaj przycisk, aż zaczną migać cyfry godziny.
- Użyj GODZINA I MIN przyciski umożliwiające ustawienie żądanej godziny alarmu.
- Naciśnij ALARM button again to confirm and activate the alarm. The corresponding alarm icon (1 or 2) will appear on the display.
- To deactivate an alarm, press the respective ALARM przycisk, aż ikona alarmu zniknie.

Image 4.3: Dual alarm functionality.
4.5 Funkcja drzemki
Gdy zabrzmi alarm, naciśnij duży przycisk DRZEMKA button located on top of the clock to temporarily silence the alarm for 9 minutes. The alarm will sound again after 9 minutes.
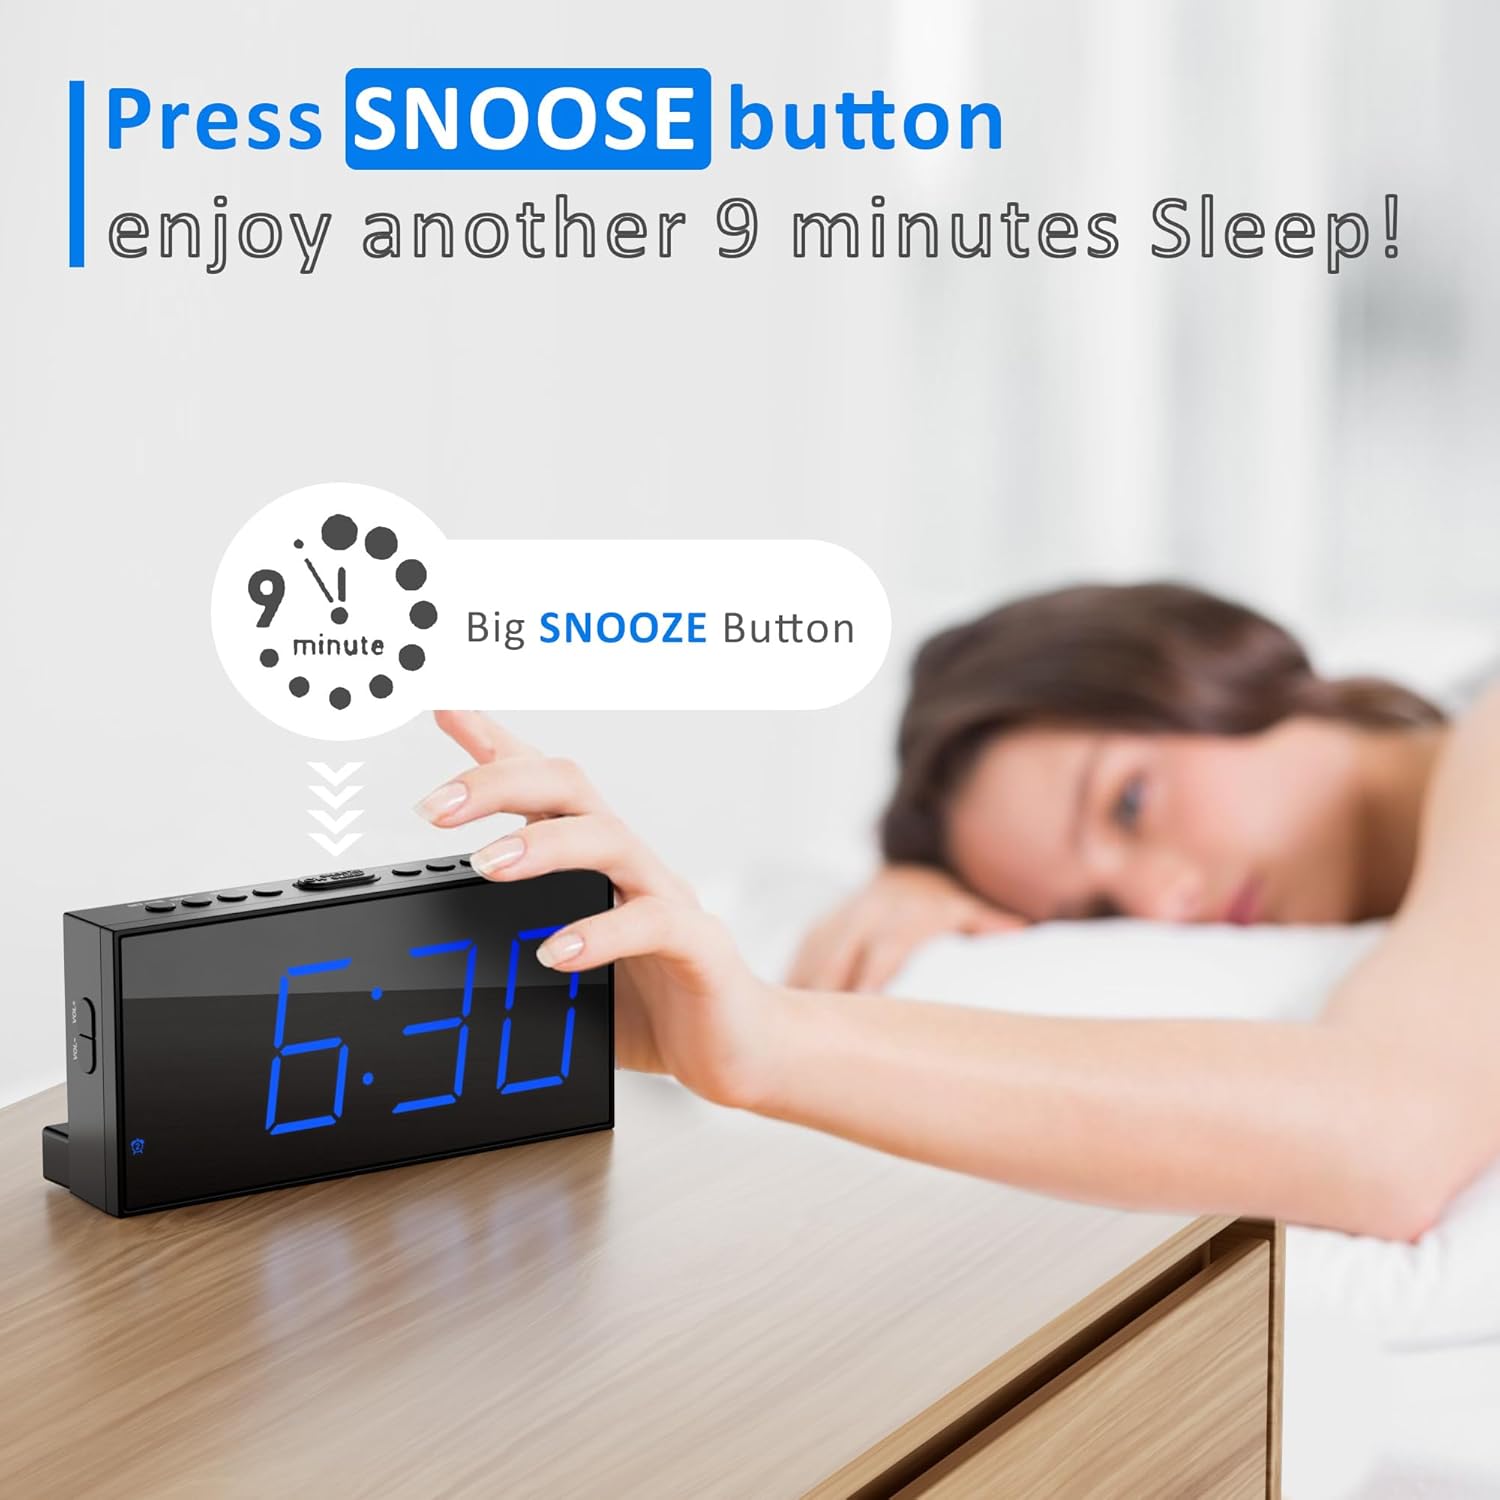
Image 4.4: Using the snooze button.
4.6 Regulacja głośności alarmu
The alarm volume can be adjusted to 5 different levels.
- During an alarm, or while setting an alarm, use the Objętość + or TOM- buttons on the side of the clock to increase or decrease the volume.
- The current volume level will be indicated on the display.

Image 4.5: Volume adjustment buttons and range.
4.7 porty USB do ładowania
A USB charging port is located on the back of the clock. Connect your smartphone or other USB-powered device to this port using a compatible USB cable for charging.

Image 4.6: Using the USB charging port.
5. Konserwacja
5.1 Czyszczenie
Aby wyczyścić budzik, delikatnie przetrzyj jego powierzchnię miękką, suchą ściereczką. Unikaj stosowania środków czyszczących o działaniu ściernym, rozpuszczalników i silnych środków chemicznych, ponieważ mogą one uszkodzić wykończenie lub elementy elektroniczne.
5.2 Wymiana baterii
If the clock loses its time or alarm settings after a power interruption, the AAA backup batteries may need to be replaced. Follow the steps in Section 3.3 to replace the batteries.
6. Rozwiązywanie Problemów
- Display is blank or very dim:
Ensure the clock is properly connected to AC power. Check the brightness level using the OPORNIK button; it might be set to the lowest or off setting. - Time or alarm settings are lost after a power outage:
Verify that two fresh AAA batteries are correctly installed in the battery backup compartment. The batteries are essential for retaining settings during power interruptions. - Alarm is not sounding or is too quiet:
Ensure the alarm is activated (the alarm icon should be visible on the display). Adjust the alarm volume using the Objętość + przycisk. - USB charging port is not working:
Ensure the clock is connected to AC power, as the USB charging function requires main power. Check the USB cable for damage and ensure it is properly connected to both the clock and your device. - Clock is unstable on a surface:
Ensure the two back holders are correctly inserted into their slots on the bottom rear of the clock.
7. Specyfikacje
| Funkcja | Szczegół |
|---|---|
| Marka | Roxicosly |
| Model | CR1001E |
| Typ wyświetlacza | PROWADZONY |
| Rozmiar wyświetlacza | 7.5 cali |
| Źródło zasilania | Przewodowy elektryczny (prąd zmienny 100–240 V) |
| Zapasowa bateria | 2 baterie AAA (brak w zestawie) |
| Cechy specjalne | 12/24H&DST, 5-level Screen Brightness, Dual Alarms & 5-level Volume, USB Charging Port |
| Typ montażu | Blat stołu |
| Wymiary produktu | Wymiary 17.32 x 3.81 x 8.61 cm |
| Waga przedmiotu | 170 gramów |
| Typ materiału | Plastikowy |
8. Gwarancja i wsparcie
For warranty information or technical support, please refer to the contact details provided with your purchase or visit the official Roxicosly webZachowaj paragon jako dowód zakupu na wypadek ewentualnych roszczeń gwarancyjnych.
Powiązane dokumentyCR1001E


Ask a question about this manual
Ask about setup, troubleshooting, compatibility, parts, safety, or missing instructions. Manuals+ will review the question and use this page’s manual context to help answer it.