
LIECTROUX C30B
LIECTROUX C30B Hybrid Robot Vacuum and Mop User Manual
Model: C30B
1. Wprowadzenie
Thank you for choosing the LIECTROUX C30B Hybrid Robot Vacuum and Mop. This intelligent cleaning device is designed to simplify your home maintenance with its advanced features, including dynamic navigation, powerful 4KPA suction, and versatile 2-in-1 vacuuming and mopping capabilities. It integrates seamlessly with smart home systems like Amazon Alexa and Google Assistant for convenient control. Please read this manual thoroughly before operating the device to ensure proper use and maintenance.

Figure 1.1: LIECTROUX C30B Robot Vacuum and Mop with its accompanying mobile application interface and the interchangeable dustbin/water tank.
2. Ważne instrukcje bezpieczeństwa
To reduce the risk of injury or damage, read these safety instructions carefully and keep them handy for future reference. This appliance is for household use only.
- Nie należy używać robota w otoczeniu, w którym znajduje się otwarty ogień lub delikatne przedmioty.
- Przed rozpoczęciem użytkowania należy usunąć z podłogi wszystkie kable zasilające, małe przedmioty i luźne elementy, aby zapobiec ich splątaniu.
- Do not allow children or pets to play with the robot. Supervise children when the robot is in use.
- Use only the original charging dock and power adapter provided by the manufacturer.
- Nie używaj robota do zbierania dużych zanieczyszczeń, płynów ani materiałów palnych/dymiących.
- Aby zachować optymalną wydajność, należy regularnie czyścić szczotki i czujniki.
- Nie zanurzaj robota ani jego podzespołów elektronicznych w wodzie.
- If the robot is not used for a long period, fully charge it and store it in a cool, dry place.
3. Zawartość opakowania
Sprawdź, czy wszystkie elementy są obecne i w dobrym stanie po rozpakowaniu.
- Robot Host (Main Unit)
- Stacja ładowania
- Pilot zdalnego sterowania (baterie nie są dołączone)
- Zasilacz
- Zbiornik na wodę
- Pojemnik na śmieci
- Narzędzie do czyszczenia
- Filtry HEPA (2x)
- Szczotki boczne (4x)
- Mopping Pads (2x)
- Instrukcja obsługi
- Instrukcja instalacji aplikacji
4. Koniec produktuview
Familiarize yourself with the main components of your LIECTROUX C30B robot vacuum.
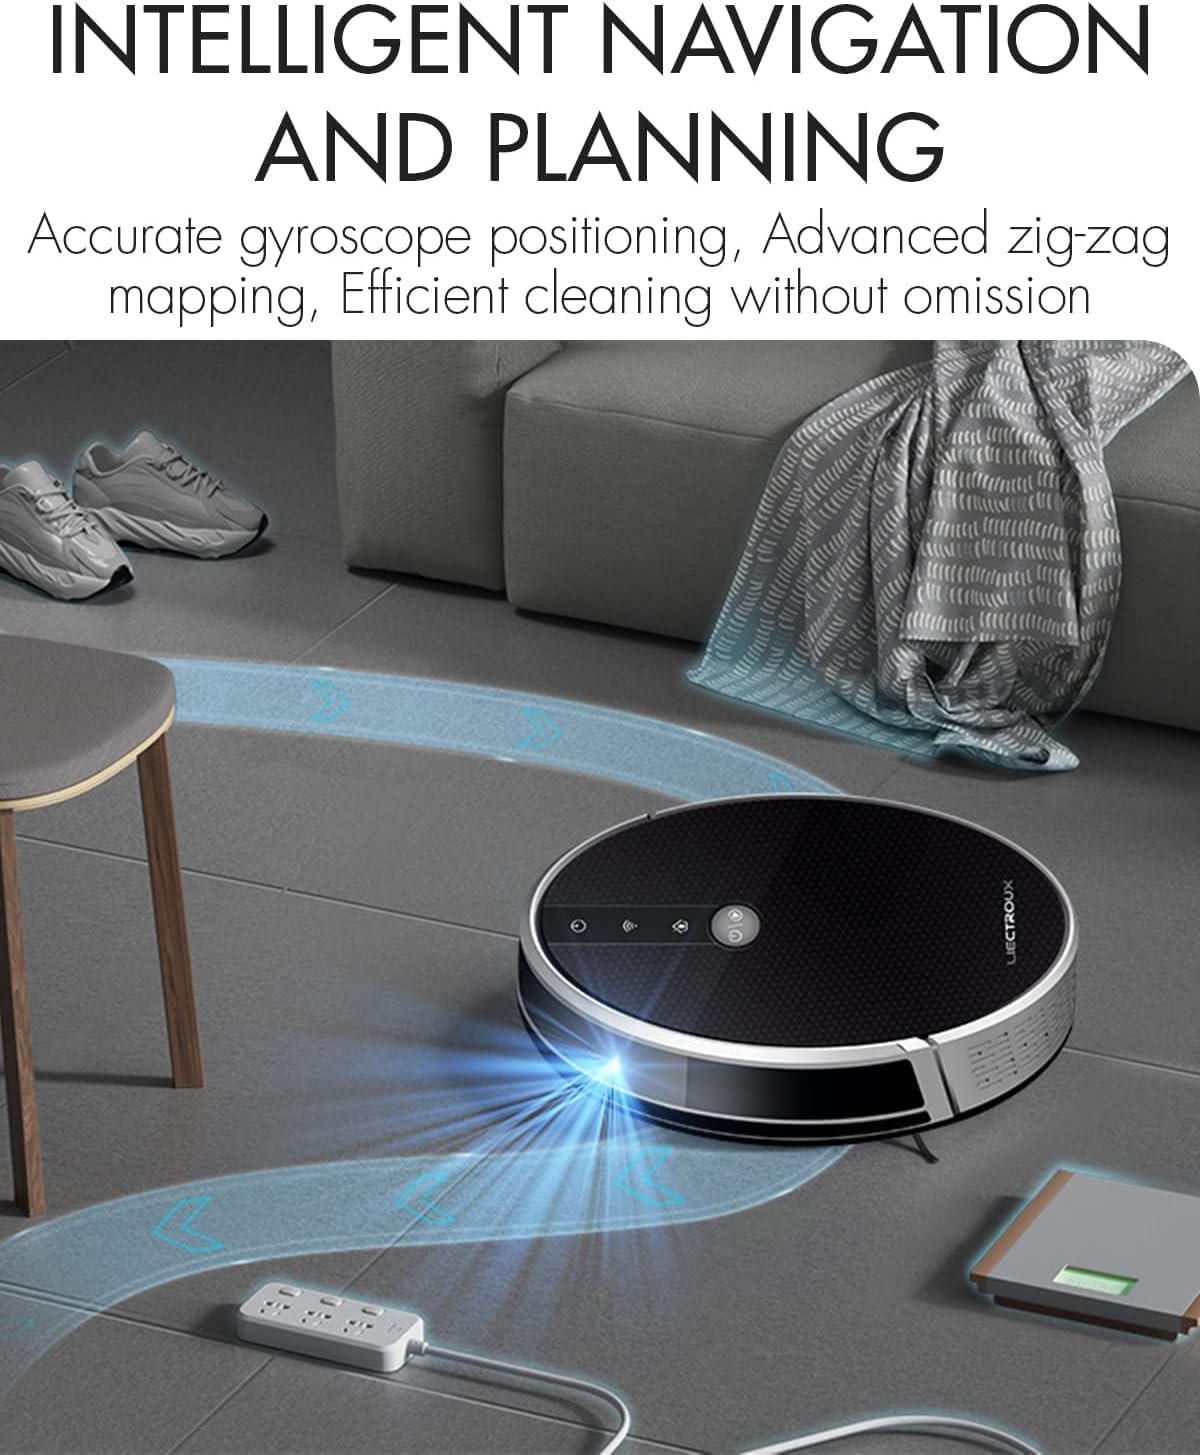
Figure 4.1: The robot vacuum utilizing its intelligent navigation system to plan and execute efficient cleaning paths, ensuring thorough coverage of your home.
4.1. Główne cechy
- Gyroscope Smart Navigation: Detects the entire house and builds a real-time cleaning roadmap for efficient, room-to-room cleaning.
- Super Suction & 2-in-1 Functionality: Equipped with a NIDEC brushless motor and V-shaped floating central brush for deep cleaning. Interchangeable 600ml dustbin and water tank allow for simultaneous vacuuming and mopping.
- Smukła konstrukcja: At 7.4 cm (2.9 inches) thin, it can easily clean under furniture and hard-to-reach areas.
- Czujniki zapobiegające upadkowi: Integrated infrared sensors detect obstacles and prevent falls from stairs or ledges.
- Cicha praca: Designed to operate at a low noise level (45 dB), minimizing disturbance.
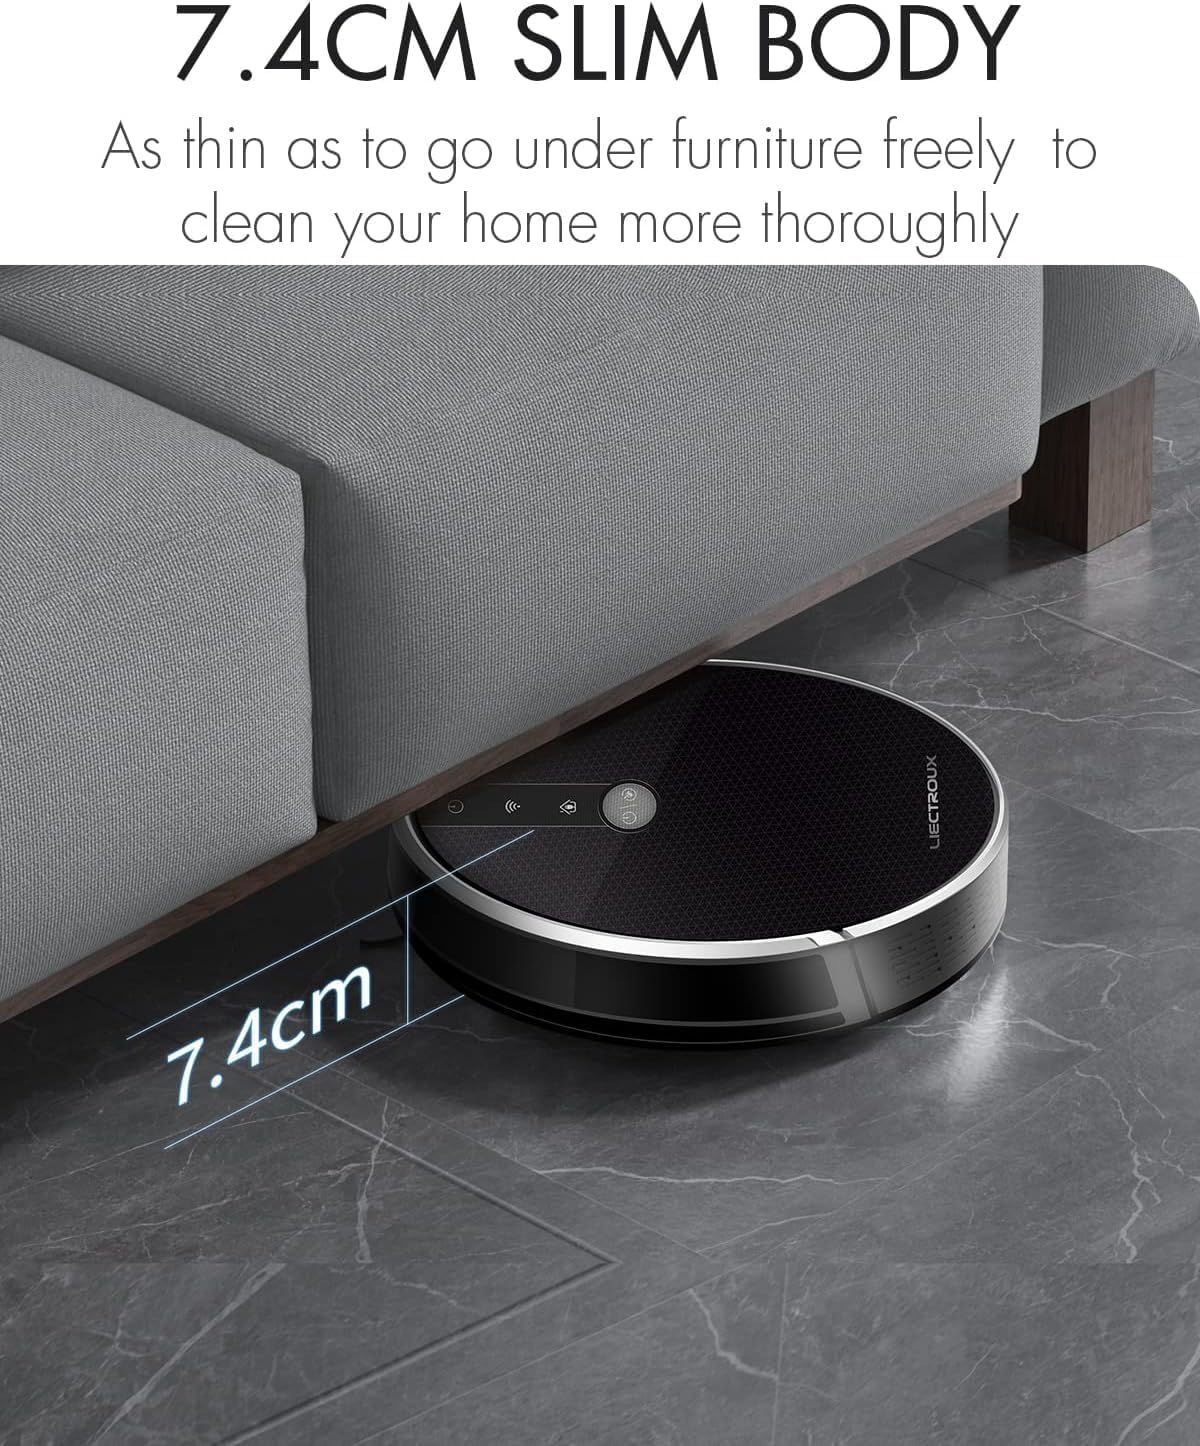
Figure 4.2: The robot's ultra-slim 7.4 cm body allows it to effortlessly clean under low-lying furniture, ensuring no dust or debris is left behind.
5. Konfiguracja
5.1. Ładowanie robota
- Place the charging station against a wall in an open, uncluttered area. Ensure there is at least 1 meter (3.3 feet) of clear space on both sides and 2 meters (6.6 feet) in front of the station.
- Connect the power adapter to the charging station and plug the other end into a wall outlet.
- Place the robot onto the charging station, ensuring the charging contacts align. The robot will automatically begin charging. A full charge takes approximately 4-5 hours.
- For initial use, it is recommended to fully charge the robot before its first cleaning cycle.
5.2. Montaż szczotek bocznych
Attach the side brushes by pressing them onto the square posts at the bottom of the robot until they click into place. Ensure the left (L) and right (R) brushes are installed on the correct sides.
5.3. Installing Dustbin or Water Tank
The LIECTROUX C30B comes with an interchangeable dustbin and water tank. Choose the appropriate container for your cleaning needs.
- Do odkurzania: Insert the dustbin into the designated slot at the rear of the robot until it locks securely.
- Do mycia podłóg: Fill the water tank with clean water (do not use detergents or harsh chemicals). Attach a mopping pad to the bottom of the water tank. Insert the water tank into the designated slot at the rear of the robot until it locks securely.
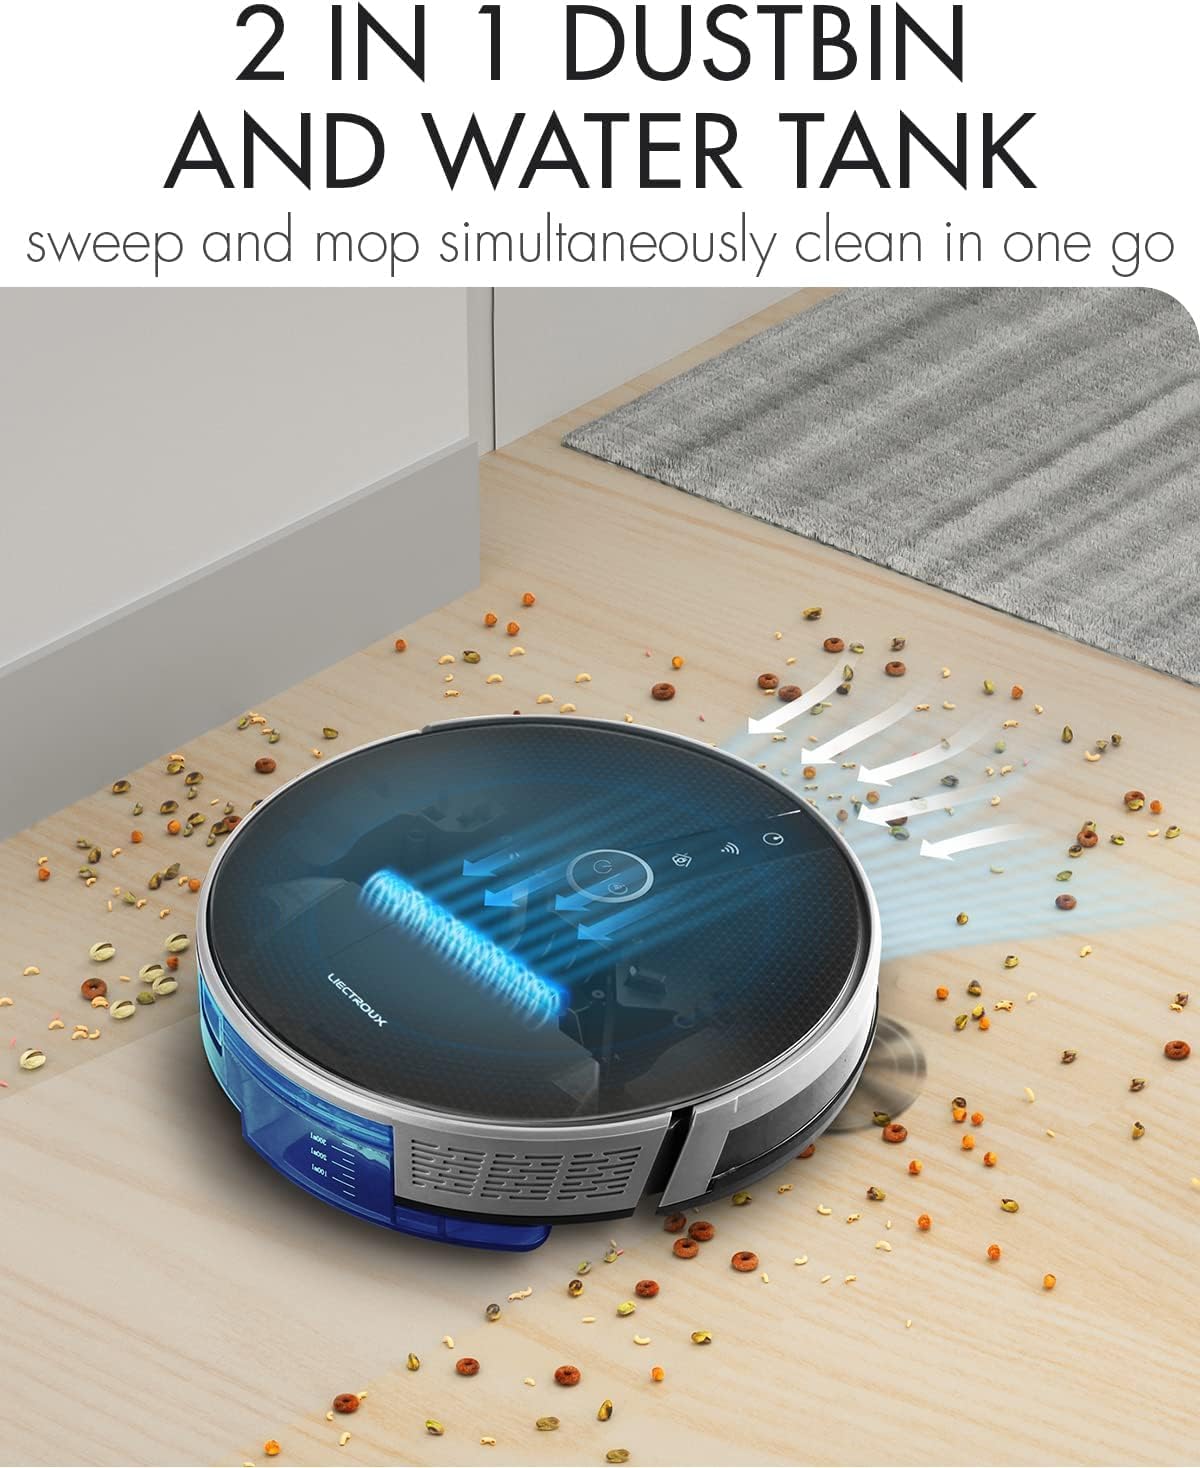
Figure 5.1: The robot's innovative 2-in-1 design allows for easy switching between the dustbin for vacuuming and the water tank for mopping, enabling simultaneous sweep and mop functions.
5.4. Instalacja i połączenie aplikacji
The LIECTROUX C30B can be controlled via the Tuya Smart app. It also supports voice control through Amazon Alexa and Google Assistant.
- Pobierz aplikację „Tuya Smart” ze sklepu App Store (iOS) lub Google Play Store (Android).
- Zarejestruj konto i zaloguj się.
- Upewnij się, że robot jest naładowany i włączony.
- In the app, tap "+" to add a device. Select "Small Home Appliance" > "Robot Vacuum".
- Follow the on-screen instructions to connect the robot to your home Wi-Fi network (2.4GHz only).
- Po podłączeniu możesz sterować robotem, planować sprzątanie i monitorować jego stan przy użyciu smartfona.

Figure 5.2: The mobile application provides comprehensive remote control, allowing users to manage cleaning modes, schedules, and monitor the robot's status from anywhere.
6. Instrukcja obsługi
6.1. Tryby czyszczenia
The LIECTROUX C30B offers 6 cleaning modes to suit various needs:
- Automatyczne czyszczenie: The robot intelligently plans its route to clean the entire area.
- Tryb mopowania: When the water tank is installed, the robot will perform wet mopping.
- Sprzątanie pokoju jednoosobowego: Cleans a specific room. Close the door to confine the robot to that area.
- Czyszczenie krawędzi: Robot czyści wzdłuż ścian i krawędzi mebli.
- Czyszczenie punktowe: Koncentruje się na czyszczeniu konkretnego zabrudzonego obszaru w sposób spiralny.
- Zaplanowane sprzątanie: Ustaw w aplikacji konkretne godziny, o których robot ma automatycznie rozpocząć sprzątanie.
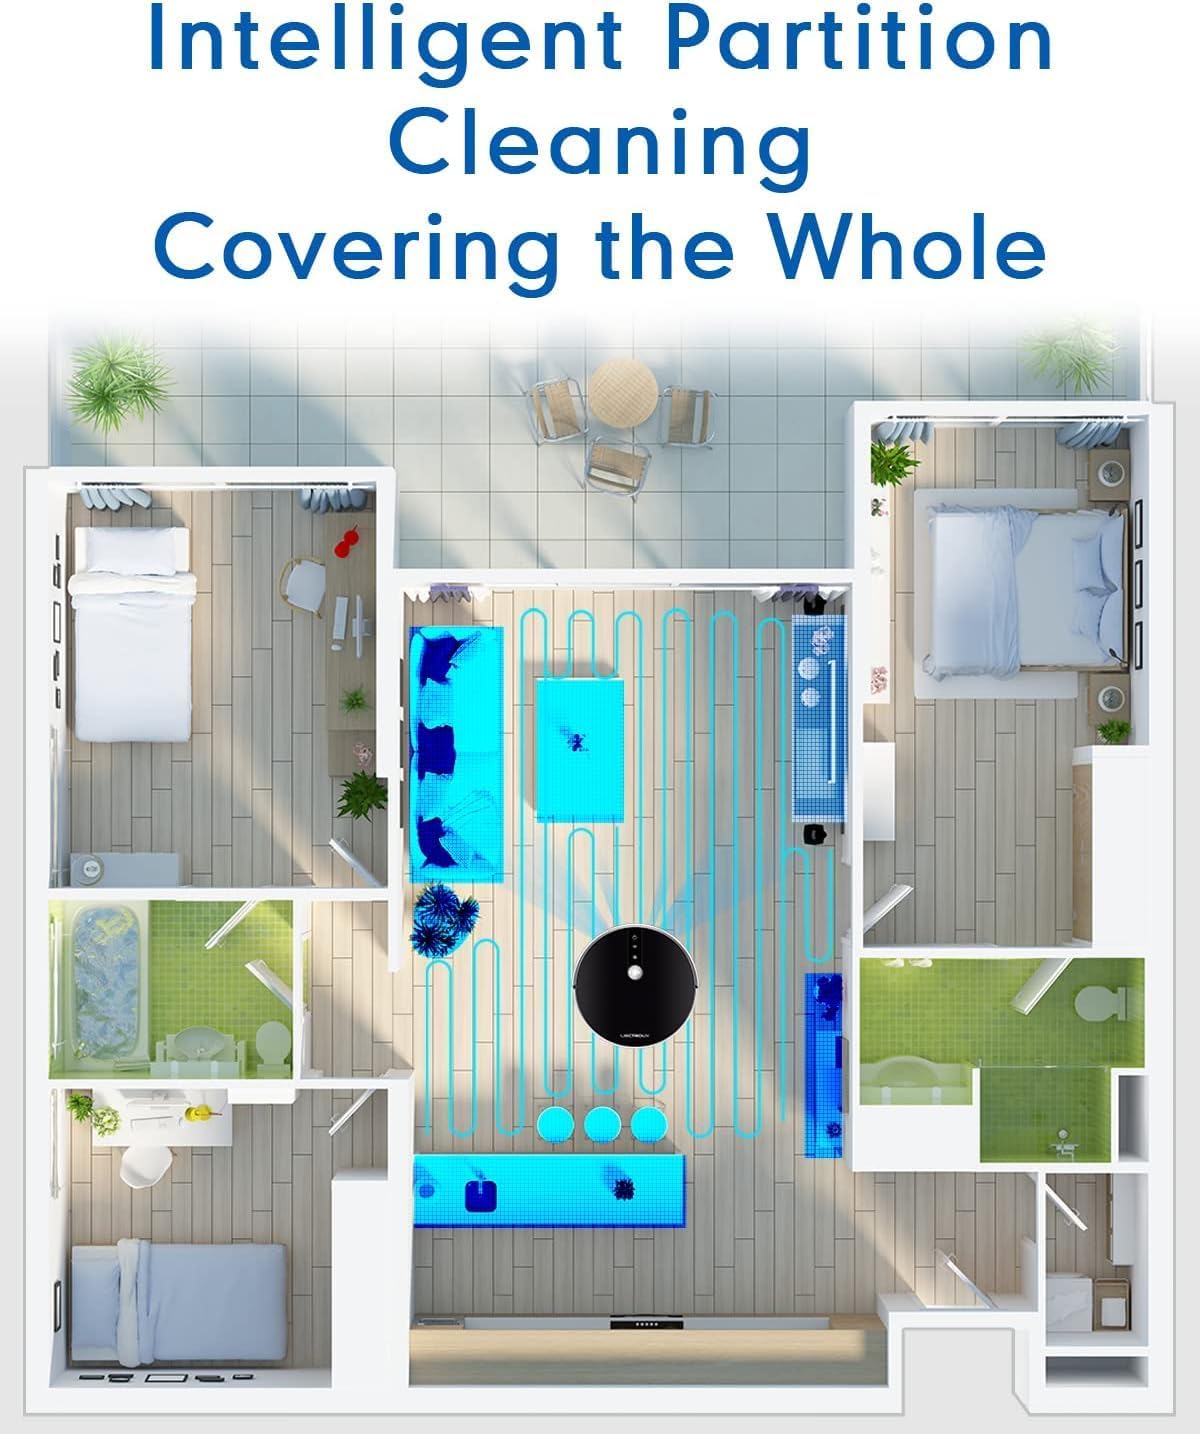
Figure 6.1: The robot's intelligent partition cleaning capability allows it to map and clean different areas of your home systematically, ensuring comprehensive coverage.
6.2. Rozpoczęcie/wstrzymanie czyszczenia
- O robocie: Press the power button on the robot's top panel to start or pause cleaning.
- Korzystanie z pilota: Use the "Auto Clean" button on the remote control.
- Za pośrednictwem aplikacji: Use the "Start" or "Pause" buttons within the Tuya Smart app.
6.3. Sterowanie głosowe (Alexa/Asystent Google)
Once connected to the Tuya Smart app, you can link your robot to Amazon Alexa or Google Assistant for voice commands.
- Enable the "Tuya Smart" skill in your Alexa or Google Home app.
- Połącz swoje konto Tuya Smart.
- Odkryj urządzenia.
- You can now use commands such as:
- "Alexa, start cleaning the robot vacuum."
- "Hey Google, tell the robot vacuum to go back to charging."
- "Alexa, stop the robot vacuum."

Figure 6.2: The robot vacuum seamlessly integrates with smart home assistants like Amazon Alexa and Google Assistant, allowing for convenient voice-activated control of cleaning tasks.
7. Konserwacja
Regularna konserwacja jest kluczowa dla optymalnej wydajności i długiej żywotności robota odkurzającego.
7.1. Opróżnianie pojemnika na śmieci
Empty the dustbin after each use or when the "Dustbin Full" indicator appears on the app.
- Naciśnij przycisk zwalniający pojemnik na kurz i wyciągnij pojemnik na kurz.
- Otwórz pokrywę kosza na śmieci i opróżnij jego zawartość do kosza.
- Clean the dustbin with the provided cleaning tool or a soft cloth. It can also be rinsed with water, but ensure it is completely dry before re-installing.
7.2. Czyszczenie filtrów
Clean the HEPA filter and sponge filter weekly. Replace HEPA filters every 3-6 months, depending on usage.
- Wyjmij kosz na śmieci.
- Take out the HEPA filter and sponge filter.
- Tap the filters gently to remove dust. Do not wash HEPA filters with water.
- Rinse the sponge filter with water if necessary, and ensure it is completely dry before re-installing.
7.3. Cleaning Main Brush and Side Brushes
Clean the main brush and side brushes weekly to remove tangled hair and debris.
- Pędzel główny: Flip the robot over. Press the release tabs on the brush guard to remove it. Lift out the main brush. Use the cleaning tool to cut and remove any tangled hair. Reinstall the brush and guard.
- Szczotki boczne: Gently pull the side brushes off their posts. Remove any hair or debris. If brushes are worn, replace them.
7.4. Cleaning Water Tank and Mopping Pads
After each mopping session:
- Opróżnij zbiornik z pozostałej wody.
- Remove the mopping pad and rinse it thoroughly with water. Allow it to air dry completely.
- Clean the water tank interior if necessary.
7.5. Czyszczenie czujników i styków ładowania
Wipe the sensors and charging contacts regularly with a clean, dry cloth to ensure proper function.
- Czujniki zapobiegające upadkowi: Znajduje się na spodzie robota.
- Czujniki ścienne: Located on the front bumper.
- Ładowanie styków: On the bottom of the robot and on the charging station.

Figure 7.1: The robot is equipped with anti-drop sensors that detect changes in elevation, such as stairs, preventing it from falling and ensuring safe operation.
8. Rozwiązywanie Problemów
Jeśli napotkasz problemy z odkurzaczem automatycznym, zapoznaj się z poniższą tabelą, w której znajdziesz listę typowych problemów i ich rozwiązań.
| Problem | Możliwa przyczyna | Rozwiązanie |
|---|---|---|
| Robot nie włącza się. | Niski poziom naładowania baterii lub bateria nie naładowana. | Place the robot on the charging station and ensure it is fully charged. |
| Robot często się zacina. | Przeszkody, splątane szczotki lub brudne czujniki. | Clear obstacles from the cleaning path. Clean main brush, side brushes, and all sensors. |
| Słaba skuteczność czyszczenia. | Pełny kosz na śmieci, zatkany filtr lub zużyte szczotki. | Empty dustbin. Clean/replace filters. Clean/replace brushes. |
| Robot nie wraca do stacji ładującej. | Charging station obstructed or out of range. Dirty charging contacts. | Ensure charging station is in an open area. Clean charging contacts on both robot and station. |
| Problemy z połączeniem aplikacji. | Incorrect Wi-Fi password, 5GHz network, or robot too far from router. | Ensure you are using a 2.4GHz Wi-Fi network. Re-enter Wi-Fi password. Move robot closer to router. Restart robot and router. |
Jeśli po wypróbowaniu tych rozwiązań problem nadal występuje, skontaktuj się z obsługą klienta.
9. Specyfikacje techniczne
| Funkcja | Specyfikacja |
|---|---|
| Numer modelu | C30B |
| Marka | LIECTROUX |
| Wymiary (dł. x szer. x wys.) | 33 x 33 x 7.4 cm (13 x 13 x 2.9 cala) |
| Waga | 2.7 kg (5.95 funta) |
| Moc | 28 watów |
| Tomtage | 14.4 wolty |
| Typ baterii | Litowo-jonowy (2500mAh) |
| Poziom hałasu | 45dB |
| Pojemność pojemnika na śmieci | 0.6 litrów |
| Typ filtra | HEPA |
| Zalecenia dotyczące powierzchni | Twarde podłogi, dywany |
| Typ sterowania | App Control, Voice Control (Alexa, Google Assistant), Remote Control |
| Czas wykonania | 100-120 minutes (approx. 170-220 sq meters) |
10. Gwarancja i pomoc techniczna
The LIECTROUX C30B Hybrid Robot Vacuum and Mop comes with a 24-month professional warranty od daty zakupu. Niniejsza gwarancja obejmuje wady produkcyjne i usterki powstałe podczas normalnego użytkowania.
10.1. Wyłączenia gwarancji
Gwarancja nie obejmuje:
- Uszkodzenia powstałe na skutek niewłaściwego użytkowania, zaniedbania lub wypadku.
- Normal wear and tear of consumable parts (e.g., brushes, filters, mopping pads).
- Uszkodzenia spowodowane nieautoryzowanymi naprawami lub modyfikacjami.
- Damage caused by external factors such as power surges or natural disasters.
10.2. Obsługa klienta
For technical assistance, warranty claims, or general inquiries, please contact LIECTROUX customer support through the retailer where you purchased the product or visit the official LIECTROUX webwitryna do informacji kontaktowych.
Please have your model number (C30B) and proof of purchase ready when contacting support.
Ask a question about this manual
Ask about setup, troubleshooting, compatibility, parts, safety, or missing instructions. Manuals+ will review the question and use this page’s manual context to help answer it.