1. Wprowadzenie
The Flycatcher smART Sketcher 2.0 Projector is an educational tool designed to assist users in drawing and tracing. This device projects images onto paper, allowing for easy tracing and creative development. It features pre-loaded activities and can connect to a mobile application for custom image projection.
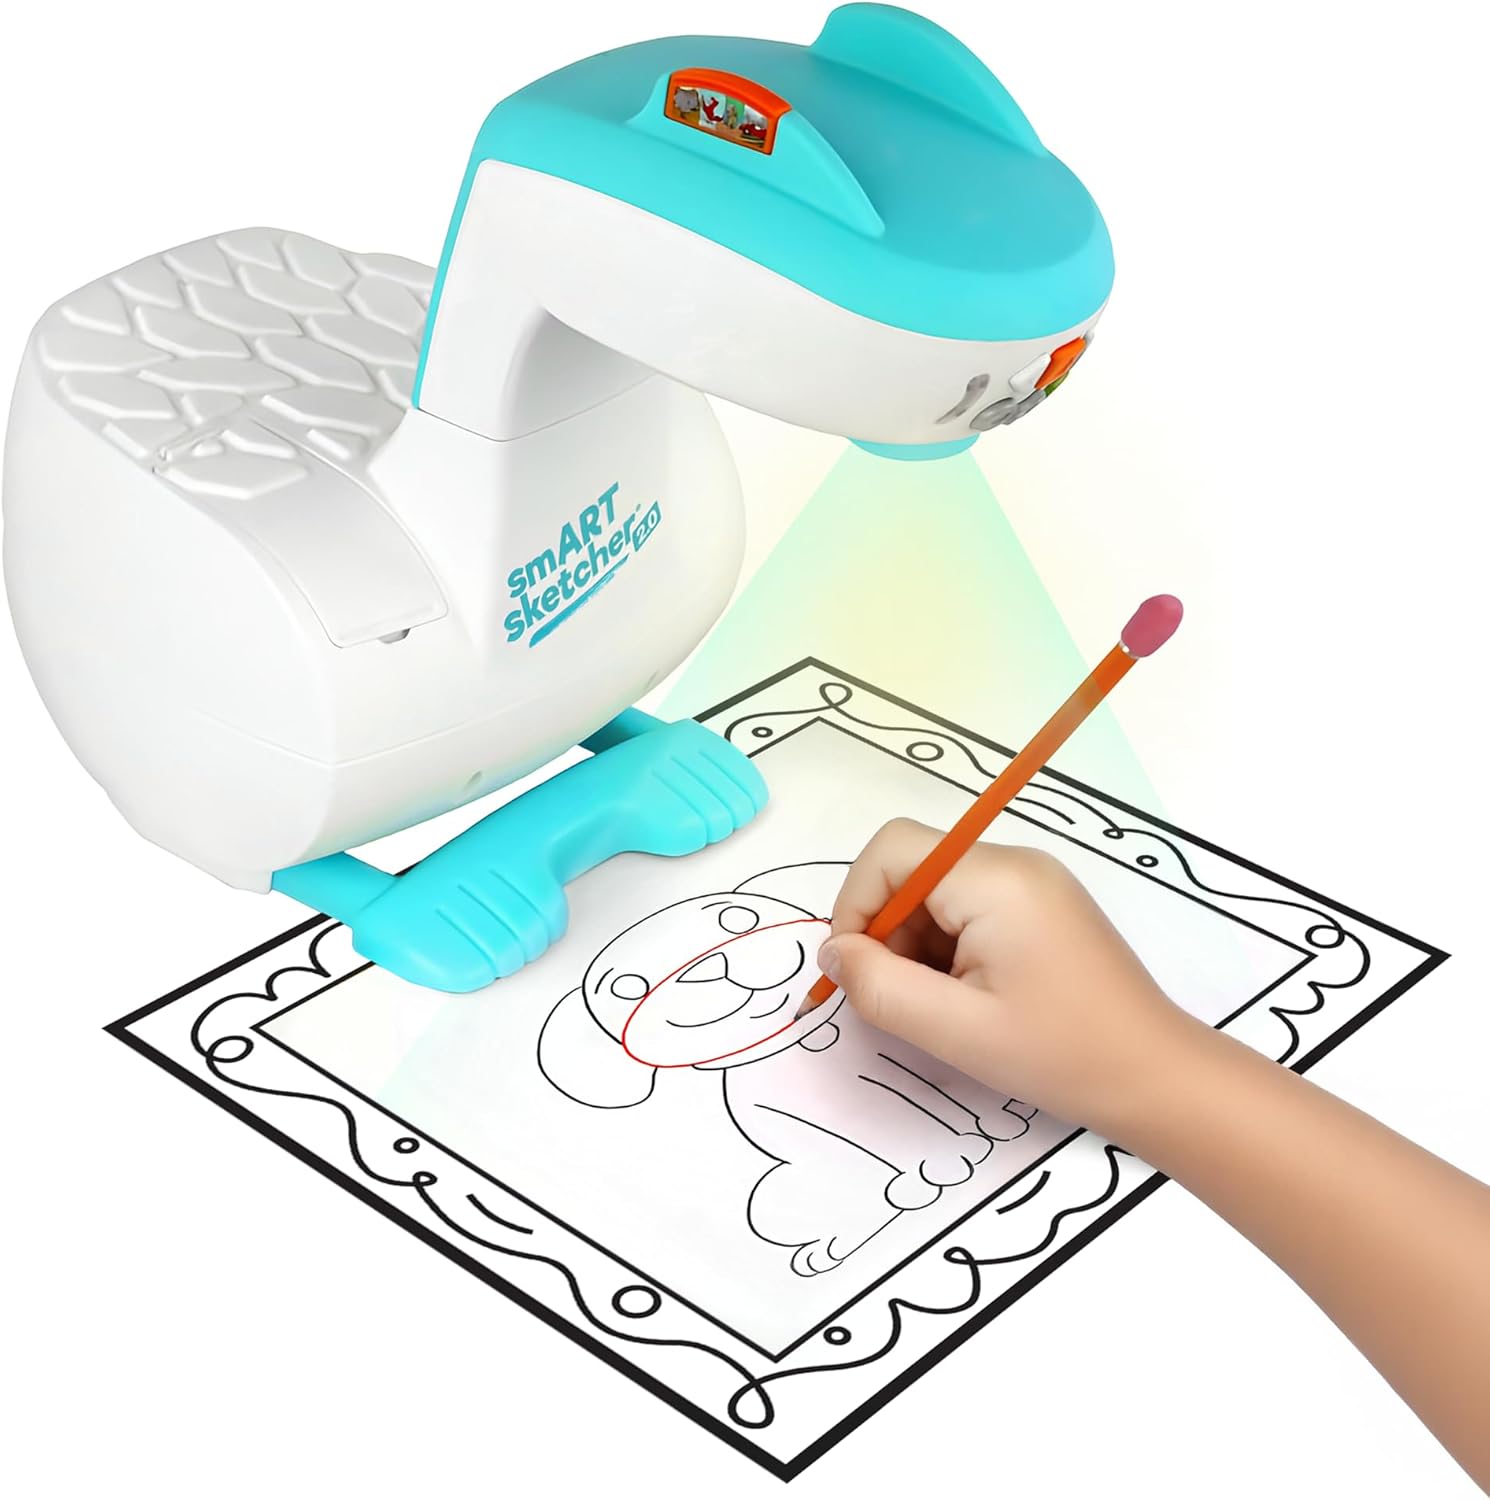
Image 1.1: The smART Sketcher 2.0 Projector in operation, demonstrating a child tracing a projected image.
2. Informacje dotyczące bezpieczeństwa
OSTRZEŻENIE: NIEBEZPIECZEŃSTWO ZADŁAWIENIA – małe części. Nieodpowiednie dla dzieci poniżej 3 lat.
Please ensure all small components are kept out of reach of young children to prevent choking hazards. Adult supervision is recommended during use.
3. Co znajduje się w pudełku
Przed montażem i użyciem należy sprawdzić, czy wszystkie elementy są obecne:
- smART Sketcher 2.0 Projector Unit
- Kabel USB
- Activity Cartridge with 60+ pre-loaded step-by-step drawing activities
- Instrukcja obsługi (ten dokument)
Note: Drawing materials such as paper, pencils, and markers are not included.

Image 3.1: Packaging contents, including the projector, USB cable, and activity cartridge.
4. Montaż
Follow these steps to assemble your smART Sketcher 2.0 Projector:
- Przygotuj bazę: Place the main projector base unit on a stable, flat surface. Ensure the base is oriented correctly with the feet facing downwards.

Image 4.1: The projector base unit, ready for head attachment.
- Attach the Projector Head: Take the projector head unit. Align the connector on the projector head with the corresponding slot on the main base unit.

Image 4.2: The detachable projector head unit.
- Zabezpieczenie głowicy: Gently push the projector head down into the base until it clicks securely into place. Ensure it is firmly attached and does not wobble.

Image 4.3: Projector head securely attached to the base.
5. Zasilanie
The smART Sketcher 2.0 Projector can be powered via the included USB cable. Connect the USB cable to the projector and to a compatible USB power source (e.g., a wall adapter, computer USB port, or power bank). The projector can also operate on batteries (not included) for portable use, though battery life may vary.
6. Podstawowa obsługa
Once assembled and powered, the projector is ready for use.
- Włączanie/wyłączanie: Locate the power button on the projector head. Press it to turn the device on or off.
- Przyciski nawigacyjne: Use the arrow buttons (left, right, up, down) to navigate through the pre-loaded activities or app content. The 'Select' button (often a central button) confirms your choice.
- Regulacja ostrości: If the projected image appears blurry, gently rotate the lens on the projector head to adjust the focus until the image is clear.

Image 6.1: The projector's control panel and projection area.
7. Using Pre-loaded Activities
The smART Sketcher 2.0 comes with an activity cartridge containing over 60 step-by-step drawing activities.
- Włóż wkład: Locate the cartridge slot on the projector. Gently insert the activity cartridge until it clicks into place.
- Wybierz aktywność: Use the navigation buttons to browse through the available activities. Each activity provides step-by-step instructions for drawing.
- Rozpocznij rysowanie: Place a piece of paper under the projector lens. The selected image will be projected onto the paper. Follow the projected lines to trace and draw.

Image 7.1: The activity cartridge displaying a selection of pre-loaded drawing options.
8. Łączność aplikacji
Enhance your drawing experience by connecting the projector to the smART Sketcher 2.0 app on your smartphone or tablet.
- Pobierz aplikację: Download the free smART Sketcher 2.0 app from the App Store (for iOS devices) or Google Play Store (for Android devices).
- Włącz Bluetooth: Upewnij się, że Bluetooth jest włączony w Twoim urządzeniu mobilnym.
- Connect to Projector: Open the smART Sketcher 2.0 app. The app will search for nearby projectors. Select your projector from the list to establish a Bluetooth connection.
- Project Custom Images: Within the app, you can take photos or select images from your device's gallery. The app will process the image, allowing you to project it onto your paper for tracing.

Image 8.1: Demonstrating Bluetooth connectivity between a smartphone and the projector for custom image projection.
9. Regulacja projekcji
For optimal tracing, ensure the projected image is clear and appropriately sized.
- Centrum: Aby wyostrzyć obraz, użyj pierścienia ostrości na obiektywie projektora.
- Rozmiar: Adjust the distance between the projector and the paper to change the size of the projected image. Moving the projector closer will make the image smaller, and moving it further away will make it larger.
- Oświetlenie: For best visibility, use the projector in a dimly lit room.
10. Konserwacja
Proper care will extend the life of your smART Sketcher 2.0 Projector.
- Czyszczenie: Przetrzyj zewnętrzną część projektora miękką, suchą ściereczką. Nie używaj środków czyszczących o właściwościach ściernych ani rozpuszczalników.
- Pielęgnacja soczewek: If the projector lens becomes dusty, gently clean it with a lens cleaning cloth. Avoid touching the lens directly with your fingers.
- Składowanie: Przechowuj projektor w chłodnym i suchym miejscu, z dala od bezpośredniego światła słonecznego i ekstremalnych temperatur.
11. Rozwiązywanie Problemów
| Problem | Możliwa przyczyna | Rozwiązanie |
|---|---|---|
| Projektor się nie włącza. | No power supply or low batteries. | Ensure USB cable is securely connected to a power source, or replace batteries. |
| Wyświetlany obraz jest rozmazany. | Lens is out of focus. | Rotate the focus ring on the projector lens until the image is clear. |
| Nie można połączyć się z aplikacją przez Bluetooth. | Bluetooth is off on mobile device or app issue. | Ensure Bluetooth is enabled on your device. Restart the app and the projector. Check app permissions. |
| Image is too small/large or off the paper. | Incorrect distance from paper. | Adjust the projector's distance from the paper to achieve the desired image size and position. |
12. Specyfikacje
- Marka: Muchołówka
- Nazwa modelu: smART sketcher 2.0
- Numer modelu przedmiotu: smART Sketcher 2.0 Projector
- Wymiary (dł. x szer. x wys.): 8 x 9.25 x 11 cala
- Waga przedmiotu: 2.7 funtów (około 1.22 kg)
- Tworzywo: Plastikowy
- Dodatek specjalny: Łączność Bluetooth
- Zawartość zestawu: Projector, USB Cable, Activity Cartridge
- Kod UPC: 810099030082
13. Gwarancja i wsparcie
For warranty information and customer support, please refer to the official Flycatcher webOdwiedź stronę internetową lub skontaktuj się bezpośrednio z działem obsługi klienta. Zachowaj paragon jako dowód zakupu na wypadek ewentualnych roszczeń gwarancyjnych.
Aby uzyskać dalszą pomoc, odwiedź stronę Flycatcher Store on Amazon.