
1. Wprowadzenie
Thank you for choosing the ErGear PC Monitor Arm. This manual provides essential information for the safe and efficient installation, operation, and maintenance of your monitor arm. Please read these instructions carefully before use and retain them for future reference.
2. Informacje dotyczące bezpieczeństwa
- Przed montażem upewnij się, że wszystkie elementy są kompletne i nieuszkodzone. Nie używaj, jeśli brakuje którejkolwiek części lub jest ona uszkodzona.
- This monitor arm is designed for monitors between 13 and 32 inches, with a weight capacity of 2-10kg. Do not exceed these limits.
- Always adjust the gas spring pressure only when the arm is in a horizontal position. Failure to do so may prevent proper adjustment.
- Ensure the mounting surface (desk) is stable and strong enough to support the combined weight of the monitor arm and your monitor.
- Podczas instalacji należy trzymać dzieci i zwierzęta z daleka.
- Dokręć wszystkie śruby mocno, ale nie dokręcaj ich zbyt mocno, aby uniknąć zerwania gwintów lub uszkodzenia elementów.
3. Zawartość opakowania
Sprawdź, czy w pakiecie znajdują się wszystkie części:
- Zespół ramienia monitora
- C-Clamp Sprzęt montażowy
- Sprzęt montażowy przelotki
- Płyta VESA
- Klipsy do zarządzania kablami
- Hex Keys / Wrenches
- Instrukcja obsługi
4. Specyfikacje
| Marka | Przekładnia |
| Numer modelu | EGSSK4W |
| Tworzywo | Stal stopowa |
| Kolor | Biały |
| Typ montażu | Uchwyt biurkowy (C-Clamp lub przelotka) |
| Typ ruchu | Tiltable, Swivel, Rotate |
| Kompatybilny rozmiar monitora | 13-32 cala |
| Nośność | 2-10kg |
| Zgodność ze standardem VESA | 75x75mm, 100x100mm |
| Maksymalny kąt nachylenia | W górę 90°, w dół 40° |
| Kąt obrotu | ±90° |
| Obrót | 360° |
| Gwarancja | 5-letnia gwarancja producenta |
5. Konfiguracja i instalacja
The ErGear monitor arm offers two installation methods: C-clamp and grommet. Choose the method best suited for your desk.
5.1 Pre-Purchase Checklist
Before installation, ensure your setup meets the following requirements:
- Rozmiar monitora: 13-32 cala
- Waga monitora: 2-10kg
- Standard VESA: 75x75mm lub 100x100mm
- Grubość biurka:
- C-Clamp: 10-82mm
- Grommet: 10-86mm

5.2 Metody montażu

5.3 Kroki instalacji
Follow these general steps for installation. Refer to the included detailed manual for specific diagrams and screw types.
- Zamontuj podstawę: Zabezpiecz wybraną podstawę montażową (C-clamp or grommet) to your desk. Ensure it is tightly fastened.
- Connect the Arm: Slide the monitor arm onto the base post.
- Zamontuj płytkę VESA do monitora: Secure the VESA plate to the back of your monitor using the provided screws.
- Montaż monitora na ramieniu: Slide the VESA plate with the monitor onto the arm's VESA head. Tighten the securing screw.

6. Obsługa i regulacje
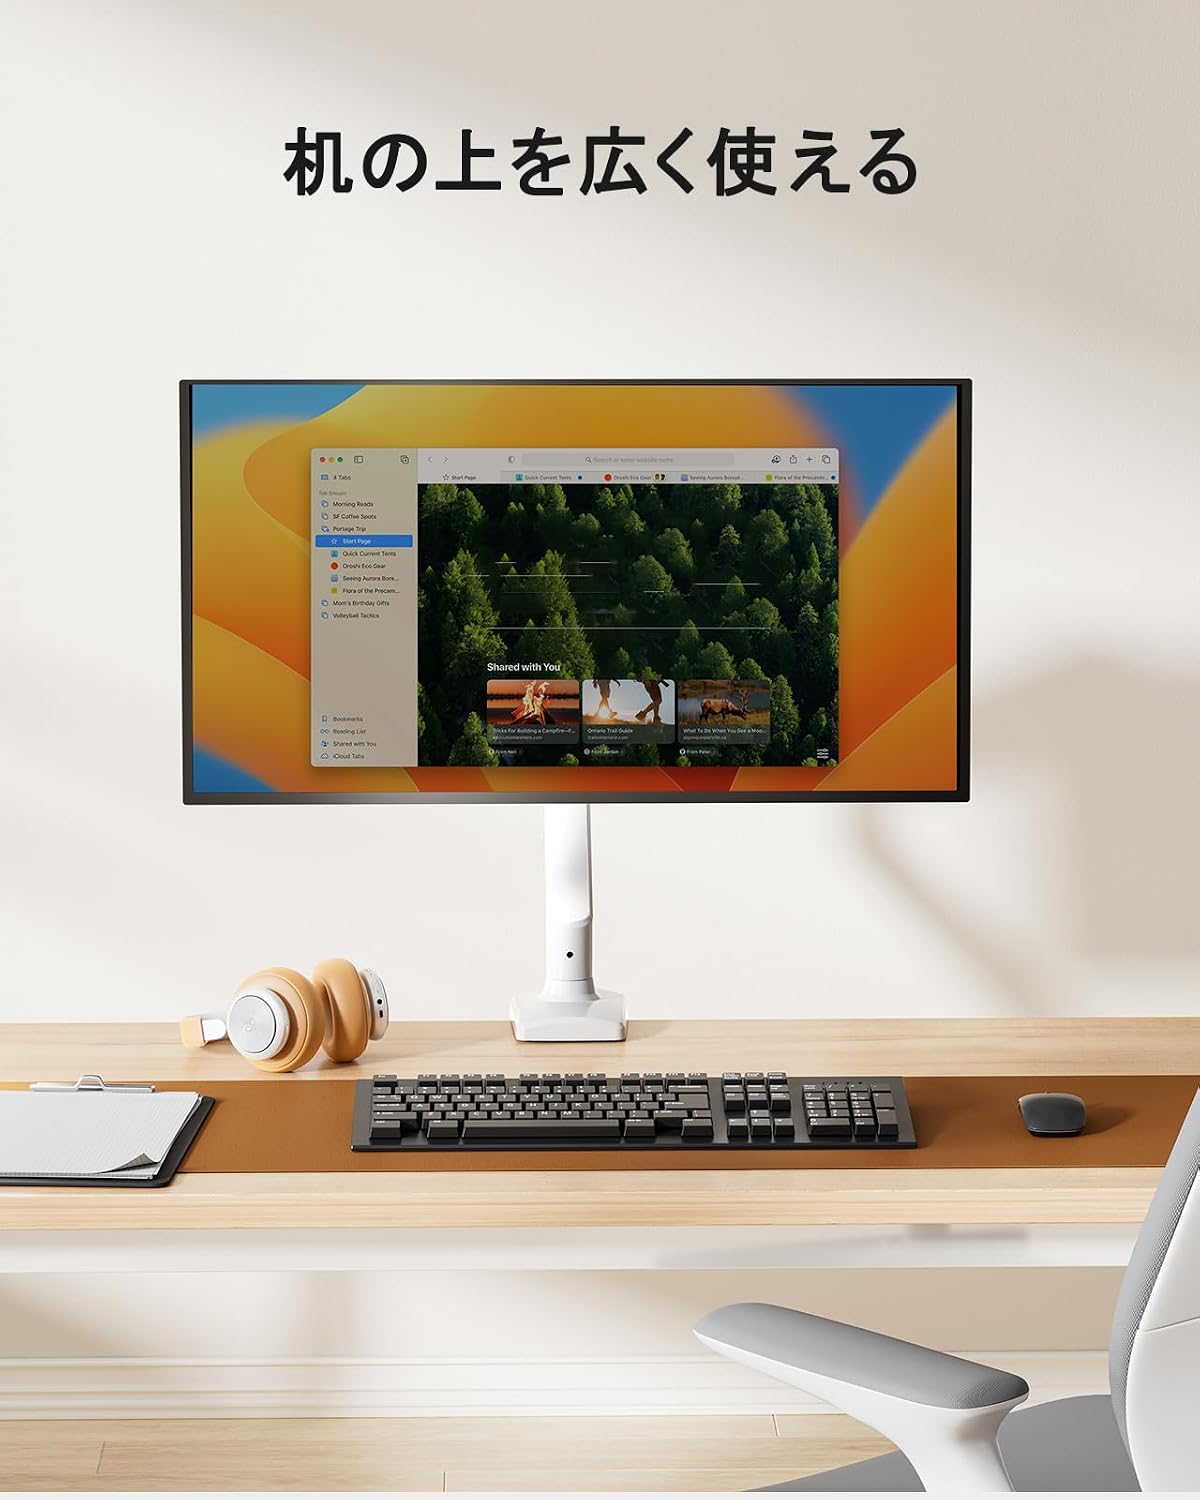
The ErGear monitor arm features a gas spring system for smooth and effortless adjustments, allowing you to optimize your viewing experience and desk space.
6.1 Regulacja położenia monitora
Once installed, you can adjust your monitor to various positions:
- Regulacja wysokości: Easily move the monitor up or down to achieve ergonomic eye-level viewing.
- Przechylenie: Adjust the screen angle up to 90° upwards and 40° downwards to reduce glare and improve viewkomfort.
- Obracać: Rotate the monitor left or right by 90° at the arm joints.
- Obrót: Rotate the monitor 360° from landscape to portrait orientation.


6.2 Regulacja napięcia sprężyny gazowej
The gas spring tension needs to be adjusted to match your monitor's weight for optimal movement and stability.
- Ensure the monitor arm is in a horizontal position.
- Znajdź śrubę regulacyjną sprężyny gazowej na ramieniu.
- Use the provided hex key to turn the screw:
- Turn towards '+' for heavier monitors (increase tension).
- Turn towards '-' for lighter monitors (decrease tension).
- Test the arm's movement. Adjust until the monitor stays in place when released and moves smoothly with minimal effort.
Important: Adjust the gas spring pressure only when the arm is horizontal. Gas pressure cannot be adjusted if the arm is not horizontal.

6.3 Zarządzanie kablami
Utilize the integrated cable management clips to route and organize your monitor cables, maintaining a tidy and efficient workspace.


7. Konserwacja
Regularna konserwacja gwarantuje długowieczność i optymalną wydajność ramienia monitora ErGear.
- Czyszczenie: Przetrzyj ramię miękką ściereczką.amp szmatką. Unikaj środków czyszczących o działaniu ściernym i rozpuszczalników, które mogą uszkodzić wykończenie.
- Sprawdź połączenia: Okresowo sprawdzaj wszystkie śruby i nakrętki, aby upewnić się, że są dobrze dokręcone. W razie potrzeby dokręć je ponownie.
- Sprężyna gazowa: If the arm's movement becomes stiff or loose, re-adjust the gas spring tension as described in Section 6.2.

8. Rozwiązywanie Problemów
Jeśli masz problemy z ramieniem monitora, zapoznaj się z poniższymi typowymi problemami i ich rozwiązaniami:
| Problem | Możliwa przyczyna | Rozwiązanie |
|---|---|---|
| Monitor arm sags or won't stay in position. | Napięcie sprężyny gazowej jest zbyt słabe w stosunku do ciężaru monitora. | Increase gas spring tension (turn '+' on adjustment screw). Ensure arm is horizontal during adjustment. |
| Ramię monitora jest zbyt sztywne, aby je poruszyć. | Napięcie sprężyny gazowej jest zbyt duże w stosunku do ciężaru monitora. | Decrease gas spring tension (turn '-' on adjustment screw). Ensure arm is horizontal during adjustment. |
| Monitor chwieje się lub wydaje się niestabilny. | Mounting screws are loose; monitor is too heavy. | Check and tighten all mounting screws. Verify monitor weight is within the 2-10kg range. |
| Cannot adjust gas spring. | Arm is not horizontal during adjustment. | Position the arm horizontally before attempting to adjust the gas spring tension. |
9. Gwarancja i wsparcie
The ErGear PC Monitor Arm (Model EGSSK4W) comes with a 5-letnia gwarancja producenta od daty zakupu. Niniejsza gwarancja obejmuje wady materiałowe i wykonawcze przy normalnym użytkowaniu.
For warranty claims, technical support, or any questions regarding your product, please contact ErGear customer service through the retailer where you purchased the product or visit the official ErGear webwitryna do informacji kontaktowych.
Please have your purchase receipt and product model number (EGSSK4W) available when contacting support.

