Produkt ponadview
The Lorex 2K Wired WiFi Smart Video Doorbell Camera provides comprehensive front-door security with advanced features. Enjoy crystal-clear 2K video resolution, enhanced night vision, intelligent motion detection, and convenient two-way communication. This manual will guide you through the installation, setup, and operation of your new smart doorbell.
Co jest w pudełku
Your Lorex 2K Wired WiFi Smart Video Doorbell Camera package includes the following items:
- Wideodomofon
- Standardowy wspornik montażowy
- 15° Horizontal Bracket
- 5° Vertical Bracket
- Kabel USB
- 2 kotwic
- 2 śrub
- 3 Wire Caps
- Zestaw gongu
- 2 przedłużacze przewodów
- Wiertło 15/64"
- Zwolnij kołek

Wideo: Unboxing the Lorex 2K Wired Video Doorbell. This video demonstrates the contents of the product packaging, including the doorbell unit, mounting hardware, and accessories.
Składniki produktu
Familiarize yourself with the different parts of your Lorex 2K Wired WiFi Smart Video Doorbell Camera.

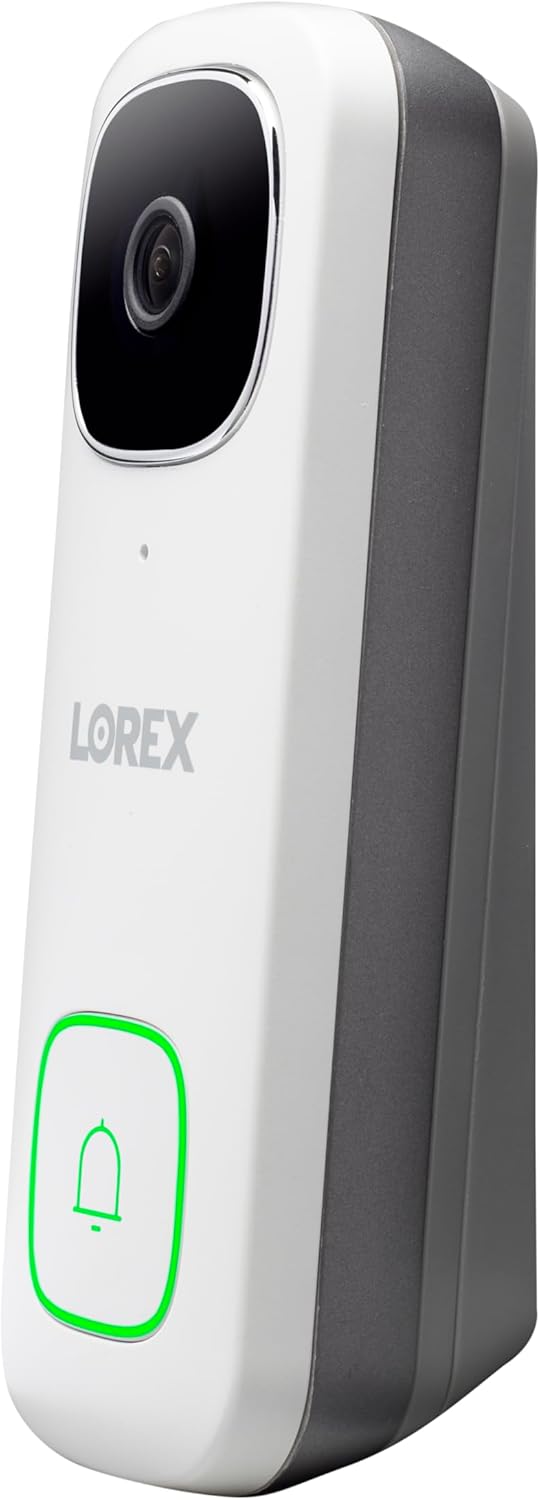
Obraz: Przód view of the Lorex 2K Wired WiFi Smart Video Doorbell Camera. This image highlights the camera lens at the top and the illuminated doorbell button at the bottom.
Panel przedni: Camera lens, microphone, status indicator, and call button.
Obraz: Strona view of the Lorex 2K Wired WiFi Smart Video Doorbell Camera, showing its slim profile and the mounting bracket attachment points.
Strona Profile: Slim design for easy installation next to your door frame.

Obraz: Z powrotem view of the Lorex 2K Wired WiFi Smart Video Doorbell Camera. This image displays the Micro USB port, MicroSD card slot, Reset button, and power ports for wiring.
Panel tylny: Micro USB Port, MicroSD Card Slot, Reset Button, and Power Ports for wiring.

Obraz: Spód view of the Lorex 2K Wired WiFi Smart Video Doorbell Camera. This image shows the warning/night light and the speaker grille.
Spód: Warning/Night Light and Speaker.
Konfiguracja i instalacja
Wymagania dotyczące zasilania
The Lorex 2K Wired WiFi Smart Video Doorbell Camera requires a 16-24V AC power supply. Ensure your existing doorbell wiring meets this requirement. If not, a compatible doorbell transformer (16-24V AC) may be needed, or consult a licensed electrician.
Instalacja zestawu gongowego
Before proceeding, turn off power to your existing doorbell and chime box at the circuit breaker. Test by pressing the doorbell button; there should be no chime sound. Determine if you have a mechanical (ding-dong sound) or electronic (melody sound) chime. The chime kit installation process is similar for both, but ensure wires do not interfere with moving parts in mechanical chimes.
- Zdejmij panel osłonowy istniejącej skrzynki dzwonka do drzwi.
- Loosen the screws labeled 'Front' and 'Trans' on your chime. Do not remove the screws.
- Detach any connected wiring from these screws.
- Connect the wiring from the chime kit to the 'Front' and 'Trans' connectors in the chime. Note: You may connect either wire to either connector.
- Mount the chime kit to the inside of your chime box along the cover plate using the included double-sided tape. Ensure the chime kit and wires are not touching the chimes or any of the moving components inside the chime box.
Montaż dzwonka
The doorbell comes with a standard mounting bracket and optional horizontal (15°) and vertical (5°) brackets to adjust the viewing angle. The up arrow on the bracket indicates correct orientation.
- Fit the existing doorbell wiring through the middle hole of the mounting bracket.
- Mark the screw holes according to the bracket.
- For concrete, stucco, or brick, use the supplied 15/64" drill bit to drill holes. Insert the supplied anchors and screws to secure the mounting bracket. For wood, drywall, or soft surfaces, use a Phillips head screwdriver and the supplied mounting screws directly.
- Loop the power wires underneath the power port screws of the doorbell and tighten the power port screws to secure the power wires. If existing wiring is too short, use the supplied wire extenders.
- Align the ends of your existing wiring and extra wires. Place the wire cap over the exposed wiring and twist clockwise to tighten.
- Insert the two tabs from the mounting bracket into the doorbell and push down. A click sound indicates the doorbell is locked in.

Obraz: A Lorex 2K Wired WiFi Smart Video Doorbell Camera installed on a brick wall next to a door. The doorbell is white with a black camera lens and a square button.

Obraz: A finger pressing the illuminated doorbell button of the Lorex 2K Wired WiFi Smart Video Doorbell Camera, which is installed on a wooden surface.

Obraz: A Lorex 2K Wired WiFi Smart Video Doorbell Camera installed on a white textured wall next to a door. The doorbell is white with a black camera lens and a square button.
Wideo: This official Lorex installation guide demonstrates the step-by-step process of installing the Lorex 2K QHD Wired Video Doorbell, including wiring and mounting.
Konfiguracja aplikacji
- Pobierz i zainstaluj bezpłatną aplikację Lorex Home z App Store lub Google Play Store.
- Tap the Lorex Home app to launch the app. Tap 'Sign up' and follow the on-screen prompts to create an account. Record your account details in a secure location.
- Tap the '+' sign and scan the QR code located on the back of your device. You may also manually enter your Device ID.
- The app will connect your mobile device to the doorbell's hotspot.
- Create a secure password for the doorbell.
- Select your Wi-Fi network from the list, then enter the Wi-Fi password to connect your doorbell to the internet.
- Tap 'Next' to add the doorbell to your Lorex Home account.
- Set a name for the doorbell, then tap 'Complete'.
Instrukcja obsługi
Na żywo View i Rozmowa dwukierunkowa
Wejdź na żywo view of your doorbell camera through the Lorex Home app. You can take snapshots, record video, and listen in on audio. The two-way talk feature allows you to speak directly to visitors at your door.
- Rozmowa dwukierunkowa: Allows you to hear and speak directly through the doorbell to anyone at your front door.
- Szybka odpowiedź: If you're busy, have Quick Response answer for you with pre-recorded messages.

Obraz: A person speaking through the Lorex 2K Doorbell app on a smartphone, with a delivery person visible at the door. Speech bubbles indicate a two-way conversation.

Obraz: A smartphone displaying the Lorex 2K Doorbell app interface, showing a live video feed of a person at the door. Icons for 2K resolution, 4:3 aspect ratio, and HDR are visible, highlighting video quality features.
Detekcja ruchu i widzenie nocne
The doorbell features advanced motion detection and superior night vision capabilities.
- Built-in Person Detection: Receive instant notifications from the Lorex Home app when motion from a person is detected.
- Kolorowe widzenie nocne: See clearly day and night with night vision, nightlight, and low light capabilities. The LED light can be programmed to turn on at a selected time or activated by motion.
- 2K Video Resolution (HDR): Optimal video image quality with a 4:3 aspect ratio and a 164-degree viewkąt.

Obraz: Two dogs playing in a grassy yard, with one dog zoomed in to demonstrate the 2K Quad HD video and digital zoom capabilities of the Lorex doorbell.

Obraz: A split image showing a backyard scene at night. The left side displays 'Infrared Night Vision' in black and white, while the right side shows 'Color Night Vision' with vibrant colors, highlighting the doorbell's enhanced night vision.

Obraz: A hand holding a smartphone displaying a notification from the Lorex Home app: 'Someone was detected by Front Door Doorbell'. This illustrates the smart AI motion detection feature.
Local Storage and Smart Home Integration
The Lorex 2K Doorbell offers secure local storage and integrates with popular smart home platforms.
- Brak opłat miesięcznych: Keep video secure with free local storage via a MicroSD card (32GB included).
- Zgodność z inteligentnym domem: Kompatybilny z Amazon Alexa i Google Assistant, co umożliwia sterowanie głosowe i integrację z ekosystemem inteligentnego domu.

Obraz: A MicroSD card and an open hard drive resting on a wooden surface, illustrating the concept of free local storage for video recordings without monthly fees.
Konserwacja
To ensure optimal performance and longevity of your Lorex 2K Wired WiFi Smart Video Doorbell Camera, regular maintenance is recommended.
- Czyszczenie: Delikatnie przetrzyj obiektyw kamery i powierzchnię dzwonka miękką szmatką.amp Do usuwania kurzu i brudu należy używać ściereczki. Unikać środków czyszczących o działaniu ściernym.
- Odporność na warunki atmosferyczne: The doorbell is IP65 weatherproof, designed to withstand rain or shine. However, avoid directly facing it towards direct sunlight, glass windows, or areas with excessive rain/snow hitting the lens for optimal image performance.
- Aktualizacje oprogramowania układowego: Regularly check the Lorex Home app for firmware updates to ensure your device has the latest features and security enhancements.
Rozwiązywanie problemów
If you encounter issues with your Lorex 2K Wired WiFi Smart Video Doorbell Camera, refer to the following common troubleshooting tips:
- Brak zasilania/Przerywane zasilanie: Ensure your doorbell wiring provides 16-24V AC. Some older doorbell systems with 16V 30W transformers may not provide sufficient power, leading to reboots. A 24V 30W or 24V 50VA transformer might be necessary.
- Delayed Notifications/App Issues: Check your Wi-Fi signal strength. A strong, stable Wi-Fi connection (2.4GHz/5GHz dual-band) is crucial. Ensure the Lorex Home app is updated to the latest version.
- Słaba jakość wideo: Verify the power supply is adequate. Ensure the camera lens is clean and free from obstructions. Avoid direct sunlight or overly bright/dim areas.
- Dzwonek nie dzwoni: Ensure the chime kit is correctly installed and wires are not touching moving parts. If you have an electronic chime, ensure it is compatible with 24V if you upgraded your transformer.
- Demontaż dzwonka: To remove the doorbell from its mounting bracket, insert the supplied release pin into the hole at the bottom of the mounting bracket until the inner latch is reached. Then slide the doorbell up and remove it.
Specyfikacje
| Funkcja | Szczegół |
|---|---|
| Numer modelu | 2K Wired Doorbells |
| Rozdzielczość wideo | 2K (2560x1920p) HDR |
| Viewing kąt | 164 Degrees (4:3 aspect ratio) |
| Wizja nocna | Color Night Vision, Nightlight |
| Wykrywanie ruchu | Built-in Person Detection |
| Audio | 2-Way Talk, Quick Response |
| Składowanie | Karta MicroSD (do 32 GB w zestawie) |
| Łączność | Wired, Wi-Fi (2.4GHz/5GHz) |
| Źródło zasilania | Przewodowy prąd elektryczny (16-24 V AC) |
| Odporność na warunki atmosferyczne | IP65 atmosferyczne |
| Integracja inteligentnego domu | Amazon Alexa, Asystent Google |
Gwarancja i wsparcie
The Lorex 2K Wired WiFi Smart Video Doorbell Camera typically comes with a 1-year limited warranty. For detailed warranty information, product support, or to contact customer service, please visit the official Lorex webodwiedź witrynę lub zapoznaj się z kartą gwarancyjną dołączoną do opakowania produktu.
For additional resources, including FAQs and video tutorials, please visit the Lorex support page.