
1. Wprowadzenie
Dziękujemy za zakupasing the HBX 1/18 4WD RTR RC Off-Road Buggy. This manual provides essential information for the safe operation, setup, maintenance, and troubleshooting of your RC vehicle. Please read this manual thoroughly before operating the product to ensure optimal performance and longevity.
2. Środki ostrożności
- Zawsze używaj samochodu zdalnie sterowanego na otwartej przestrzeni, z dala od ludzi, zwierząt i przeszkód.
- Avoid operating near water bodies unless specifically designed for waterproof use, and ensure proper drying after use in wet conditions.
- Trzymaj palce, włosy i luźne elementy odzieży z dala od ruchomych części.
- Nie dotykaj silnika bezpośrednio po użyciu, gdyż może być gorący.
- Ensure batteries are charged correctly and never leave charging batteries unattended.
- Przechowuj samochód RC i jego części w chłodnym i suchym miejscu, gdy nie są używane.
3. Zawartość opakowania
Sprawdź, czy w przesyłce znajdują się wszystkie elementy:
- Samochód zdalnie sterowany x 1
- 2.4G Remote Control x 1
- 7.4V / 850mAh Lithium Polymer Battery x 2
- Ładowarka USB x 1
- R Clips x 4
- Instrukcja obsługi x 1
- Wkrętak x 1
- DIY Sticker Set x 1

Image: All components included in the HBX 1/18 4WD RTR RC Off-Road Buggy package.
4. Konfiguracja
4.1 Ładowanie akumulatora
- Connect the provided USB charger to a suitable USB power source.
- Connect the 7.4V / 850mAh Lithium Polymer battery to the USB charger.
- Allow the battery to charge fully. The indicator light on the charger will change (e.g., from red to green) when charging is complete.
- Each battery provides approximately 20 minutes of operation, for a total of 40 minutes with both included batteries.

Image: High discharge batteries and USB charger.
4.2 Montaż akumulatora (pojazd)
- Ensure the RC car is powered off.
- Znajdź komorę baterii na podwoziu.
- Insert a fully charged 7.4V / 850mAh Lithium Polymer battery into the compartment.
- Zabezpiecz pokrywę baterii.
4.3 Instalacja baterii w pilocie zdalnego sterowania
- Otwórz komorę baterii w pilocie.
- Insert the required batteries (not specified in JSON, typically AA) according to polarity markings.
- Zamknij komorę baterii.
4.4 Parowanie pilota
- Włącz samochód RC.
- Włącz pilota.
- The remote control and car should automatically pair. An indicator light on both devices will confirm successful pairing.
5. Instrukcja obsługi
5.1 Podstawowe sterowanie
- Spust przepustnicy: Pociągnij, aby jechać do przodu, naciśnij, aby zahamować/jechać do tyłu.
- Kierownica: Skręć w lewo, aby sterować w lewo, skręć w prawo, aby sterować w prawo.
5.2 tryby prędkości
The RC car features two speed modes: low speed and high speed. This allows for a wide range of users, from children to advanced hobbyists. Refer to your remote control for the speed mode switch.
5.3 Wydajność w terenie
This RC buggy is designed for various terrains, including sand, grass, 45° slopes, rocks, and marble surfaces. Its independent suspension system and large TPR rubber tires provide excellent shock resistance and grip.
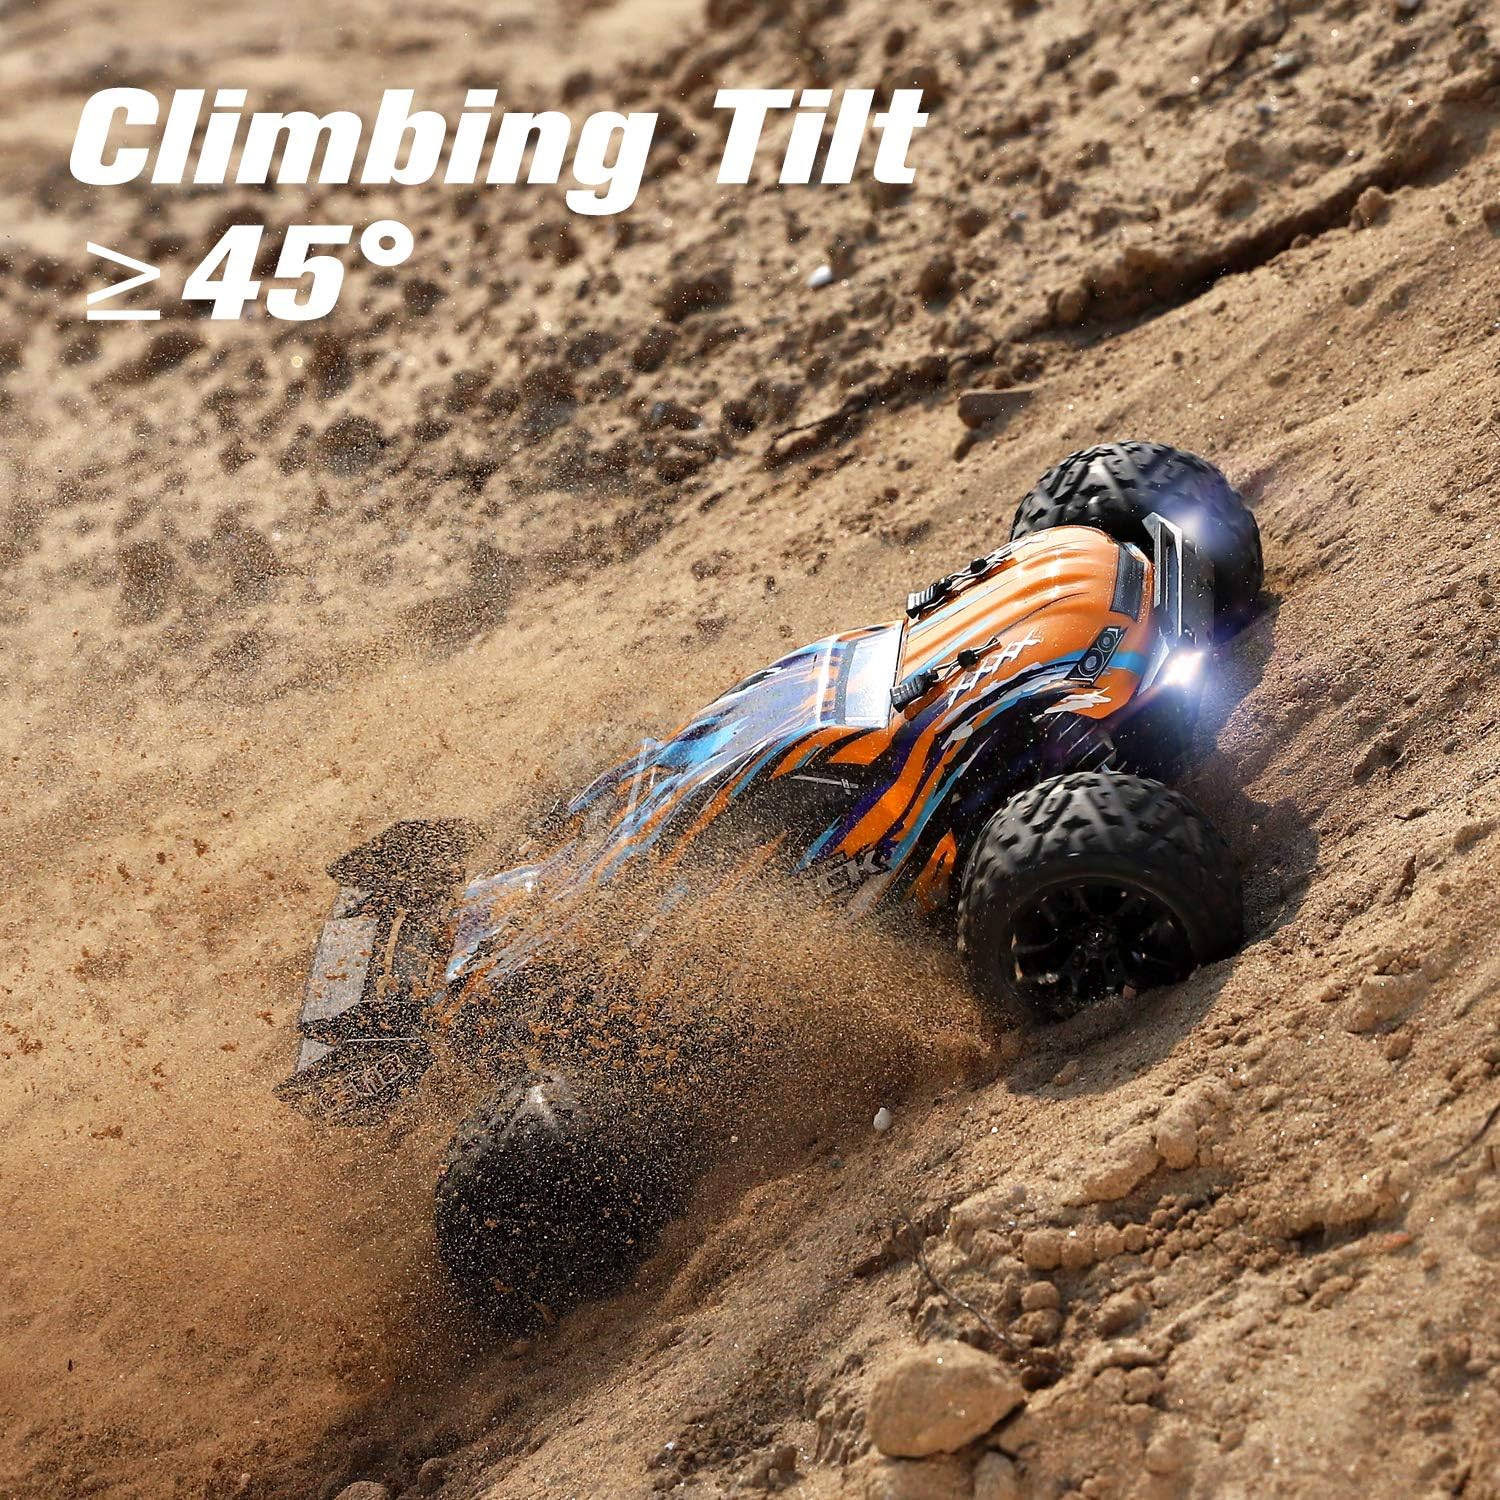
Image: The RC car demonstrating its climbing capability on a sandy incline.

Image: The RC car reaching its maximum speed of 40 km/h on sand.

Image: The RC car's versatility across various terrains, including wet conditions.
6. Konserwacja
6.1 Czyszczenie
Although the RC car features a waterproof system (IPX4), it is recommended to clean and dry the car thoroughly after use, especially after running in wet or muddy conditions, to ensure long-term performance.
6.2 Sprawdzanie komponentów
- Regularnie sprawdzaj stan opon pod kątem zużycia.
- Check the shock absorbers and suspension system for any damage or loose connections.
- Sprawdź, czy wszystkie śruby i elementy mocujące są dobrze dokręcone.
- Keep the motor and electronic speed controller (ESC) free from dirt and debris.
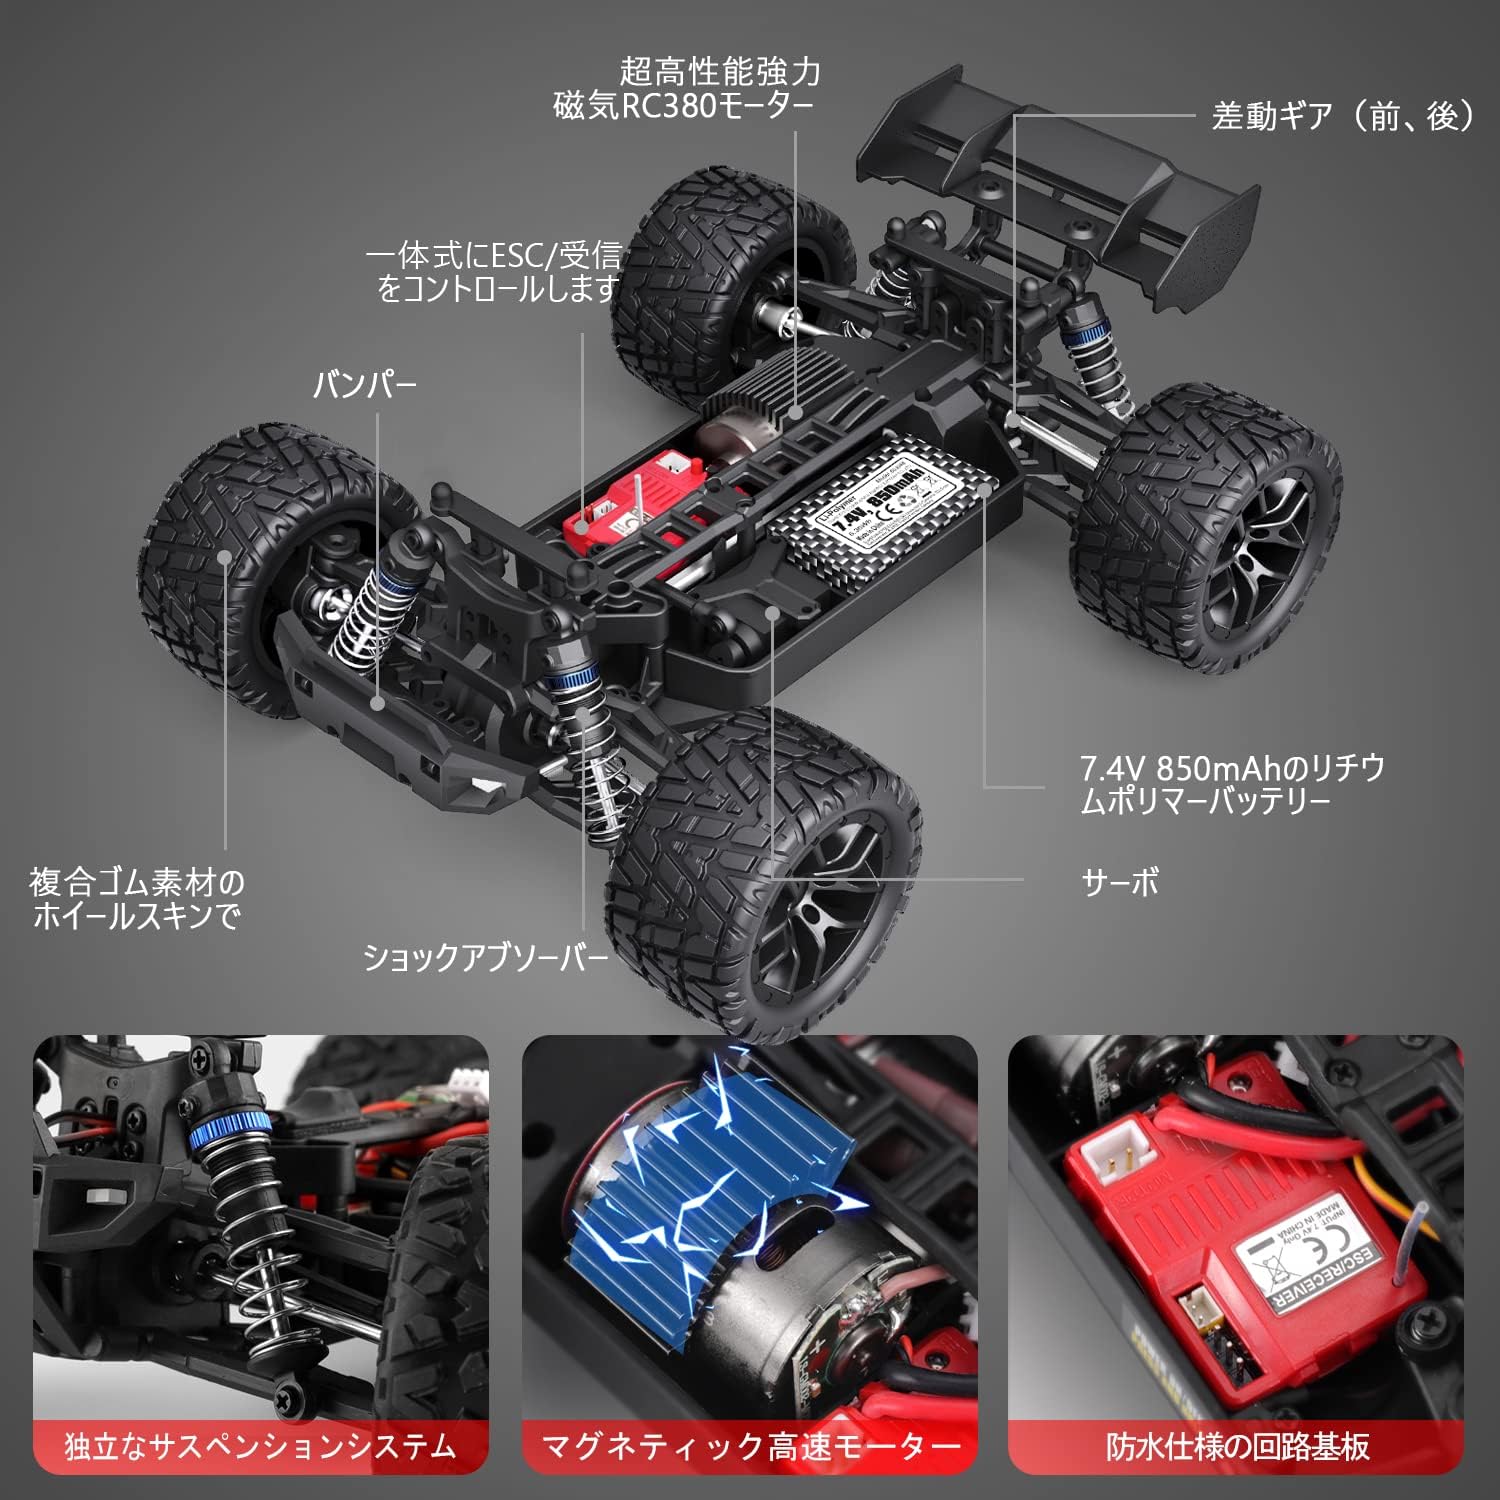
Image: Internal structure and key components of the RC car.
7. Rozwiązywanie Problemów
Jeśli napotkasz jakiekolwiek problemy, zapoznaj się z poniższymi typowymi problemami i ich rozwiązaniami:
| Problem | Możliwa przyczyna | Rozwiązanie |
|---|---|---|
| Samochód nie reaguje na pilota. | Niski poziom baterii w samochodzie lub pilocie; nie sparowano; wyłączono zasilanie. | Charge batteries; re-pair remote; ensure power switches are on. |
| Zmniejszona prędkość lub moc. | Niski poziom naładowania akumulatora, przegrzanie silnika, zanieczyszczenia w układzie napędowym. | Charge battery; allow motor to cool; clean drivetrain. |
| Steering issues. | Damaged servo; loose steering components. | Inspect and replace servo if necessary; tighten steering linkages. |
| Car stops unexpectedly. | Zabezpieczenie przed przegrzaniem włączone, bateria słaba. | Allow car to cool down; charge battery. |
8. Specyfikacje
| Funkcja | Szczegół |
|---|---|
| Marka | HAIBOXING |
| Model | 18858GM |
| Skala | 1:18 |
| Układ napędowy | 4WD |
| Silnik | RC380 Brushed Motor |
| Maksymalna prędkość | 40 kilometrów na godzinę |
| Częstotliwość zdalnego sterowania | 2.4 GHz |
| Zakres sterowania | 60-80 metrów |
| Bateria | 7.4V / 850mAh Lithium Polymer (x2 included) |
| Czas działania | Około 20 minut na jedną baterię |
| Stopień wodoodporności | IPX4 (Water-resistant electronics) |
| Typ materiału | TPR, Rubber |
| UPC | 751433167616 |
9. Gwarancja i wsparcie
This product comes with a warranty card. If you have any questions or encounter problems, please contact customer service. You can typically reach support by navigating to your order history and selecting 'Contact Seller' for your RC car purchase. Please ensure you read the instruction manual carefully before use to enjoy the full operating experience.