VITO VIML130WR2
Myjka wysokociśnieniowa VITO WR2 130 barów – instrukcja obsługi
Comprehensive guide for the safe and effective operation, maintenance, and troubleshooting of your VITO High Pressure Washer WR2 130 Bar.
Wstęp
Thank you for choosing the VITO High Pressure Washer WR2 130 Bar. This manual provides essential information for the proper assembly, safe operation, maintenance, and troubleshooting of your new pressure washer. Please read this manual thoroughly before first use and keep it for future reference. Adhering to these instructions will ensure optimal performance and extend the lifespan of your device.
Ważne informacje dotyczące bezpieczeństwa
Always observe basic safety precautions when using electrical appliances to reduce the risk of fire, electric shock, and personal injury. This includes, but is not limited to:
- Przeczytaj wszystkie instrukcje: Zapoznaj się z obsługą myjki ciśnieniowej i jej prawidłowym użytkowaniem.
- Instrukcje uziemienia: Ensure the pressure washer is properly grounded. Do not modify the plug.
- Avoid Spraying People or Pets: The high-pressure stream can cause serious injury.
- Utrzymuj obszar w czystości: Ensure the work area is free of obstacles and bystanders.
- Używaj właściwych przedłużaczy: If an extension cord is necessary, ensure it is rated for outdoor use and has a sufficient gauge.
- Noś sprzęt ochronny: Zawsze należy nosić odpowiednią ochronę oczu, słuchu i odzież ochronną.
- Odłącz zasilanie: Przed przystąpieniem do czynności konserwacyjnych lub czyszczenia należy zawsze odłączyć zasilanie.
- Sprawdź, czy nie ma uszkodzeń: Inspect the pressure washer, hose, and power cord for any damage before each use. Do not operate if damaged.
- Temperatura wody: Do not use hot water with the pressure washer unless specifically designed for it.
Zawartość opakowania
Your VITO High Pressure Washer WR2 130 Bar package should include the following components:
- High Pressure Washer Unit
- Wąż wysokociśnieniowy (5 metrów)
- Pistolet natryskowy
- Regulowana dysza
- Zbiornik na detergent
- Złącze wlotu wody
- Instrukcja obsługi

Obraz: Przód view of the VITO High Pressure Washer WR2 130 Bar, showing the main unit, handle, and wheels.
Produkt ponadview
The VITO High Pressure Washer WR2 130 Bar is designed for efficient cleaning tasks around your home and garden. Its compact design and integrated features make it easy to use and store.
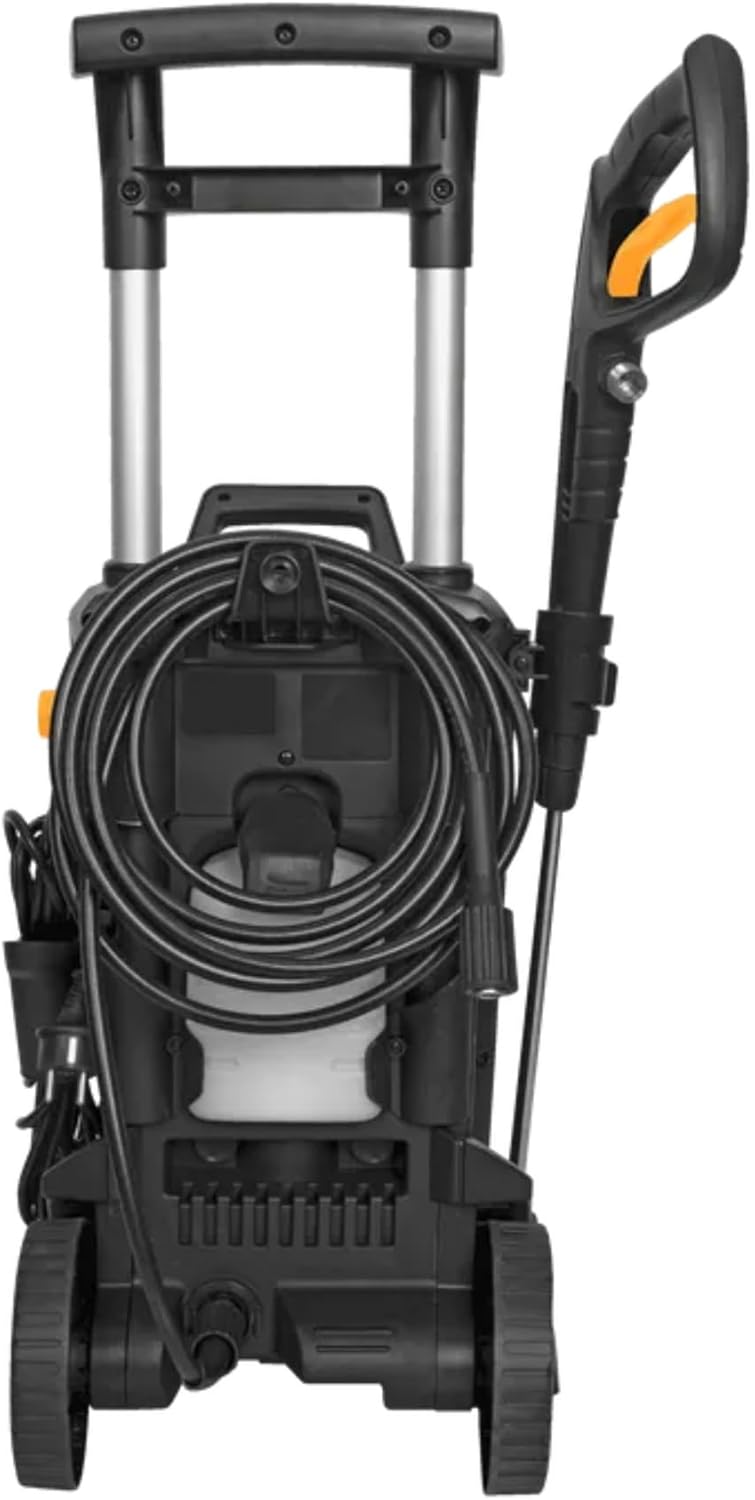
Obraz: Tył view of the pressure washer, highlighting the integrated hose storage and power cord management.

Image: Close-up of the integrated detergent tank, designed for easy filling and use with cleaning solutions.
Konfiguracja i montaż
1. Montaż
- Dołącz koła: Securely attach the wheels to the base of the unit if not pre-assembled.
- Zainstaluj uchwyt: Slide the handle into its designated slots until it clicks into place.
- Podłącz wąż wysokociśnieniowy: Screw the high-pressure hose firmly to the outlet on the pressure washer unit and to the spray gun. Ensure connections are tight to prevent leaks.
- Zamocuj dyszę: Insert the desired nozzle into the end of the spray gun lance.
2. Connecting to Water and Power
- Zaopatrzenie w wodę: Connect a standard garden hose (minimum 1/2 inch diameter) to the water inlet connector on the pressure washer. Ensure the water supply is clean and free of debris.
- Zasilanie: Podłącz przewód zasilający do uziemionego gniazdka elektrycznego. Upewnij się, że napięcie gniazdka jest zgodne z napięciem.tage requirements of the pressure washer.
- Oczyść powietrze: Before turning on the power, turn on the water supply fully and squeeze the spray gun trigger to allow water to flow through the system and purge any air. Continue until a steady stream of water emerges from the nozzle.
Instrukcja obsługi
1. Ogólne zasady działania
- Ensure water supply is on and air is purged from the system.
- Turn on the pressure washer by flipping the ON/OFF switch. The motor will start.
- Point the spray gun at the surface to be cleaned, keeping a safe distance.
- Squeeze the trigger to begin spraying. Release the trigger to stop the flow.
- Adjust the nozzle for different spray patterns as needed (e.g., narrow for stubborn dirt, wide for general cleaning).
2. Using Detergent
- Fill the integrated detergent tank with a pressure washer safe cleaning solution.
- Ensure the pressure washer is set to the low-pressure/detergent application mode (if applicable, usually by using a specific nozzle or setting).
- Apply detergent to the surface. Allow it to soak for a few minutes (refer to detergent instructions), but do not let it dry.
- Switch back to high-pressure mode and rinse the surface thoroughly.

Image: A person using the VITO High Pressure Washer to clean a car, demonstrating effective cleaning of vehicles.
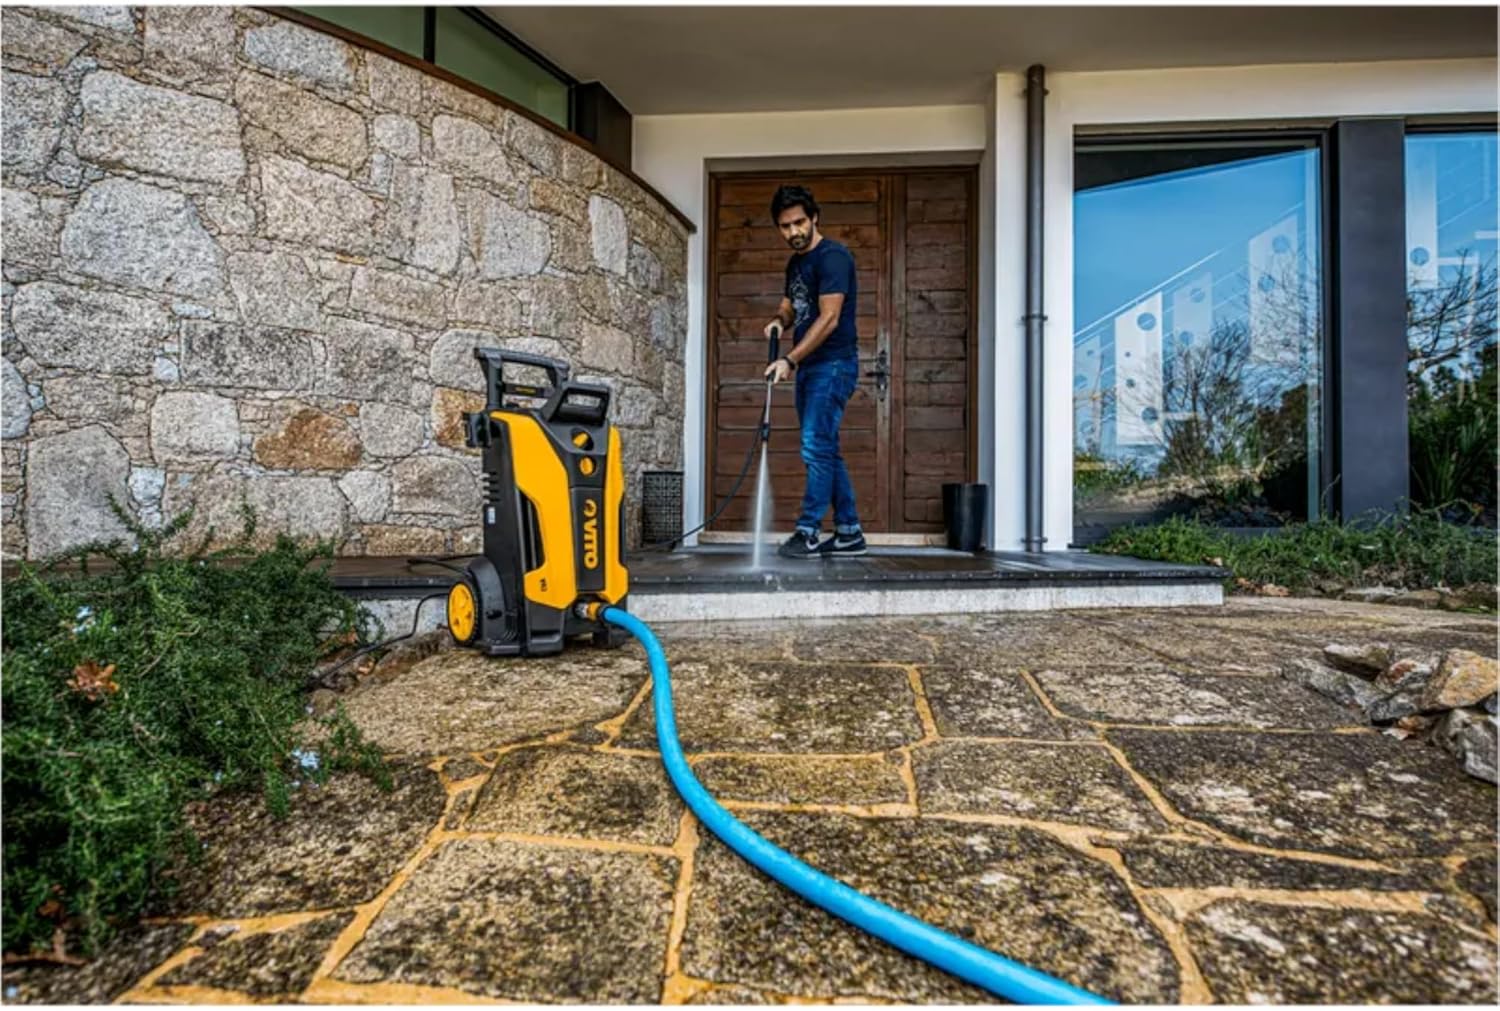
Image: A person cleaning a stone patio with the VITO High Pressure Washer, illustrating its use for hard outdoor surfaces.
Konserwacja
Regularna konserwacja zapewnia długowieczność i wydajną pracę myjki ciśnieniowej.
1. Czyszczenie dyszy
If the nozzle becomes clogged, it can cause the pump pressure to fluctuate. Use the provided nozzle cleaning tool (or a thin wire) to clear any obstructions from the nozzle opening.
2. Konserwacja filtra wody
The water inlet filter should be checked and cleaned regularly to prevent debris from entering the pump. Remove the filter, rinse it under running water, and reinsert it.
3. Przechowywanie
- Woda ściekowa: Before storing, ensure all water is drained from the pump, hose, and spray gun to prevent freezing damage. Run the unit for a few seconds with the water supply off and trigger depressed until no more water comes out.
- Przechowywać w suchym miejscu: Przechowuj myjkę ciśnieniową w suchym i chronionym przed mrozem pomieszczeniu.
- Coil Hoses and Cords: Neatly coil the high-pressure hose and power cord for organized storage.
Rozwiązywanie problemów
Aby zapoznać się z najczęstszymi problemami i ich rozwiązaniami, zapoznaj się z poniższą tabelą.
| Problem | Możliwa przyczyna | Rozwiązanie |
|---|---|---|
| Silnik nie uruchamia się | Brak zasilania, zadziałał wyłącznik automatyczny, uszkodzony przełącznik. | Sprawdź podłączenie zasilania, zresetuj wyłącznik automatyczny, skontaktuj się z serwisem. |
| Niskie ciśnienie | Insufficient water supply; clogged nozzle; air in pump; leaky hose. | Ensure full water flow; clean nozzle; purge air; check connections. |
| Silnik pracuje w sposób ciągły | Powietrze w pompie; nieszczelność wewnętrzna; problem z zaworem rozładowczym. | Purge air; check for leaks; contact service. |
| Wycieki wody | Luźne połączenia; uszkodzone pierścienie uszczelniające; pęknięta obudowa. | Tighten connections; replace O-rings; contact service for housing damage. |
Dane techniczne
| Funkcja | Specyfikacja |
|---|---|
| Marka | VITO |
| Numer modelu | VIML130WR2 |
| Maksymalne ciśnienie | 130 Pasek |
| Długość węża | 5 metrów |
| Pojemność zbiornika detergentu | 1 litrów |
| Waga przedmiotu | 17.8 kilograma |
| Kolor | Czarny/Żółty |
| Źródło zasilania | Electric (hand_powered refers to manual operation of the trigger, not the power source) |
Gwarancja i wsparcie
Your VITO High Pressure Washer WR2 130 Bar is covered by a manufacturer's warranty. Please refer to the warranty card included with your purchase for specific terms and conditions, including the warranty period and coverage details. For technical support, spare parts, or warranty claims, please contact VITO customer service through their official webwitrynę lub sprzedawcę, u którego kupiłeś produkt.
Uwaga dotycząca filmów: No official seller videos were found in the provided product information to embed in this manual.
Ask a question about this manual
Ask about setup, troubleshooting, compatibility, parts, safety, or missing instructions. Manuals+ will review the question and use this page’s manual context to help answer it.