1. Wprowadzenie
This manual provides essential instructions for the safe and effective operation of your AGFA Photo Realishot DC5200 compact digital camera. Please read this manual thoroughly before using the camera and retain it for future reference.

Rycina 1: Przód view of the AGFA Photo Realishot DC5200 compact camera.

Figure 2: AGFA Photo Realishot DC5200 highlighting 21MP photo resolution and HD video capability.
2. Zawartość opakowania
Sprawdź, czy w zestawie z aparatem znajdują się wszystkie elementy wymienione poniżej:
- Aparat AGFA Photo Realishot DC5200
- Kabel USB
- Instrukcja obsługi (ten dokument)
- Akumulator litowy do ponownego ładowania
3. Elementy aparatu
3.1 Przód View
The front of the camera features the lens, flash, and self-timer lamp.
3.2 Tył View (Ekran LCD)
The rear of the camera is dominated by the 2.4-inch TFT LCD screen, used for framing shots, reviewprzeglądanie obrazów i poruszanie się po menu.

Rysunek 3: Tył view of the camera displaying the 2.4-inch LCD screen.
3.3 Góra i bok Views
The top and sides house the power button, shutter button, zoom controls, and ports for connectivity.
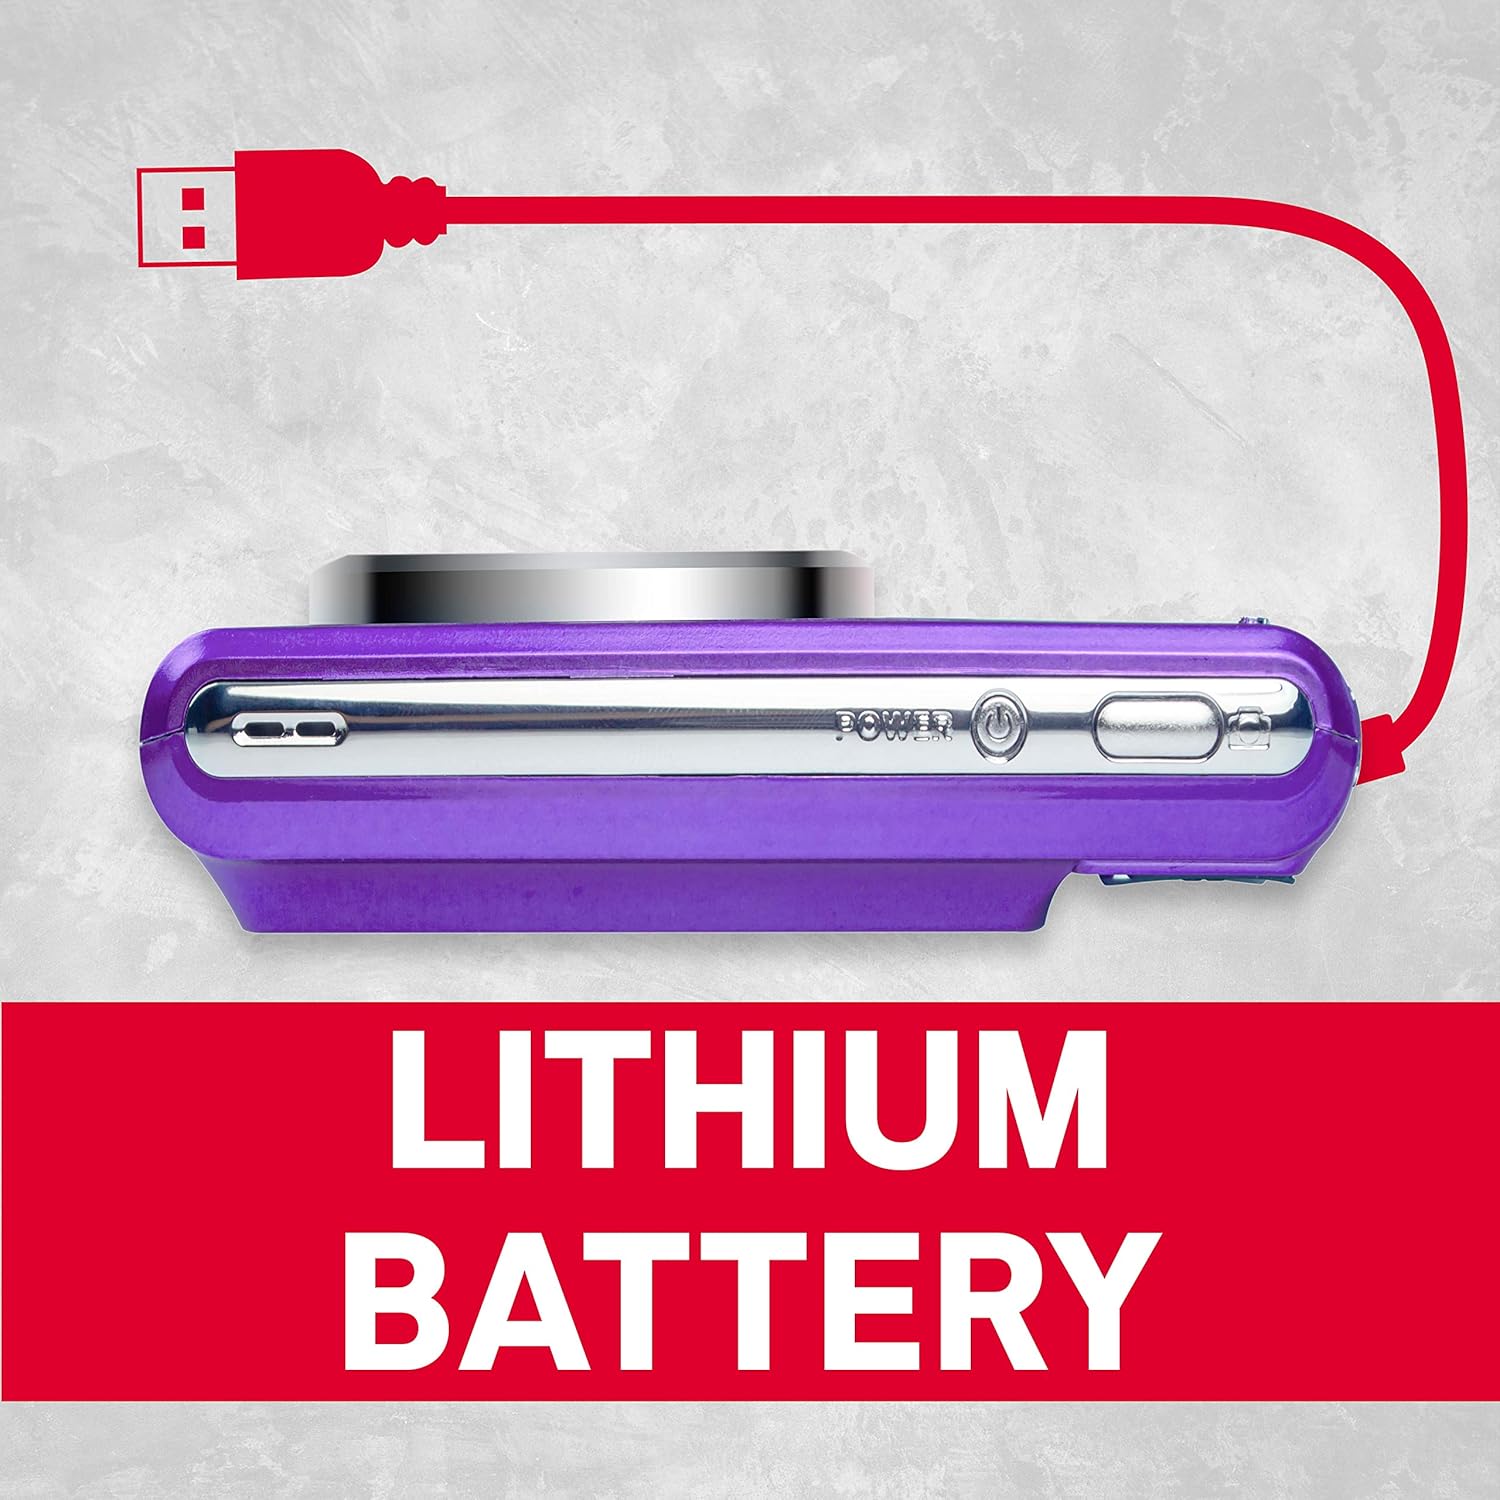
Rysunek 4: Strona view of the camera showing the USB port for charging and data transfer.
4. Konfiguracja początkowa
4.1 Ładowanie akumulatora
- Insert the provided lithium battery into the battery compartment, ensuring correct polarity.
- Connect the camera to a power source using the supplied USB cable. The charging indicator will illuminate.
- Ładowanie jest zakończone, gdy kontrolka zgaśnie.
4.2 Wkładanie karty SD
The camera supports SD cards up to 32 GB (not included). A memory card is required to save photos and videos.
- Otwórz pokrywę gniazda karty SD.
- Włóż kartę SD, kierując metalowe styki we właściwym kierunku, aż do zatrzaśnięcia.
- Close the SD card slot cover securely.
5. Podstawowa obsługa
5.1 Włączanie/wyłączanie zasilania
Naciśnij i przytrzymaj Moc przycisk, aby włączyć lub wyłączyć aparat.
5.2 Robienie zdjęć
- Włącz kamerę.
- Skadruj ujęcie korzystając z ekranu LCD.
- Naciśnij Migawka Naciśnij przycisk do połowy, aby ustawić ostrość, a następnie naciśnij go do końca, aby uchwycić obraz.
5.3 Nagrywanie filmów
- Switch to video mode (if applicable, refer to on-screen menu).
- Naciśnij Migawka przycisk, aby rozpocząć nagrywanie.
- Naciśnij Migawka ponownie, aby zatrzymać nagrywanie.
5.4 Korzystanie z zoomu cyfrowego
The camera features 8x digital zoom. Use the zoom controls (typically labeled W for Wide and T for Telephoto) to adjust the focal length.

Rysunek 5: Example of 8x digital zoom capability.
5.5 tryby scen
The camera offers various scene modes to optimize settings for different shooting conditions. Common modes include:
- Tryb automatyczny: General purpose shooting.
- Tryb nocny: For low-light environments.
- Tryb plażowy: For bright, reflective scenes.
Access scene modes through the camera's menu system.

Figure 6: Visual representation of different scene modes available on the camera.
6. Zaawansowane funkcje
6.1 Wykrywanie twarzy
The camera can automatically detect faces in the frame and optimize focus and exposure for portraits.

Figure 7: Camera demonstrating face detection technology.
6.2 Digital Image Stabilization
This feature helps reduce blur caused by camera shake, resulting in clearer images, especially in challenging conditions.
6.3 Samowyzwalacz
Set a delay of 2, 5, or 10 seconds before the shutter fires, useful for self-portraits or group photos.
6.4 Red-Eye Reduction Flash
When using the flash, this feature emits a pre-flash to minimize the red-eye effect in portraits.
7. ViewZdjęcia i filmy
Aby ponownieview zrobione zdjęcia i filmy:
- Naciśnij Odtwarzanie nagranego dźwięku przycisk (często oznaczony ikoną odtwarzania).
- Use the directional buttons to navigate through your files.
- Naciśnij OK or Wchodzić przycisk do view zdjęcie lub odtwórz film.
8. Przenoszenie Files do komputera
You can transfer photos and videos to a computer using the supplied USB cable.
- Sprawdź, czy kamera jest wyłączona.
- Podłącz aparat do komputera za pomocą kabla USB.
- Power on the camera. It should appear as a removable disk or device on your computer.
- Skopiuj żądany filez karty pamięci aparatu do komputera.
- Przed odłączeniem kabla USB należy bezpiecznie odłączyć kamerę od komputera.
9. Pielęgnacja i konserwacja
- Keep the camera clean. Use a soft, dry cloth to wipe the camera body.
- For the lens and LCD screen, use a specialized lens cleaning cloth. Avoid harsh chemicals.
- Przechowuj kamerę w chłodnym, suchym miejscu, z dala od bezpośredniego światła słonecznego i ekstremalnych temperatur.
- Wyjmij baterię, jeśli aparat nie będzie używany przez dłuższy czas.
10. Rozwiązywanie Problemów
| Problem | Możliwa przyczyna | Rozwiązanie |
|---|---|---|
| Kamera się nie włącza. | Bateria jest rozładowana lub nieprawidłowo włożona. | Naładuj akumulator do pełna. Upewnij się, że akumulator jest włożony z zachowaniem prawidłowej polaryzacji. |
| Nie można robić zdjęć. | Karta SD jest pełna, zablokowana lub nie została włożona. | Insert an SD card, unlock it, or delete unnecessary files. |
| Obrazy są niewyraźne. | Drżenie aparatu, ruch obiektu lub nieprawidłowa ostrość. | Hold the camera steady. Ensure adequate lighting. Use digital image stabilization. |
| Lampa błyskowa się nie uruchamia. | Lampa błyskowa jest wyłączona lub bateria jest słaba. | Enable flash in settings. Recharge battery. |
11. Specyfikacje techniczne
- Rozdzielczość zdjęcia: 21 megapiksela
- Rozdzielczość wideo: 720p HD (1280x720)
- Ekran LCD: 2.4-calowy wyświetlacz TFT LCD
- Zoom cyfrowy: 8x
- Stabilizacja obrazu: Cyfrowy
- Cechy szczególne: Face Detection, Self-Timer (2s/5s/10s), Red-Eye Reduction Flash
- Bateria: Akumulator litowy do ponownego ładowania
- Składowanie: Supports SD Card up to 32 GB (not included)
- Utrzymany File Formaty: JPEG (zdjęcia), AVI (filmy)
- Wymiary produktu: 3.74 x 2.28 x 1.06 cala
- Waga przedmiotu: 3.14 uncji

Rysunek 8: Koniecview of key camera features and specifications.
12. Gwarancja i wsparcie
For warranty information and customer support, please refer to the documentation provided with your purchase or visit the official AgfaPhoto webZachowaj dowód zakupu na wypadek roszczeń gwarancyjnych.