1. Koniec produktuview
This document provides essential information for the sparefixd chrome washing machine and dryer door handle, equivalent to part number 41041407. This handle is designed as a replacement component for various Candy Grand O VITA washing machine and dryer models. Proper installation and identification are crucial for safe and effective operation.
2. Identyfikacja produktu
Marka: sparefixd
Numer części: 41041407
This door handle is a direct equivalent to the original manufacturer's part number 41041407.
To verify compatibility, locate your appliance's model number. This is typically found inside the door, below or above the door seal. The model identification plate may also be on the side or back of the machine. The model number is usually printed or stamped on a sticker or plate and consists of alphanumeric characters.
3. Kompatybilne modele
This sparefixd door handle (part number 41041407) is compatible with a wide range of Candy washing machine and dryer models. Please ensure your model number is listed below for correct fitment:
- GV139D3/1-01, GV139D3/3-37, GV139D3/3-S, GV139D3-01, GV139TW3/3-S
- GV1410D2/1-47, GV1410D2-47, GV14100.TW3W/1-80, GV148D3W/1-80, GV149D3-47, GV149T3W/1-80
- GV15102D/1-47, GV1510TW2/1-S, GV157D3-84, GV158T3/1-47, GV159D.3/1-407
- GV1610THW3W-80, GV168T3W/1-80, GV169TW3W/1-80
- GV3115D1-07, GV3115D2-01, GV3115D2-S, GV3115T2-S
- GV34116D2-07, GV34116D2-S, GV34126D3-S
- GV4107D1-UK, GV4107D3-UK, GV4117D2/2-01, GV4117D2-01, GV4117D3/2-S, GV4117D3-S, GV4126D3.1-07
- GVF1412TH3/1-S, GVF147TWH5/1-S
- GVS107D-SYR, GVS117D1/1-04, GVS118T3-01, GVS1210D3-04, GVS127TC3/K-UZB, GVS128D3/1-80, GVS128D3-80, GVS128DW3/1-47, GVS128DW3-47, GVS129TH2Z/1-19
- GVS137D3/1-37, GVS137DW3/1-S, GVS137T3/T-11, GVS137T3-01, GVS138DW3-S
- GVS1413TH3/1-47, GVS1472D3/1-80, GVS149T3-01
- GVS158TH3-S
- GVS1610TH/1-80, GVS1672D3/1-80, GVS168D3/1-80, GVS168D3-80, GVS169D3/1-80, GVS169D3-80
- GVS34116D2/2-07, GVS34125D3/2-01
- GVS4126DW3/2-07, GVS4126TW3/2-07, GVS4127TH3/1-01, GVS4127TWH6/1-01, GVS4127TWH6/2-01, GVS4137T3/1-01, GVS4147TH3/1-UK
- GVS44138TH3/2-01
- GVSG148TH3-84
- GVSW4465D/2-S, GVSW4855.D/5-80, GVSW485D/5-S, GVSW485DC/1-80, GVSW485DCB/1-80, GVSW485DCB-80, GVSW485D-S, GVSW486D-S, GVSW486T/5-S, GVSW496D/1-80, GVSW496D-011, GVSW496D-80, GVSW496DBB/1-80, GVSW496DBB-80
- GVSW585TH/5-01, GVSWG485D-84
- GVW485D/01-47, GVW485D-47, GVW485T/01-47, GVW485T/01-S, GVW485T-47, GVW485T-S, GVW496T/1-80, GVW496T-80, GVW5106D-47, GVW596D-47, GVW854D-47
- RGVS4116DW3/2-07, RGVS4116TW3/2-07
- CS1410TXME/1-S, CS147TXME/1-S, CS148TXME-47, CS148TXME-S, CS4127TXME/1-S, CSS4127TWME/1-11, CSWS485TWME/1-S
- CVS137D3-01, CVS138DW3-01, CVSS1482D3/1-80, CVS1482D3-80, CVS1482D3B/1-80, CVS1482D3B-80, CVS1492D3/1-80, CVS1492D3B/1-80
- EXSGV128TH3-01
- GOW4966DP-S
- GS1072D1-SYR, GS1192D3-S, GS1282D3/1-S, GS1282D3-S, GS128DH3-S, GS13103D3/1-S, GS1482D3-S, GS1483D3/1-S, GS1483D3-S, GS1483DH3/1-S, GS1493D3/1-S, GS1493DH3-S, GS41062D1-07, GS41063D1-07, GS41071D3/2-S, GS41073D1-07, GS41272D3/2-S, GS41272D3-S, GS871D1-SYR
- GSH128DH3-01
- GSV1210T3/1-S, GSV127DH3-01, GSV128T3/1-S, GSV128T3-S, GSV1310D3/1-S, GSV138D3-GSS, V138DHH3-S, GSV139D3/1-S, GSV139D3-S, GSV4137DH3/2-S, GSVW14106D/1-S
- GSW377DH-S, GSW4106D-S, GSW485DH-S, GSW485D-S
- GV1014D3/1-84, GV111065D-12, GV108T-12, GV117D1/1-S, GV117D1-37, GV117D1-S, GV1310D2/1-S, GV137D3/1-01, GV137D3/1-37, GV137D3-01, GV137D3-37, GV137D3-S, GV138D3/1-37, GV138D3/1-80, GV138D3/1-S, GV138TW3/1-S, GV138TW3-01
4. Konfiguracja i instalacja
Replacing a washing machine or dryer door handle requires careful attention to detail and safety. If you are not confident in performing this repair, it is recommended to seek assistance from a qualified appliance technician.
Środki ostrożności:
- Odłącz zasilanie: Always unplug the appliance from the main power supply before attempting any repair or installation.
- Zaopatrzenie w wodę: For washing machines, turn off the water supply to prevent leaks.
- Narzędzia: Use appropriate tools for the task to avoid damage to the appliance or injury.
- Ostre krawędzie: Be aware of any sharp edges or components inside the appliance.
Ogólne kroki instalacji (mogą się różnić w zależności od modelu):
- Access the Handle Mechanism: This typically involves removing the inner door panel. You may need to unscrew retaining screws around the door's perimeter.
- Usuń stary uchwyt: Carefully detach the old handle from its mounting points. Note how springs or levers are connected.
- Zainstaluj nowy uchwyt: Position the new sparefixd handle, ensuring all mounting points align. Reconnect any springs or levers exactly as they were on the old handle.
- Ponowny montaż drzwi: Secure the inner door panel back in place, ensuring all screws are tightened.
- Test: Reconnect power and test the door handle's operation before using the appliance. Ensure the door latches securely and opens smoothly.
Obraz 1: Przód view of the sparefixd chrome washing machine dryer door handle. This image shows the curved, polished chrome surface of the handle, designed for ergonomic grip and aesthetic integration with the appliance door.

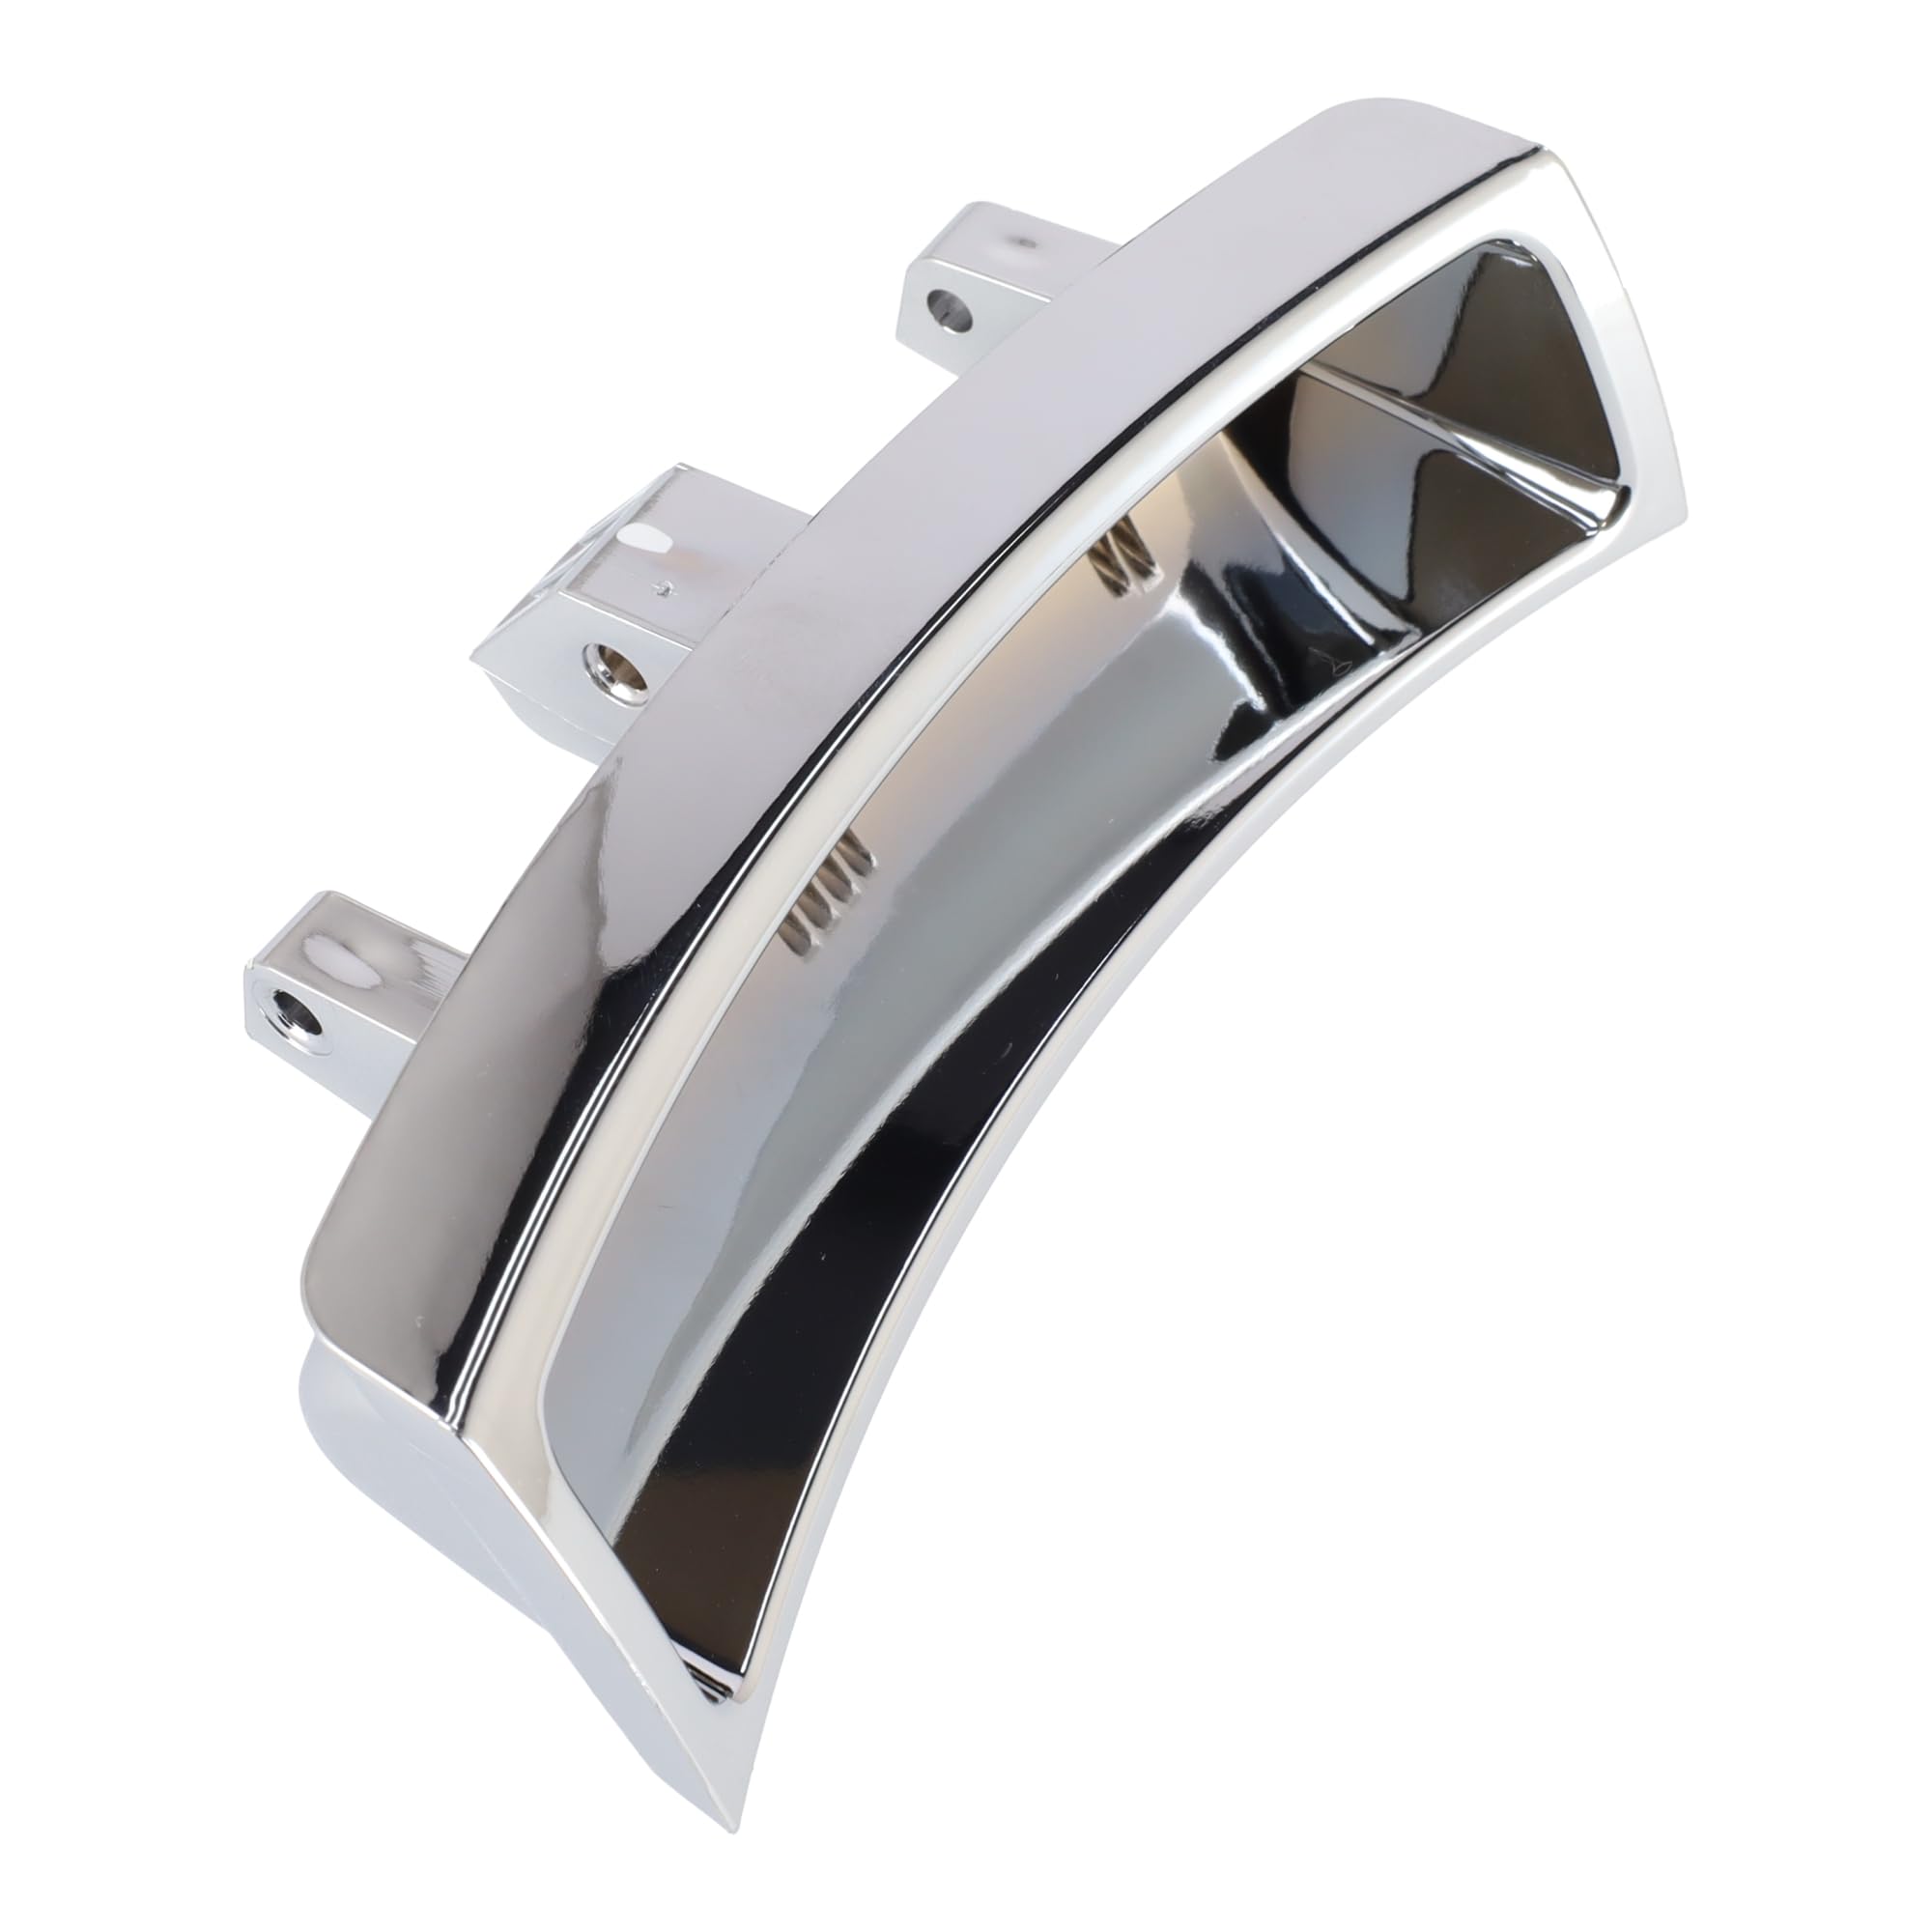
Obraz 2: Tył view of the sparefixd chrome washing machine dryer door handle. This perspective highlights the internal structure and the specific mounting points and clips required for secure attachment to the appliance door.
5. Działanie
The sparefixd door handle functions identically to the original part. To open the appliance door, gently pull the handle outwards. To close the door, push it firmly until you hear a click, indicating that the latch mechanism has engaged securely. Ensure the door is fully closed and latched before starting any wash or dry cycle.

Image 3: Angled top-front view of the sparefixd chrome door handle. This view provides a good sense of the handle's curvature and its overall design, emphasizing its sleek, reflective finish.
6. Konserwacja
To maintain the appearance and functionality of your sparefixd door handle:
- Czyszczenie: Regularnie przecieraj uchwyt miękką, miękką szmatką.amp cloth. Avoid abrasive cleaners or harsh chemicals, as these can damage the chrome finish.
- Kontrola: Periodically check the handle for any signs of looseness or damage. If the handle feels loose, inspect the mounting screws (if accessible) and tighten them carefully.

Image 4: Angled top-rear view of the sparefixd chrome door handle. This image offers another perspective of the handle's shape and the integration of its mounting components from the back.
7. Rozwiązywanie Problemów
If you encounter issues with your newly installed sparefixd door handle:
- Handle Not Opening Door: Ensure the handle is correctly installed and that the internal latch mechanism is properly connected. Check for any obstructions around the door.
- Drzwi się nie zatrzaskują: Verify that the door strike on the appliance frame is aligned with the latch on the door. Ensure no foreign objects are preventing the door from closing fully.
- Luźny uchwyt: Re-check all mounting screws and connections. If the handle feels excessively loose or wobbly, it may indicate incorrect installation or a damaged component.
If problems persist after checking these points, it is advisable to consult a qualified appliance technician.

Obraz 5: Profesjonalizm bocznyfile view of the sparefixd chrome door handle. This image clearly shows the depth and ergonomic curve of the handle, designed for comfortable use.
8. Specyfikacje
| Marka | sparefixd |
| Numer modelu / Numer części | 41041407 |
| Producent | sparefixd |
| ASIN | B08HZB2F2K |
| Tworzywo | Chrome (finish) |

Image 6: Another rear view of the sparefixd chrome door handle. This image provides a closer look at the intricate internal components and attachment points from a different angle.
9. Gwarancja i wsparcie
Specific warranty information for this sparefixd door handle is not provided in the product details. For warranty inquiries or technical support, please refer to the retailer or seller from whom the product was purchased. They can provide details regarding return policies, replacements, and any applicable manufacturer's warranty.

Obraz 7: Widok z góry na dół view of the sparefixd chrome door handle. This overhead perspective highlights the overall length and width of the handle, as well as the smooth, reflective surface.

Image 8: Front-facing angled view of the sparefixd chrome door handle. This final image provides a comprehensive look at the handle's design from a user's typical viewkąt.