BEPER P202ASP400
Instrukcja obsługi odkurzacza samochodowego BEPER P202ASP400
Model: P202ASP400 | Brand: BEPER
Wstęp
The BEPER P202ASP400 Car Vacuum Cleaner is a compact and practical handheld vacuum designed specifically for vehicle interiors. Weighing only 0.32 kg, it is lightweight and easy to maneuver, allowing for single-handed operation. Its ergonomic design ensures efficient cleaning without fatigue, reaching even the most uncomfortable areas of your car.

Image: The BEPER P202ASP400 Car Vacuum Cleaner, a compact and lightweight device for vehicle cleaning.
Instrukcje bezpieczeństwa
- Przed użyciem urządzenia należy przeczytać całą instrukcję.
- This appliance is designed for car use only and should be powered via the car's cigarette lighter socket (12V).
- Do not use the vacuum cleaner to pick up liquids, flammable or combustible materials, hot ashes, or sharp objects.
- Przed rozpoczęciem użytkowania należy sprawdzić, czy filtr jest prawidłowo zainstalowany.
- Nie zanurzaj urządzenia w wodzie ani innym płynie.
- Trzymaj włosy, luźne ubrania, palce i inne części ciała z dala od otworów i ruchomych części.
- Unplug the vacuum cleaner from the car's power outlet before cleaning or performing any maintenance.
- Nie używaj urządzenia, jeśli przewód lub wtyczka są uszkodzone.
- Trzymać poza zasięgiem dzieci. Urządzenie nie jest przeznaczone do użytku przez osoby o ograniczonej sprawności fizycznej, sensorycznej lub umysłowej, a także osoby nieposiadające doświadczenia i wiedzy, chyba że będą one nadzorowane lub poinstruowane.
Produkt ponadview i komponenty
The BEPER P202ASP400 comes with several accessories to enhance its cleaning capabilities.

Image: The main unit of the BEPER P202ASP400 car vacuum cleaner, showing the detachable dust collection bin and the included accessories: a flexible hose, a crevice tool, and a brush tool.
Składniki:
- Jednostka główna: The handheld vacuum body with integrated motor and dust collection bin.
- Power Cable with Car Adapter: Approximately 3 meters long, designed to connect to a 12V car cigarette lighter socket.

Image: The BEPER P202ASP400 main unit with its attached power cable and 12V car cigarette lighter adapter.
- Elastyczny wąż: Extends reach for difficult areas.
- Końcówka szczelinowa: Ideal for narrow gaps and tight spaces.
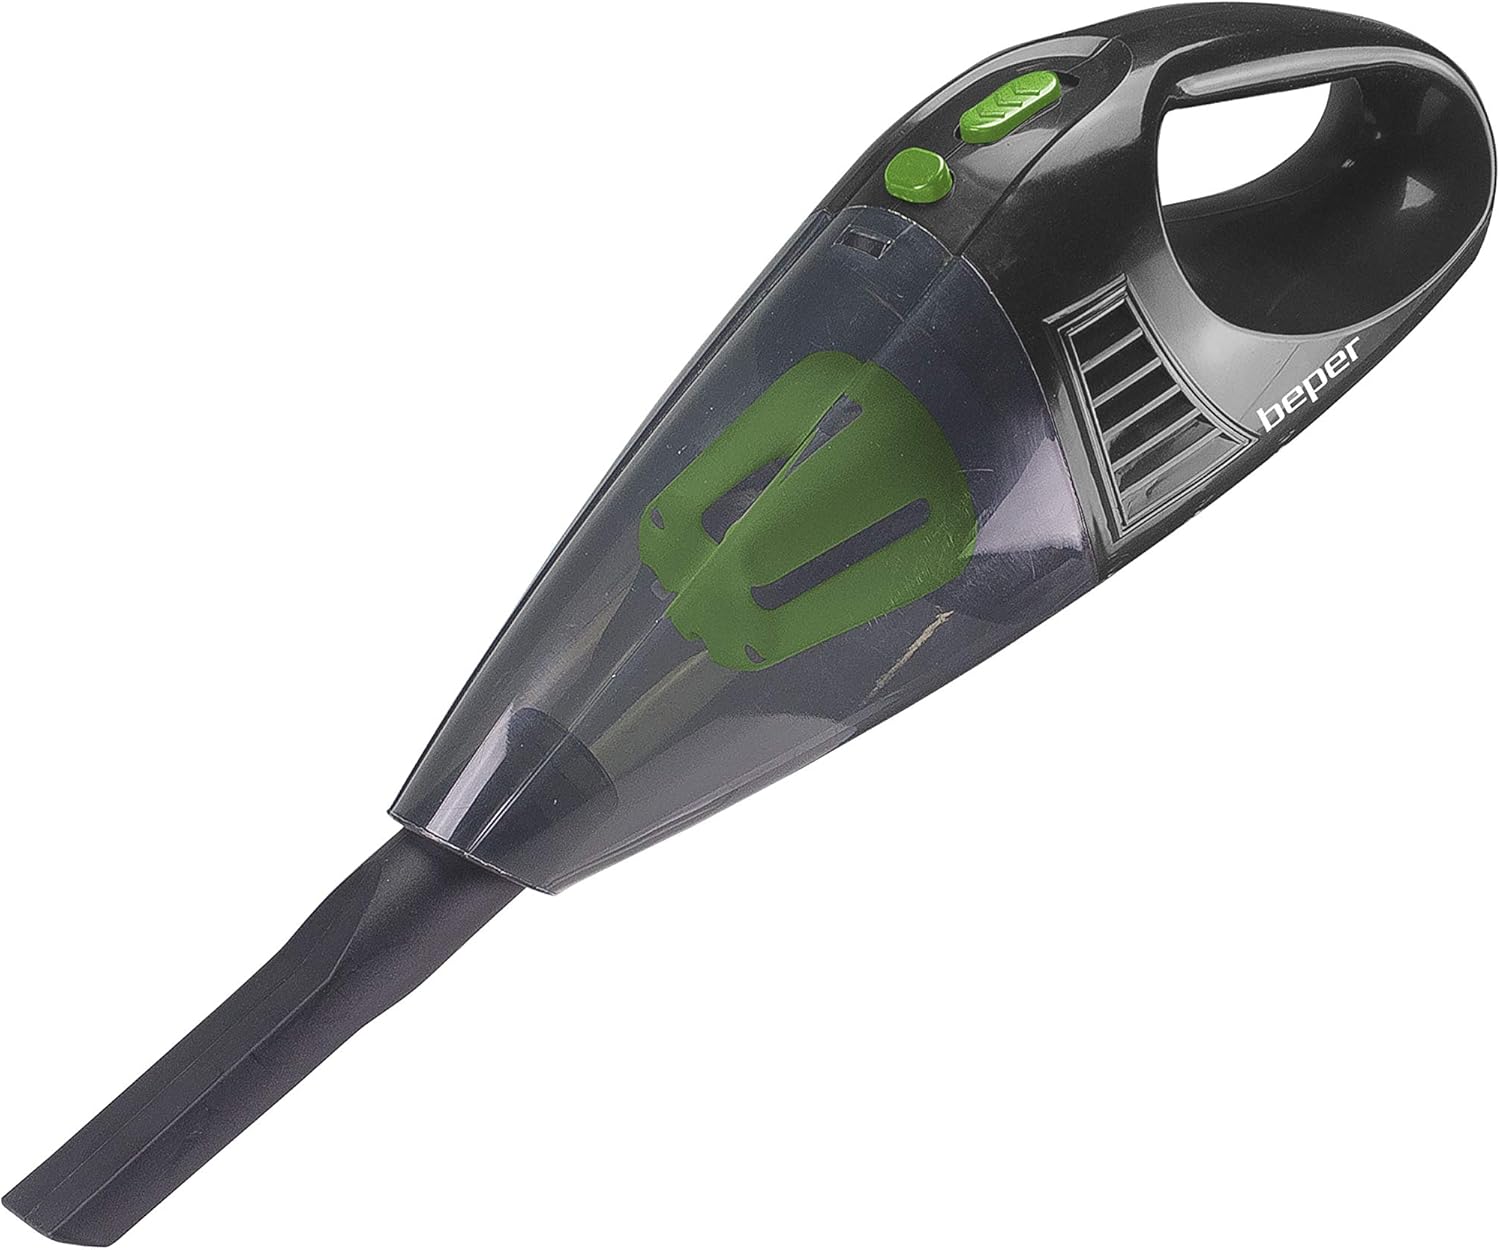
Image: The BEPER P202ASP400 vacuum cleaner with the crevice tool directly attached to the nozzle, ready for use in tight spaces.
- Narzędzie Pędzel: For cleaning fabric surfaces and dislodging stubborn dirt.

Image: The BEPER P202ASP400 vacuum cleaner with the brush tool attached, suitable for cleaning upholstery and carpets.
- Zmywalny i wyjmowany filtr: Located inside the dust collection bin.
Organizować coś
- Rozpakować: Ostrożnie wyjąć wszystkie elementy z opakowania.
- Sprawdzać: Check the vacuum cleaner and all accessories for any signs of damage.
- Sprawdź filtr: Ensure the washable filter is correctly seated inside the dust collection bin.
Instrukcja obsługi
- Podłącz zasilanie: Insert the car adapter plug into your vehicle's 12V cigarette lighter socket.

Image: A hand inserting the car vacuum cleaner's 12V adapter into a car's cigarette lighter socket.
- Załącz akcesoria (opcjonalnie):
- For general cleaning of flat surfaces or large debris, you can use the vacuum without any attachment.
- For tight spaces like between seats or console gaps, attach the narzędzie do szczelin.

Image: A person using the BEPER P202ASP400 with the crevice tool to clean the narrow space between a car seat and the center console.
- For upholstery, carpets, or to dislodge embedded dirt, attach the narzędzie pędzel.

Image: A person using the BEPER P202ASP400 with the brush tool to clean a car seat, demonstrating its effectiveness on fabric surfaces.
- For hard-to-reach areas like under seats or pedals, use the elastyczny wąż with either the crevice or brush tool attached to its end.
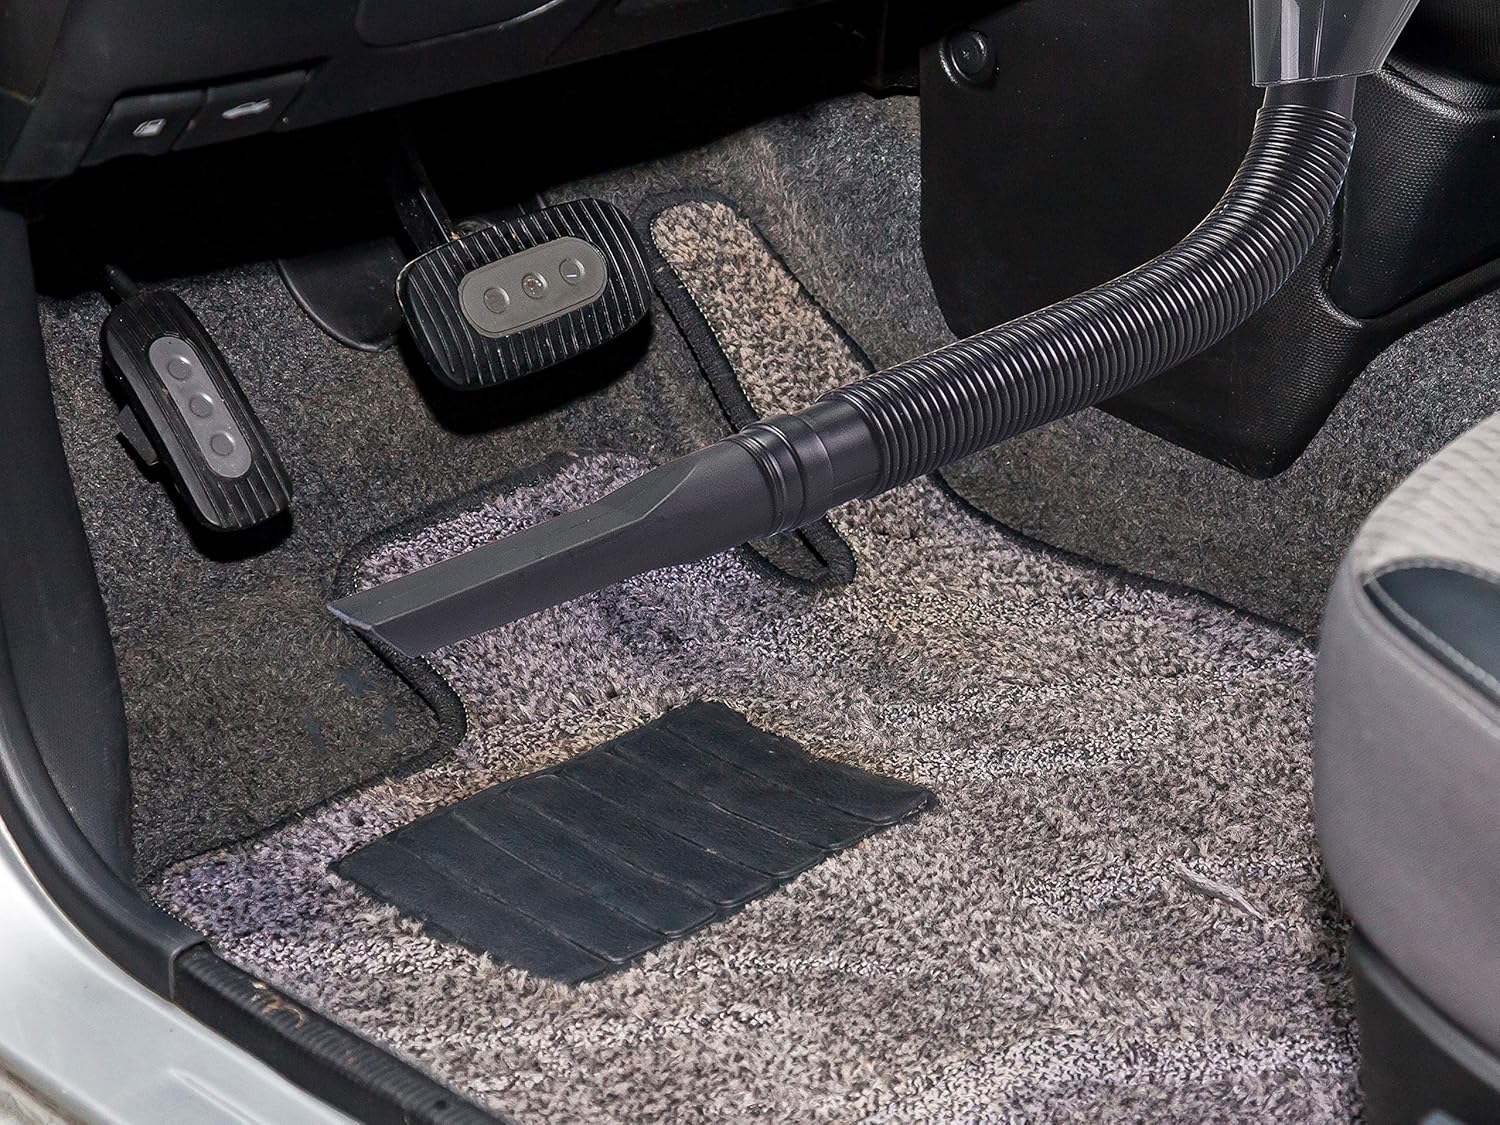
Image: The BEPER P202ASP400 vacuum cleaner being used with the flexible hose and crevice tool to clean the car floor near the pedals, showing its extended reach.
- Włączyć coś: Locate the power switch on the main unit and slide it to the "ON" position.
- Odkurzać: Move the vacuum cleaner slowly over the surfaces you wish to clean. The lightweight design allows for easy one-handed operation.

Image: A person holding the BEPER P202ASP400 vacuum cleaner and cleaning a car seat, demonstrating its ergonomic and easy-to-handle design.

Image: The BEPER P202ASP400 vacuum cleaner being used to clean dust from the air vents on a car's dashboard, highlighting its precision for detailed cleaning.
- Wyłączyć coś: Once cleaning is complete, slide the power switch to the "OFF" position.
- Odłącz zasilanie: Remove the car adapter plug from the cigarette lighter socket.
Oficjalny film o produkcie:
Video: An official product video demonstrating the features and usage of the BEPER P202ASP400 Car Vacuum Cleaner. This video showcases the vacuum in action, including its portability and effectiveness in various car cleaning scenarios.
Konserwacja
Regularna konserwacja zapewnia optymalną wydajność i wydłuża żywotność odkurzacza.
Emptying the Dust Collection Bin:
- Upewnij się, że odkurzacz jest wyłączony i odłączony od źródła zasilania.
- Press the release button to detach the transparent dust collection bin from the main unit.

Image: A person demonstrating how to remove the filter from the BEPER P202ASP400 vacuum cleaner for cleaning, showing the ease of maintenance.
- Carefully remove the filter from the dust bin.
- Zawartość kosza na śmieci należy wysypać do pojemnika na odpady.
Czyszczenie filtra:
- The filter is washable. Rinse it under running water until clean.
- Allow the filter to air dry completely before reinserting it into the dust collection bin. Do not use the vacuum cleaner with a wet filter.
- Once dry, place the filter back into the dust bin and reattach the bin to the main unit, ensuring it clicks securely into place.
It is recommended to clean the filter after each significant use to maintain optimal suction power.
Rozwiązywanie problemów
| Problem | Możliwa przyczyna | Rozwiązanie |
|---|---|---|
| Odkurzacz się nie włącza. |
|
|
| Niska moc ssania. |
|
|
| Nietypowy dźwięk podczas pracy. |
|
|
Specyfikacje
| Funkcja | Szczegół |
|---|---|
| Marka | LIMIT |
| Numer modelu | P202ASP400 |
| Kolor | Czarny i zielony |
| Wymiary produktu (dł. x szer. x wys.) | Wymiary 32 x 10.2 x 10.7 cm |
| Waga | 470 gramów |
| Moc | 70 watów |
| Tomtage | 12 wolty |
| Tworzywo | Plastikowy |
| Poziom dźwięku | 60dB |
| Cechy specjalne | Washable filter, Lightweight |
| Typ filtra | Tkanina |
| Zalecenia dotyczące powierzchni | Dywaniki |
| Źródło zasilania | Cigarette lighter powered |
| Długość przewodu | 3 metrów |
Gwarancja i wsparcie
BEPER products are designed for durability and performance. For specific warranty information, please refer to the documentation included with your purchase or visit the official BEPER website. For technical support, troubleshooting assistance beyond this manual, or to inquire about spare parts, please contact BEPER customer service.
Dostępność części zamiennych: 10 lat.
You can find more information and contact details on the official BEPER brand store: BEPER Brand Store
Ask a question about this manual
Ask about setup, troubleshooting, compatibility, parts, safety, or missing instructions. Manuals+ will review the question and use this page’s manual context to help answer it.