
1. Koniec produktuview
The Browning BTC-6HDPX Dark Ops HD Pro X Trail Camera is designed for outdoor surveillance, offering advanced detection capabilities for both day and night use. It captures high-resolution images and videos, making it suitable for monitoring wildlife or property.
This camera features a 20-megapixel image resolution and records 1600x900p HD videos with sound. A 1.5-inch color view screen allows for immediate review of captured media. The Dark Ops HD Pro X supports multiple operating modes, including Still Pictures, TimeLapse Plus, and Video mode. The TimeLapse Plus Mode captures images during the day and activates motion detection at night, ensuring comprehensive coverage.

Rycina 1.1: Przód view of the Browning Dark Ops HD Pro X Trail Camera in its closed state.
2. Przewodnik konfiguracji
2.1. Instalacja baterii
The BTC-6HDPX camera requires 6 AA alkaline batteries for operation. For optimal performance, especially in cold weather, lithium batteries are recommended.
- Otwórz zatrzask obudowy kamery.
- Zlokalizuj komorę baterii.
- Włóż 6 baterie AA, zwracając uwagę na prawidłową biegunowość (+/-), zgodnie ze wskazaniami wewnątrz komory.
- Dokładnie zamknij komorę baterii.
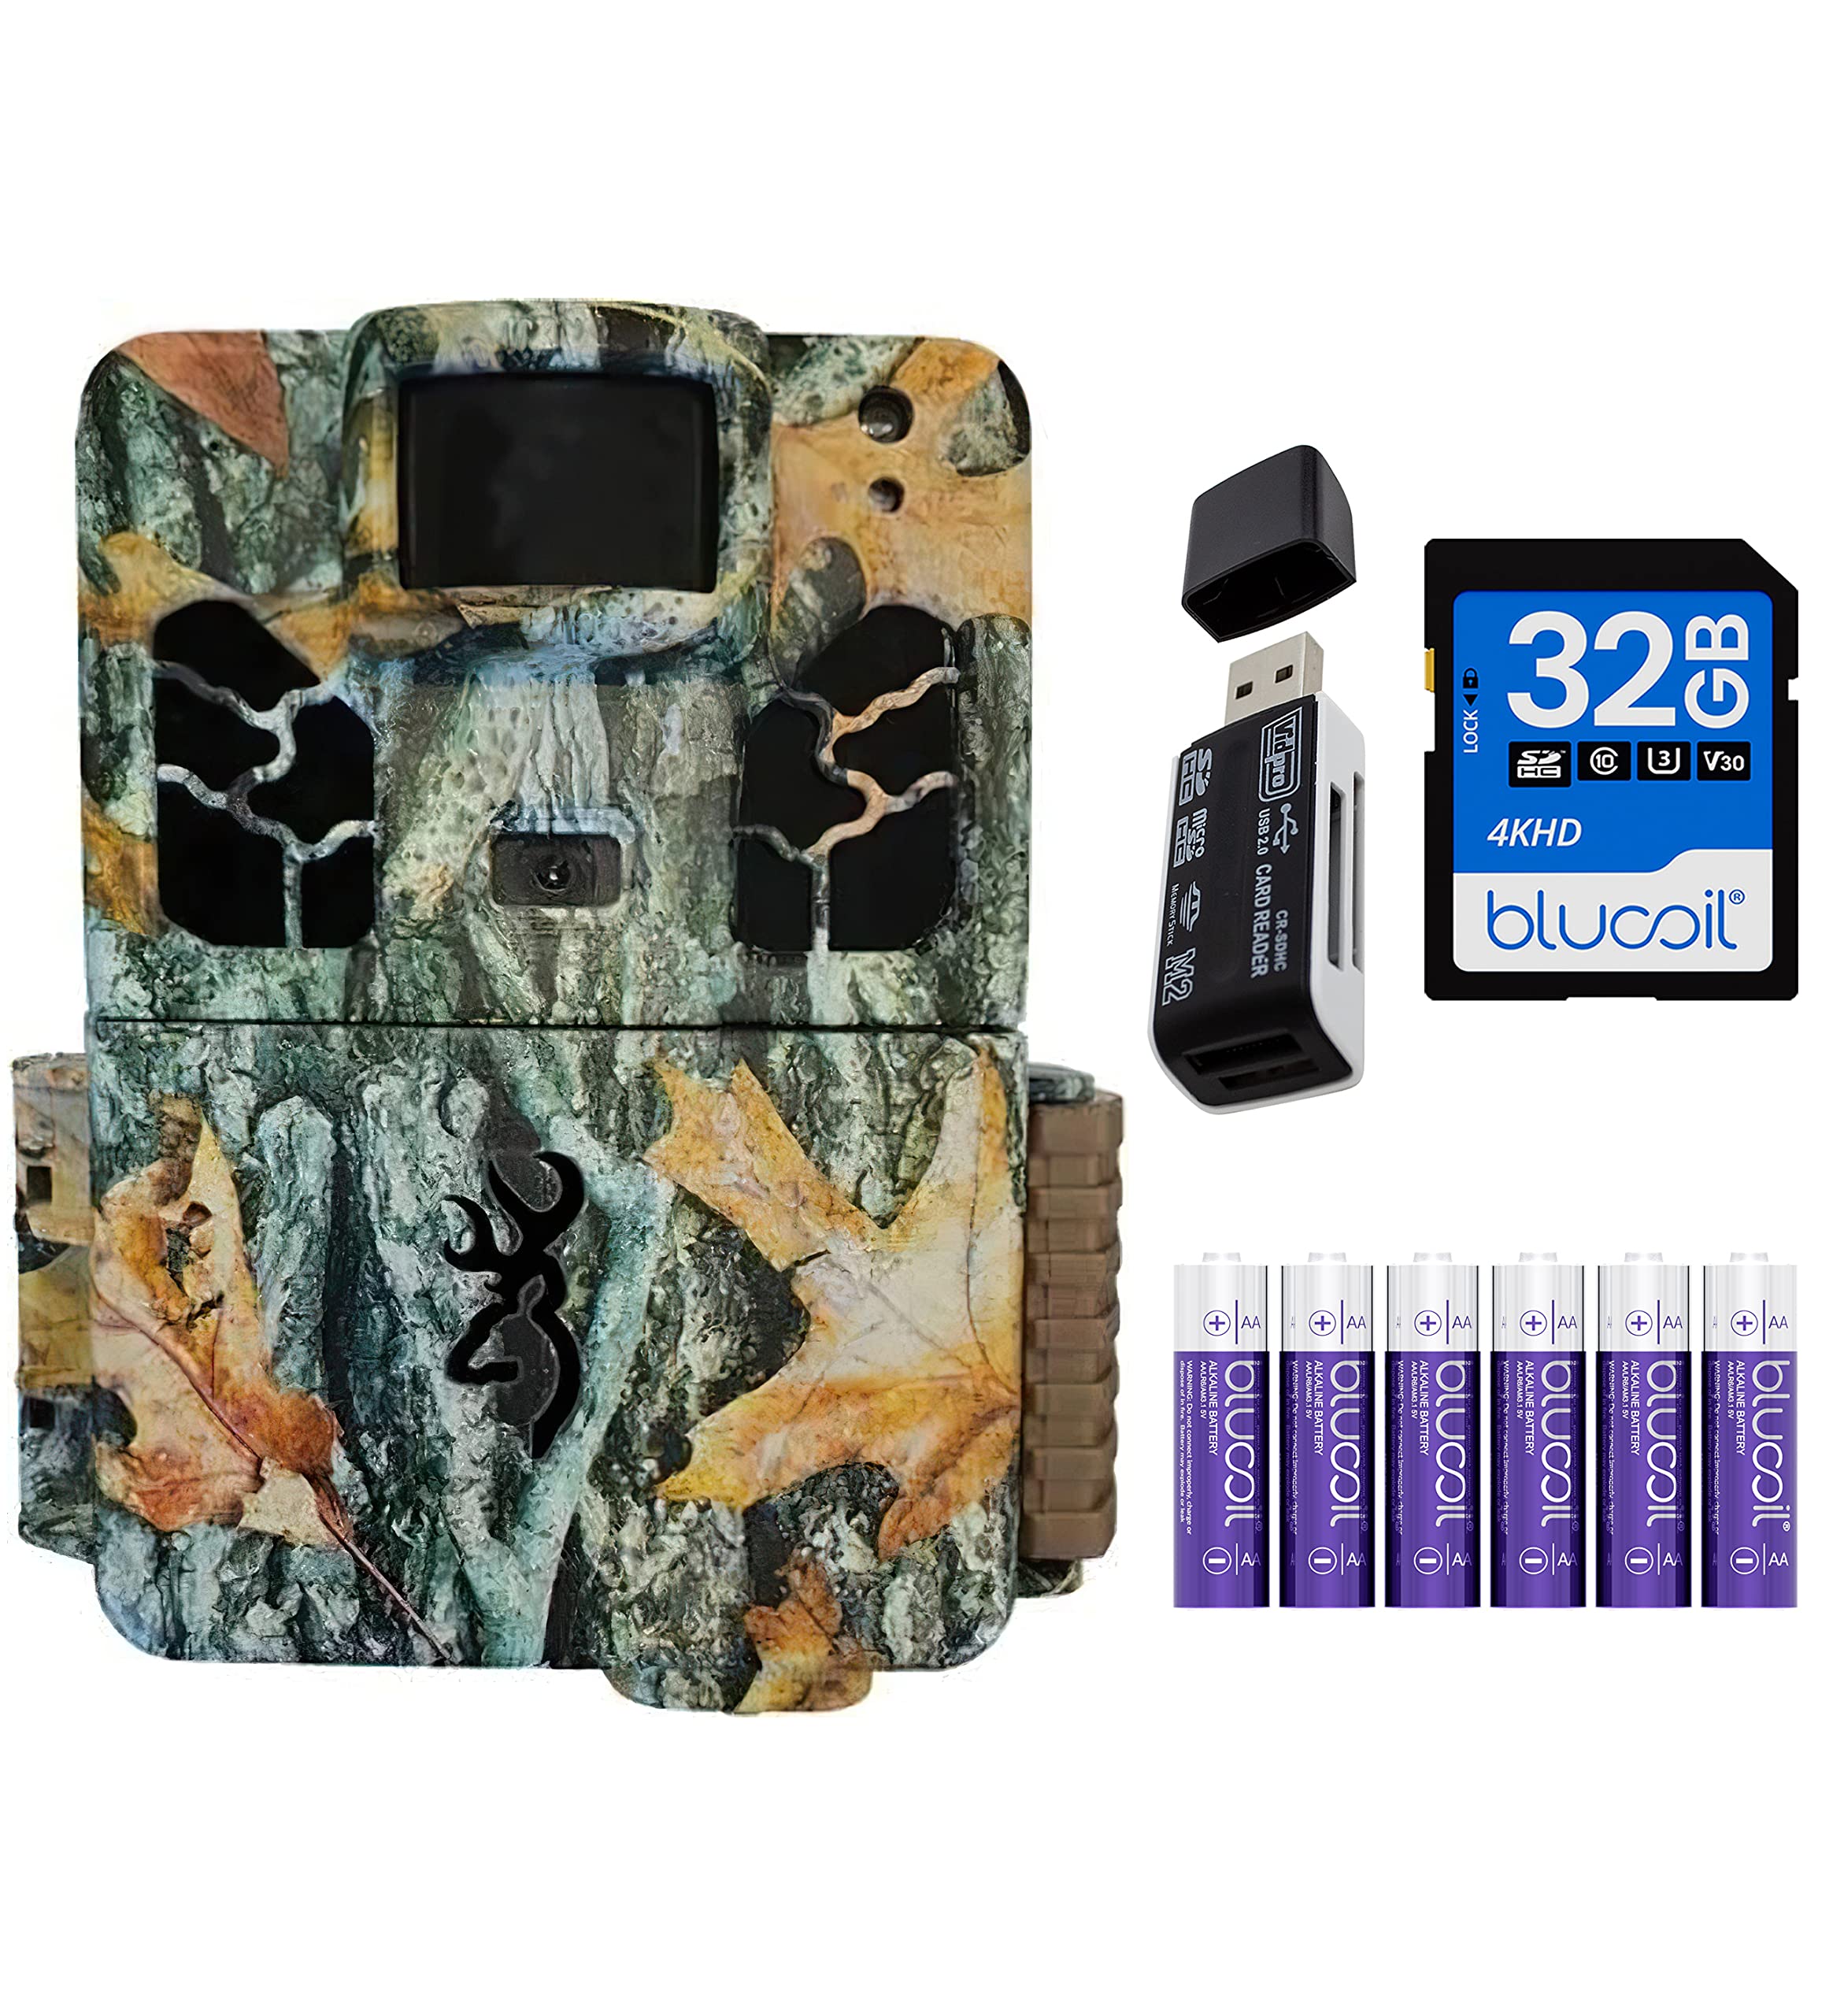
Figure 2.1: The camera opened, showing the internal display, control buttons, and battery compartment.

Rysunek 2.2: Example of AA alkaline batteries suitable for the camera.
2.2. Instalacja karty SD
A memory card is required to store images and videos. The camera supports SD cards up to 512GB.
- Po otwarciu obudowy kamery znajdź gniazdo karty SD.
- Włóż kartę SD do gniazda etykietą skierowaną do góry, aż do zatrzaśnięcia.
- Aby wyjąć kartę, delikatnie naciśnij ją, aż wyskoczy.
2.3. Montaż kamery
The camera comes with a 6-foot tree strap for secure mounting.
- Wybierz odpowiednie miejsce, np. drzewo lub słupek, które zapewni wyraźne widzenie. view pożądanego obszaru nadzoru.
- Thread the tree strap through the mounting brackets on the back of the camera.
- Securely fasten the strap around the mounting surface, ensuring the camera is stable and pointed correctly.
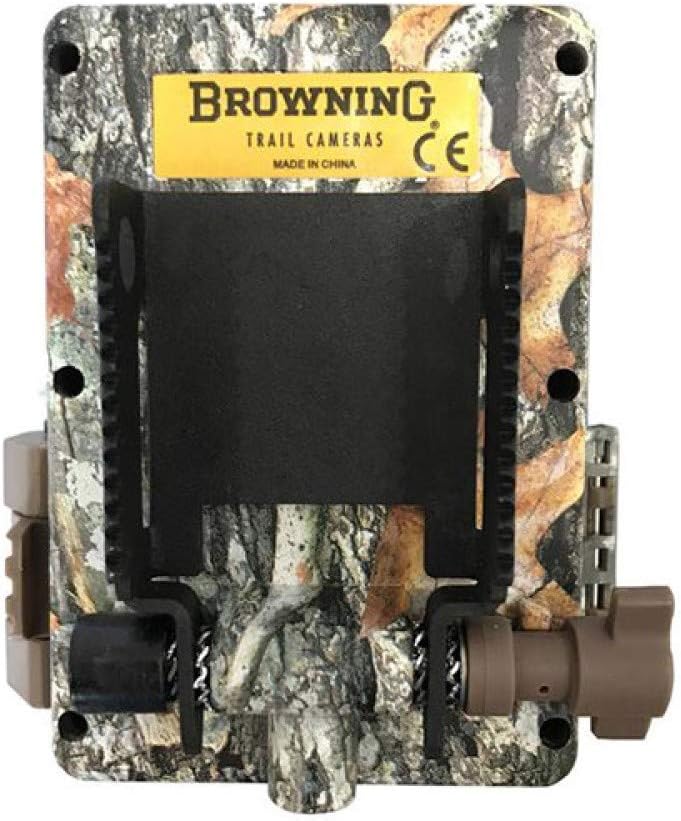
Rysunek 2.3: Tył view of the camera, highlighting the mounting bracket for the tree strap.
3. Tryby pracy
The BTC-6HDPX offers several operating modes to suit different surveillance needs.
3.1. Włączanie/wyłączanie zasilania
To power on the camera, slide the ON/OFF switch to the 'ON' position. The camera will perform a self-check and enter setup mode or the last used operating mode. To power off, slide the switch to 'OFF'.
3.2. Still Pictures Mode
In this mode, the camera captures still images when motion is detected. You can configure settings such as image resolution (up to 20 MP), multi-shot (up to 8 images), and rapid fire (up to 8 images).
3.3. TimeLapse Plus Mode
This mode combines time-lapse photography during the day with motion-activated capture at night. It is ideal for monitoring large areas over extended periods.
3.4. Tryb wideo
The camera records high-definition videos with sound. Video resolution is 1600x900p, and clip lengths can be set from 5 seconds to 2 minutes.
3.5. Viewing Obrazy i filmy
Możesz view captured media directly on the camera's 1.5-inch color view screen or by transferring the SD card to a computer.
- Przed kamerą: Navigate through the menu using the control buttons to access the image/video gallery.
- Na komputerze: Remove the SD card from the camera and insert it into your computer's SD card reader. Alternatively, use the included VidPro USB 2.0 Card Reader for efficient data transfer.

Figure 3.1: The VidPro USB 2.0 Card Reader for transferring files from the SD card to a computer.
4. Konserwacja
4.1. Wymiana baterii
Regularly check battery levels. Replace all batteries simultaneously to ensure consistent power. If using alkaline batteries in cold conditions, be aware that performance may degrade below 35% charge or 30 degrees Fahrenheit.
4.2. Zarządzanie kartą SD
Periodically format your SD card using the camera's menu option to maintain optimal performance and prevent data corruption. Back up important files przed formatowaniem.
4.3. Czyszczenie
Keep the camera lens and PIR sensor window clean from dirt, dust, and debris. Use a soft, dry cloth for cleaning. Avoid abrasive materials or harsh chemicals.
5. Rozwiązywanie Problemów
- Kamera nie włącza się: Ensure batteries are correctly installed and fully charged. Check the ON/OFF switch position.
- Słaba jakość obrazu/wideo: Verify lens is clean. Check camera settings for resolution and focus. Ensure adequate lighting for daytime shots.
- Brak detekcji ruchu: Confirm the PIR sensor window is clear. Adjust camera placement and sensitivity settings. Ensure the detection range (80-FT) is appropriate for the area.
- Błędy karty SD: Reformat the SD card using the camera's menu. Try a different SD card if errors persist.
- Short Night Videos: The camera is designed to conserve battery life at night, resulting in shorter video clips (e.g., 20 seconds). This is normal operation.
6. Specyfikacje techniczne
| Funkcja | Specyfikacja |
|---|---|
| Model | BTC-6HDPX |
| Rozdzielczość obrazu | Rozdzielczość zdjęć 20 MP |
| Rozdzielczość wideo | 1600x900p (with Sound) |
| Zasięg wykrywania | 80 stopy |
| Zasięg lampy błyskowej IR | 80-FT (Invisible "Night Vision" Infrared LED) |
| Szybkość wyzwalania | 0.2 sekund |
| Czas regeneracji | 0.6 sekund |
| Rozmiar ekranu | 1.5 Inches (Color View ekran) |
| Typ karty pamięci | Karta SD (do 512 GB) |
| Źródło zasilania | 6 baterie AA |
| Wymiary (dł. x szer. x wys.) | 4.3 x 3 x 2.5 cala |
| Waga | 1 funt |
| Poziom wodoodporności | Wodoodporność (IP65) |
| Technologia łączności | Bezprzewodowy (IR) |
| Cechy specjalne | Illuma-Smart Technology, Multi-Shot, Rapid Fire |
7. Gwarancja i pomoc techniczna
For warranty information and technical support, please refer to the official Browning Trail Cameras webOdwiedź stronę internetową lub skontaktuj się bezpośrednio z działem obsługi klienta. Zachowaj paragon jako dowód zakupu.