
1. Wprowadzenie
This manual provides comprehensive instructions for the installation, operation, and maintenance of your ErGear Single Monitor Mount, Model EGSS7. This monitor arm is designed to enhance your workspace ergonomics by providing adjustable positioning for a single monitor. Please read this manual thoroughly before installation and retain it for future reference.

Image 1.1: The ErGear Single Monitor Arm (Model EGSS7) in a typical office setup.
2. Informacje dotyczące bezpieczeństwa
Aby zapobiec obrażeniom ciała lub uszkodzeniu sprzętu, należy przestrzegać następujących środków ostrożności:
- Nie przekraczać maksymalnego udźwigu wynoszącego 6.5 kg (14.3 funtów).
- Ensure your monitor is between 17 and 27 inches in size.
- Verify that your monitor is VESA compatible (75x75mm or 100x100mm).
- Install the mount on a sturdy desk surface that can support the combined weight of the mount and your monitor.
- Follow all installation steps carefully. Improper installation may result in equipment damage or personal injury.
- Trzymaj małe części poza zasięgiem dzieci.
3. Zawartość opakowania
Before proceeding with installation, please ensure all components are present and undamaged. Refer to the included parts list for detailed identification.
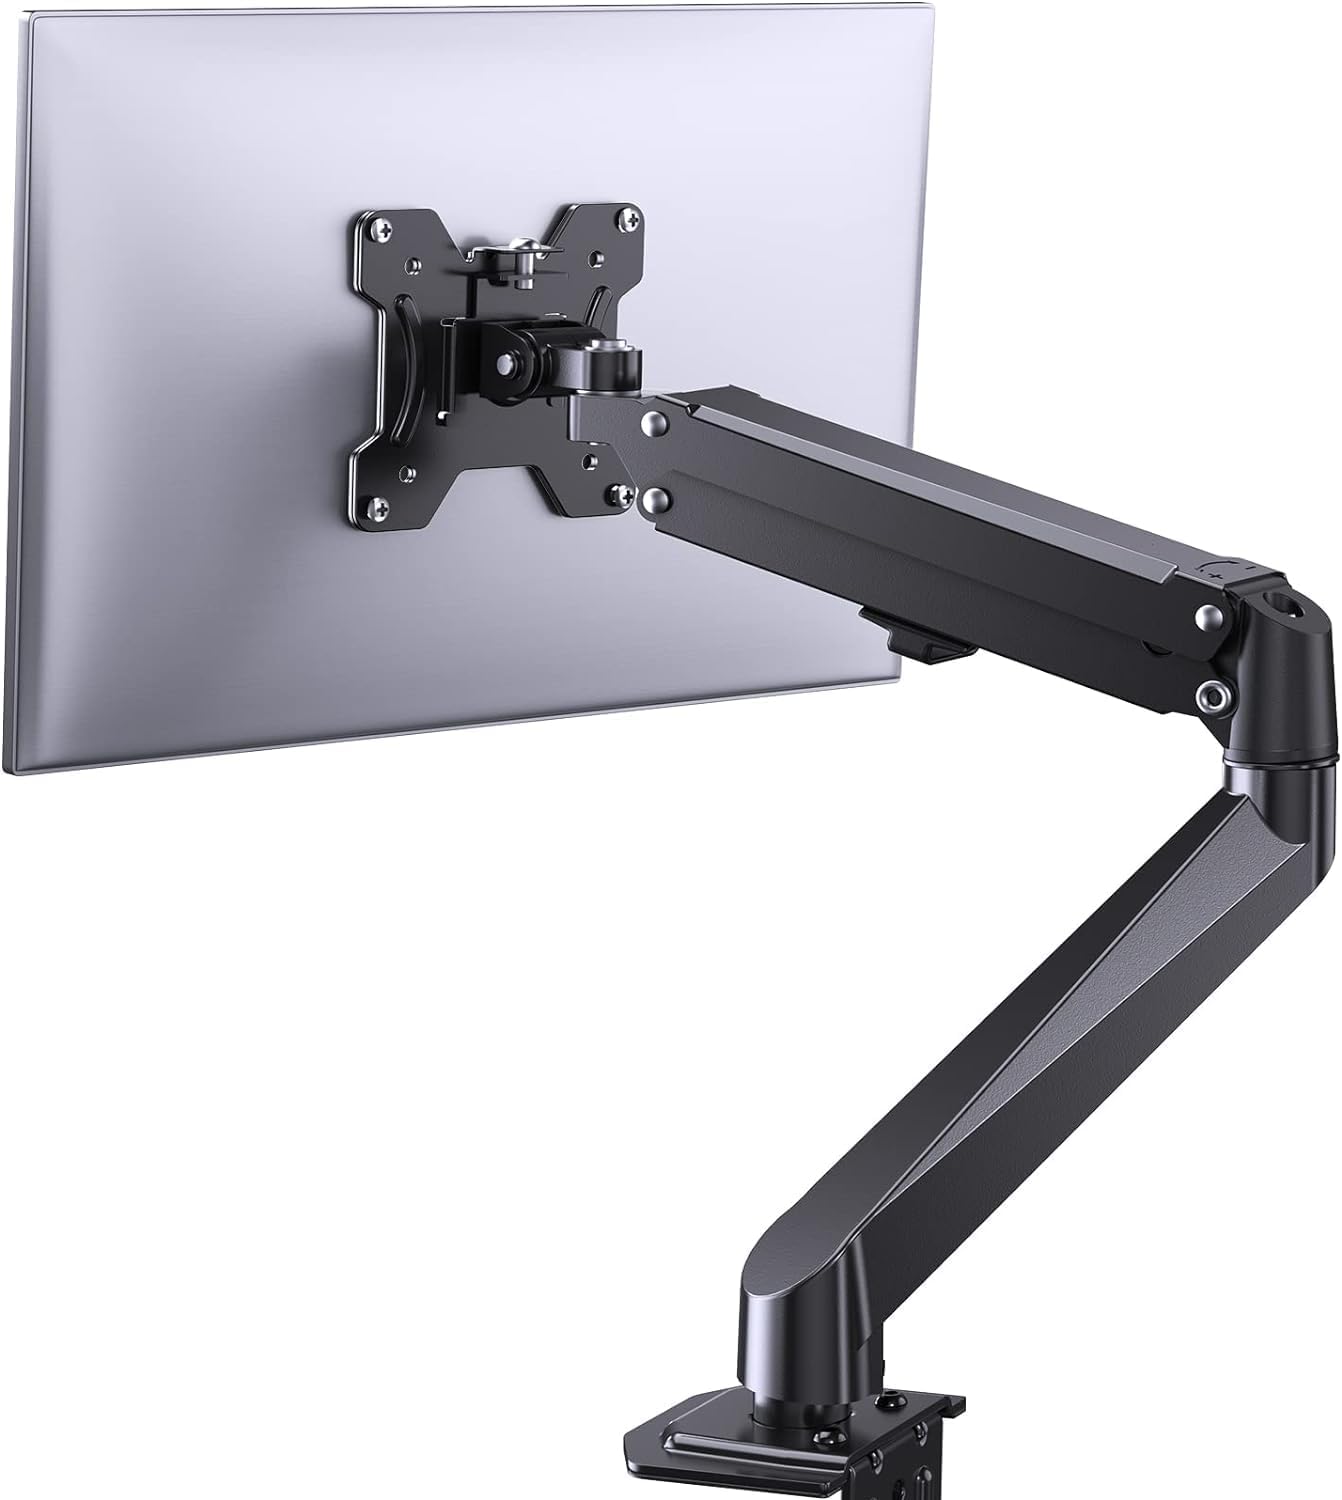
Obraz 3.1: Koniecview of the ErGear Single Monitor Mount components.
4. Specyfikacje
| Funkcja | Specyfikacja |
|---|---|
| Marka | Ergear |
| Model | EGSS7 |
| Kompatybilny rozmiar monitora | 17 - 27 cali |
| Nośność | Do 14.3 funtów (6.5 kg) |
| Zgodność ze standardem VESA | 75x75mm, 100x100mm |
| Typ montażu | C klamp lub przelotka |
| Tworzywo | Stal stopowa |
| Kolor | Czarny |
| Zakres pochylenia | -35° do +50° |
| Zakres obrotu | -90° do +90° |
| Obrót | 360° |
| Wymiary produktu | Wymiary 41.2 x 30.4 x 10 cm |

Image 4.1: Monitor size and weight capacity details.
5. Instrukcje konfiguracji
The ErGear Single Monitor Mount offers two installation options: C-clamp or Grommet mounting. Choose the option best suited for your desk.

Obraz 5.1: C-clamp and Grommet mounting options with desk thickness ranges.
5.1 C-Clamp Instalacja
- Dołącz C-klamp do podstawy ramienia monitora.
- Pozycja C-clamp on the edge of your desk. Ensure the desk thickness is between 0.4 and 3.3 inches.
- Dokręć clamp securely using the provided knob until the mount is stable.
5.2 Grommet Installation
- If your desk has a grommet hole, insert the grommet bolt through the base of the monitor arm and the desk hole. Ensure the desk thickness is between 0.4 and 3.1 inches.
- Secure the mount from underneath the desk using the provided plate and nut.
5.3 Podłączanie monitora
- Carefully attach your VESA-compatible monitor to the VESA plate on the arm using the appropriate screws.
- Ensure the screws are tightened firmly but do not overtighten.
5.4 Regulacja naprężenia
The gas spring arm requires tension adjustment to properly support your monitor's weight. Use the included Allen key to adjust the tension screw located on the arm. Turn clockwise to increase tension for heavier monitors, and counter-clockwise to decrease tension for lighter monitors. Adjust until the monitor stays in position when moved.

Obraz 5.2: Wewnętrzny view of the flexible gas spring arm.
6. Instrukcja obsługi
Once installed, your ErGear monitor mount allows for flexible positioning of your monitor.
6.1 Regulacja położenia monitora
- Regulacja wysokości: Gently push or pull the monitor to the desired height. The gas spring mechanism will hold it in place.
- Przechylenie: The monitor can be tilted from -35° to +50° to reduce glare and optimize viewkąty.
- Obracać: Swivel the monitor from -90° to +90° for collaborative work or to view content from different angles.
- Obrót: Obróć monitor o 360°, aby przełączać się między orientacją poziomą i pionową.

Image 6.1: Monitor height adjustment.

Image 6.2: Full motion range capabilities of the monitor arm.
6.2 Zarządzanie kablami
The monitor arm features an integrated cable management system to keep your workspace tidy. Route your monitor cables through the designated channels on the arm to conceal them.

Rysunek 6.3: Zintegrowany system zarządzania okablowaniem.
7. Konserwacja
Regularna konserwacja zapewnia długowieczność i optymalną wydajność uchwytu monitora.
- Okresowo sprawdzaj wszystkie śruby i połączenia, aby mieć pewność, że są dobrze dokręcone.
- Clean the surface of the mount with a soft, damp płótno. Unikaj ściernych środków czyszczących.
- Re-adjust the gas spring tension if your monitor feels too loose or too stiff when moving.
8. Rozwiązywanie Problemów
| Problem | Możliwa przyczyna | Rozwiązanie |
|---|---|---|
| Monitor opada lub nie pozostaje na swoim miejscu. | Gas spring tension is too low. | Increase gas spring tension using the Allen key (clockwise). |
| Monitor is difficult to move. | Napięcie sprężyny gazowej jest zbyt duże. | Decrease gas spring tension using the Allen key (counter-clockwise). |
| Góra wydaje się niestabilna. | C klamp or grommet connection is loose. | Dokręć C-clamp knob or grommet nut. |
| Monitor does not fit the VESA plate. | Nieprawidłowy wzór VESA. | Ensure your monitor has a 75x75mm or 100x100mm VESA pattern. |
9. Gwarancja i wsparcie
For warranty information or technical support, please refer to the contact details provided with your purchase or visit the official ErGear website. Please have your model number (EGSS7) and purchase date available when contacting support.


