1. Wprowadzenie
Thank you for choosing the Reebok RDVNEG9P2S2B2N Digital Watch. This manual provides essential information for the proper setup, operation, and maintenance of your new timepiece. Please read this manual thoroughly before using the watch to ensure optimal performance and longevity.
2. Informacje dotyczące bezpieczeństwa
- Wodoodporność: This watch is water resistant up to 100 meters. It is suitable for swimming and snorkeling but not for diving. Do not operate buttons underwater.
- Temperatura: Avoid exposing the watch to extreme temperatures (hot or cold) for extended periods, as this may affect its accuracy and battery life.
- Chemikalia: Keep the watch away from solvents, detergents, perfumes, and cosmetics, as these can damage the strap, case, or seals.
- Uderzenie: Protect the watch from strong impacts or drops, which can damage internal components or the crystal.
- Bateria: Do not attempt to open the watch case or replace the battery yourself, as this may void the warranty and damage the watch. Refer to qualified service personnel.
3. Zawartość opakowania
Sprawdź, czy w przesyłce znajdują się wszystkie elementy:
- Reebok RDVNEG9P2S2B2N Digital Watch (with Stainless Steel Strap)
- Extra Silicone Strap
- Spring Bar Tool for strap replacement
- Instrukcja obsługi (ten dokument)
4. Koniec produktuview
Familiarize yourself with the main components of your Reebok digital watch.
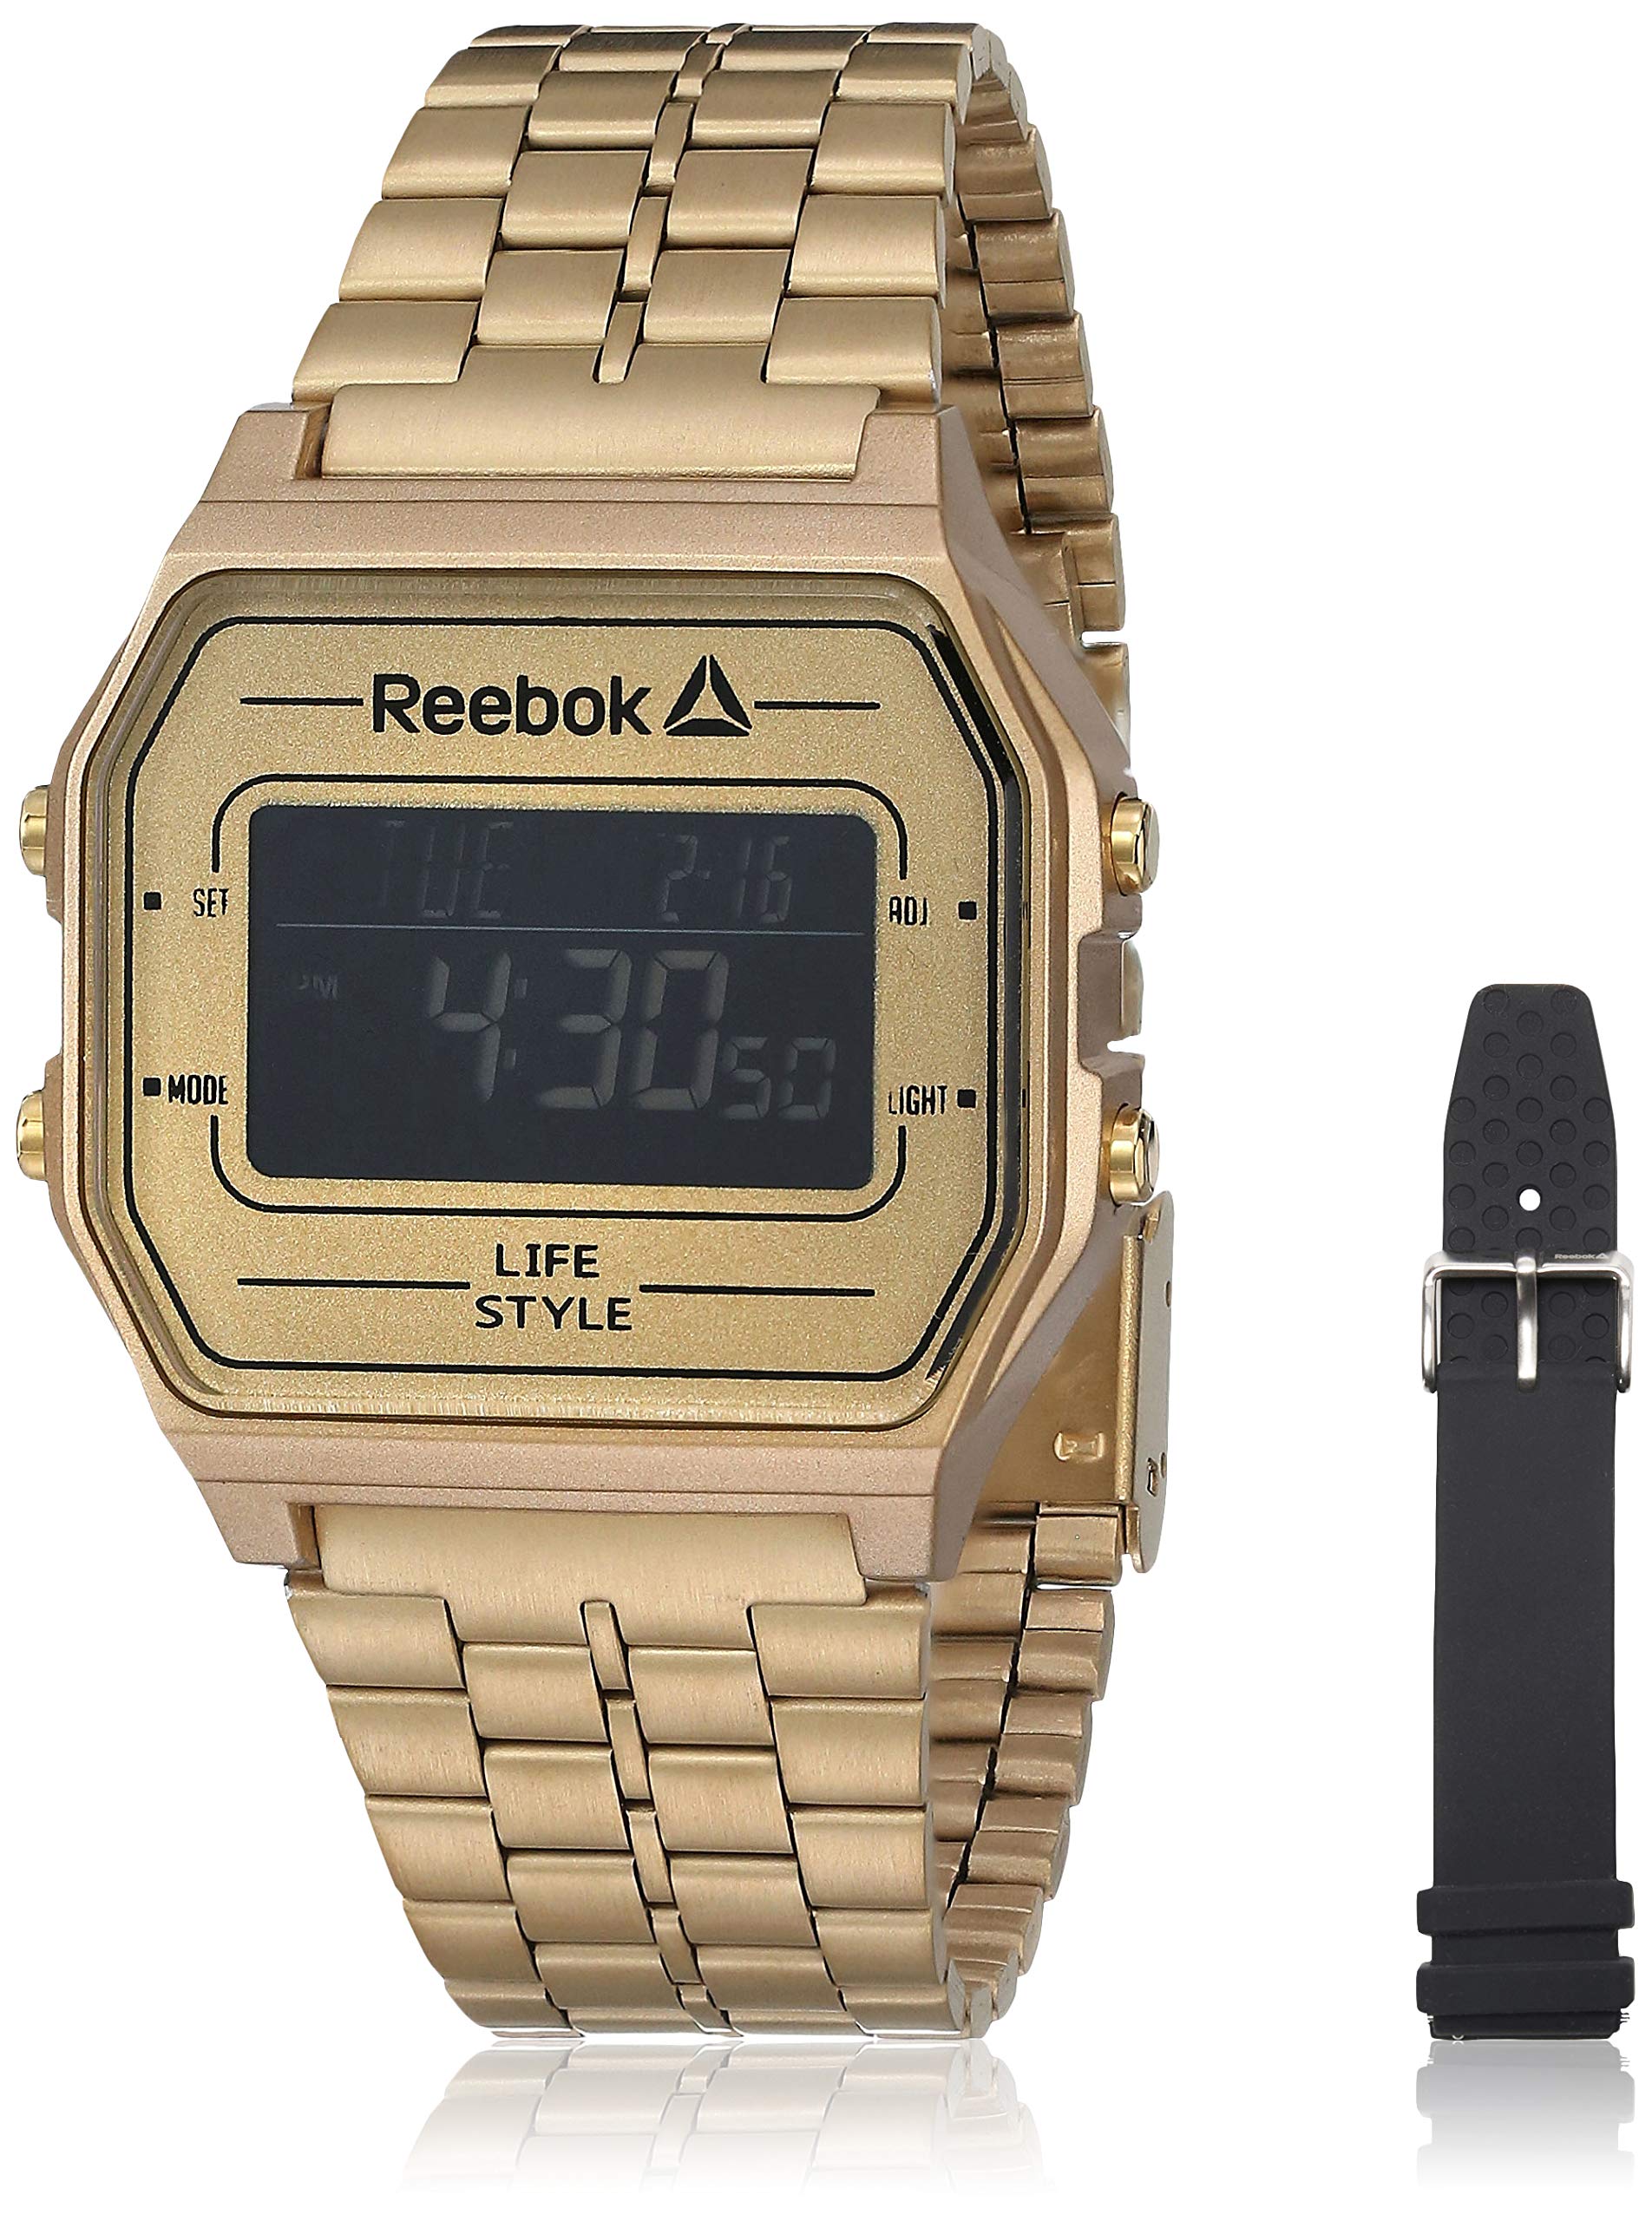
Obraz 1: Przód view of the Reebok RDVNEG9P2S2B2N Digital Watch with its gold stainless steel strap. The digital display shows time and date, and control buttons are visible on the sides.
- Wyświetlacz: Digital screen showing time, date, and other functions.
- Przycisk SET: Służy do wprowadzania i potwierdzania ustawień.
- Przycisk TRYB: Cycles through different watch modes (Time, Alarm, Stopwatch, etc.).
- Przycisk ADJ: Adjusts values during setting.
- Przycisk ŚWIATŁA: Włącza podświetlenie, aby zwiększyć widoczność w warunkach słabego oświetlenia.
- Sprawa: Gold-colored stainless steel case.
- Pasek: Interchangeable straps (Stainless Steel and Silicone).

Obraz 2: The Reebok RDVNEG9P2S2B2N Digital Watch worn on a wrist, showcasing its size and fit with the gold stainless steel strap.
5. Konfiguracja
5.1 Początkowe ustawienie czasu i daty
- In normal timekeeping mode, press and hold the USTAWIĆ Naciskaj przycisk, aż sekundy zaczną migać. Oznacza to, że jesteś w trybie ustawień.
- Naciśnij TRYB przycisk, aby przełączać się między ustawieniami: Sekundy → Godzina → Minuta → Rok → Miesiąc → Dzień.
- Użyj PRZYMIOT Naciśnij przycisk, aby zwiększyć migającą wartość. Przytrzymaj PRZYMIOT przycisk, aby szybko zmienić wartość.
- Po dostosowaniu wszystkich ustawień naciśnij przycisk USTAWIĆ Naciśnij przycisk ponownie, aby wyjść z trybu ustawień i zapisać zmiany.
5.2 Format 12/24-godzinny
While in time setting mode (seconds flashing), press the PRZYMIOT Naciśnij przycisk, gdy miga godzina, aby przełączać się między formatem 12-godzinnym (ze wskaźnikiem AM/PM) i 24-godzinnym.
6. Obsługa zegarka
6.1 Wybór trybu
Naciśnij TRYB Naciskaj przycisk wielokrotnie, aby przełączać się między dostępnymi funkcjami:
- Tryb pomiaru czasu (wyświetla aktualną godzinę i datę)
- Tryb alarmu
- Tryb stopera
6.2 Korzystanie z podświetlenia
Naciśnij ŚWIATŁO button to illuminate the display for a few seconds. This is useful in dark environments.
6.3 funkcja alarmu;
- W trybie pomiaru czasu naciśnij TRYB until "AL" or "Alarm" appears on the display.
- Naciśnij i przytrzymaj USTAWIĆ Naciskaj przycisk, aż zacznie migać godzina alarmu.
- Użyj PRZYMIOT przycisk, aby ustawić żądaną godzinę. Naciskać TRYB aby przejść do minut.
- Użyj PRZYMIOT przycisk, aby ustawić żądaną liczbę minut.
- Naciskać USTAWIĆ aby potwierdzić i wyjść z ustawień alarmu.
- Aby włączyć/wyłączyć alarm, naciśnij przycisk PRZYMIOT button while in Alarm Mode (without holding SET). An alarm icon will appear/disappear.
6.4 Funkcja stopera
- W trybie pomiaru czasu naciśnij TRYB until "ST" or "Stopwatch" appears on the display.
- Naciśnij PRZYMIOT przycisk, aby uruchomić stoper.
- Naciśnij PRZYMIOT naciśnij przycisk ponownie, aby wstrzymać stoper.
- Naciśnij USTAWIĆ przycisk, aby wyzerować stoper.
- Aby wyjść z trybu stopera, naciśnij TRYB przycisk.
7. Wymiana paska
Your Reebok watch comes with an extra silicone strap and a spring bar tool for easy strap changes. Follow these steps carefully to avoid scratching your watch or damaging the spring bars.
7.1 Removing the Current Strap
- Place the watch face down on a soft, clean cloth to prevent scratches.
- Locate the spring bar tool. It typically has a forked end.
- Insert the forked end of the tool between the strap and the watch lug (the part of the watch case where the strap attaches).
- Gently push the spring bar inwards (towards the center of the strap) to compress it.
- Once one end of the spring bar is disengaged from the lug hole, carefully pull the strap away from the watch.
- Repeat for the other side of the strap and for the second strap piece.
- Keep the spring bars in a safe place if you intend to reuse the strap.
7.2 Attaching a New Strap
- Insert one end of a spring bar into one of the lug holes on the watch case.
- With the spring bar tool, compress the other end of the spring bar.
- Guide the compressed end into the opposite lug hole.
- Release the spring bar tool, ensuring both ends of the spring bar are securely seated in the lug holes. Gently tug on the strap to confirm it is firmly attached.
- Repeat for the second strap piece.
8. Konserwacja
8.1 Czyszczenie
- Watch Case and Stainless Steel Strap: Wipe regularly with a soft, dry cloth. For stubborn dirt, use a slightly damp szmatką i łagodnym mydłem, a następnie dokładnie osusz.
- Pasek silikonowy: Wash with mild soap and water, then rinse and dry completely.
- Avoid using abrasive cleaners or chemical solvents.
8.2 Pielęgnacja wodoodporności
- Ensure the watch crown (if applicable, though this is a digital watch with buttons) and buttons are fully pressed in before any contact with water.
- Nie naciskaj przycisków, gdy zegarek jest zanurzony w wodzie.
- Po wystawieniu zegarka na działanie słonej wody należy go opłukać czystą wodą i dokładnie wysuszyć.
- Water resistance is not a permanent condition and may decrease over time. Have the seals checked periodically by a qualified technician.
8.3 Wymiana baterii
When the display becomes dim or the watch stops functioning, the battery may need replacement. It is recommended to have the battery replaced by a professional watch technician to ensure proper sealing and water resistance integrity.
9. Rozwiązywanie Problemów
| Problem | Możliwa przyczyna | Rozwiązanie |
|---|---|---|
| Wyświetlacz zegarka jest pusty lub przyciemniony. | Niski poziom naładowania baterii lub jej rozładowanie. | Wymień baterię (zalecane przez specjalistę). |
| Czas jest niedokładny. | Incorrect time setting; exposure to strong magnetic fields; low battery. | Reset the time and date (refer to Section 5.1). Keep away from strong magnets. Replace battery if issue persists. |
| Przyciski nie reagują. | Zegarek jest mokry; wystąpiła wewnętrzna usterka. | Upewnij się, że zegarek jest suchy. Jeśli problem będzie się powtarzał, skontaktuj się z obsługą klienta. |
| Woda wewnątrz zegarka. | Water resistance compromised; buttons operated underwater. | Natychmiast oddaj zegarek do przeglądu i naprawy, aby zapobiec dalszym uszkodzeniom. |
10. Specyfikacje
- Numer modelu: RDVNEG9P2S2B2N
- Typ wyświetlacza: Cyfrowy
- Ruch: Kwarc
- Materiał obudowy: Stal nierdzewna
- Średnica koperty: 42 mm
- Grubość obudowy: 5 mm
- Materiał paska: Stainless Steel (Gold), Silicone (Extra)
- Szerokość paska: 4 cm
- Kryształ: Minerał
- Wodoodporność: 100 metrów (330 stopy)
- Źródło zasilania: Bateria
- Rodzaj zapięcia: Buckle (for silicone), Elegant Clasp (for stainless steel)
11. Gwarancja i wsparcie
11.1 Gwarancja producenta
This Reebok watch is covered by a manufacturer's warranty. Please refer to the warranty card included in your original packaging for specific terms, conditions, and duration. The warranty typically covers manufacturing defects but does not cover damage resulting from misuse, accidents, unauthorized repairs, or normal wear and tear.
11.2 Obsługa klienta
For technical assistance, warranty claims, or service inquiries, please contact Reebok customer support through their official website or the contact information provided with your purchase documentation. When contacting support, please have your watch model number (RDVNEG9P2S2B2N) and proof of purchase readily available.