1. Wprowadzenie
Thank you for choosing the VEVOR 400V Electric Spot Welder. This manual provides essential information for the safe and efficient operation, maintenance, and troubleshooting of your spot welding gun. Please read this manual thoroughly before use and retain it for future reference.
2. Instrukcje bezpieczeństwa
OSTRZEŻENIE: Improper use of this equipment can cause serious injury or death. Always follow these safety guidelines:
- Bezpieczeństwo elektryczne: This unit operates at 400V. Ensure proper electrical connections and grounding. Do not operate in wet conditions. Always disconnect power before performing maintenance or changing tips.
- Środki ochrony osobistej (PPE): Always wear appropriate welding helmets, gloves, and protective clothing to shield against sparks, heat, and UV radiation.
- Wentylacja: Należy zapewnić odpowiednią wentylację w miejscu pracy, aby rozproszyć dymy spawalnicze.
- Zagrożenie pożarem: Trzymaj materiały łatwopalne z dala od miejsca spawania. Miej pod ręką gaśnicę.
- Gorące powierzchnie: Welding tips and workpieces will become extremely hot. Allow them to cool before handling or wear heat-resistant gloves.
- Dzieci i osoby postronne: Trzymaj dzieci i osoby nieupoważnione z dala od obszaru spawania.
- Kontrola: Before each use, inspect the welder for any damage to the cables, housing, or tips. Do not use if damaged.
3. Koniec produktuview
3.1 Składniki
The VEVOR 400V Electric Spot Welder package includes the following components:
- Spot Welding Gun
- Additional Pair of Welding Tips
- Wiszący pasek
- Hex Keys (for tip replacement)

Image: The complete kit, including the spot welder, two pairs of welding tips, hex keys, and a hanging strap.
3.2 Główne cechy
- Durable Welding Tips: Constructed from high-quality steel for optimal welding performance.
- Wymienne końcówki: Comes with an additional pair of welding tips for extended use. Tips can be easily replaced by twisting them off and screwing on new ones.
- Distinct Control Panel: Features an intuitive control panel with multiple modes for easy operation.
- Kompaktowy rozmiar: Designed to be large enough for effective welding operations yet compact for convenient storage.
- Pasek do zawieszania: Includes a strap for easy carrying and hands-free operation when needed.

Obraz: Zbliżenie view of the durable welding tips, designed for effective metal fusion.

Image: The control panel of the spot welder, showing various settings and mode selections for different welding tasks.
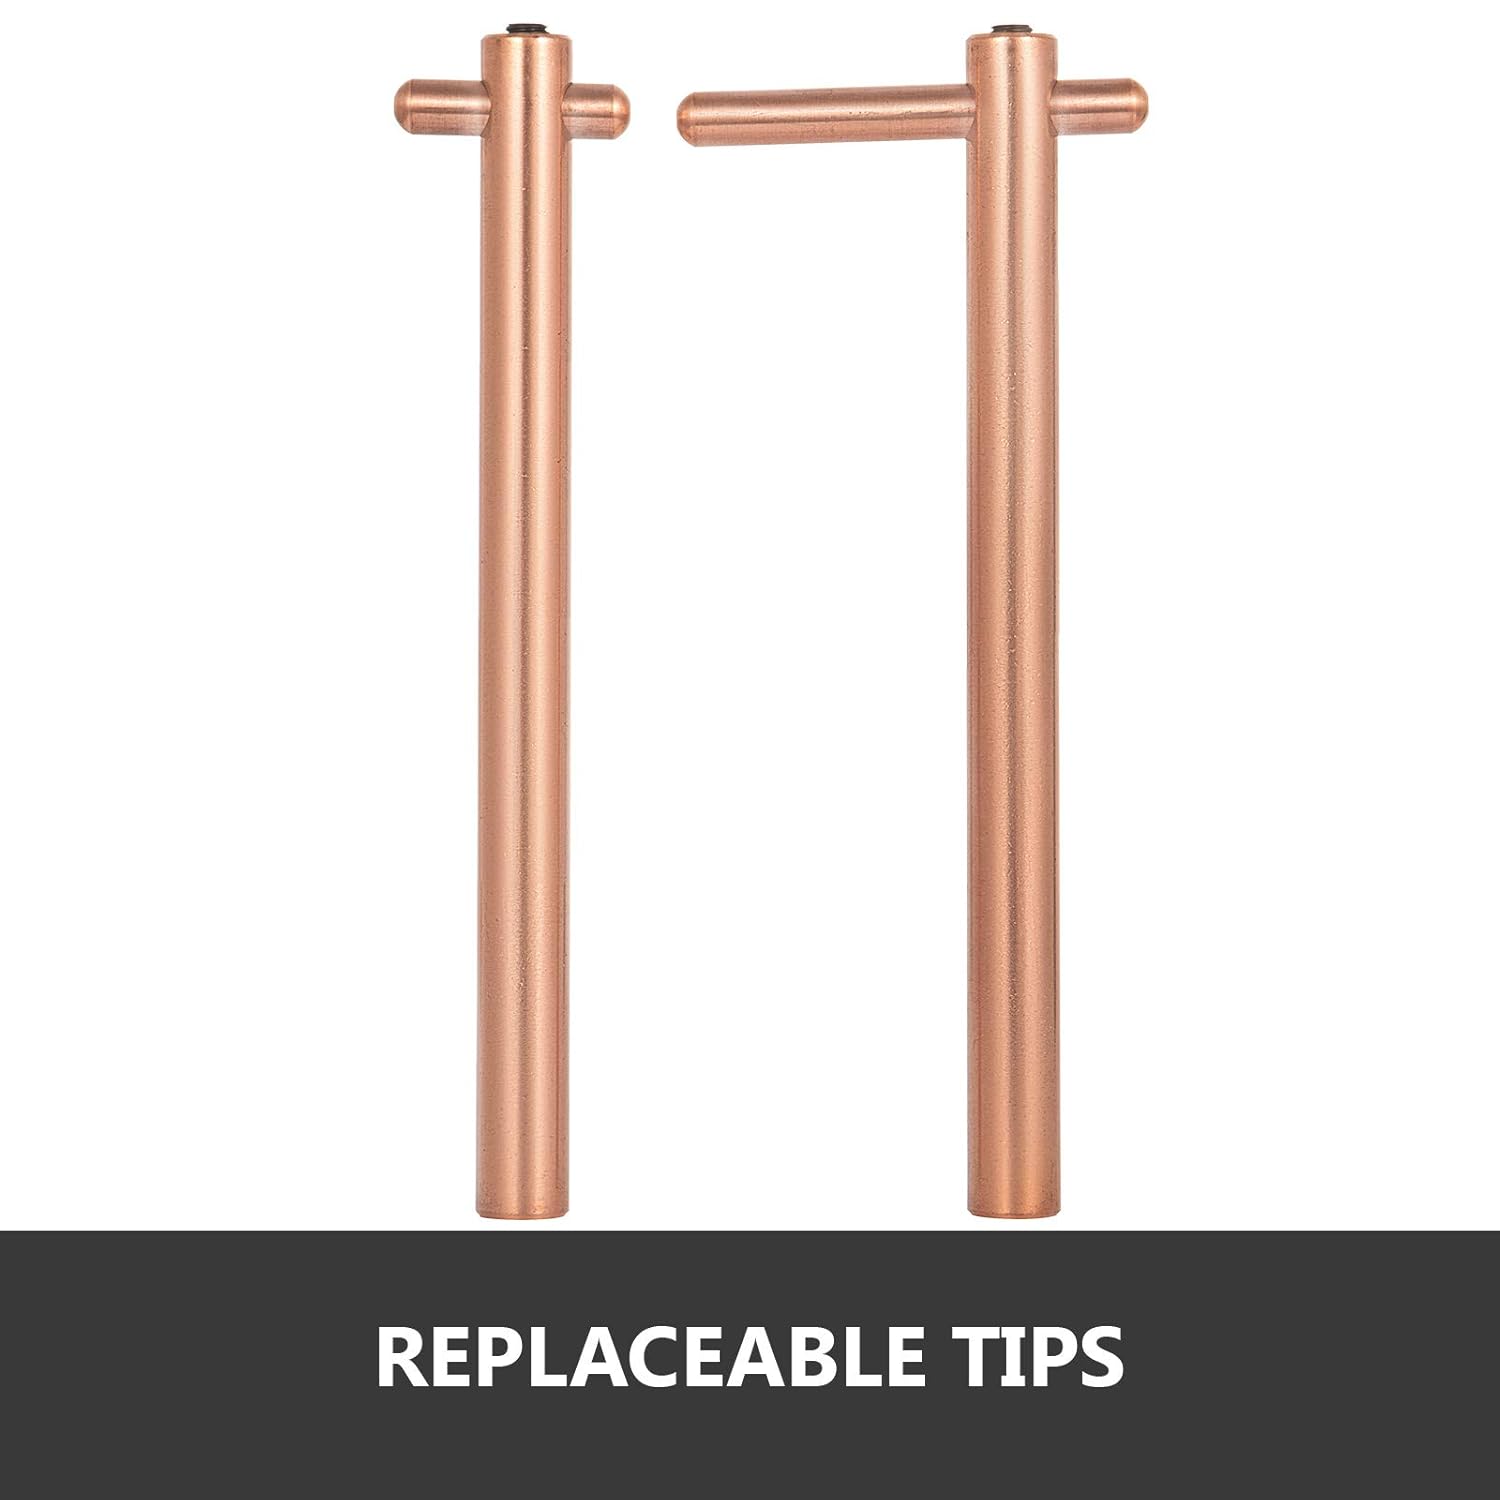
Image: Ergonomic handgrip for comfortable and secure handling during operation.

Image: An additional pair of replaceable welding tips, highlighting their ease of installation.
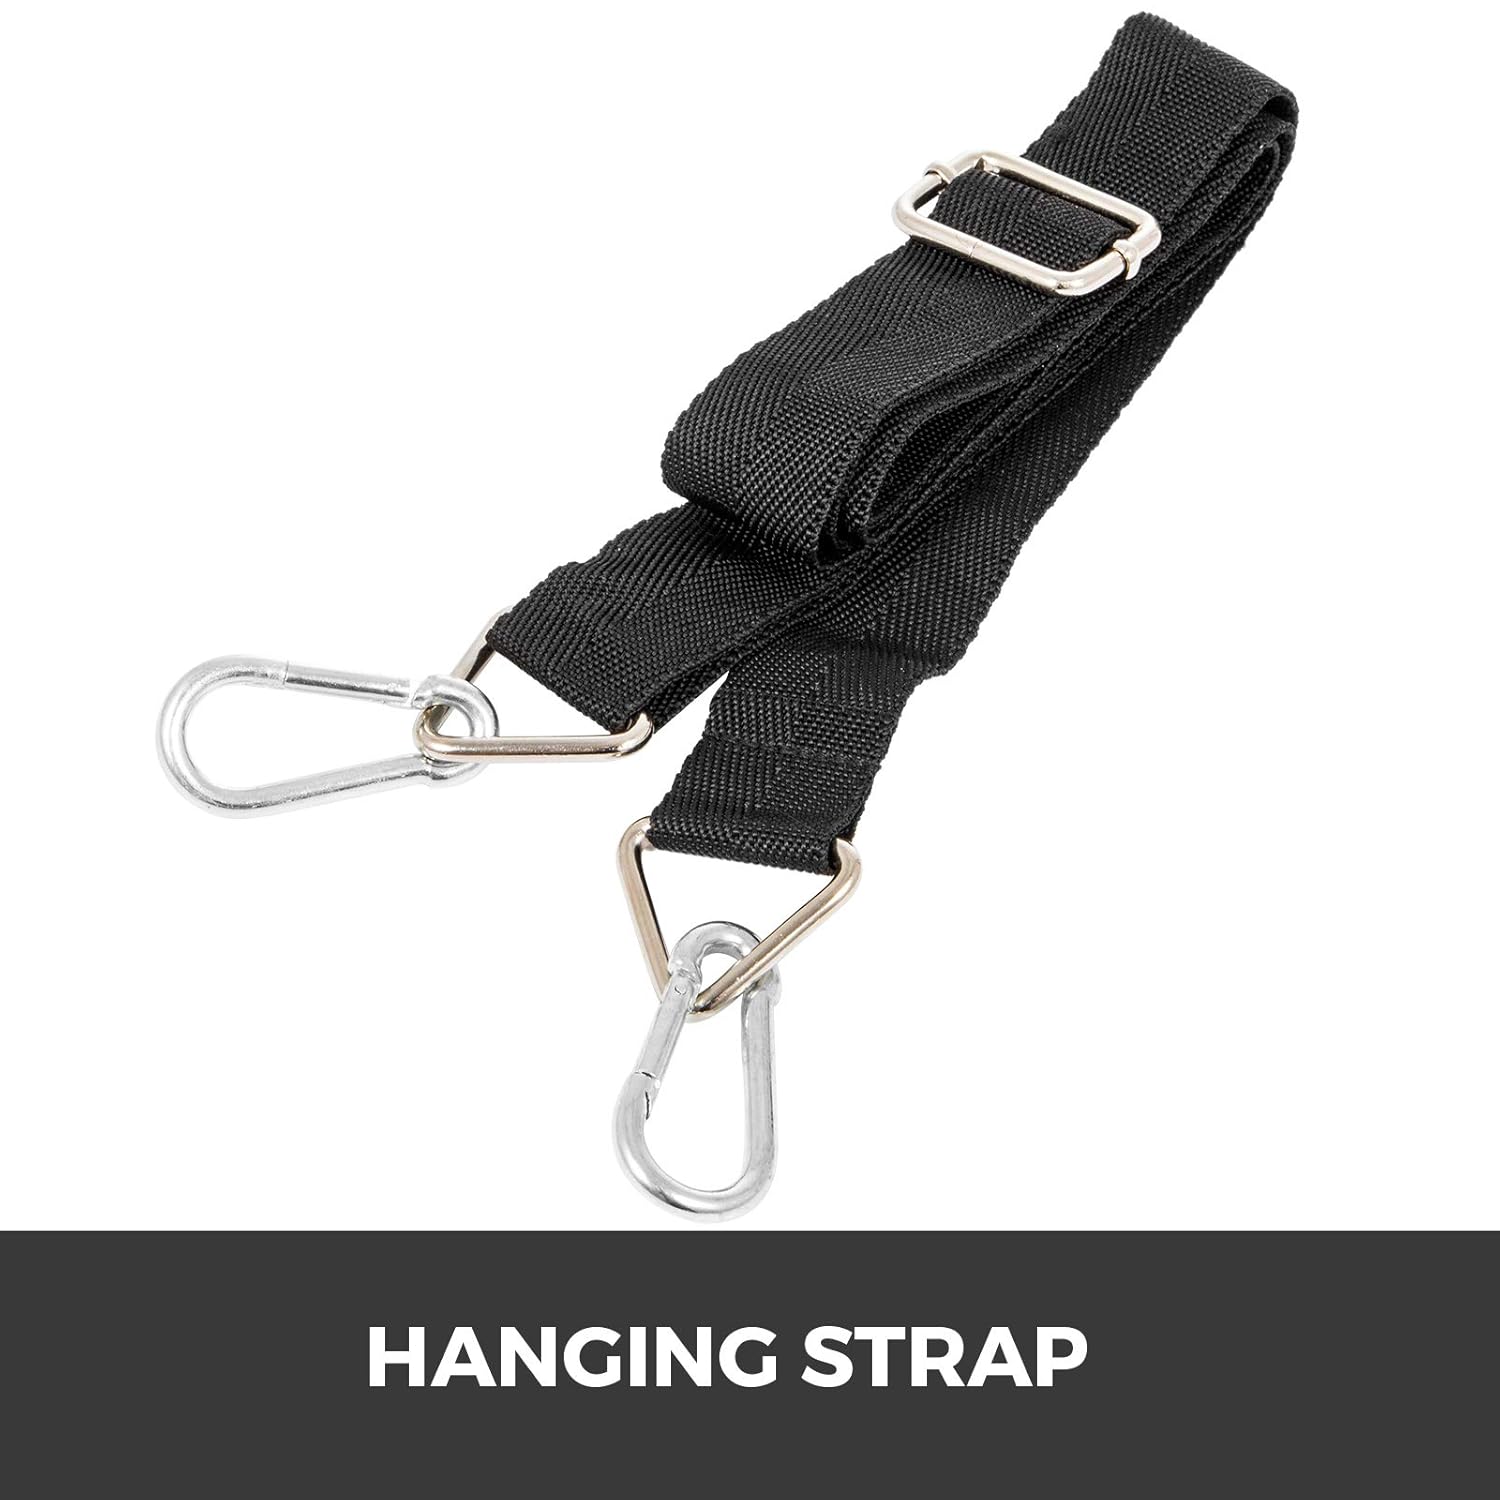
Image: The spot welder showcasing its compact dimensions (17.3" length, 11.6" height, 7.7" width) for portability and storage.

Image: The included hanging strap, designed for convenient transport and hands-free use of the welder.
4. Konfiguracja
- Rozpakować: Ostrożnie wyjmij wszystkie elementy z opakowania. Sprawdź, czy nie zostały uszkodzone podczas transportu.
- Instalacja wskazówki: Ensure the welding tips are securely screwed into the gun. If replacing, twist off the old tips and screw on the new ones firmly.
- Podłączenie zasilania: Connect the welder to a suitable 400V power supply. Verify that the power source matches the welder's requirements. Do not attempt to connect to a 220V or 110V household outlet.
- Przygotowanie stanowiska pracy: Set up your work area in a well-ventilated space, free from flammable materials. Ensure you have all necessary PPE.
- Hanging Strap (Optional): Attach the hanging strap to the designated points on the welder if you intend to use it for portability or hands-free operation.
5. Instrukcja obsługi
This spot welder is designed for welding metal parts with a maximum thickness of 2.0 + 2.0 mm.
- Włączanie: Connect the welder to the 400V power supply. The control panel should illuminate.
- Wybierz tryb: Use the distinct control panel to select the appropriate welding mode based on the thickness and type of metal you are welding. Refer to the panel markings for guidance (e.g., 2+2mm, 1.5+1.5mm, etc.).
- Pozycja przedmiotu obrabianego: Place the metal pieces to be welded between the welding tips. Ensure good contact between the tips and the workpiece.
- Rozpocznij spawanie: Firmly press the trigger or handle to bring the tips together and initiate the welding process. Hold until the weld cycle is complete.
- Kontrola spoiny: After each weld, carefully inspect the joint for strength and quality. Adjust settings as needed.
- Ochłonąć: Allow the welder and workpiece to cool down between welds to prevent overheating and ensure optimal performance.
- Wyłączone: When finished, disconnect the welder from the power supply.
6. Konserwacja
- Czyszczenie: Regularly clean the exterior of the welder with a dry cloth. Do not use solvents or abrasive cleaners.
- Tip Inspection and Replacement: Inspect welding tips for wear or damage. Replace worn tips promptly to maintain welding quality. Always disconnect power before changing tips.
- Kontrola kabla: Periodically check power cables for cuts, fraying, or damage. Replace damaged cables immediately.
- Składowanie: Store the welder in a dry, clean, and secure location when not in use.
7. Rozwiązywanie Problemów
If you encounter issues with your VEVOR Spot Welder, refer to the following common troubleshooting steps:
| Problem | Możliwa przyczyna | Rozwiązanie |
|---|---|---|
| Spawarka nie włącza się | Brak zasilania; Nieprawidłowa głośnośćtage; Damaged cable | Check power connection; Ensure 400V supply; Inspect and replace damaged cables. |
| Poor weld quality / No weld | Worn tips; Incorrect settings; Insufficient contact; Material too thick | Replace tips; Adjust welding mode/settings; Ensure firm contact; Verify material thickness is within 2.0+2.0mm limit. |
| Przegrzanie | Continuous use; Insufficient cooling time | Allow adequate cooling time between welds; Do not operate continuously for extended periods. |
If the problem persists after following these steps, please contact VEVOR customer support.
8. Specyfikacje
| Specyfikacja | Wartość |
|---|---|
| Marka | WIĘZIĆ |
| Numer modelu | 380 V |
| Źródło zasilania | 400 V |
| Cotage | 2000 watów |
| Maksymalna grubość spawania | 2.0 + 2.0 mm |
| Długość elementu | 120 milimetrów |
| Waga przedmiotu | 11.3 kilograma |
| Materiał uchwytu | Aluminium |
| Cechy specjalne | Lekki, przenośny |
| UPC | 197988934974 |
9. Gwarancja i wsparcie
Produkty VEVOR zostały zaprojektowane z myślą o trwałości i wydajności. Informacje o gwarancji można znaleźć w dokumentacji dołączonej do produktu lub na oficjalnej stronie VEVOR. website. If you require technical assistance or have questions regarding your spot welder, please contact VEVOR customer support through their official channels.
Producent: WIĘZIĆ