
ALONEFIRE H38
Alonefire H38 Tactical LED Flashlight User Manual
Model: H38
1. Wprowadzenie
Thank you for choosing the Alonefire H38 Tactical LED Flashlight. This high-performance flashlight is designed for reliability and versatility, featuring a powerful LED, multiple lighting modes, USB recharging, and a power output function. Please read this manual carefully to ensure proper use and maintenance of your device.
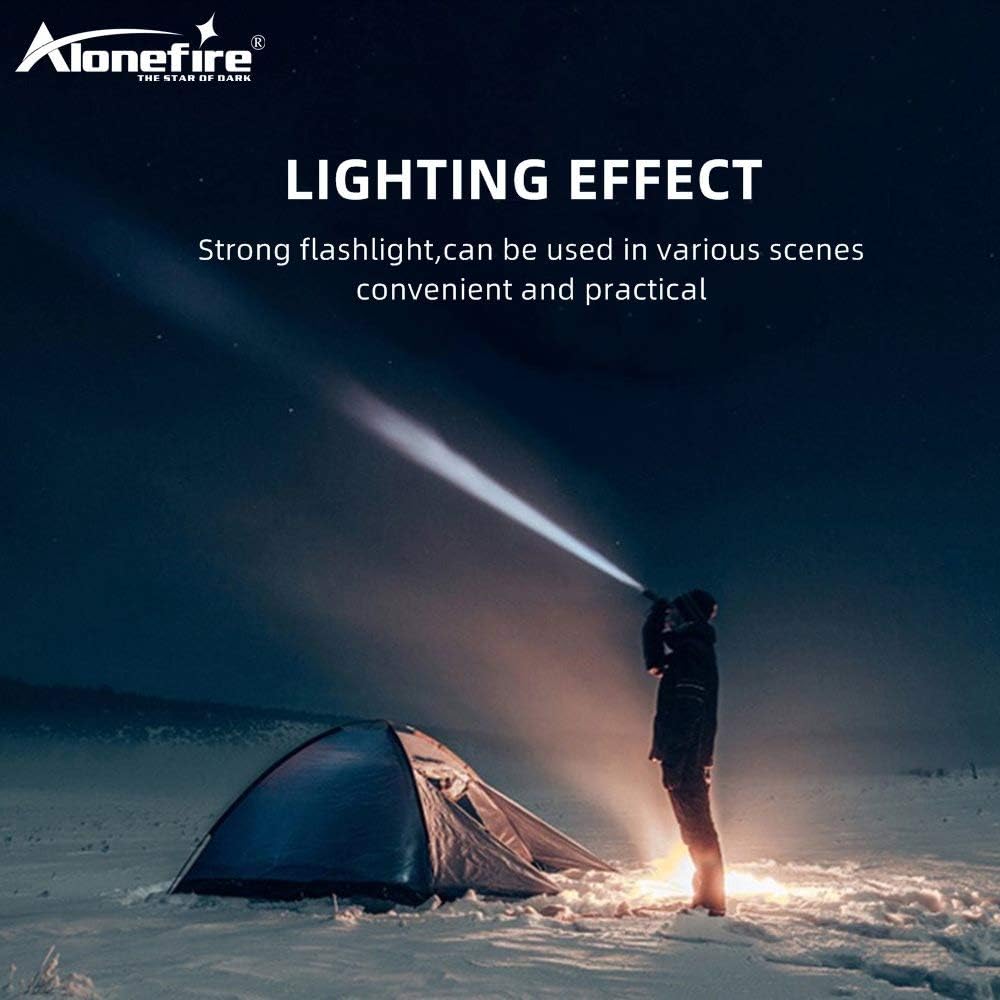
Figure 1: Alonefire H38 providing strong illumination in a dark environment.
2. Informacje dotyczące bezpieczeństwa
- Bezpieczeństwo oczu: Nie należy patrzeć bezpośrednio na diodę LED ani świecić nią bezpośrednio w oczy ludzi lub zwierząt. Światło o wysokiej intensywności może spowodować tymczasowe upośledzenie wzroku lub trwałe uszkodzenie oczu.
- Ciepło: The flashlight may become warm during prolonged use, especially on high brightness modes. Handle with care.
- Obsługa baterii: Use only recommended Lithium-ion batteries. Do not mix old and new batteries, or different types of batteries. Do not attempt to disassemble, puncture, or short-circuit the battery.
- Wodoodporność: The flashlight has an IP5 water resistance rating, meaning it is protected against low-pressure water jets from any direction. It is suitable for use in rainy conditions but should not be submerged in water.
- Dzieci: Przechowywać w miejscu niedostępnym dla dzieci.
3. Zawartość opakowania
Proszę sprawdzić, czy w paczce znajdują się następujące elementy:
- Alonefire H38 Tactical LED Flashlight
- Kabel ładujący USB
- Pasek na nadgarstek
- Battery Tube (for AAA batteries, if applicable)
- Lithium-ion Battery (if included, otherwise sold separately)

Figure 2: Included components of the Alonefire H38 package.
4. Koniec produktuview
Familiarize yourself with the different parts of your Alonefire H38 flashlight:

Figure 3: Labeled components of the Alonefire H38 Flashlight.
- LED L.amp: Główne źródło światła.
- Zoomable Zone: Adjustable head for wide floodlight or focused spotlight.
- Przycisk zasilania: Button to turn the flashlight on/off and cycle through modes.
- Wskaźnik ładowania: LEDs that show charging status and battery level.
- Copper Contactor: Ensures stable electrical connection with the battery.
- Anti-skip Handle: Textured surface for a secure grip.
- Bateria litowo-jonowa: Źródło zasilania z możliwością ładowania.
5. Konfiguracja
5.1. Instalacja baterii
- Odkręć tylną pokrywę latarki.
- Insert the Lithium-ion battery with the positive (+) end facing towards the head of the flashlight.
- If using AAA batteries (not included), place them into the provided battery tube and insert the tube into the flashlight.
- Dokładnie dokręć nakrętkę tylną.
5.2. Ładowanie początkowe
Przed pierwszym użyciem należy całkowicie naładować latarkę.
- Locate the micro USB charging port, usually hidden under a rubber cover on the side of the flashlight.
- Connect the small end of the USB charging cable to the flashlight's micro USB port.
- Connect the larger end of the USB cable to a USB power source (e.g., wall adapter, computer USB port, power bank).
- The charging indicator lights will illuminate to show the charging progress. Once fully charged, all indicator lights will typically be solid blue.

Figure 4: Charging the Alonefire H38 via micro USB port.
6. Instrukcja obsługi
6.1. Włączanie/wyłączanie i wybór trybu

Figure 5: The five lighting modes of the Alonefire H38.
- Włączyć: Naciśnij raz przycisk zasilania. Latarka włączy się w ostatnio używanym trybie.
- Aby zmienić tryb: With the flashlight on, press the power switch button repeatedly to cycle through the 5 modes: High > Medium > Low > Strobe > SOS.
- Wyłączyć: Press and hold the power switch button for approximately 2 seconds.
6.2. Funkcja powiększania
The Alonefire H38 features an adjustable zoom function:
- Aby powiększyć (Spotlight): Extend the head of the flashlight forward. This narrows the beam for a more focused, long-distance light.
- Aby pomniejszyć (światło rozproszone): Retract the head of the flashlight backward. This widens the beam for broader area illumination.
6.3. Power Output (Power Bank Function)
The flashlight can also serve as a temporary power bank to charge other devices.
- Locate the USB output port, usually next to the micro USB input port.
- Connect your device (e.g., smartphone) to the USB output port using its charging cable.
- Latarka rozpocznie ładowanie urządzenia.

Figure 6: Using the Alonefire H38 as a power bank to charge a smartphone.

Figure 7: The Alonefire H38 flashlight with an attached wrist strap for secure handling.
7. Konserwacja
- Czyszczenie: Przetrzyj korpus latarki miękką szmatką.amp ściereczka. Nie należy używać środków czyszczących o właściwościach ściernych ani rozpuszczalników.
- Smarowanie: Okresowo należy smarować pierścienie uszczelniające i gwinty smarem silikonowym, aby zachować wodoodporność i zapewnić płynne działanie.
- Pielęgnacja baterii: If the flashlight will not be used for an extended period, remove the battery to prevent leakage and damage. Store batteries in a cool, dry place.
- Składowanie: Przechowuj latarkę w chłodnym i suchym miejscu, z dala od bezpośredniego światła słonecznego i ekstremalnych temperatur.
8. Rozwiązywanie Problemów
| Problem | Możliwa przyczyna | Rozwiązanie |
|---|---|---|
| Latarka się nie włącza. | Bateria jest rozładowana lub nieprawidłowo włożona. | Recharge the battery or check its orientation. Ensure the tail cap is fully tightened. |
| Światło jest słabe lub migocze. | Niski poziom naładowania baterii. | Naładuj całkowicie akumulator. |
| Latarka się nie ładuje. | Faulty USB cable or power source. Charging port cover not fully open. | Try a different USB cable or power source. Ensure the charging port is clean and accessible. |
| Funkcja zoom jest sztywna. | Brud lub brak smarowania. | Clean the zoom mechanism and apply a small amount of silicone grease. |
9. Specyfikacje
| Funkcja | Szczegół |
|---|---|
| Marka | SAMODZIELNY OGIEŃ |
| Model | H38 |
| Źródło światła | PROWADZONY |
| Moc wyjściowa | Do 5000 lm |
| Tryby oświetlenia | Wysoki, średni, niski, stroboskopowy, SOS (5 trybów) |
| Tworzywo | Stop aluminium |
| Wymiary (dł. x szer. x wys.) | 4.69 x 0.91 x 0.91 cm (approx. 162mm - 178mm length) |
| Waga | 53.8 gramów |
| Typ baterii | 1 Lithium-ion (requires) |
| Tomtage | 5 wolty |
| Stopień wodoodporności | IP5 |
| Cechy specjalne | USB Rechargeable, Power Output (Power Bank), Zoomable |
10. Gwarancja i wsparcie
10.1. Informacje o gwarancji
For specific warranty details, please refer to the documentation provided at the time of purchase or contact your retailer. The manufacturer typically offers a warranty against defects in materials and workmanship for a specified period.
10.2. Obsługa klienta
If you encounter any issues or have questions not covered in this manual, please contact Alonefire customer service or your point of purchase for assistance. Keep your purchase receipt as proof of purchase.
Ask a question about this manual
Ask about setup, troubleshooting, compatibility, parts, safety, or missing instructions. Manuals+ will review the question and use this page’s manual context to help answer it.