1. Wprowadzenie
The Marmitek View ME is an indoor Wi-Fi camera designed for remote monitoring of your home. It offers Full HD 1080p video, motion detection, two-way audio communication, and infrared night vision. This camera integrates seamlessly with the Smart me application, allowing you to control and monitor your home from your smartphone or tablet.
2. Zawartość opakowania
Sprawdź, czy w opakowaniu znajdują się wszystkie elementy:
- Marmitek View ME Indoor Wi-Fi Camera
- Zasilacz
- Kabel USB
- Akcesoria montażowe (jeśli dotyczy, nie są wymienione wprost, ale są powszechne)
- Instrukcja obsługi (ten dokument)

Image: The Marmitek View ME product box, showing the camera and branding.
3. Koniec produktuview
Familiarize yourself with the different parts of your Marmitek View ME camera.
Przód View
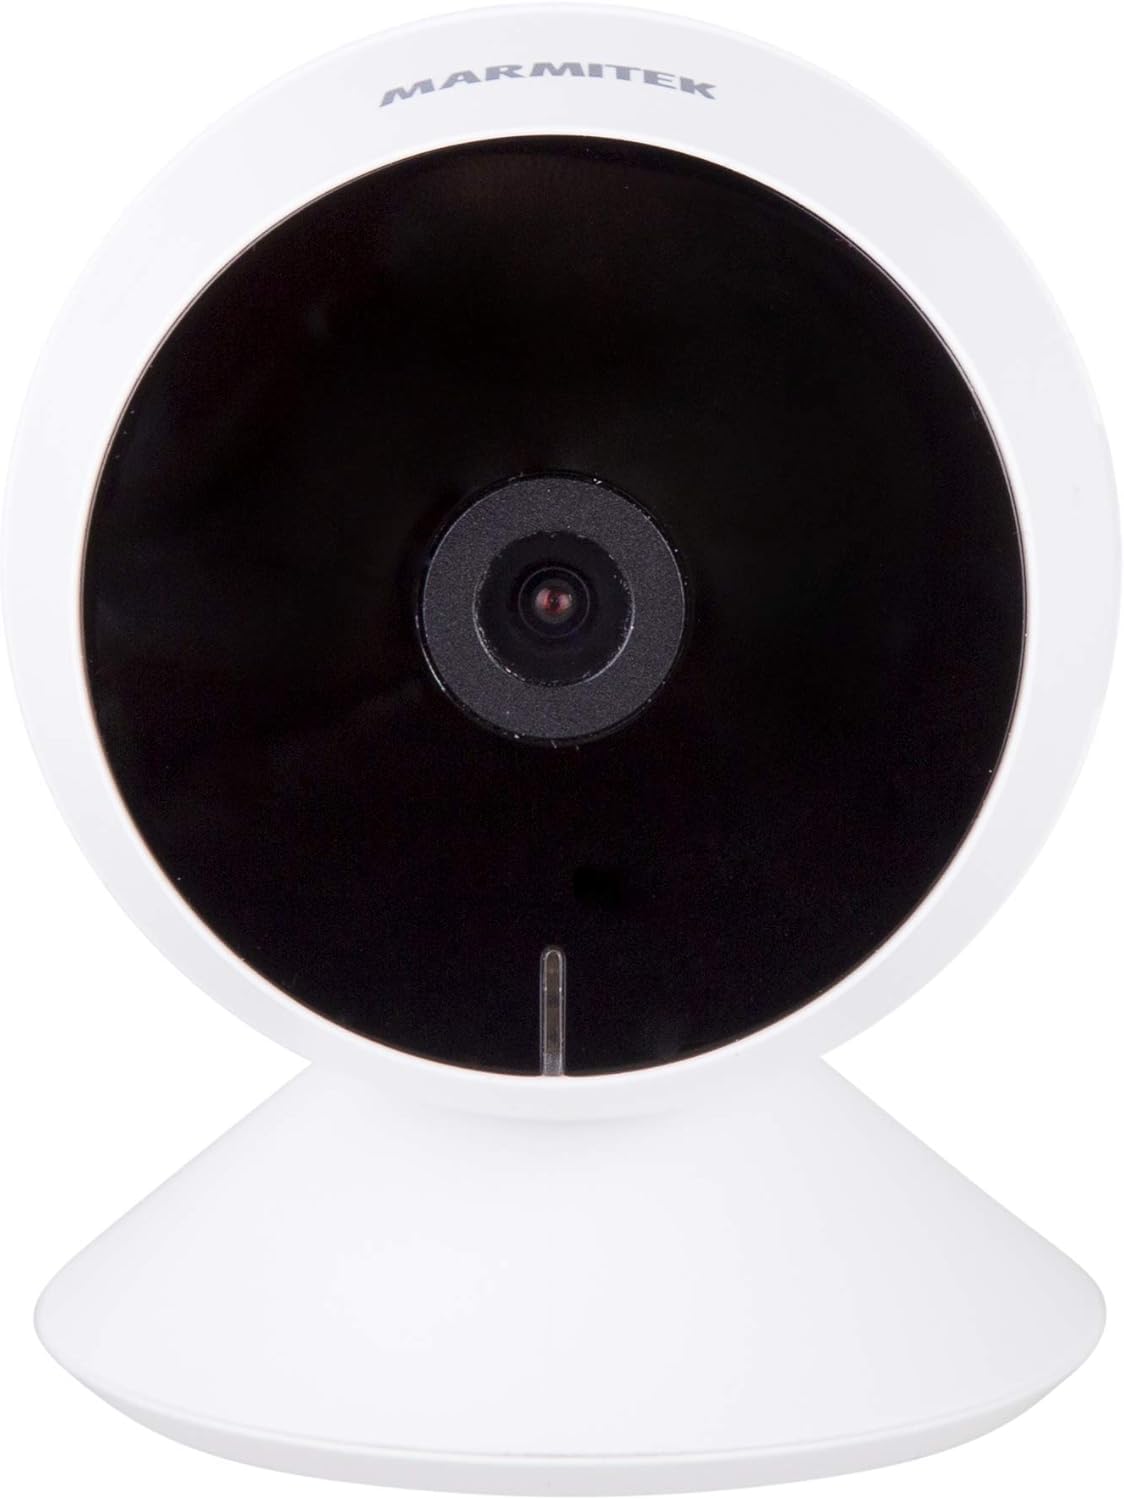
Obraz: Przód view of the Marmitek View ME camera, showing the lens and indicator light.
Strona View

Obraz: Bok view of the Marmitek View ME camera, highlighting its compact design.
Tył View

Obraz: Tył view of the Marmitek View ME camera, showing the micro-USB port, speaker, and reset button.
4. Konfiguracja
4.1 Umieszczenie
Position the camera in a central location within the area you wish to monitor. Ensure it has a clear line of sight and is within range of your Wi-Fi network. The camera is designed for indoor use and can be placed on a desk, shelf, or mounted on a wall or ceiling.

Image: The Marmitek View ME camera discreetly placed on a shelf in a living room environment.
4.2 Połączenie zasilania
- Connect the USB cable to the micro-USB port on the back of the camera.
- Podłącz drugi koniec kabla USB do dostarczonego zasilacza.
- Podłącz zasilacz do standardowego gniazdka elektrycznego.
- The camera will power on, and an indicator light will illuminate.

Image: The Marmitek View ME camera connected to its power adapter via a USB cable.
4.3 Instalacja aplikacji i tworzenie konta
The Marmitek View ME camera operates with the Smart me application. No gateway or additional software is required.
- Pobierz Mądry ja aplikację ze sklepu App Store (iOS) lub Google Play Store (Android).
- Otwórz aplikację i postępuj zgodnie z instrukcjami wyświetlanymi na ekranie, aby utworzyć nowe konto lub zaloguj się, jeśli już je posiadasz.

Image: The Smart me application logo, featuring a Wi-Fi symbol.
4.4 Łączenie z Wi-Fi
- Ensure your smartphone is connected to a 2.4 GHz Wi-Fi network. The camera does not support 5 GHz networks.
- In the Smart me app, tap the "+" icon to add a new device.
- Select "Camera" or the specific model if listed.
- Follow the in-app instructions to put the camera into pairing mode (usually indicated by a flashing light). You may need to press the reset button on the camera.
- Gdy zostaniesz o to poproszony, wprowadź hasło swojej sieci Wi-Fi.
- The app will generate a QR code. Hold your phone with the QR code in front of the camera lens at a distance of 15-20 cm until you hear a confirmation sound from the camera.
- Once connected, the camera's indicator light will change, and you will see the camera added to your Smart me app.
4.5 Instalacja karty SD (opcjonalnie)
The camera supports local storage via an SD card (not included) for recording videos.
- Locate the SD card slot on the camera (refer to the product overview images).
- Gently insert a compatible microSD card (Class 10 or higher, up to 128GB recommended) into the slot with the contacts facing down until it clicks into place.
- In the Smart me app, navigate to the camera settings to format the SD card before first use.
5. Instrukcja obsługi
5.1 Na żywo View
Open the Smart me app and select your View ME camera from the device list to access the live video feed. You can view foo w czasie rzeczywistymtage z dowolnego miejsca z dostępem do Internetu.

Image: A person interacting with the Smart me application on a smartphone, demonstrating remote access.
5.2 Dźwięk dwukierunkowy
The camera features an integrated speaker and microphone for two-way communication. While in live view, tap the microphone icon in the app to speak through the camera, and listen to audio from the camera's surroundings.
5.3 Detekcja ruchu i powiadomienia
The integrated motion detector can alert you to activity. Configure motion detection settings and notification preferences within the Smart me app. You will receive push notifications on your smartphone when motion is detected.
5.4 Nagrywanie i odtwarzanie
If an SD card is installed, the camera can record video footage. You can set the camera to record continuously, on motion detection, or manually. Access recorded videos through the playback function in the Smart me app.
5.5 Widzenie nocne
The camera is equipped with infrared night vision, providing clear video footage up to 10 meters in low-light or dark conditions. This feature activates automatically when ambient light is insufficient.
5.6 Integracja inteligentnego domu
The Marmitek View ME camera is part of the Smart me ecosystem. You can link it with other Smart me products to create automated scenarios. For example, configure a rule to turn on a connected light bulb when the camera detects motion.

Image: A diagram illustrating the interconnectedness of various Smart me devices, including the camera, within a smart home setup.
6. Konserwacja
6.1 Czyszczenie
To clean the camera, gently wipe the lens and exterior with a soft, dry cloth. Do not use harsh chemicals or abrasive cleaners, as these can damage the device.
6.2 aktualizacji oprogramowania sprzętowego
Periodically check the Smart me app for available firmware updates. Keeping your camera's firmware up-to-date ensures optimal performance and security.
6.3 Zarządzanie kartami SD
If using an SD card for storage, regularly check its status in the app. Format the card periodically to maintain performance and free up space, or replace it if it becomes corrupted or full.
7. Rozwiązywanie Problemów
- Kamera nie łączy się z siecią Wi-Fi: Ensure your Wi-Fi network is 2.4 GHz. Check Wi-Fi password. Move the camera closer to the router. Try resetting the camera by pressing the reset button for 5 seconds.
- Brak życia view: Check your internet connection and the camera's power supply. Ensure the camera is online in the Smart me app.
- Detekcja ruchu nie działa: Verify that motion detection is enabled in the app settings. Adjust sensitivity levels. Ensure the camera's view nie jest zablokowana.
- Problemy z dwukierunkową transmisją dźwięku: Check your phone's microphone and speaker permissions for the Smart me app. Ensure the camera's microphone and speaker are not obstructed.
- Karta SD nie nagrywa: Upewnij się, że karta SD jest prawidłowo włożona i sformatowana w aplikacji. Sprawdź, czy karta nie jest pełna lub uszkodzona.
8. Specyfikacje
| Funkcja | Specyfikacja |
|---|---|
| Numer modelu | 08528 |
| Wymiary (dł. x szer. x wys.) | Wymiary 7.8 x 6 x 6 cm |
| Waga | 240 gramów |
| Rozdzielczość wideo | Pełna rozdzielczość HD 1080p |
| Łączność | Wi-Fi (tylko 2.4 GHz) |
| Zakres noktowizora | Do 10 metrów (podczerwień) |
| Audio | Two-way (Built-in microphone and speaker) |
| Składowanie | Karta MicroSD (do 128 GB, nie jest dołączona) |
| Źródło zasilania | AC/DC (230 Volts, 2.5 Watts) |
| Do użytku wewnątrz/na zewnątrz | Wnętrz |
| Stopień ochrony IP | IP54 |
| Kompatybilne urządzenia | Smartfon, tablet (iOS, Android) |
9. Informacje dotyczące bezpieczeństwa
- Używaj wyłącznie dołączonego zasilacza i kabla.
- Nie narażaj aparatu na działanie wody lub wilgoci.
- Unikaj pozostawiania aparatu w pobliżu źródeł ciepła lub w bezpośrednim świetle słonecznym przez dłuższy czas.
- Do not attempt to disassemble or repair the camera yourself. Contact support for assistance.
- Przechowuj aparat poza zasięgiem dzieci i zwierząt domowych.
10. Gwarancja i wsparcie
Marmitek products are manufactured to high quality standards. For warranty information, please refer to the warranty card included with your product or visit the official Marmitek website. For technical support, troubleshooting assistance, or further inquiries, please contact Marmitek customer service through their official channels.