1. Wprowadzenie
The ACEGMET X20-60m is a portable and user-friendly green beam laser measuring device designed for high-precision distance measurements. It features a bright green laser for enhanced visibility, an electronic angle sensor for advanced measurements, and multiple calculation modes including area, volume, and Pythagorean functions. This manual provides essential information for the safe and effective operation of your device.
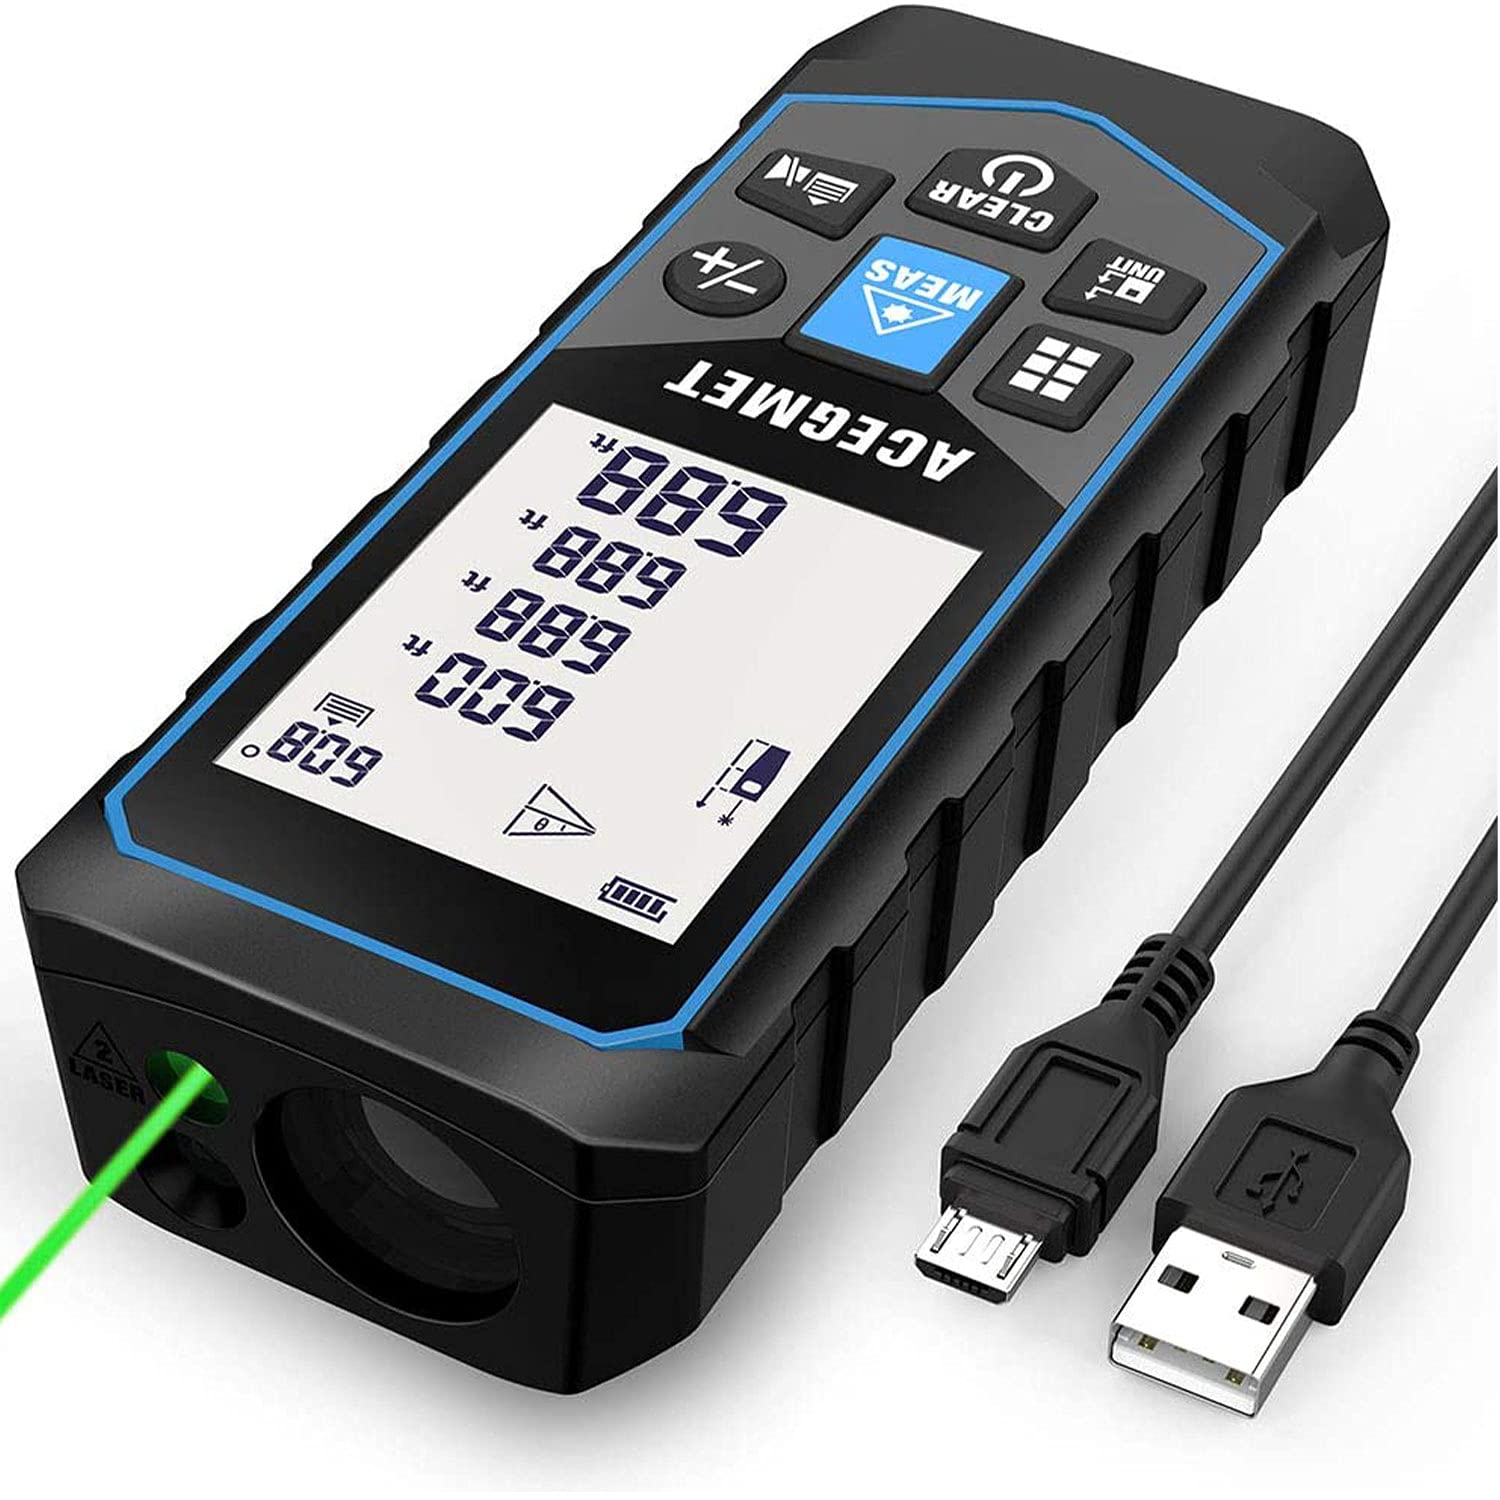
Image: The ACEGMET X20-60m Green Beam Laser Measure device.
2. Informacje dotyczące bezpieczeństwa
This device uses a Class 2 laser. Observe the following safety precautions:
- Nie patrz bezpośrednio w wiązkę lasera.
- Nie kieruj wiązki lasera na ludzi ani zwierzęta.
- Unikaj bezpośredniego kontaktu oczu.
- Do not disassemble the device; repairs should only be performed by authorized personnel.
- Przechowywać urządzenie w miejscu niedostępnym dla dzieci.
- Używaj urządzenia wyłącznie zgodnie z jego przeznaczeniem opisanym w niniejszej instrukcji.
Klasa laserowa: Klasa 2
Typ lasera: 490-560nm, <1mW
3. Zawartość opakowania
Sprawdź, czy w opakowaniu znajdują się wszystkie elementy:
- 1x ACEGMET Laser Measure Device
- 3x 1.5V Rechargeable Batteries
- 1x pasek na rękę
- Torba do przechowywania 1x
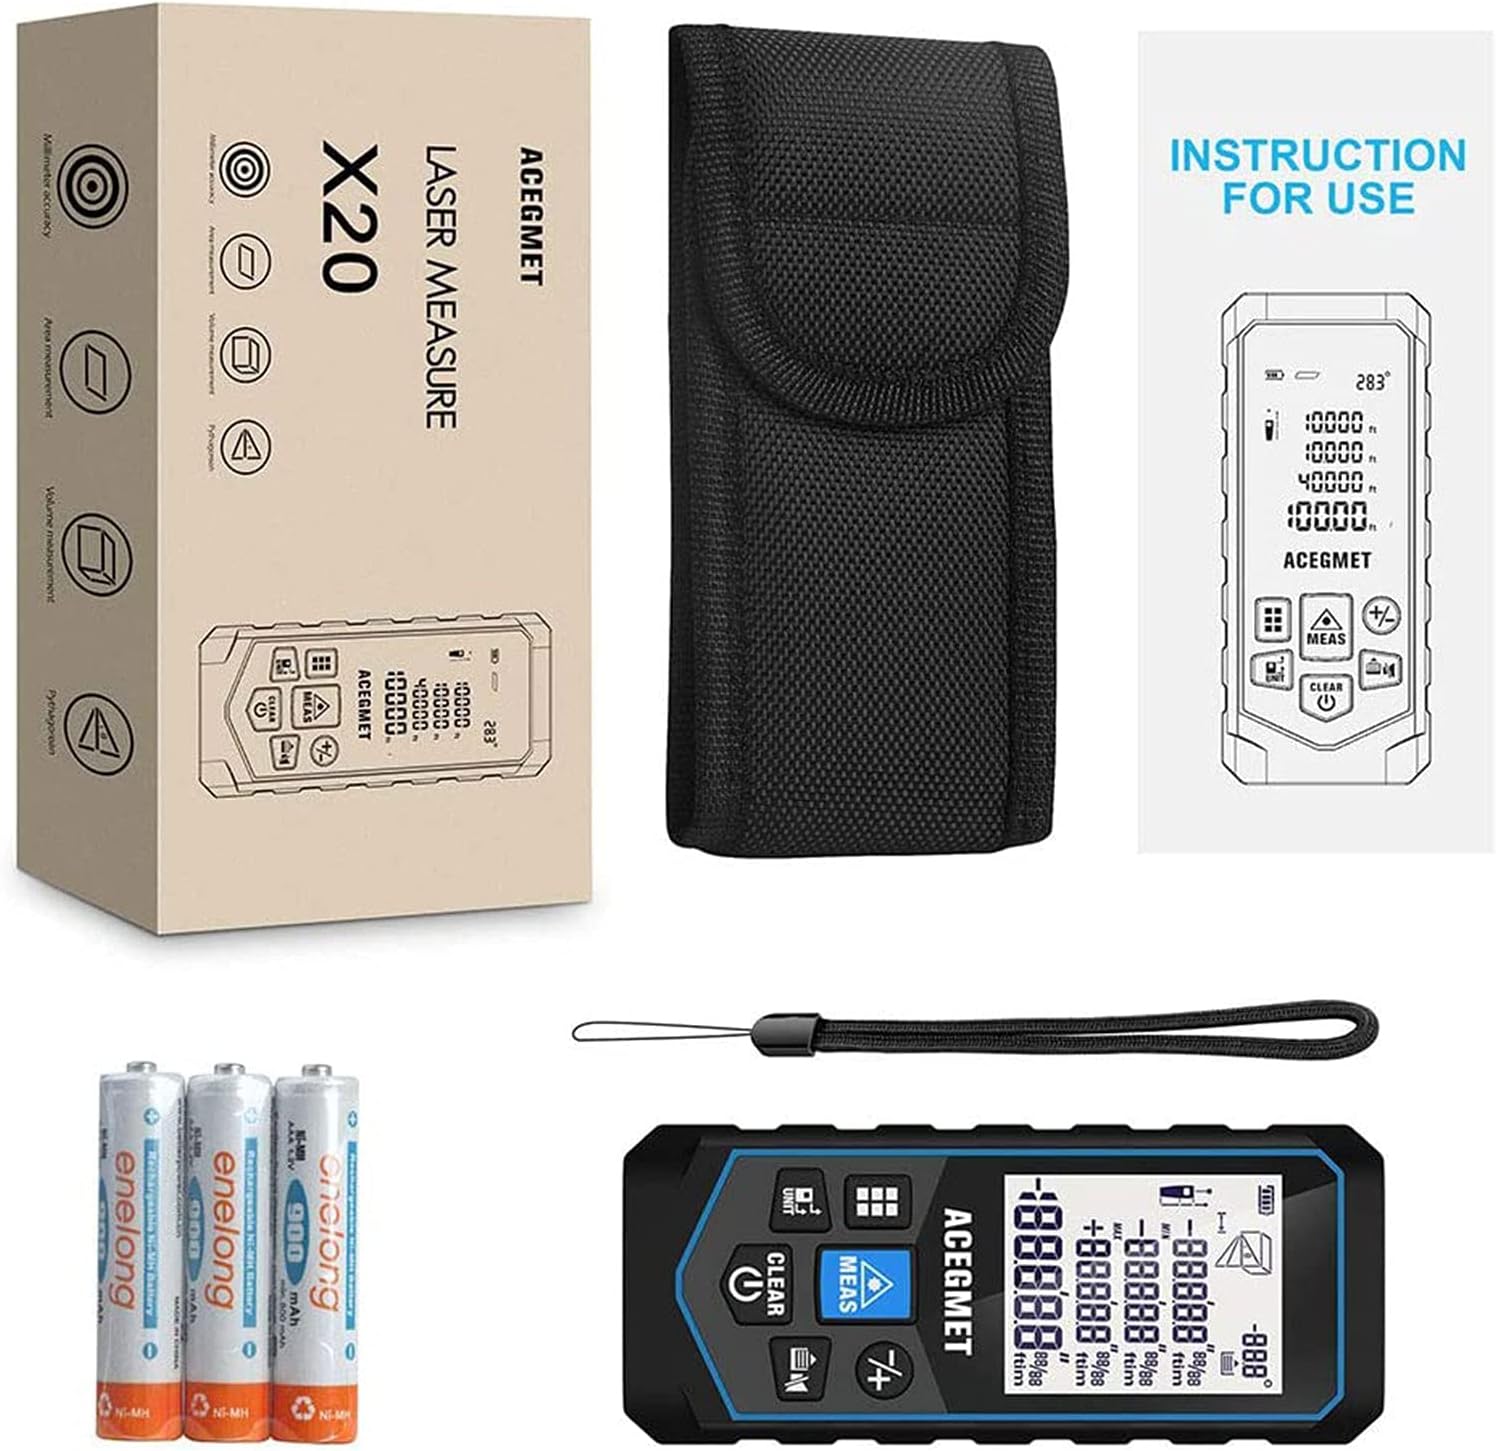
Image: The ACEGMET X20-60m laser measure, rechargeable batteries, hand strap, and storage bag.
4. Konfiguracja
4.1 Instalacja baterii
- Znajdź komorę baterii w urządzeniu.
- Otwórz pokrywę komory baterii.
- Insert the three 1.5V rechargeable batteries, ensuring correct polarity (+/-).
- Dokładnie zamknij pokrywę komory baterii.
4.2 Ładowanie urządzenia
The device is equipped with rechargeable batteries and supports USB charging.
- Podłącz dołączony kabel USB do portu ładowania w urządzeniu.
- Podłącz drugi koniec kabla USB do kompatybilnego zasilacza USB (nie ma go w zestawie) lub do portu USB komputera.
- Wyświetlacz urządzenia będzie pokazywał stan ładowania.
- Po pełnym naładowaniu odłącz kabel USB.

Image: The laser measure connected for USB charging, highlighting its waterproof design.
5. Instrukcja obsługi
5.1 Włączanie/wyłączanie zasilania
- Aby włączyć: Naciśnij POMIAR przycisk.
- Aby wyłączyć: Naciśnij i przytrzymaj WYCZYŚĆ/WYŁĄCZ button. The device will automatically shut down after 180 seconds of inactivity to save power.
5.2 Przełączanie jednostek
Naciśnij JEDNOSTKA button to cycle through measurement units: Meters (M), Inches (In), Feet (Ft), and Feet+Inches (Ft+In).
5.3 Reference Point Switching
The device can measure from its front or rear edge. Press the reference point button (often indicated by an icon with an arrow pointing from the front or back of the device) to switch between reference points as needed for different measurement scenarios.
5.4 Tryby pomiaru
Naciśnij Funkcjonować button (often indicated by a square icon or 'M' for Mode) to cycle through the available measurement modes.

Image: Visual representation of the eight measurement modes and four unit modes available on the device.
- Pojedynczy pomiar odległości:
Skieruj laser na cel i naciśnij POMIAR. The distance will be displayed instantly.
- Pomiar ciągły (śledzenie):
Activate this mode, then move the device. The display will continuously update with the current distance, showing maximum and minimum values.
- Pomiar powierzchni:
Select area mode. Measure the length, then measure the width. The device will automatically calculate and display the area.
- Pomiar objętości:
Select volume mode. Measure length, width, and height. The device will automatically calculate and display the volume.
- Pythagorean Measurement (2-point, 3-point):
Used for indirect height or distance measurements. Follow the on-screen prompts to measure the required sides of a right-angled triangle. The device will calculate the unknown side.
- Electronic Angle Sensor / Auto Level / Auto Height Measurement:
The integrated angle sensor allows for electronic level measurements, auto-level, and auto-height functions. For example, measure the distance between two points in the horizontal direction or determine the height of a window from the ground with a single measurement.

Image: Demonstrating the angle sensor measurement feature to calculate the height of a window.
5.5 Przechowywanie i pobieranie danych
The device can store up to 20 sets of measurement data. Use the appropriate buttons (refer to device interface) to save and retrieve historical data.

Image: The device display showing multiple stored measurement data records.
5.6 Dodawanie i odejmowanie
The device supports addition and subtraction of measurement values. Enter the first value, select the addition/subtraction function, then enter the second value. The result will be displayed.
5.7 Funkcja wyciszenia
For use in quiet environments, activate the mute function to disable audible feedback.
5.8 Podświetlany wyświetlacz LCD
The 2-inch backlit LCD display provides clear visibility in low light conditions.
6. Konserwacja
6.1 Czyszczenie
- Przetrzyj urządzenie miękką, damp ściereczka. Nie należy używać środków czyszczących o właściwościach ściernych ani rozpuszczalników.
- Ensure the laser lens and display are clean for accurate readings.
6.2 Przechowywanie
- Przechowuj urządzenie w pokrowcu, gdy nie jest używane.
- Przechowywać urządzenie w chłodnym i suchym miejscu, z dala od bezpośredniego światła słonecznego i ekstremalnych temperatur.
6.3 Samokalibracja
The device supports self-calibration to maintain measurement accuracy. Refer to the on-screen menu or specific button combinations for initiating the self-calibration process.
7. Rozwiązywanie Problemów
- Urządzenie się nie włącza: Check battery charge level. Ensure batteries are inserted correctly.
- Niedokładne pomiary: Ensure the laser lens is clean. Verify the correct reference point is selected. Perform self-calibration if necessary.
- Promień lasera nie jest widoczny: The green beam is designed for better visibility, but in very bright conditions or over long distances, it may be less apparent. Ensure the target surface is suitable for reflection.
- Komunikaty o błędach: Consult the device's display for specific error codes and refer to the full product manual (if available) for detailed explanations.
8. Specyfikacje
| Dokładność pomiaru | ±1/16 cala |
| Jednostki miary | Ft/Ft+In/M/In |
| Klasa laserowa | Klasa 2 |
| Typ lasera | 490-560nm, <1mW |
| Przechowywanie danych | 20 Grupy |
| Temperatura pracy | 0°C - 40°C (32°F - 104°F) |
| Wymiar | 115x49x26mm |
| Zakres pomiarowy | Do 196 stóp |
| Międzynarodowa Ocena Ochrony | IP54 (wodoodporne) |
| Baterie | 3x 1.5V Rechargeable NiMH (included) |
| Waga przedmiotu | 222 gramów |
| Tworzywo | Plastikowy |
9. Gwarancja i wsparcie
ACEGMET provides an 18-month worry-free warranty and lifetime technical support for this product. If you have any questions or require assistance, please contact ACEGMET customer service. Our technical and after-sales teams are available to assist you.