1. Wprowadzenie
The KitchenAid K150 3-Speed Ice Crushing Blender is designed to provide optimal blending performance for a variety of ingredients, including ice. This manual provides essential information for the safe and efficient operation, maintenance, and care of your blender. Please read all instructions carefully before first use.
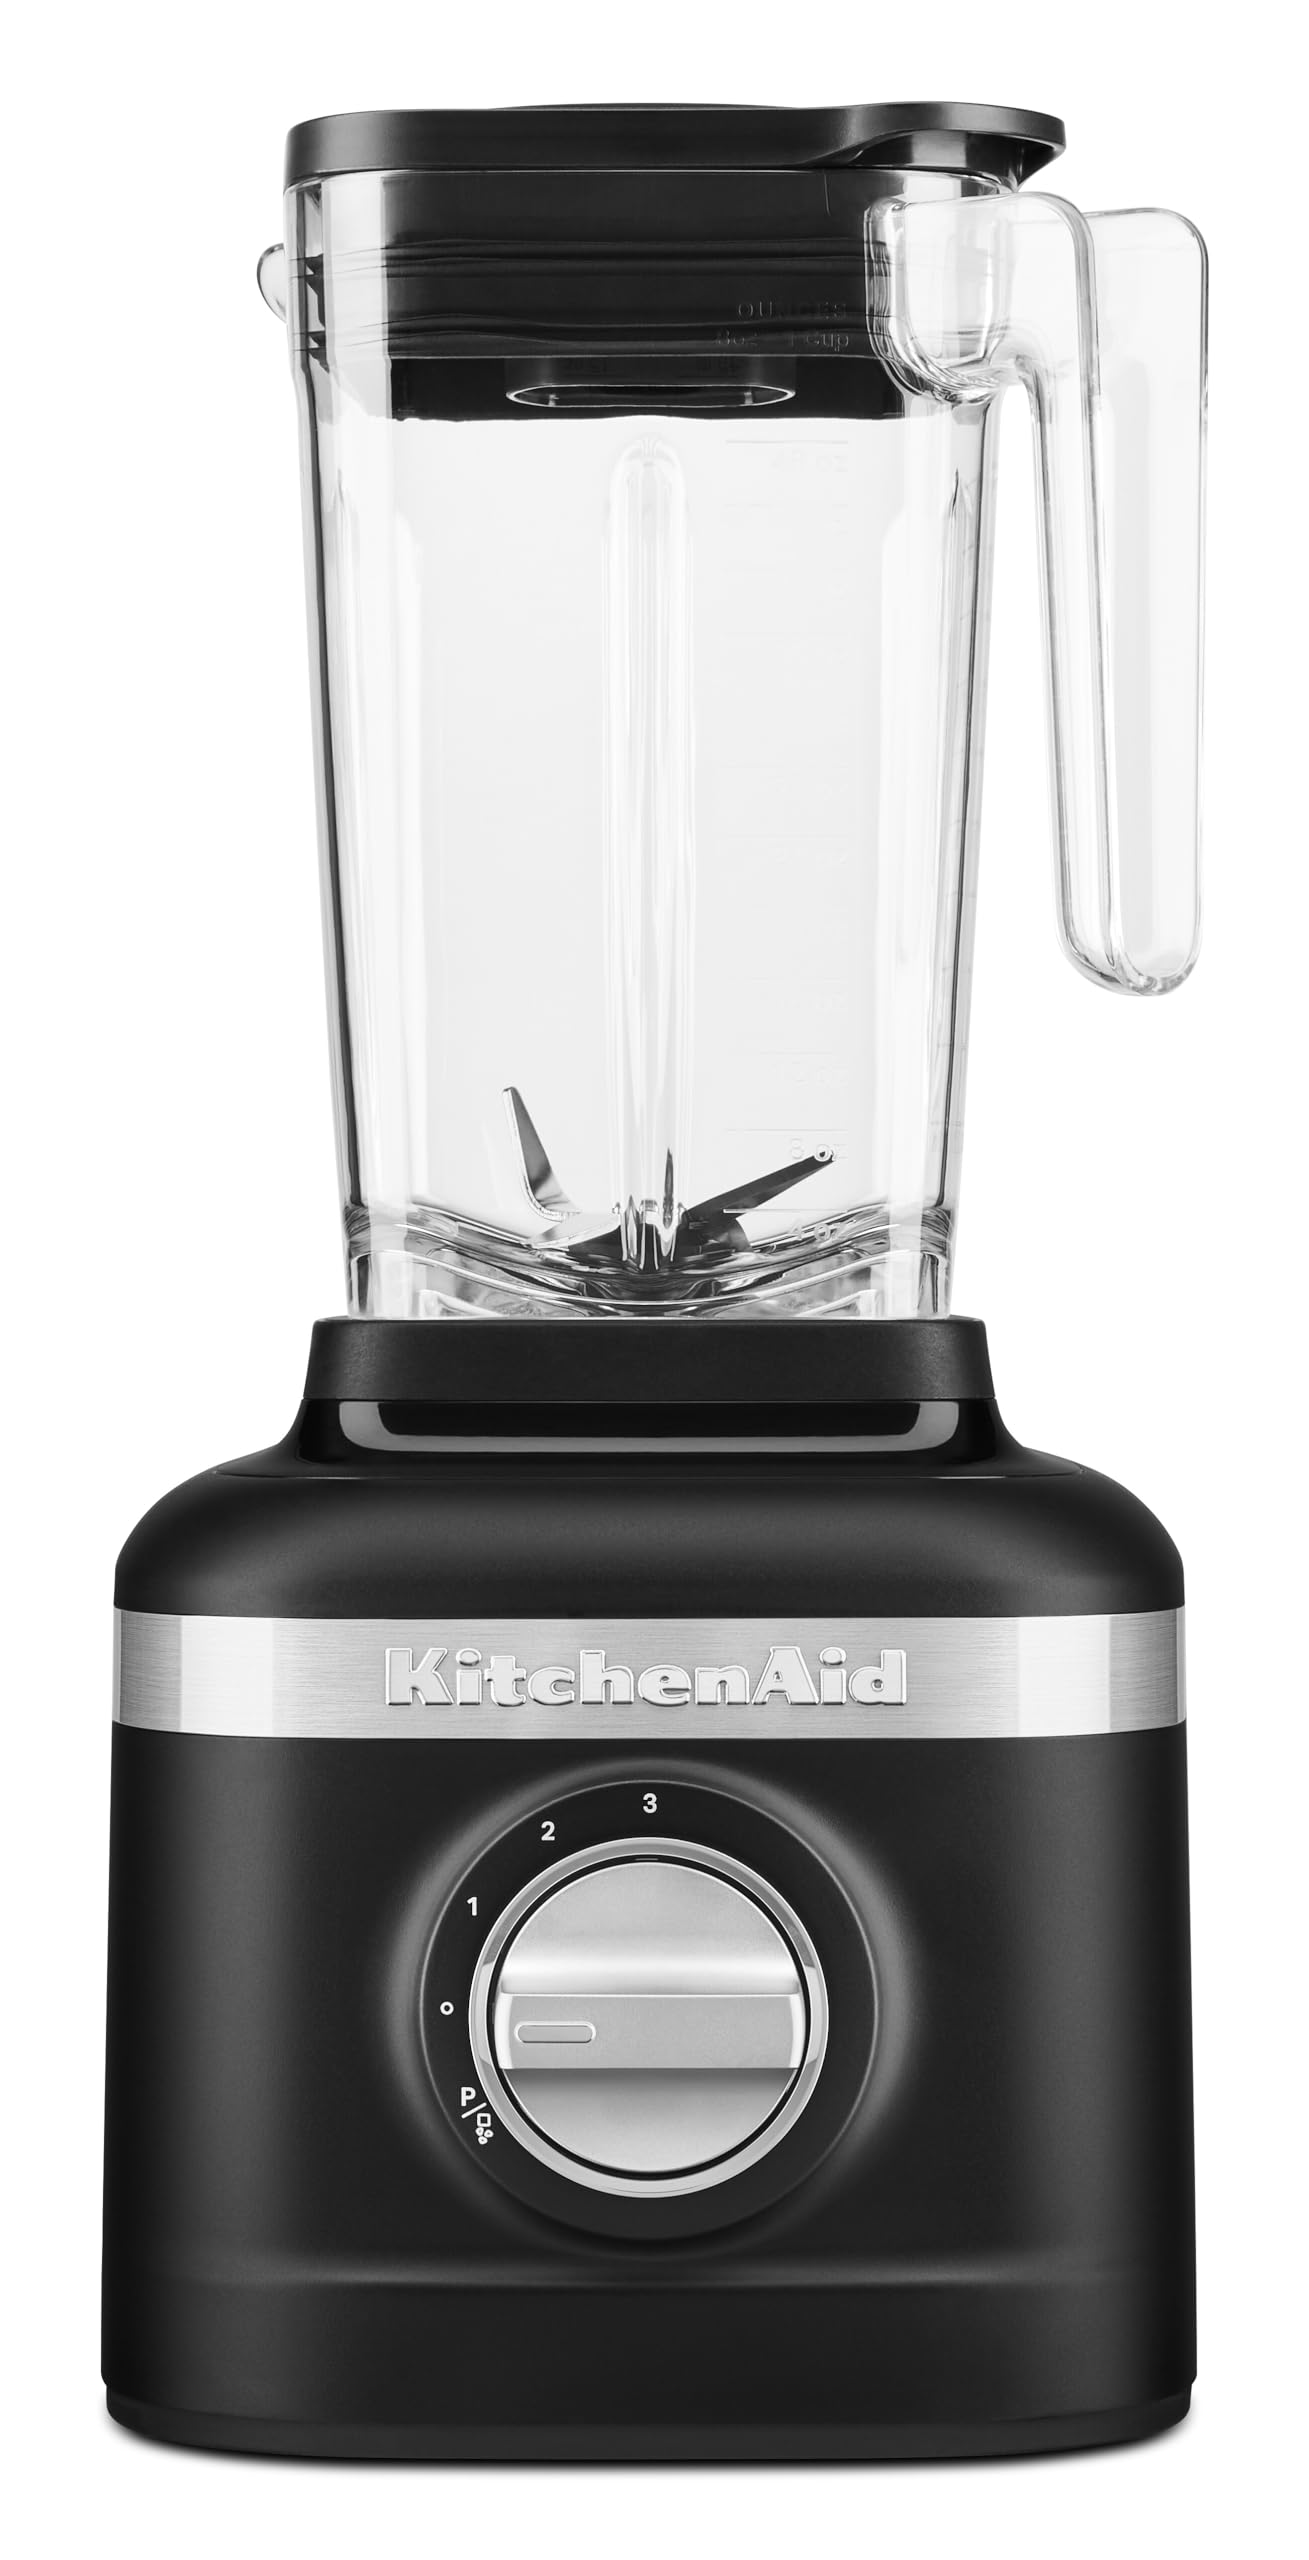
Image: The KitchenAid K150 Blender in Black Matte, showcasing its design and a full jar of ingredients ready for blending.
2. Główne cechy
- Możliwość kruszenia lodu: Designed to crush ice in less than 10 seconds for smoothies and other frozen drinks.
- 3 Speed Options + Ice-Crush Setting: Offers versatile blending for various ingredients and desired consistencies.
- Dual-Purpose Personal Blender Jars: Includes two personal jars that can be used for blending and then converted into on-the-go containers.
- Unikalne asymetryczne ostrze: Blends food at four distinct angles, pulling ingredients into the center for efficient crushing.
- Funkcja łagodnego startu: The motor automatically starts at a slower speed to pull ingredients into the blade, then quickly increases to the selected speed to prevent splatter.
- Sterowanie silnikiem Intelli-Speed: Automatically senses contents and maintains optimal speed to power through all ingredients.
3. składniki
- Blender Base (Motor Housing)
- 48-oz Blender Jar with Lid
- 2 Dual-Purpose Personal Blender Jars
- Blade Assembly (integrated into jars)

Image: The KitchenAid K150 Blender base with the main 48-oz jar and two personal blender jars, highlighting the included accessories.
4. Konfiguracja
- Rozpakować: Ostrożnie wyjąć wszystkie elementy z opakowania.
- Czysty: Wash the blender jar(s), lid(s), and personal jar blade assembly in warm, soapy water before first use. Rinse thoroughly and dry. The blender base should be wiped with a damp płótno.
- Umieszczenie: Podstawę blendera należy ustawić na czystej, suchej i równej powierzchni.
- Złóż słoik: Ensure the blade assembly is securely attached to the bottom of the blender jar or personal jar.
- Position Jar: Place the assembled blender jar onto the blender base, ensuring it is seated correctly.
- Włączać do kontaktu: Podłącz blender do uziemionego gniazdka elektrycznego.
5. Instrukcja obsługi
The KitchenAid K150 Blender features a simple control dial for easy operation.

Obraz: szczegółowy view of the blender's control dial, showing the various speed settings and the dedicated ice crush function.
- Dodaj składniki: Place your ingredients into the blender jar. Do not overfill past the maximum fill line. For best results, add liquids first, then soft ingredients, followed by hard ingredients and ice.
- Bezpieczna pokrywa: Place the lid firmly onto the blender jar. Ensure the lid is properly sealed. The removable ingredient cap can be used to add ingredients during blending.
- Wybierz prędkość: Turn the control dial to your desired speed setting (1, 2, or 3) or to the 'P/Ice Crush' setting for crushing ice. The Soft Start feature will gradually increase speed to prevent splatter.
- mieszanka: Allow the blender to operate until the desired consistency is achieved. The Intelli-Speed motor control will adjust power to maintain optimal blending.
- Zatrzymać: Turn the control dial back to '0' to stop the blender.
- Wlać: Remove the lid and carefully pour your blended mixture.
Using Personal Blender Jars:
For individual servings, use the personal blender jars. Fill the personal jar with ingredients, attach the blade assembly, invert, and place onto the blender base. Blend as desired, then remove, replace the blade assembly with the travel lid, and enjoy.
Video: Official KitchenAid KSB1332Y Product Video demonstrating the blender's features and blending capabilities.
6. Konserwacja i czyszczenie
Proper cleaning ensures the longevity and performance of your KitchenAid K150 Blender.
- Wyjąć wtyczkę: Always unplug the blender from the electrical outlet before cleaning.
- Blender Jars and Lids: The 48-oz blender jar, personal blender jars, and their lids are dishwasher safe (top rack recommended). Alternatively, wash them in warm, soapy water, rinse thoroughly, and dry.
- Baza blendera: Przetrzyj podstawę blendera reklamąamp ściereczką. Nie zanurzaj podstawy w wodzie ani innych płynach.
- Składowanie: Store the blender with the jar assembled on the base or store components separately in a dry place.
7. Rozwiązywanie Problemów
If you encounter issues with your blender, refer to the following common solutions:
- Blender się nie włącza: Ensure the blender is properly plugged into a working electrical outlet. Check if the blender jar is correctly seated on the base.
- Składniki nie mieszają się równomiernie: Add more liquid to the mixture. Use the pulse function or increase the speed setting. Ensure the lid is securely in place.
- Silnik zatrzymuje się podczas pracy: The blender may be overloaded. Turn off the blender, unplug it, remove some ingredients, and allow the motor to cool for a few minutes before restarting.
- Głośny hałas lub nietypowy zapach: Turn off and unplug the blender immediately. Check for any foreign objects in the jar or damage to the blades. If the issue persists, contact customer support.
8. Specyfikacje
| Specyfikacja | Szczegół |
|---|---|
| Marka | Kuchenka Aid |
| Numer modelu | KSB1332Y |
| Kolor | Czarny mat |
| Pojemność | 48-oz (main jar) |
| Wymiary produktu | 8.5" gł. x 7.1" szer. x 14.8" wys. |
| Waga przedmiotu | 7 funtów |
| Źródło zasilania | Elektryczny przewodowy |
| Cotage | 650 watów |
| Liczba prędkości | 3 + Ice Crush |
| Tomtage | 120 V |
| Tworzywo | Stal nierdzewna (ostrza) |
| Rodzaj materiału Wolny | Bez BPA |
| Można myć w zmywarce | No (Base), Yes (Jars/Lids) |
9. Gwarancja i wsparcie
Your KitchenAid K150 Blender (Model KSB1332Y) comes with a 1-roczna ograniczona gwarancja from the date of purchase, covering defects in material or workmanship under normal household use.
For warranty claims, technical assistance, or to purchase replacement parts, please contact KitchenAid Customer Service:
- Webstrona: www.pomoc kuchenna.com
- Telefon: Refer to your regional KitchenAid support contact information.
Prosimy zachować dowód zakupu w celach gwarancyjnych.